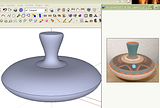
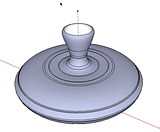
[Tutorial > Modeling] A PoorFlatEllipsoidIndian Bowl
-
Hi! dear Gaieus, our cool "watching and listening man" (I guess at night you like listen the stars in the sky !!)
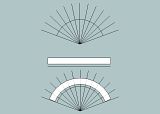
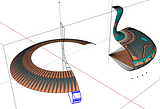
In facts I have made this Gif (450x337) to fit the forum. It is an experiment to deliver an animated explanation which needs just few seconds, for it is the case very often. I've first tried to display it in full format, afterwords I thought an animated thumbnail leading to the full format was better. I don't know. It depends of the case for sure

PS: i remember now why i made this way! This Gif is 732Ko . So if we put several in the same page we are surely going to difficult loading..
simon
-
Merci Jean-Franco


Gaieus, "../but I do like them for sure.

There is many advantages to use Viddler: great picture quality, easy upload, nice statistics, Flash or original downloads, video comments, good sharing options,... Nothing is perfect, the streaming is a bit erratic So I now put direct link systematically just below .
I have made a mistake at the end of my previous second video, PaintingTheBowl_B.
In order to reconstruct my Bowl, I have copied the single slice x49 (Cause my starting stripped tube was based on a 50 segments circle) (i had been surprise by the enormous time this operation had taken )
)
In fact i had forgotten this supposed "single slice" was already made with a couple of slices (mirrored). So, it was only necessary to copy it by 24 !!
Simon
-
%(#800000)[This thread is still intend to beginners. Regular SketchUp users might waste their time on this space (but who knows
 ]
]
.
Secondly i have missed to explore a modeling way which makes school inside SU. It is certainly not the easiest way nor time saving one. But it is a fresh handmade way.The starting shape:
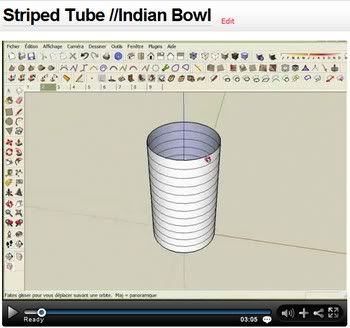
http://www.viddler.com/explore/slb02/videos/16/
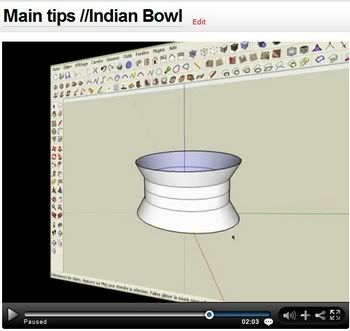
Main tips:
[url=http://www.viddler.com/explore/slb02/videos/17/:dwaa06ky]
[/url:dwaa06ky]
[url:dwaa06ky]http://www.viddler.com/explore/slb02/videos/17/[/url:dwaa06ky]
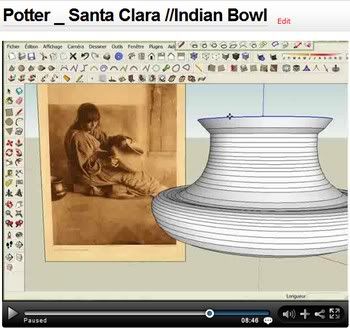
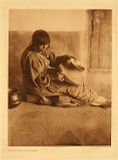
Potter Santa Clara
[url=http://www.viddler.com/explore/slb02/videos/18/:dwaa06ky]
[/url:dwaa06ky]
[url:dwaa06ky]http://www.viddler.com/explore/slb02/videos/18/[/url:dwaa06ky]
.
.
Additional References:
[url=http://www.sketchucation.com/forums/scf/viewtopic.php?f=18&t=9079:dwaa06ky]GreenToaster "6 Minute Car" Vid Tuts[/url:dwaa06ky]
[url=http://www.sketchucation.com/forums/scf/viewtopic.php?f=18&t=9561:dwaa06ky]Playing with curves[/url:dwaa06ky]Ruby scripts/Plugins:
[url=http://www.sketchucation.com/forums/scf/viewtopic.php?f=180&t=11212:dwaa06ky]Tools On Surface - v1.3[/url:dwaa06ky]
[url=http://www.smustard.com/script/MakeFaces:dwaa06ky]MakeFaces v.1.40[/url:dwaa06ky] -
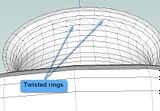
Due to the intensive manipulations, we are driven to make a lot of small mistakes. Most of them they come from Move tool. This is problematic when we want to paint and modify the object.
Here is cases of twisted rings.

, ,
So here is a second method, yes less fun but more robust:
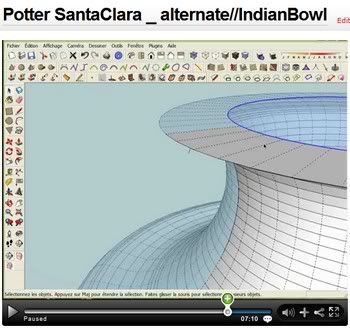
http://www.viddler.com/explore/slb02/videos/19/"Are you silly or what Simon? Just take a look at that and then tell me what!"
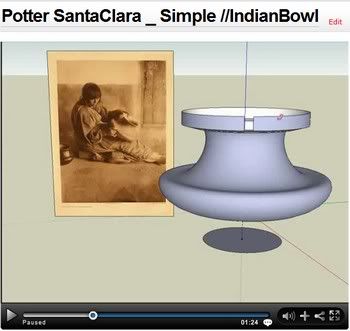
[url=http://www.viddler.com/explore/slb02/videos/20/:vfaskebg]
[/url:vfaskebg]
[url:vfaskebg]http://www.viddler.com/explore/slb02/videos/20/[/url:vfaskebg]
"And please give me now only a reason to waste your time this way!"[url=http://i274.photobucket.com/albums/jj245/Spendauballet/SketchUp/twistedRing_motive.jpg:vfaskebg]"I surely have a reply to you (just clic on me:-)"[/url:vfaskebg]
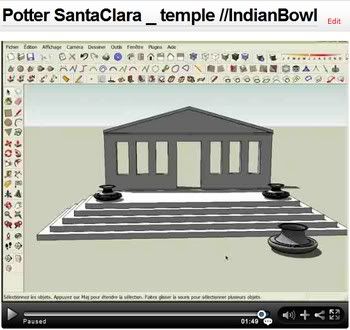
"Here is an exemple of what i mean"
[url=http://www.viddler.com/explore/slb02/videos/22/:vfaskebg]
[/url:vfaskebg]
[url:vfaskebg]http://www.viddler.com/explore/slb02/videos/22/[/url:vfaskebg][url=http://www.sketchucation.com/forums/scf/viewtopic.php?f=180&t=13563&st=0&sk=t&sd=a:vfaskebg][Plugin] BezierSpline v1.21[/url:vfaskebg]
Aren't you tired with all these video?
;-)simon -
@simon le bon said:
Monday, March 2nd.
After months I come back on this thread.First, it's because the illuminating and simple Voder Vocoder's solution isn't available anymore on DataFileHost.
Secondly because since the end of this first part thread, fantastic tools had been developped by some (wellknown) especially tallented Ruby Makers. An important part of those tools leads to allow SketchUp to be a modelling engine.
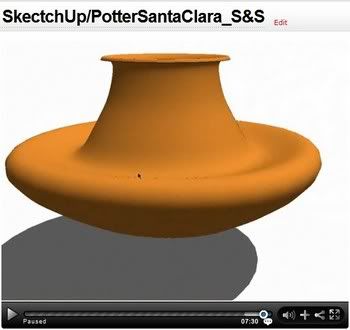
so Here is my PoorFlatEllipsoidIndian Bowl made with: SubdivideAndSmooth v.1.00 _ by Dale Martens (Whaat)
(I must say i'm not at all specialized with S&S. It is not an easy set of tools. I must confess that when after a while, i want use it again, i must go back to see the video tuts 1 & 2 again and again . But, but, little a little i find solutions to obtain what i want!!
  )(So for asking help, you can face up to our great masters as: Solo, Teezer, Boofredlay, Kwistenbiebel, Mariocha,.. sorry for those I forget or ignore)
Additional References:
Plugins:
Zorro2 (beta) by Whaat on Sun Jan 25, 2009 5:55 amTutorials:
Tutorial Part 1
Tutorial Part 2
SubD2_fauteuil
PillowVarious threads:
In Development: Subdivide and Smooth
Just Released! Subdivide and Smooth
Curtains
need help with Solos tutorial?
Still playing with SubSmooth
Organic Chair Model Question....I need help?
[TUTORIAL]: texturing organic form (subsmooth)
subd and smooth stuff. Ouf! simon.
-
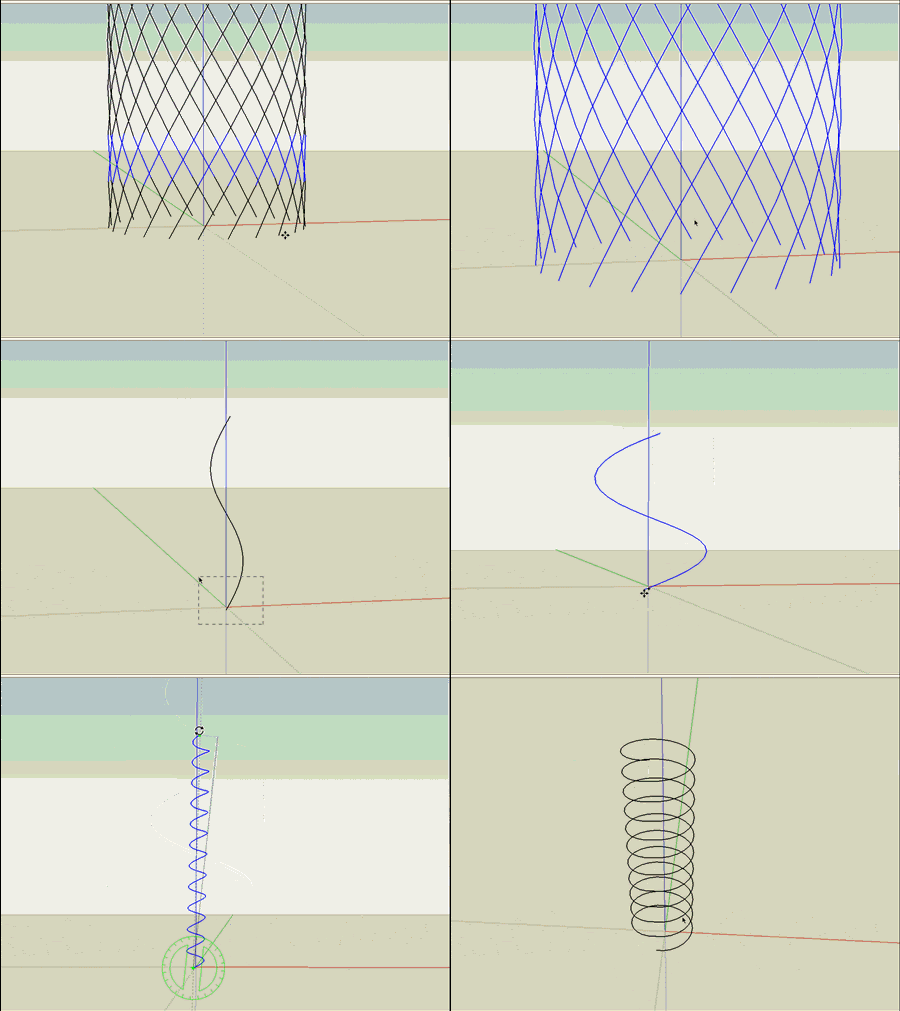
Snippet pasted from Shaping a cylinder - interesting technique about the "fifteen degrees rotation" needed to achieve the spiral.
personal asking:
Why only a 15° disc rotation allows copy of ring angled edges to fit with the source, whatever the height is?
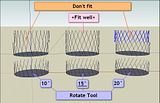
.
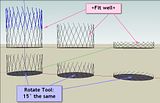
Ecuadorian answer:
360º (full circle) / 24 sides in circle (SketchUp default) = 15ºIf you want to use a 10º degree rotation you need to start with 36 sides in the circle.
If you want to do it with 20º, you need an 18-sided circle.
Solution during the night:
I was thinking of this in the very morning before wake! And i've find this is not something of "big theory" as I thought, but something pretty simple
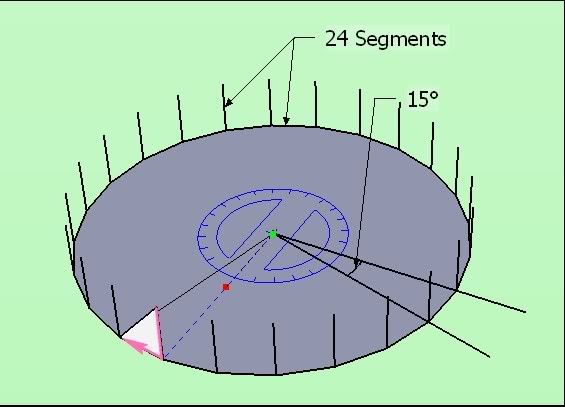
 simon
simon -
-
Come on Guys,
No good Tip added, no alternative process suggested, no remark on where I'm wrong, no companions to follow me in this "tutorials trail". Do you think I'm making this heavy work for some individual glory? I make it for you, dear-to-my-heart community. To accomplish something in a participative way.. I'm tired to work on the wind.simon.
-
Simon
What can I say? I liked your tutorial, I like the way you use SDS. I would have used the follow me tool or created a proxy actually but seeing your process you seem to have more control over the final outcome giving your method more accuracy.
That's the great thing about SU, there are so many solutions to a problem, and finding the one that works easiest to you is the answer.Believe it or not I learn everyday on this forum about new techniques, faster work arounds, hell just keeping up with all the new plugins is already becoming a fulltime job....and I'm loving it.
I forsee we will have a bunch of new tools soon as with the advent of one cool plugin it normally inspires or even opens the door to another, I bet in a year from now creating the same bowl/vase will be even easier with a tool we have not seen yet. -
Thanks Solo for this friendly post which freeing my mind.
@unknownuser said:
I bet in a year from now creating the same bowl/vase will be even easier with a tool we have not seen yet.
I think my set of simple indian bowls is a good exercise to introduce new modelling plugins and to show what they potentially are able to do.
++ simon.
-
thanks i love your approach.
-
thanks to you nomeradona for this fresh word

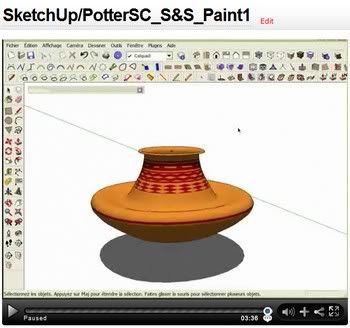
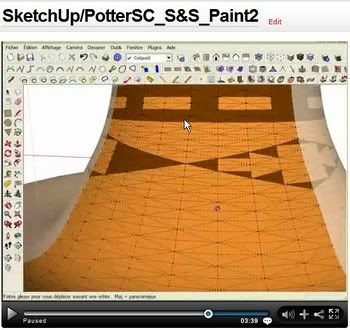
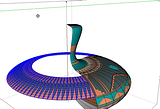
I have tried to find out how to paint this S&S Bowl. (lot of tries believe me). It is not simple because S&S shapes are based on square, not on circle. And if we don't want to paint by hand the overall indian pot, we have to use the sectors solution (see VoderVocoder solution). In our case, the minimum sector is a quarter.
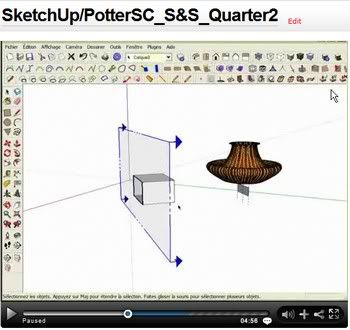
Here is the first pair of solutions. One solution to isolate the quarter,+ one to paint the bowl.
(tomorrow (i hope) the second pair )
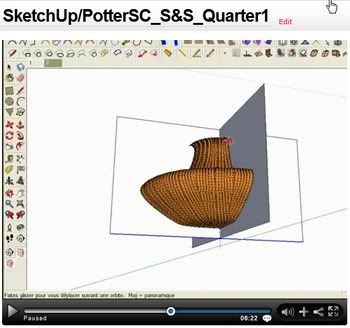
Comment1:
I have tried boolean tools to isolate the quarter bowl from the crossed panel: Boolean--OSCoolean , BoolTools just released without success. the shape seems to be not a "valid solid"
comment2:
Rotate and copy the quarter needs great accuracy: i have missed it for a while
plugins used:
Construction Line Tool by Jim
Projection toolbar by Didier Bursimon, still walking on this tutorials trek
-
Simon, have you also tried UVTools? These radial shapes seem to be perfect candidates for it.
For the BoolTools, you'd probably have to "close" the empty sides of the quarter shapes.
-
Hi Gaieus

Using UVTools to "paint" my Bowl, is I think an excellent idea. I have totaly forget it, but also have never use it. So i keep it in mind and will try something later.@unknownuser said:
For the BoolTools, you'd probably have to "close" the empty sides of the quarter shapes.
I had already tried this but it seems it is the Bowl itself which need to be closed. And I have to find how i can do it, and undo !
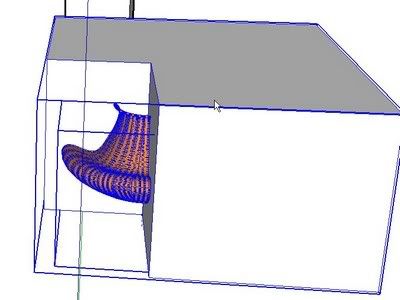
( Subdivide & Smooth , BoolTools, UVTools, Whaat's shadow is all over this thread
 )
) -
Alternate solutions:
One to isolate the quarter, and two to paint the bowl.I'm a bit satisfied (by myself
 ) to have found this lighter second solution to isolate the quarter. Because Section Plane Tool is rarely used and often forgotten
Thank you

for your too much good SectionCutFace v2.0
The other way to paint the Bowl is not really new, but it's pleasant to show how we can play with Components.
Thank you

for your too much good Mirror_31.rb
If you desire to play with it: PotterSC_S&S_SCF.skp
simon
-
Boolean tool works on closed volumes indeed.
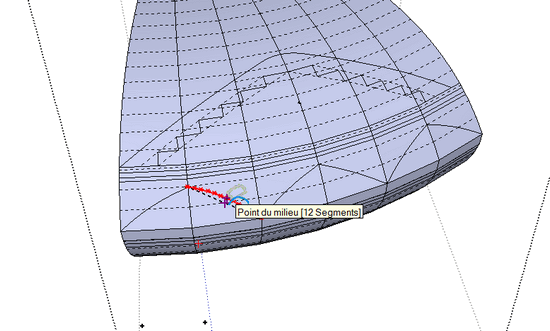
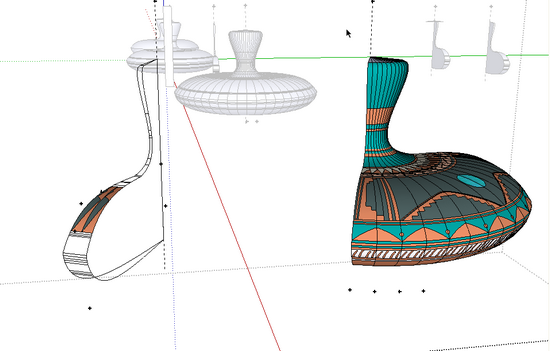
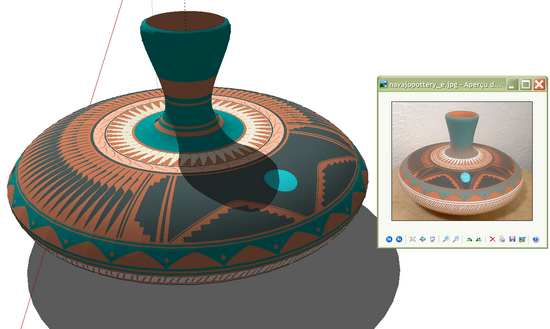
Here is a Navajo pottery
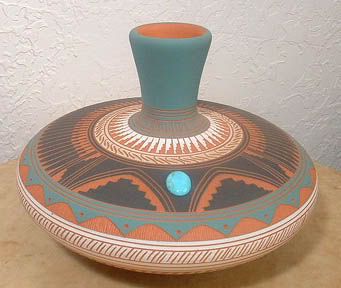
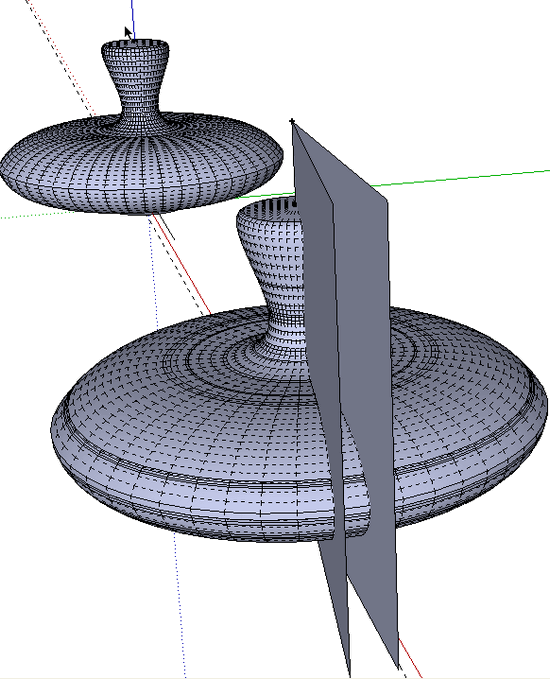
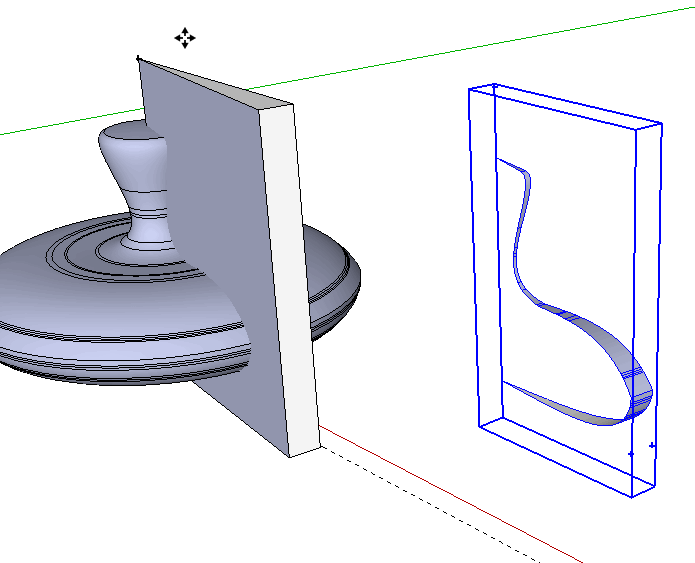
.
Construction Line Tool
Selection Toys (1.5.1)
BezierSpline v1.21
Projection toolbar
Tools On Surface - v1.3
Mirror_31
BoolTools -
-
Happy birthday Simon, you do realise you ar now officially over half a century old right?
Have a great day and try not draw to much attention to the fact...too late.

-
"Fire-Water Pot"
This time my purpose is to play With Chris Fullmer plugin: ShapeBender Beta V0.51.
My efforts point to use it as an accurate and predictable tool.
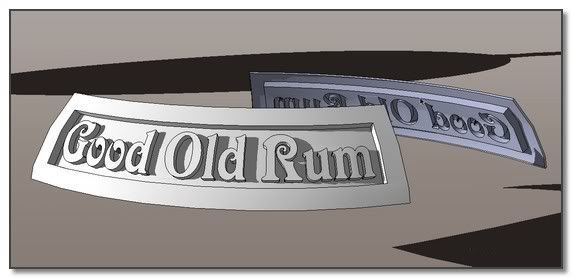
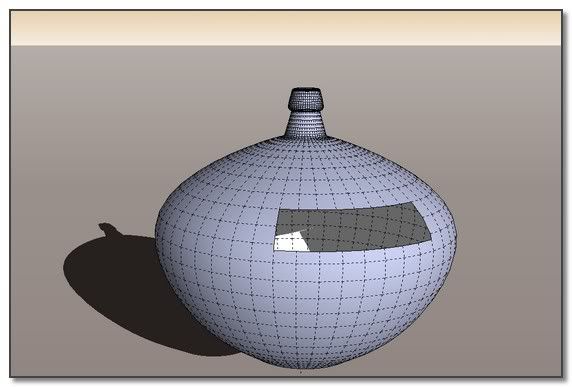
And my exercise is the following: Wrap a thick label on a Rum Pot. (The indians Fire-Water).These pictures explain surely better than i can say what i want to obtain:
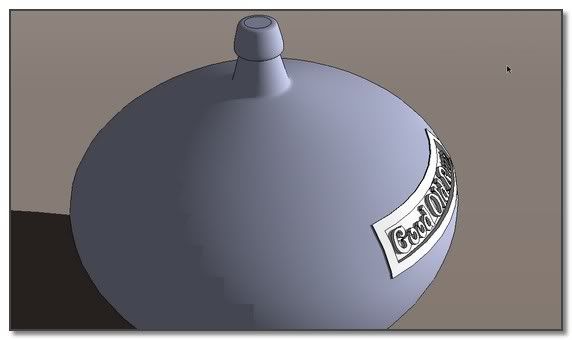
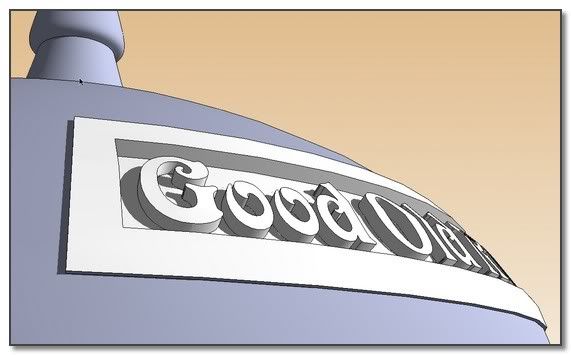
...///at tomorrow to follow
 simon
simon -
"Fire-Water Pot":Preamble and Precautions
Due to one current limitation of ShapeBender ( that we gladly hope it will be fixed in a next update
 ) concerning external elements treatment during the Bend process, we should provide a larger label and anticipate to remove them.
@chris fullmer said:
Jeff, I want to emphasize a bug in the code since it might matter to you, since you are making shapes that get built. But the first and last angles might not be calculated the way you would expect - I suppose that depends on what you expect. The image shows the problem. Every sliced part of the model lines up correctly to the curve expect the two ends. That is because I am not actually finding that outer angle at this point. It is a planned improvement

So I thought you should be aware of that so that it doesn't cause you undue pain when you can't figure out why stuff is not lining up right,
Chris
For a study upon what interess our purpose about this specific limitation, please threw an eye on this Wrap Test Slideshow

or the WrapTest Album
Some Precautions using ShapeBender: in order to avoid some odd behaviors which possibly might happen...
1_ Draw curves or Bezier curves from left to right along red axis.
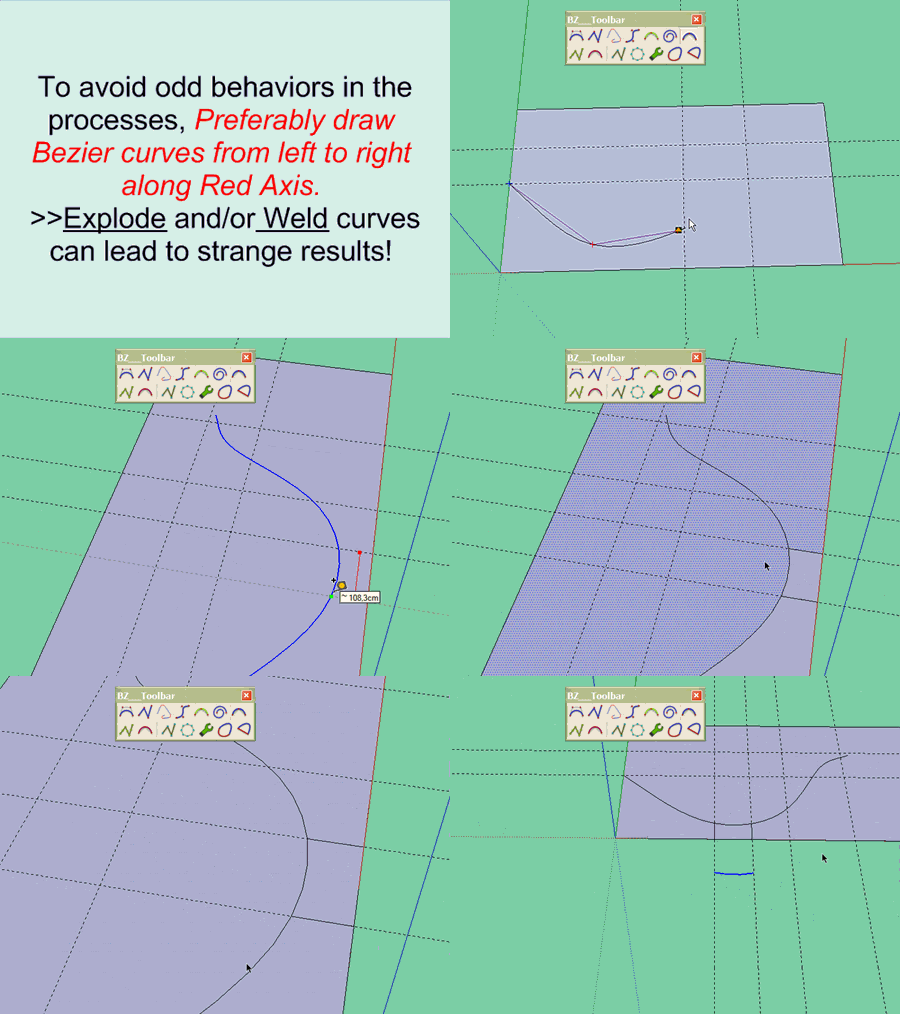
2_ Avoid as possible to explode curves and/or Weld them.
3_ Draw basic circles and circles to be used with FollowMe Tool on three sides multiples: 24; 36; 48; etc...
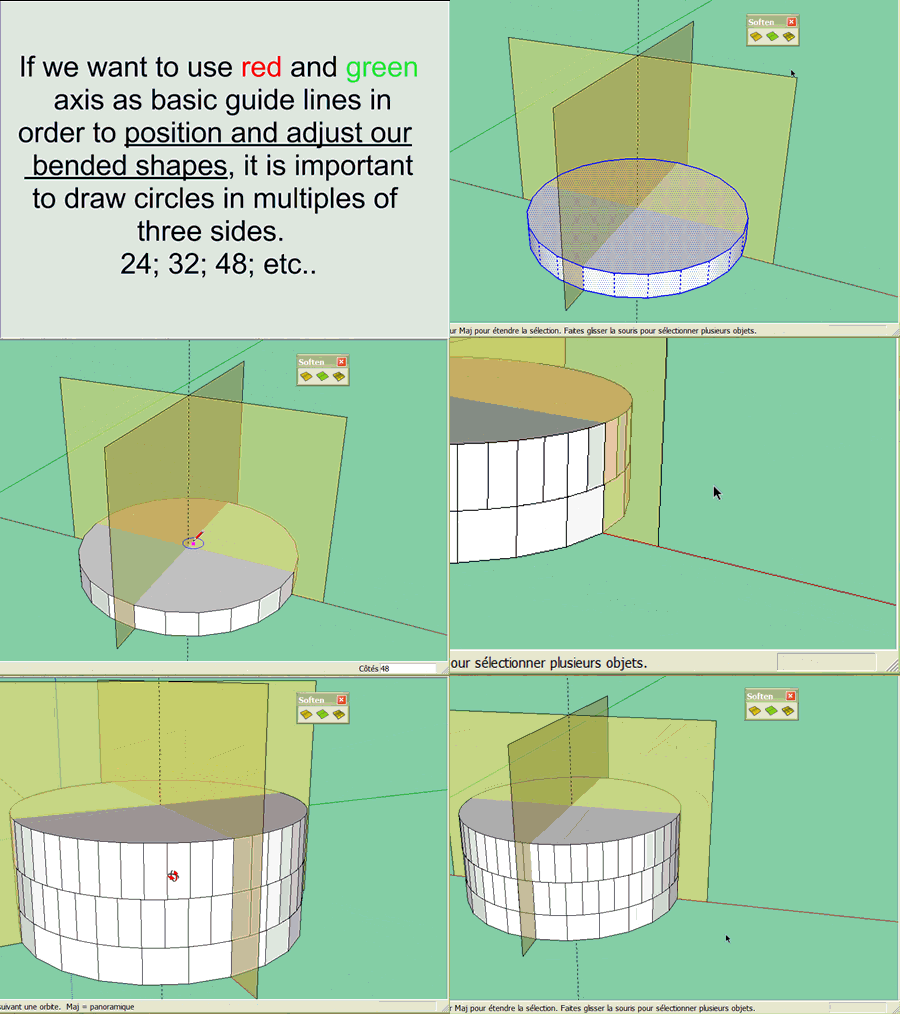
4_ Draw circles carefully, stretching them along a primary axis
Plugins used in the following work:
Construction Line Tool
Point v1.2
Selection Toys (1.9.0)
BezierSpline v1.21
Soften/Unsoften
Joint Push Pull - Visual Edition
MakeFaces v.1.400**/*
*simon
Advertisement







 Simon
Simon