Easy digital watercolor
-
Thanks majid!!, just downloaded and ran, can't wait to play around with it a little more.
Mike
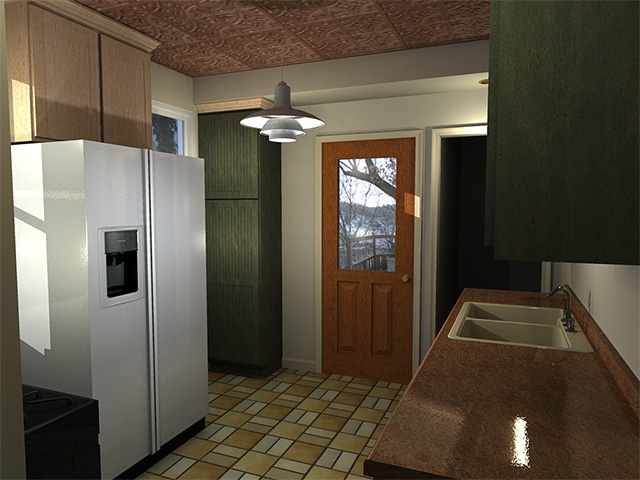
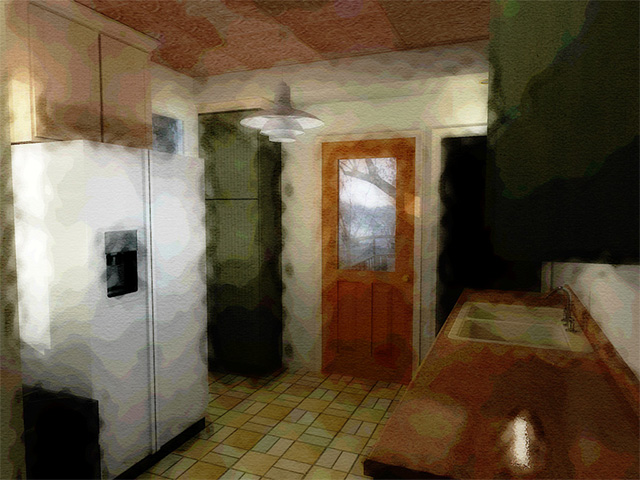
-
pls use it over a su pure result ( not a render ) try to duge/burn T light and shadows befor the action is applied . just copy the background layer and then start the action.
also i have tried the second generation of my action that works better on SU outpots !and i think it is better for architectural jobs ... here r the results
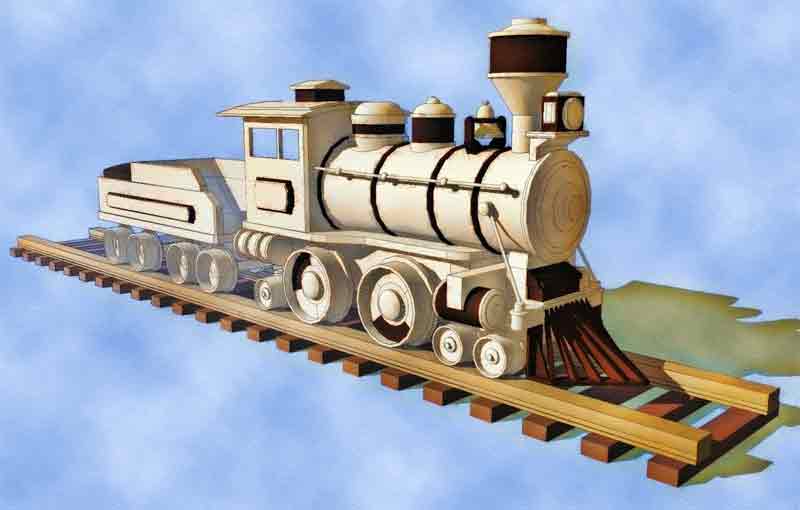
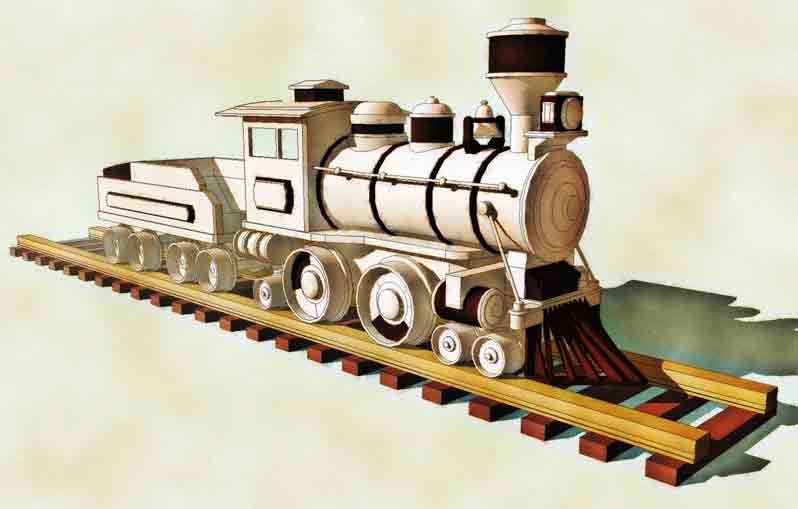
-
Here is the action applied to SU output, I will try and play with the dodge and burn tools when I get a little more time. Thanks again.
Mike
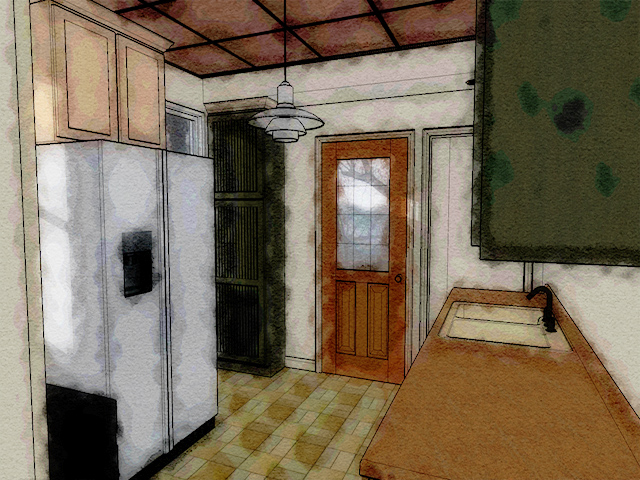
-
a easier way is direct watercolor outpot of su ( the styles) . i had post some new styles here : (i myself like draftsman+watercolor style)
http://www.sketchucation.com/forums/scf/viewtopic.php?f=42&t=5293&p=29685#p29685 -
-
here u can try the watercolor directly by the su . by the way my last PS action is in progress
-
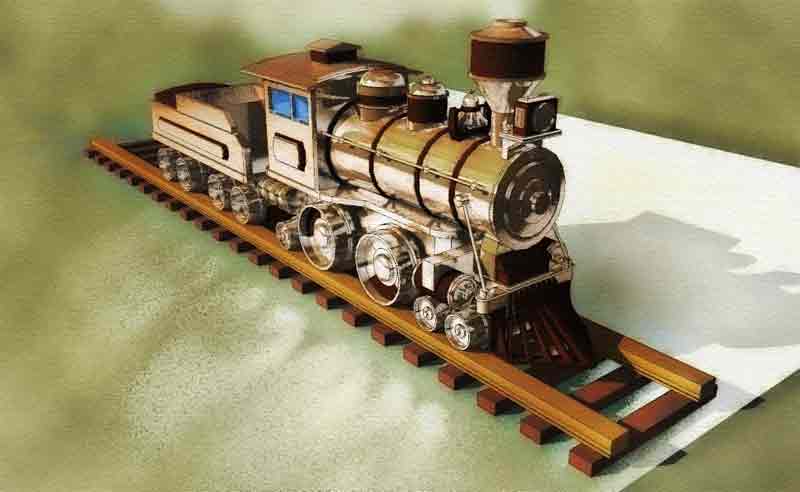
here is the last try . a photon map quick render as light/shadow layer overthe su pure image layer ,blended . and then action (last action that is in progress)... and here is the result
-
These are nice. I have also been working on creating a decent photoshop action that simulates watercolor, which is not an easy task. I'll have to give your style a try in CS3...thanks!
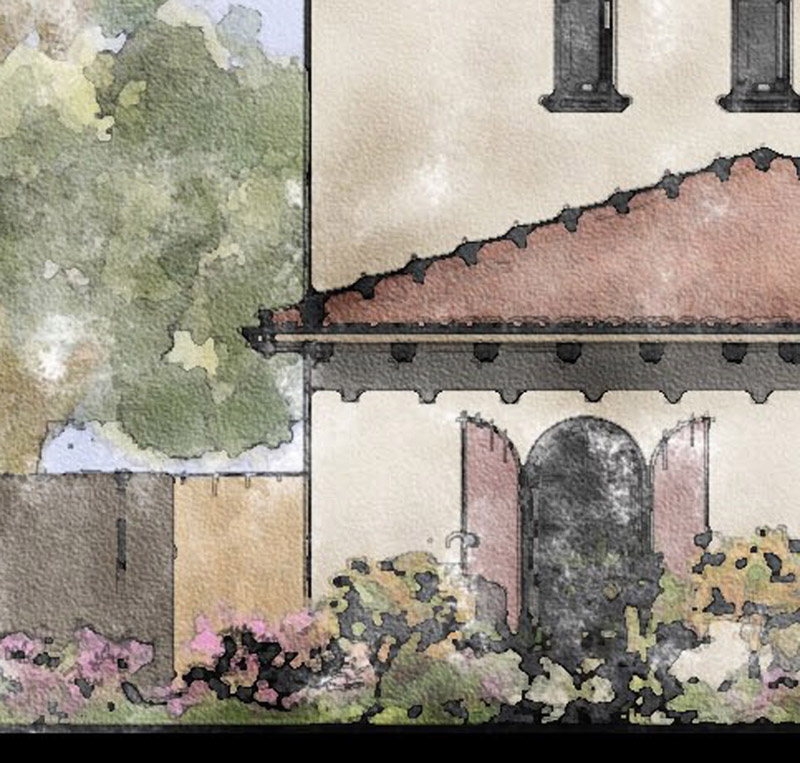
I have a photoshop action that I have used for the last 3 years or so (prior to my use of SketchUp), but it's still a work in progress. It's similar to Dennis' technique that layers b/w, colored, shadowed in seperate layers, only this does it all for you. You put in a colored rendering that you want to watercolor, hit the action and answer a few questions along the way to get the end result just the way you want it. You "paint" away the white exposing the the right amount of coloring you want. It works pretty well, but I'm still not entirely happy with it, however, I just haven't had the time to really finish working out exactly how I want it.
I've attached a close up sample below. This piece was taken from an illustration that had the linework created in cad and then colored in photoshop. No fancy texturing or brushwork was done. Everything you see was done in the script.
When I get some free time, I'll try and finish it and maybe it'll be presentable enough to share.
-
the hard part of the work is simulating human smartness! human knows were to loose or tight work ( i.e trees r ignored to be detailed by the man ) .... btw if good texturing in SU = good result by PS action ... .very well done! really nice job u did!!

-
the important point is that keep some part textures ( architectural parts) and ignore and loose work on other areas... what do u suggest about?
-
is ther any body how has a way <tip , trick... to solve the peoblem??
-
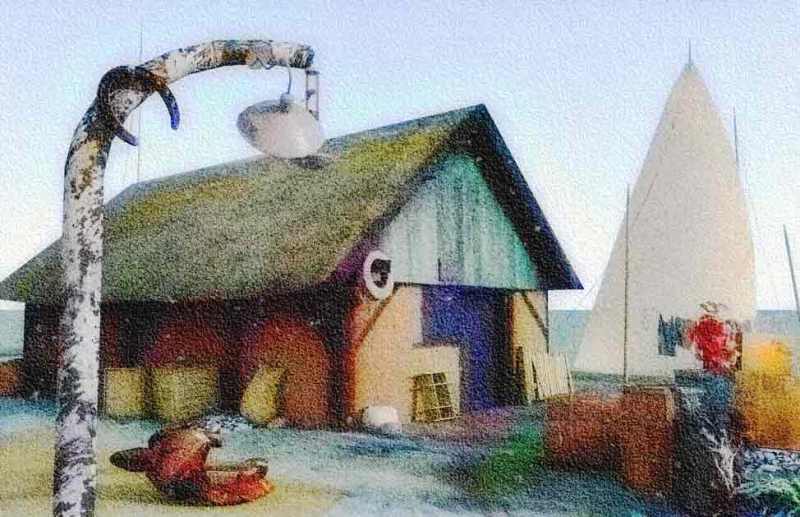
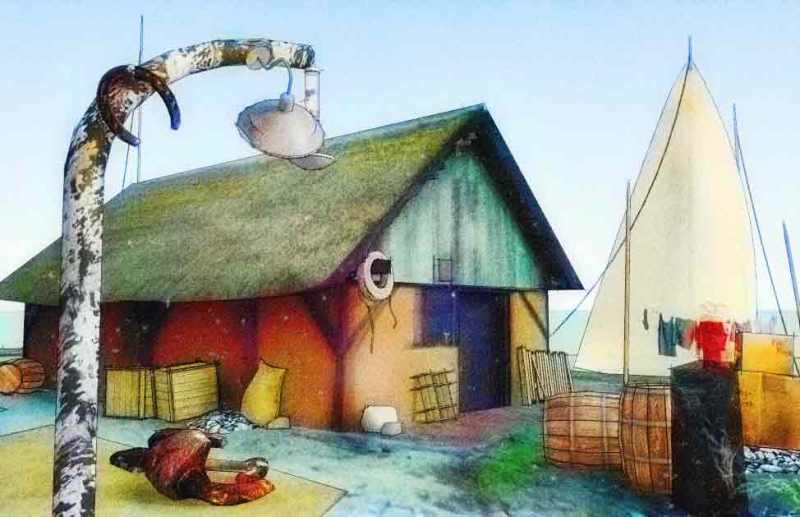
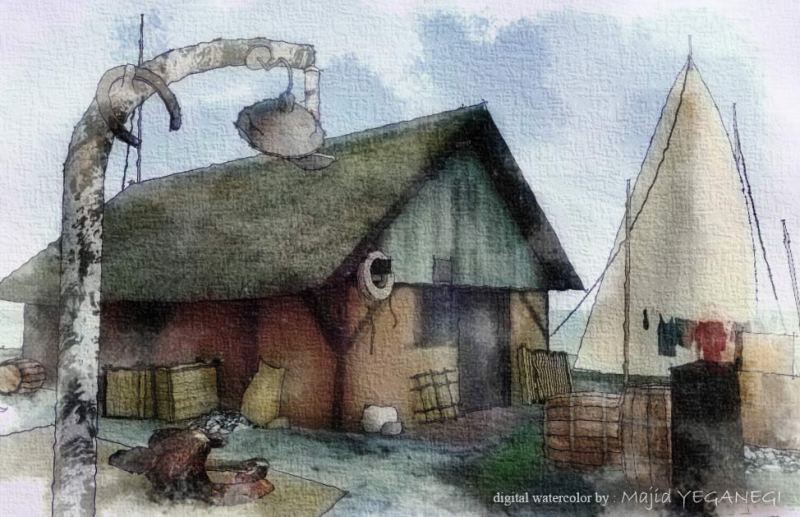
here is the dennis way , expanded using clay render from kt as a light layer. any suggestion?
-
Majid,
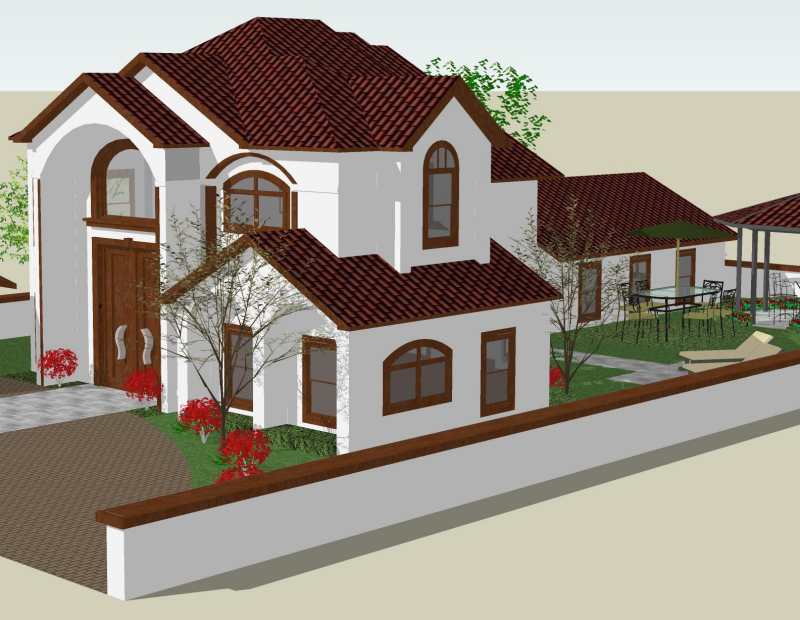
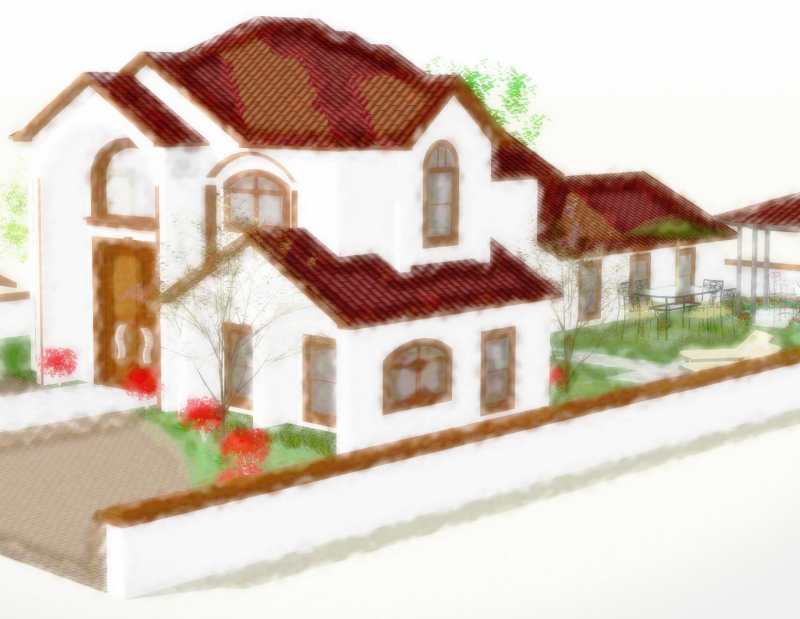
I have admired the draftsman-watercolor style that you posted in the styles section of the forum. It is a very pleasant style. I have meant to try your photoshop action, and I just did. I think it gives interesting results. I posted the results for you to see and for others as well. I think many people on this forum would be happy with the action that you have created. I started with a no edges, color sketchup file, then I ran your actions, and then I added a line layer over that. Thanks very much for posting this.
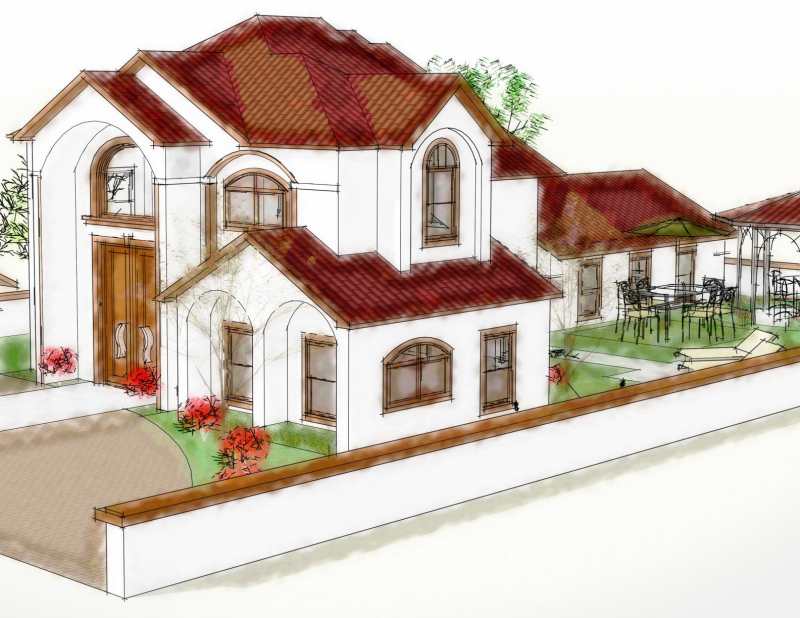
-
ok , good job . now try this way : pure SU textured (no shadow)layer below , apply clay render of the same view from KT as luminosity layer over it , merge layers , apply ripple filter as : 50% medium over merged layers . add line layer over it as multiply layer , have fun
-
can't get your action to work - running ps 4.0. could you post your steps in ps that comprise your action?
this was done with basic ps techniques - took 5 min.jb
-
the main idea is: copy tha fist su exported layer( a gussian blur /and then (unsharpen mask) layer) over the first layer as overlay (+ curves midified) then using anothercopied layer and posterized/then gussian blured for more color as mutiply and then overlayed over first layer . and a spatterd layer for watercolor effect over them . then merged together . u may improve the technique

-
Canoek,
I will post Majid's actions for PhotoShop. You may need PhotoShop 6 or greater for these actions to work, I'm not sure. He actually has two actions, both are a little more involved than what he describes.
I will post some images of before and after. The second action I will post in a separate reply.Majid's Photoshop Action 1:
-Copy Background Layer ("Background Copy")
-Gaussian blur 11.5
-Image/Adjustment/Posterize 16
-Glass/Frosted, 14,11,100%
-Set current Layer Style: Overlay, Opacity 100%
-Copy Background Layer ("Background Copy 2")
-Gaussian blur 5.4
-Image/Adjustment/Posterize 12
-Set current Layer Style: Multiply, Opacity 100%
-Image/Adjustment/Brightness +55, Contrast -90
-Make a New adjustment Layer (Levels 1)
-Image/Adjustment/Levels: RGB Input 0,1.83,255; Output 0,255
-Select Layer "Background Copy 2"
-Gaussian Blur 3.2
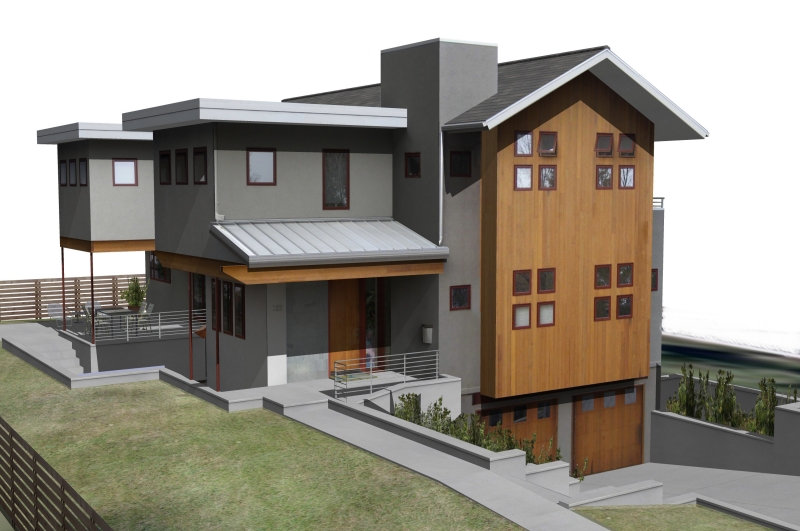
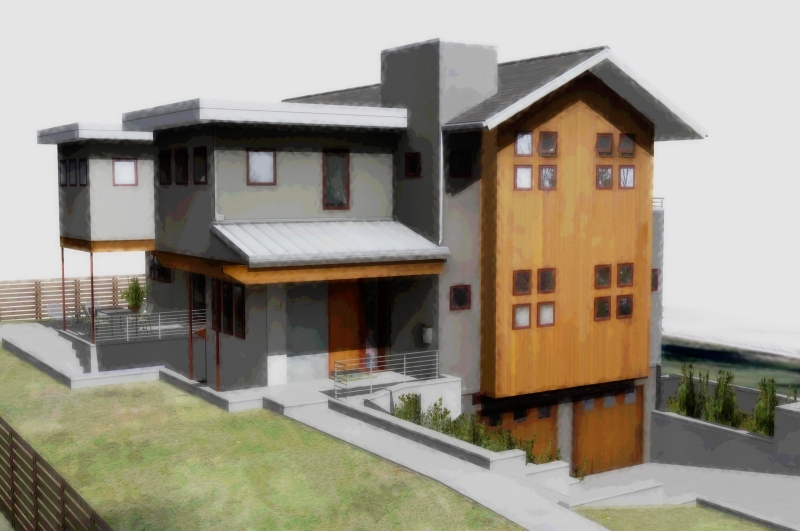
-
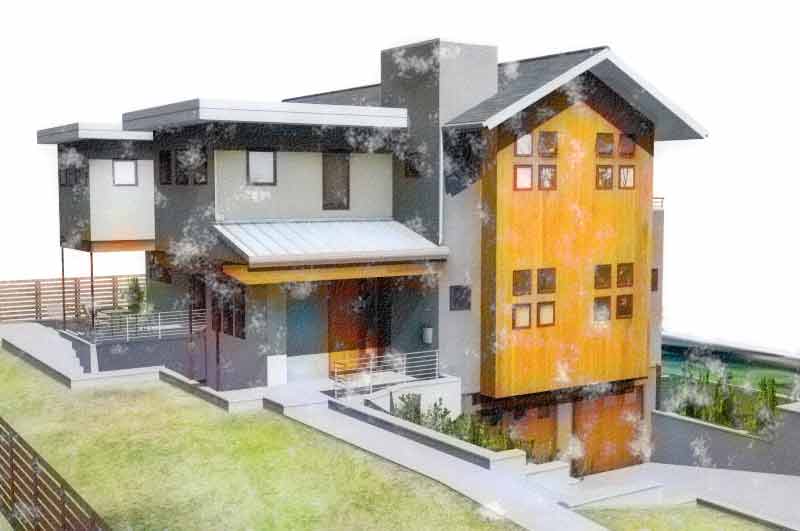
here is my 2nd generation and 3rd generation of watercolor action ( specially for pure SU output , not renders ). i used it over the image that PKast send . the main idea is combination of filters to make strong edges like watercolor and spreading color to near areas .
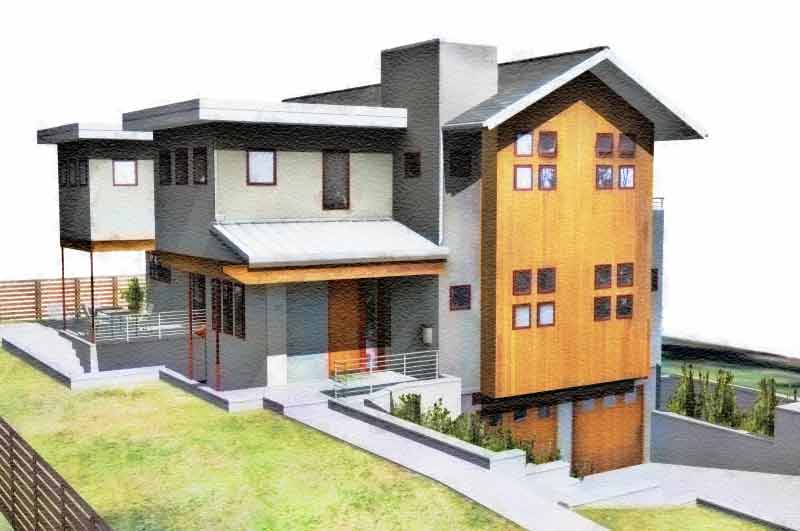
-
Canoek,
Here is Majid's 2nd action for PhotoShop. This action is longer than the first.
Majid's Photoshop Action 2:
-Copy Background Layer ("Background Copy")
-Gaussian blur 11.5
-Image/Adjustment/Posterize 16
-Glass/Frosted, 14,11,100%
-Set current Layer Style: Overlay, Opacity 100%
-Gaussian blur 5.4
-Image/Adjustment/Posterize 12
-Set current Layer Style: Multiply, Opacity 100%
-Image/Adjustment/Brightness +55, Contrast -90
-Make a New adjustment Layer (Levels 1)
-Image/Adjustment/Levels: RGB Input 0,1.83,255; Output 0,255
-Select Layer "Background Copy 2"
-Gaussian Blur 3.2
-Colored Pencil 24,7,42
-Edit/Fade 50%, Normal
-CutOut 8,5,3
-Edit/Fade 24% Normal
-Texturizer/Canvas 170%, 3
-Spatter 6,5
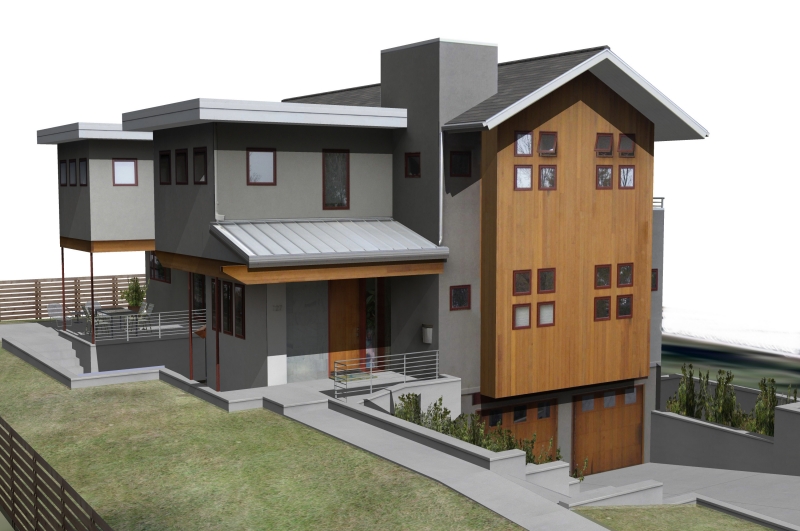
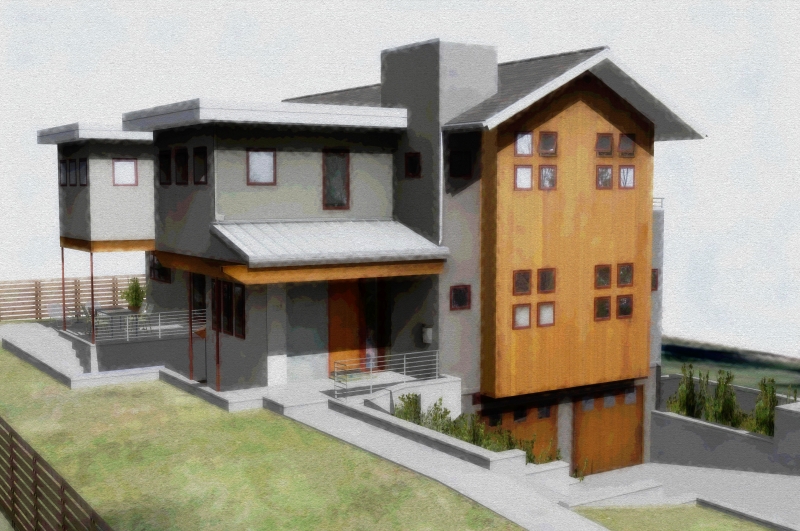
-Texturizer/Sandstone 170%, 3Thanks Majid. I think you use some interesting techniques in your style, a little bit different from the others. I learned a lot by studying your actions. I also like the idea of using actions to quickly get through the tedium of repetitive tasks.
Best PKast
-
thanks PKcast for listing the steps in Majid's actions. i tried them both, but i don't think either one is effective in creating a DWC. it has been my experience that if you want to create realistic DWC there isn't a one button filter or action that will do it for you. you must play with ps filters and adjust to taste.
here is my DWC of your skippy utilizing basic ps techniques.
jb
Advertisement


