Anyone good at matching a model to a Photo?
-
Is there someone confident in their ability in doing this process?
I've got a photo that I can't for the life of me figure out how to establish the vanishing points via the red, green grids, etc., as explained in the Help file.
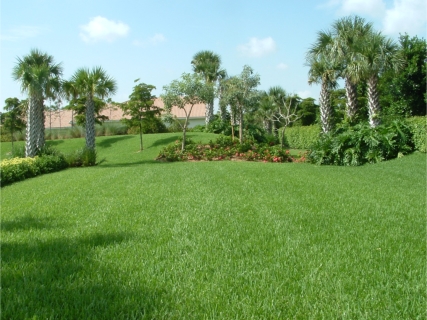
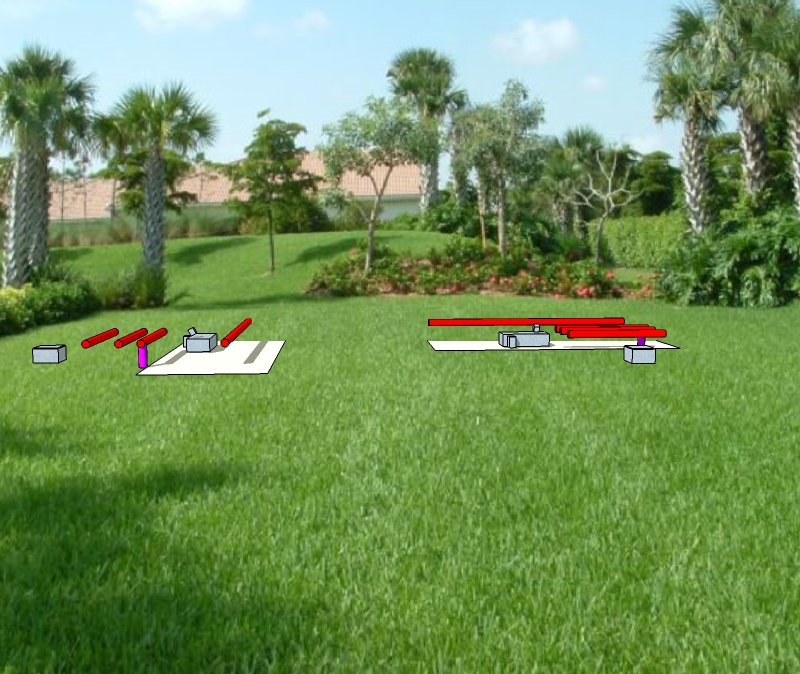
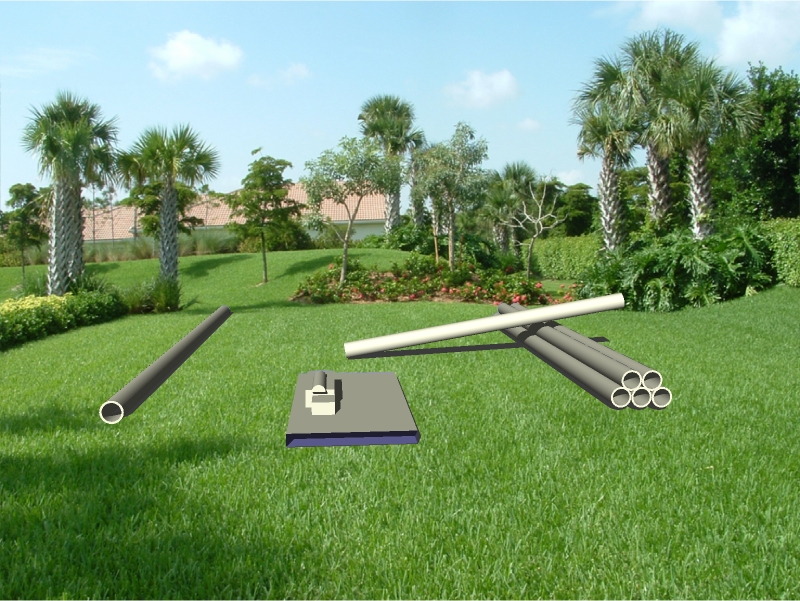
I opened a simple model with a few cubes and cylinders (see attached), then tried to follow the procedure of importing the photo via Camera > Photomatch. The photo is a landscape shot of yard with a building far in the background on a hill. The side of the buildng faces the camera almost dead-on. I want to keep the model oriented as you find it when the .skp is first opened, looking at the butt end of the pipe which points to the rear of the scene. I couldn't figure where to place the red and green axis handles without the model going bonkers.
If someone wants to try a tutorial to help me see the light .....

-
John,
Although I'm not an expert (or even a novice) in photomatch (thus I'd definitely not be your help in this case) to my best knowledge the ideal photo for thios is when a building is shot from a corner so that two adjacent walls can be clearly seen.
Now in your photo I can hardly see the building at all, not to speak about any clue how the adjacent wall would look like.
-
John
It is simply impossible to do it without any base; you can only guess through the back building, that you are under it with your point of view
In your case what I could say is that it is not so important to have a precise point.
The realism of your building will come more from the visual fusion of your model in the background, with added plants...If you can identify the slope of top wall of the back building you will have one hint
Marc
-
Well, thanks for sharing.
This is where I think SketchUp should give us an alternative method to the current Photomatching process.
1- If possible, allow a photo (a "background" photo like this) to remain STATIC and act like image on your Windows desktop. That way you could tweek the the field of view manually until the foreground, 3D-geometry matches the FOV of the photo without the photo being distorted.
I haven't used Layout much, perhaps it could do what I am suggesting above?
2- Another issue occurs when trying to adjust the lighting of the 3D-geometry to match that of the photo. If you turn on Use Sun for Shading, then the photo usually darkens and looses contrast because it is on a vertical plane. So it would be helpful if photo had a Use Sun for Shading attributewhich could be toggled on/off independently of the Scene setting.
Come to think of it, it could be very useful if SU had a toggle on/off Use Sun for Shading attribute for any objectvia Entity Info (similar to the Cast Shadowsand Receive Shadows attributes).
-
John,
In an extreme case you can try to use the photo as a watermark image though it is extremely hard to model in this way (as I tried).
See attached file.
-
G:
Obviously, I didn't explain my objectives very well. What I was trying to do is match an existing model or component to the photo. Attached is an example where I painted a rectangle with the photo as a texture. The rectangle was tilted backwards a bit so it wouldn't darken when the sun for shading was turned on.
I will try your Watermark method next.

-
Ha, that's cool! Yes, I) totally misunderstood you but now at least I1m glad that (though incidentally and ignorantly) could be of any help.
-
Gaieus:
The Watermark method worked pretty darn good and made it easy to adjust focal length, lighting, and shadows without modifying the photo's attributes (display shadows on ground was turned on).
Thank you, thank you, thank you for bearing with me.
It really helps sharing ideas. Helped me to try a different approach.
Regards, John

-
-
John, do you know anything about the topography? If can draw a portion of it you can fudge the view until you match the photo. For me that's what it's usually about: professional fudging...as I've not yet had a good photo (having enough of the right info, as Gai said) to work over (so I do the watermark thing too). But having some of the site info to work with complete the "professional" tool kit started by the one perspective line of the building eave, and the other that appears to disappear into the center of the photo (the end wall of the building has no thickness?).
BTW, both of your matched models look "perfect".
-
Yes, Pete.
I did something similar a few minutes ago where I made a second image of the photo and rotated it 90° so it was horizontal. Then lined it up with the vertical photo near the base of the hill at the end of the grassy field. Yours is better because the blades of grass don't appear to be so distorted with a better transistion to the vertical part of the image (the photo is now a darker shade with less contrast, though).
-
Hi Tom:
No, unfortunately, I don't have any info on the topography.
Thanks for the compliment ... should be directed to Gaieus.

-
-
Even better. Thanks.
Advertisement


