Chamfer on inside edge of box
-
I want to make a chamfer edge on the inside edge of a hollow box. see picture below. I am trying not to have to make each individual sides, as this is just a conceptual drawing for a client.
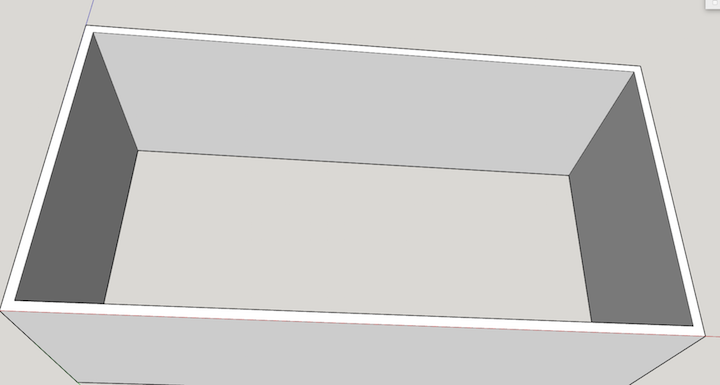
-
so I got up to the offset and putting a guide down to where I want the chamfer but I don't understand how to now drop the edges
-
never mind figured it out... so how now how can I get ride off that line where the chamfer starts??
-
you want to get rid of the guide line? You can just select it and hit delete.
-
Or you don't like seeing the edges at the top of the chamfer? You can select them and choose Edit Menu / Hide.
-
I will make like this

On PC I Press the Alt Key during the move of edges (don't know if this key is existing on Mac)
Then release all (Left mouse click and keys) on the snapping intersection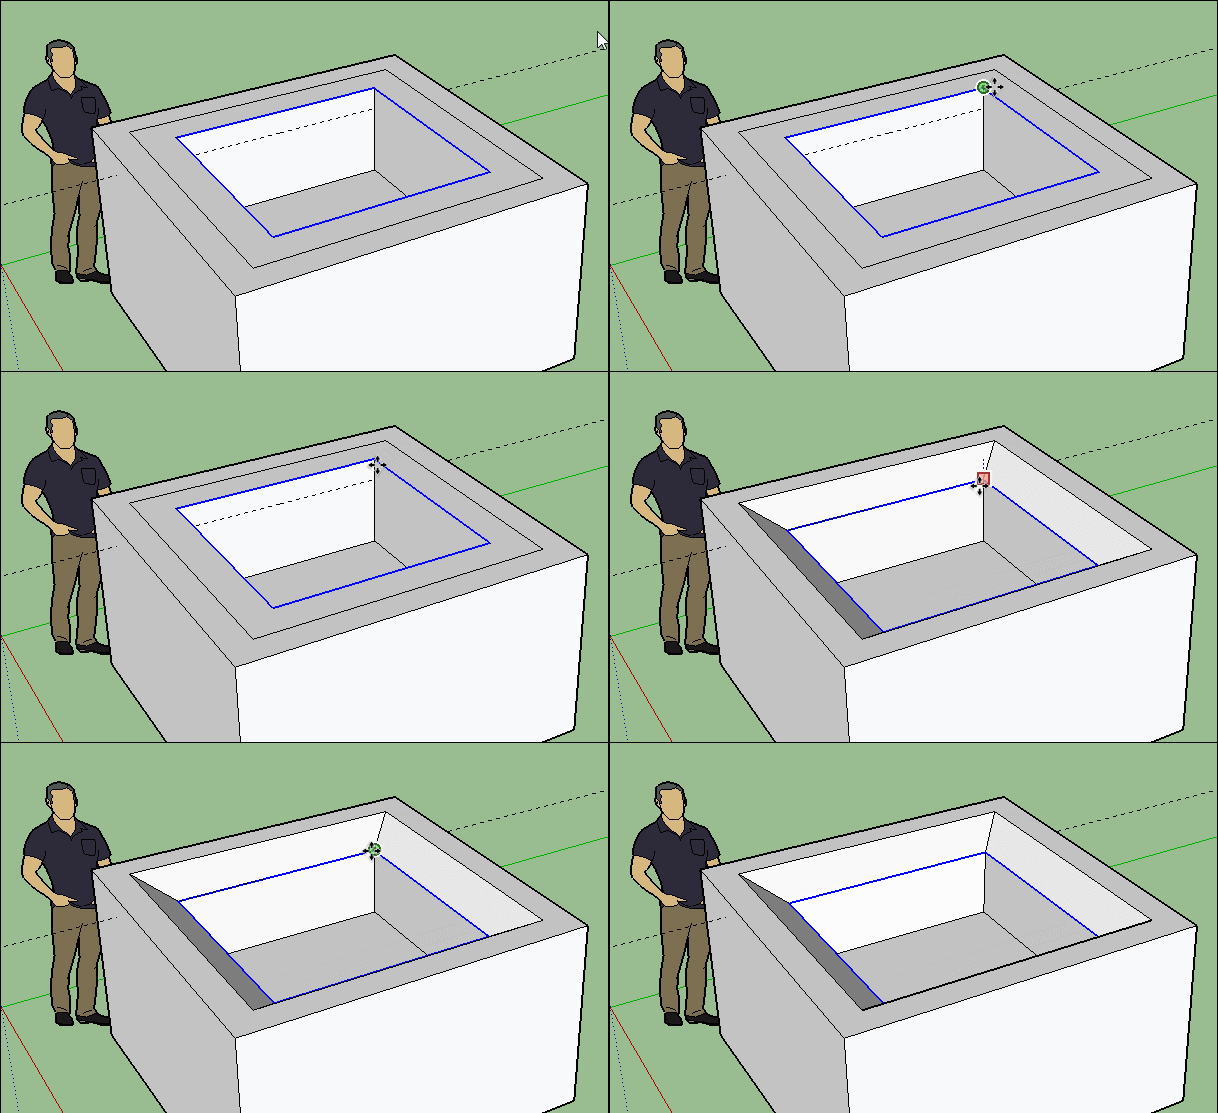
-
I am not sure where you want the chamfer. Here is one method.
First select the inside edges. Then offset the width of the chamfer with the offset tool. Don't de-select the inside edges by clicking in the drawing etc.
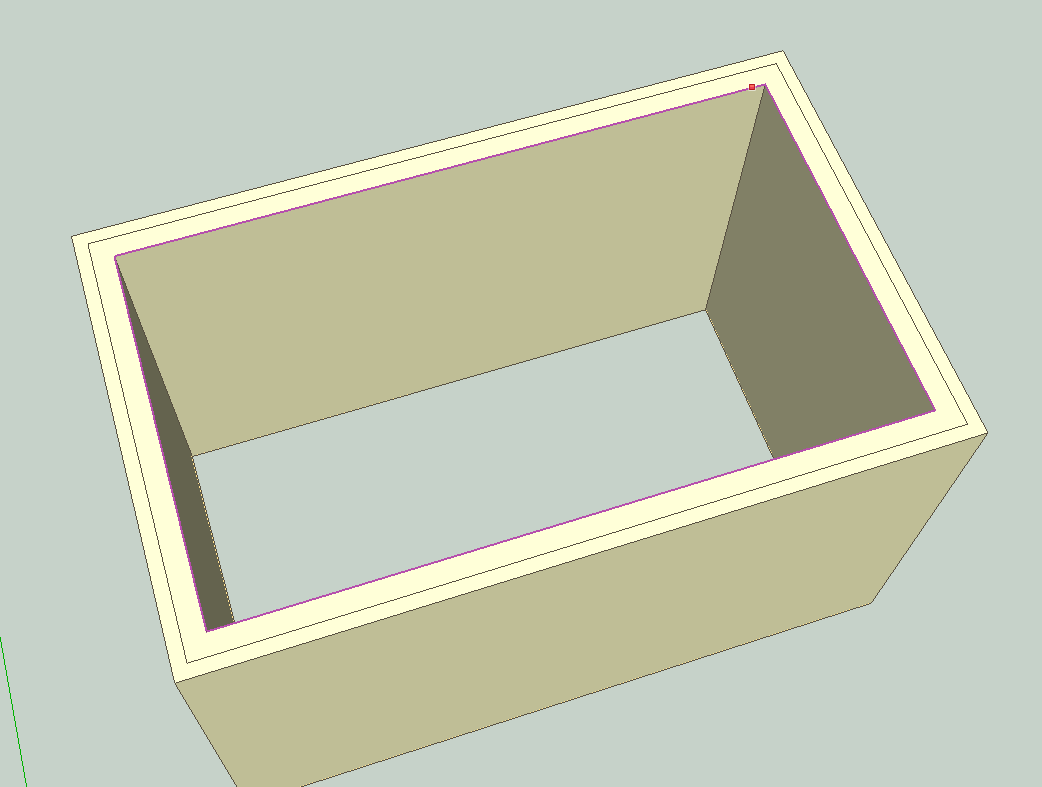
Next use the tape tool to mark the depth of the chamfer down one side.
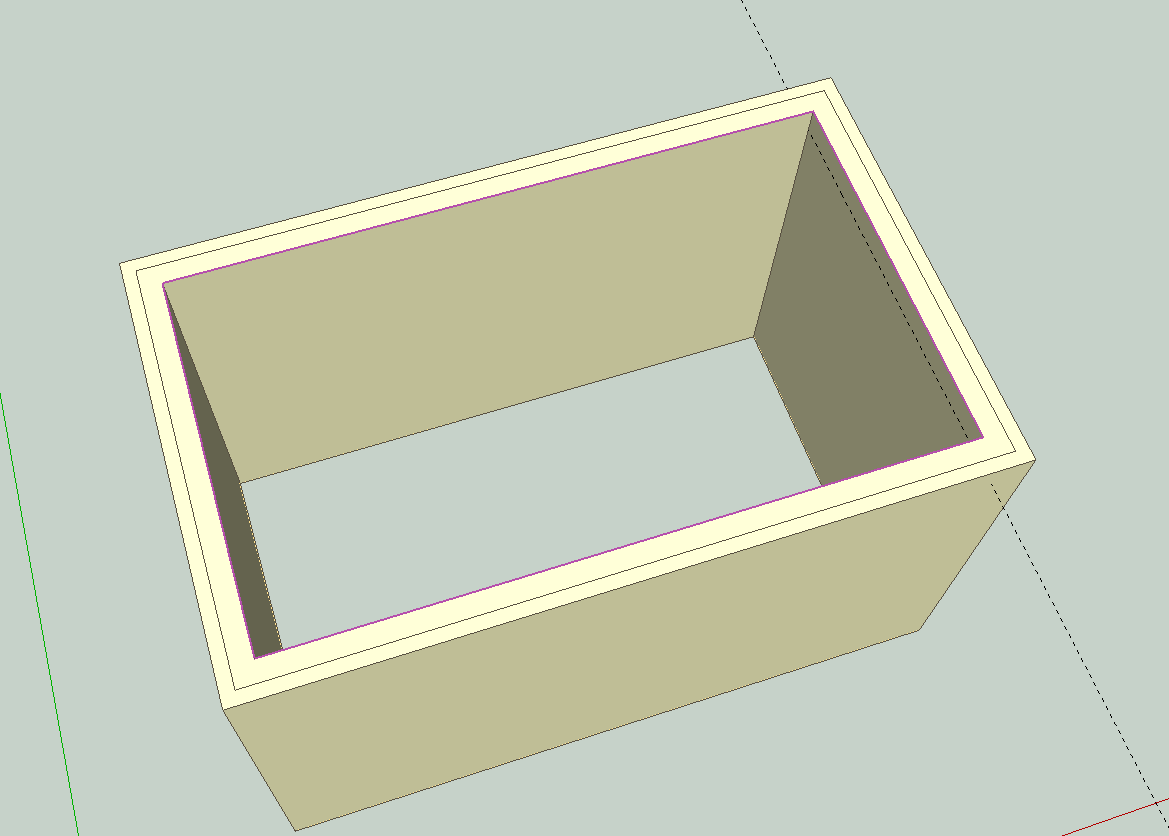
Then move the 4 selected inside edges down to the intersection of the guide line and a corner edge. Depress the command key (Mac)(and I wish I knew what key on windows)--OR the UP arrow key-- to allow deformation of the plane. snap to the intersection.
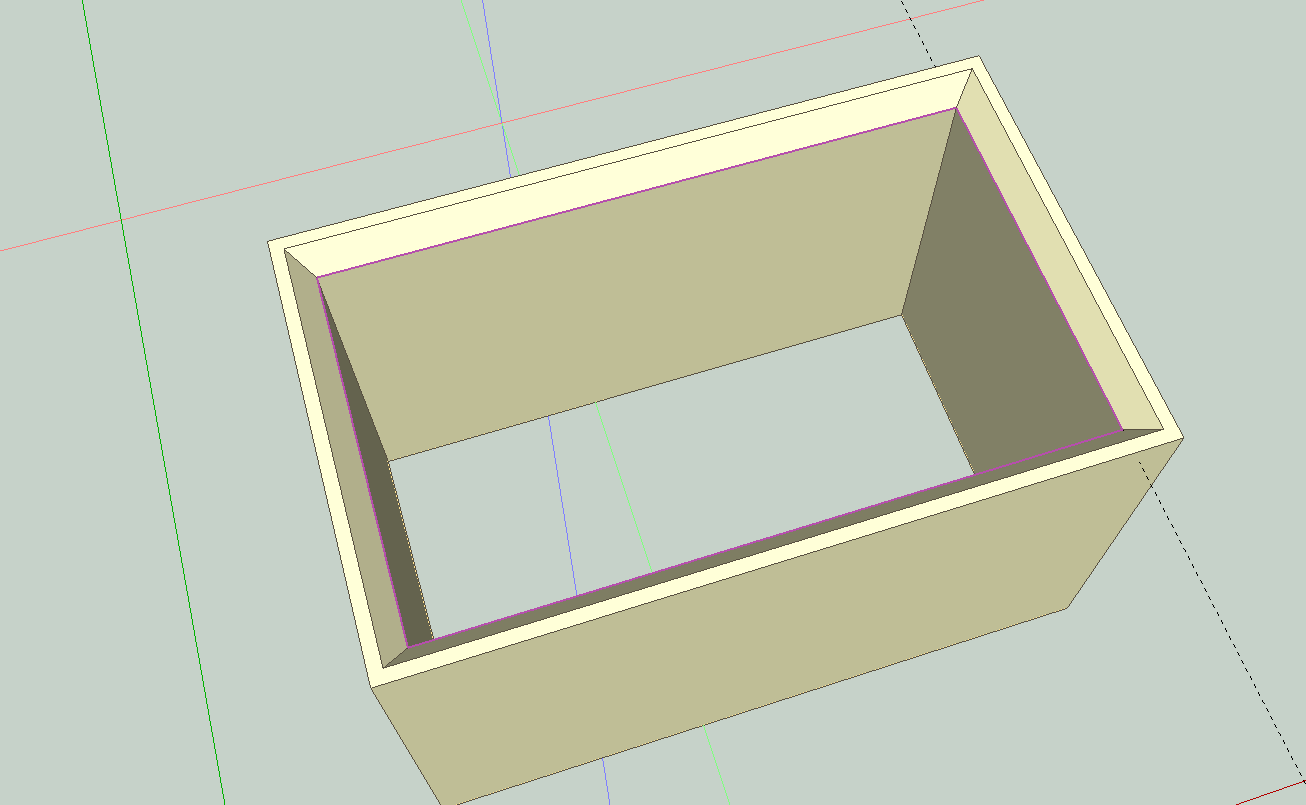
I should add that you use the move tool to do that. Choose the tool and go to the vertex (end of the edge) at one corner above the guide line. Start to move, press the command or UP arrow and move the four edges down at once.
In fact I'd say with use of the arrow key you don't need the tape measure guide line, you can just enter the distance for the move. It's whatever you are comfortable doing.
-
-
If you want a 45° chamfer using the native tools, offset from the inside edges of the box. Then move the interior edges down by the same amount. No need for a guide line that just needs to be deleted later.
Advertisement


