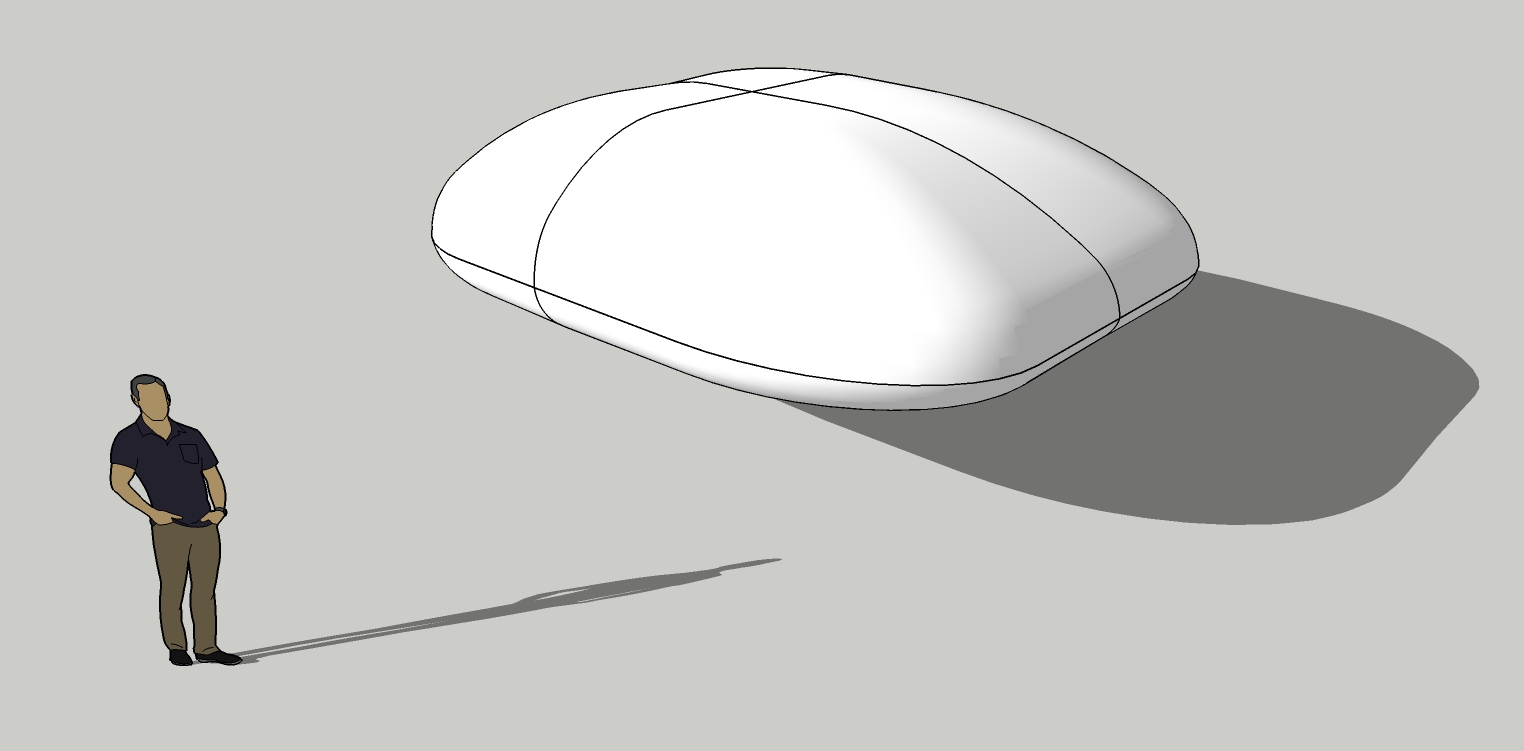
How I make the shapes with curviloft
-
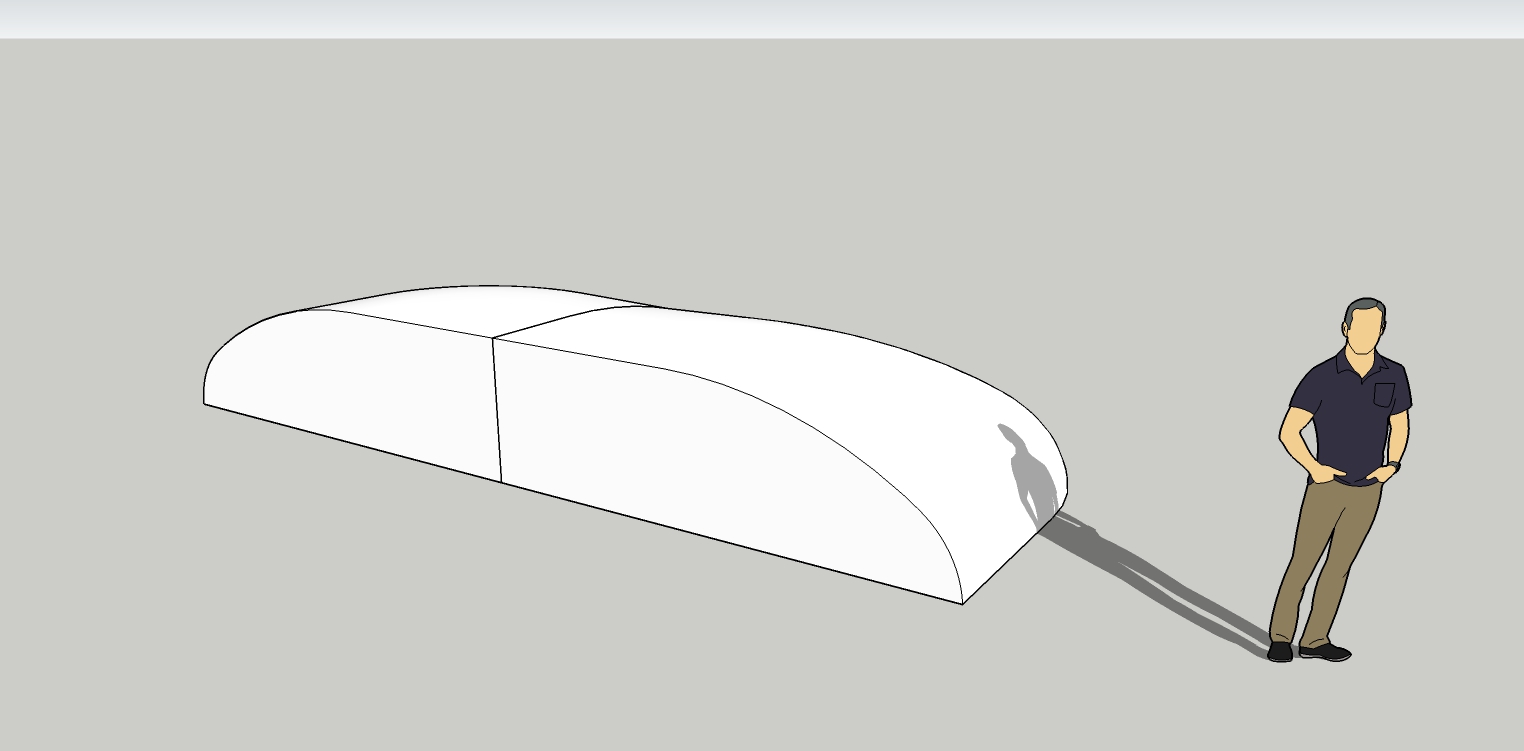
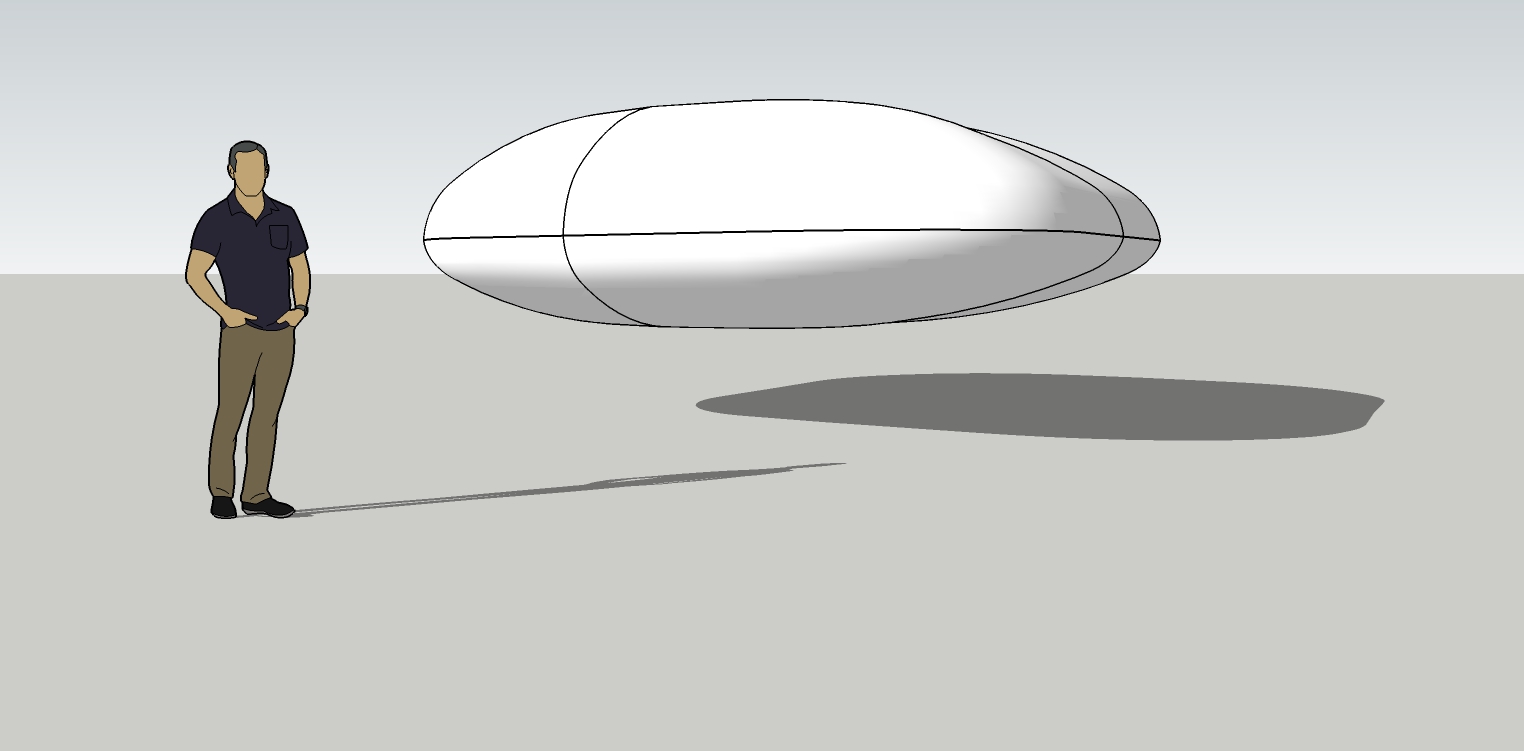
And that's it! Add detail as needed by making and using separate components.
-
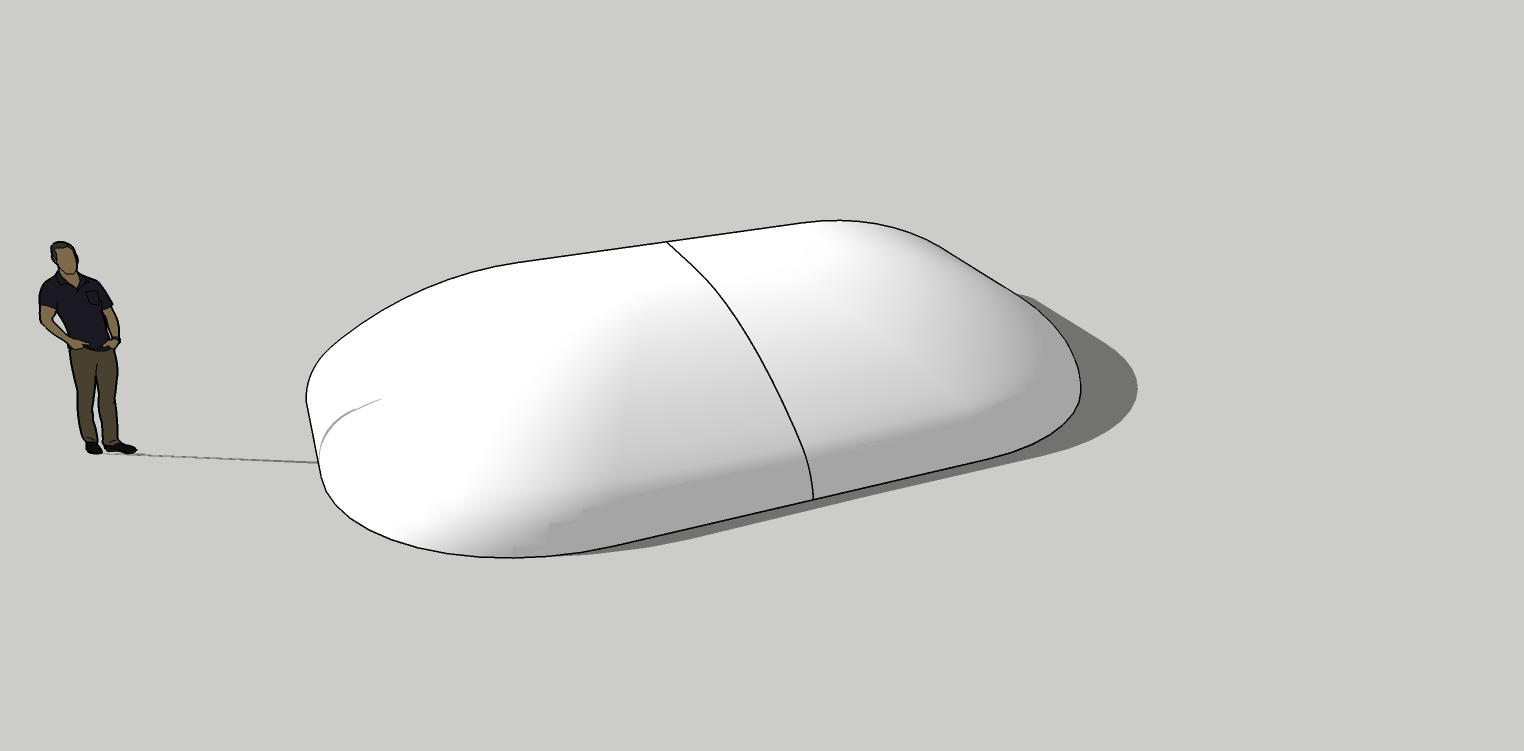
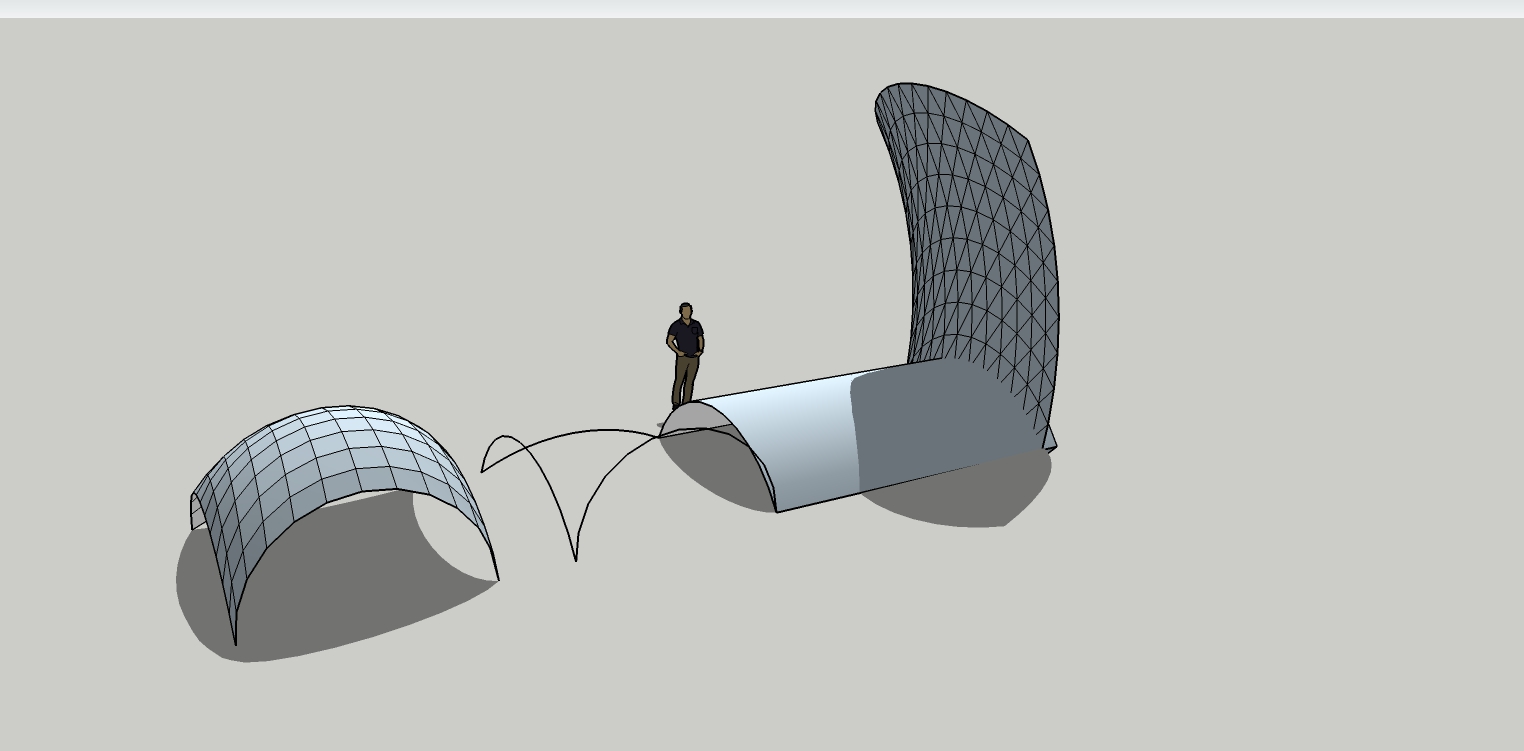
Make the model a component or group. I make components based on Front, Rear, Top and Bottom. So four final components for each quarter.
Duplicate and flip each one to make final shape. Then scale top or bottom as you see fit. I usually scale the bottom to be shorter than the top.

-
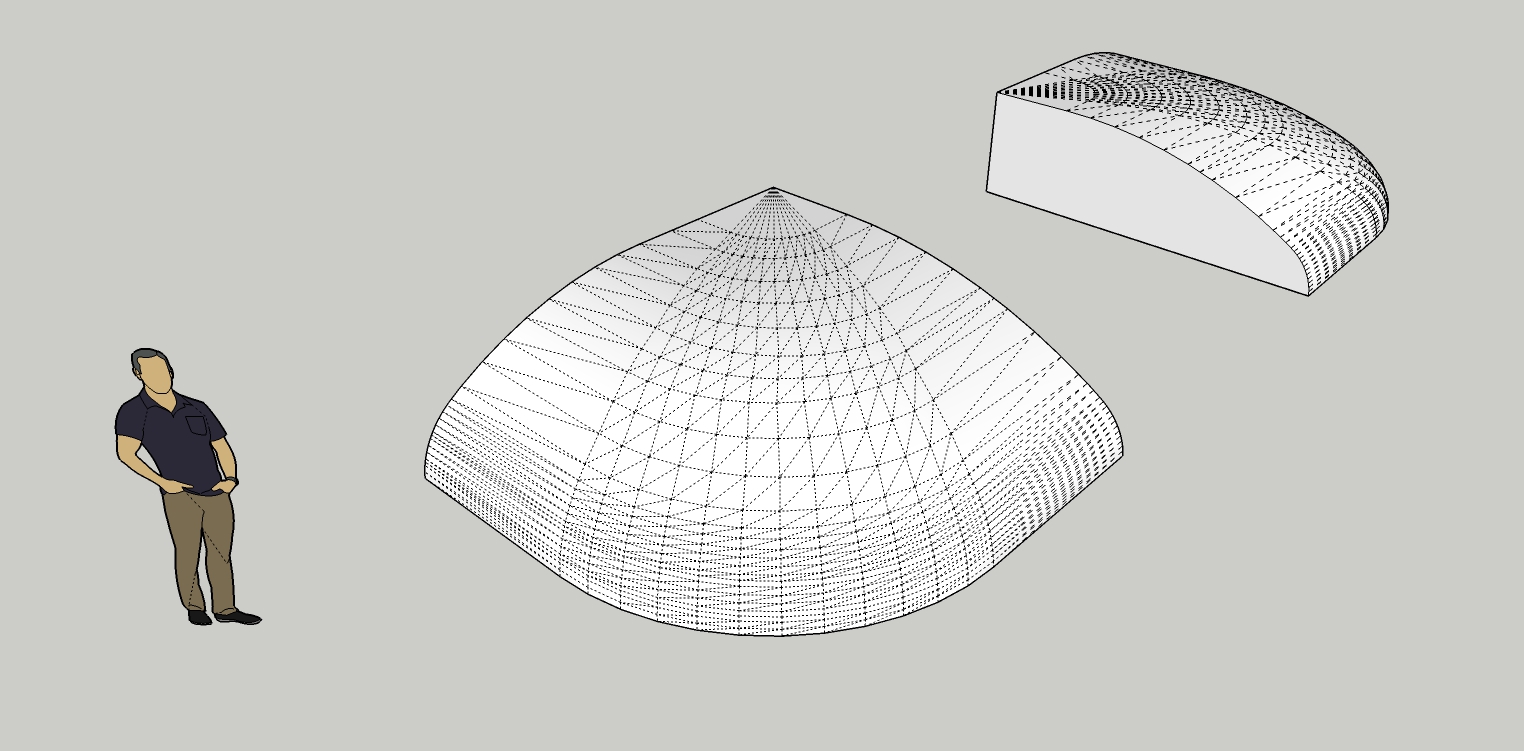
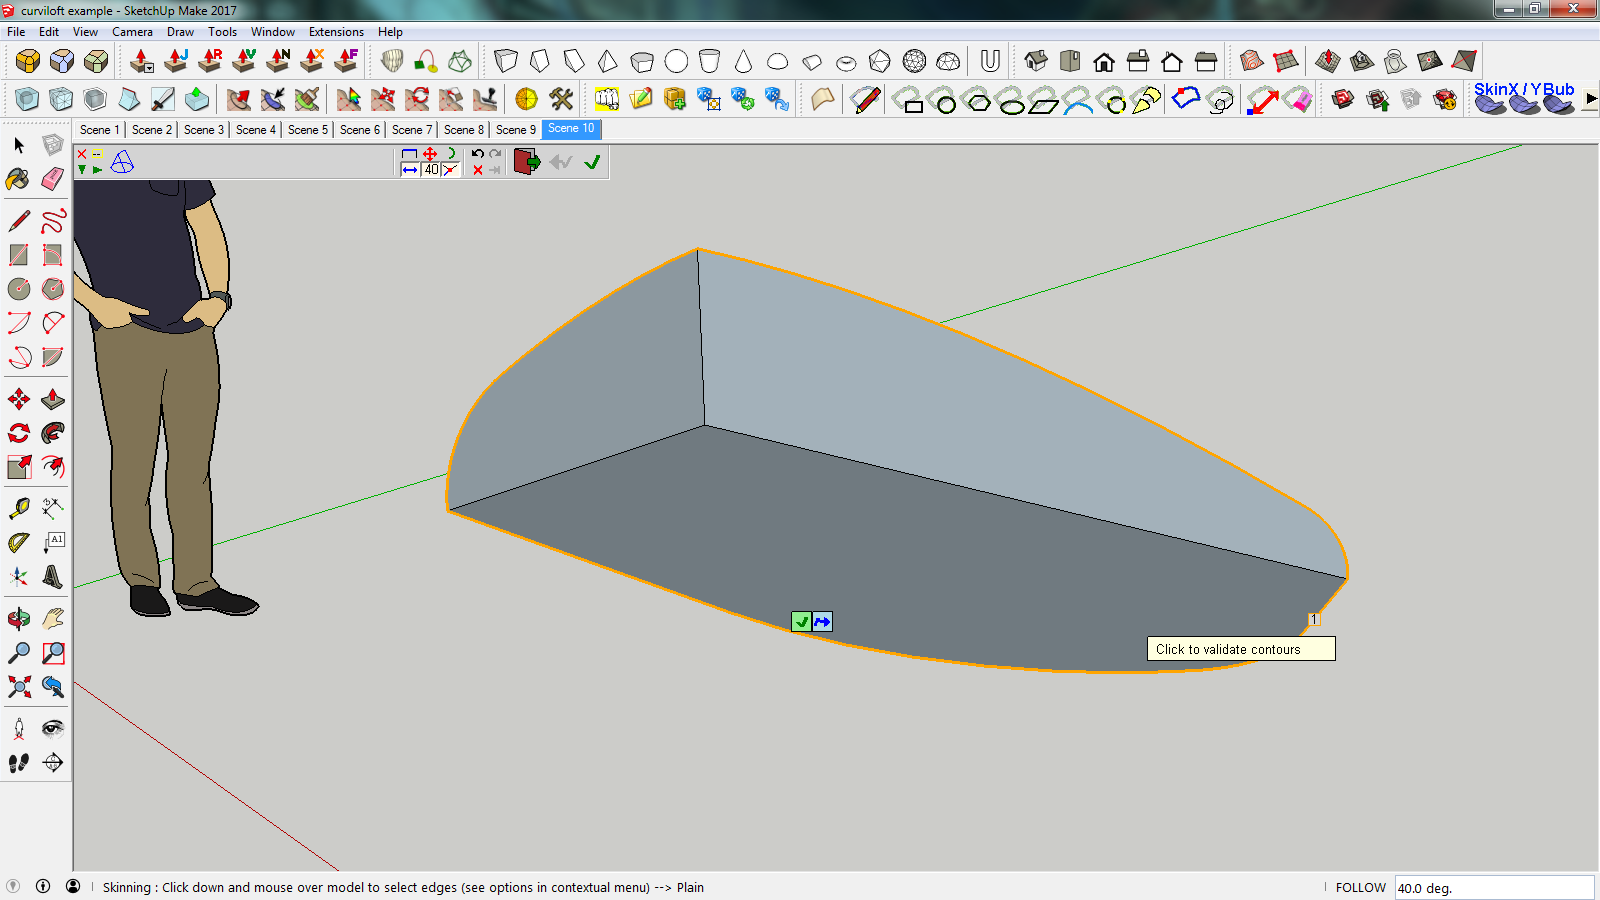
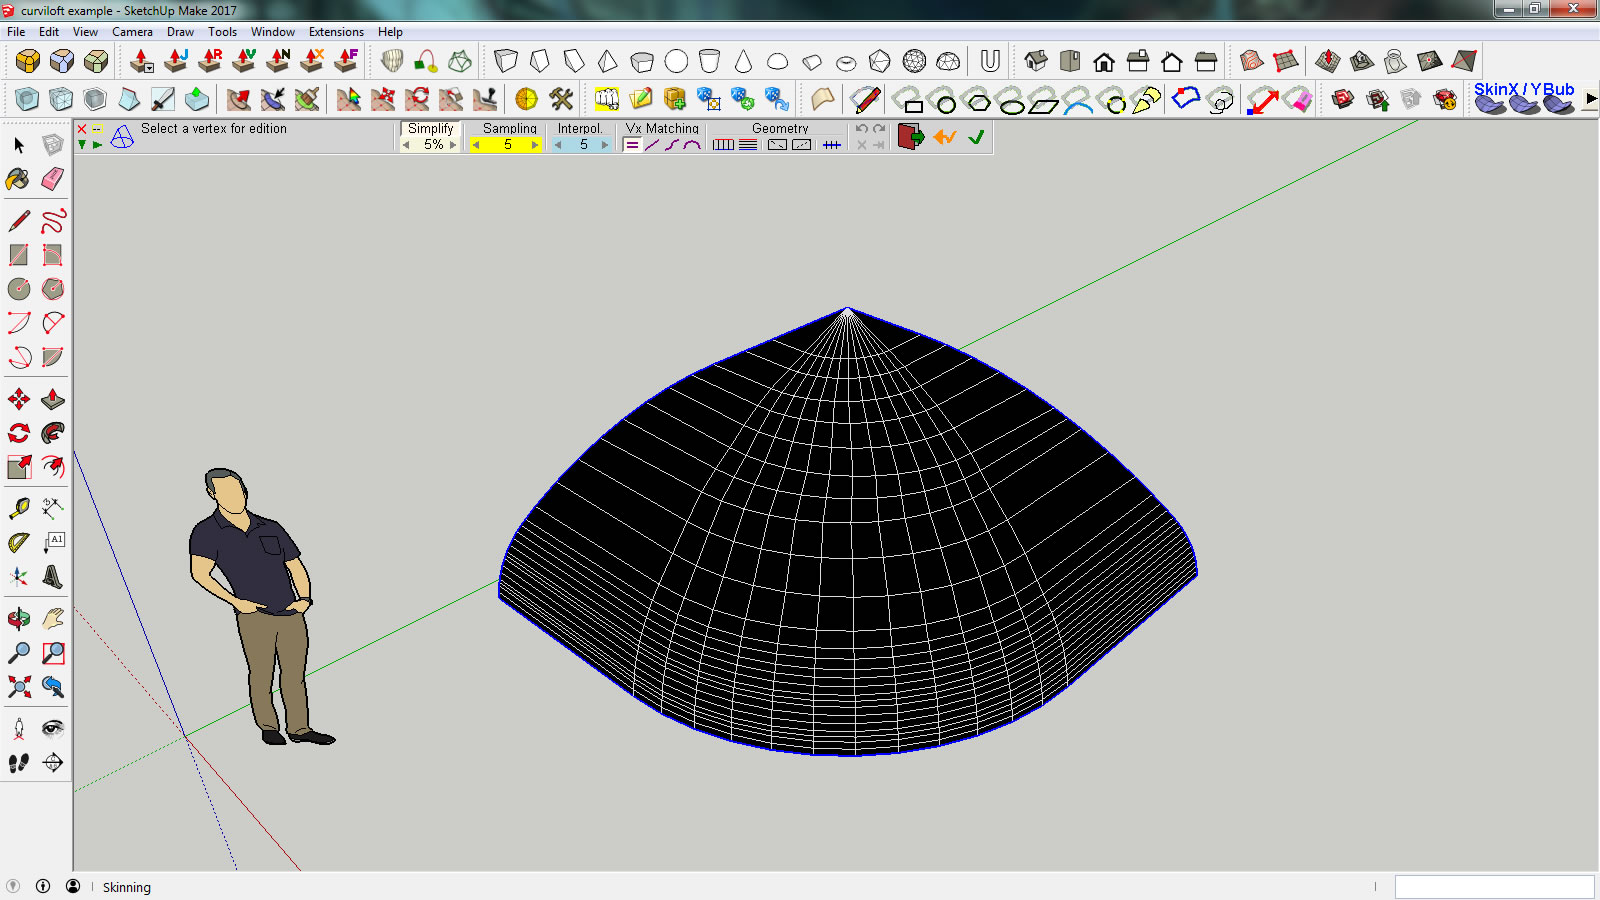
Select all the outer edges with Curviloft.
This is a different image but essentially the same process. Somehow the original image export became corrupted and then deleted itself.
The click the small green checkmark and the big checkmate which will appear.
-
Cool tuto

Seems you can have same result with Extrude Tools by Tig from this step

(sure with less options after the mesh creation)or here Ferrari
(with some options after the mesh creation)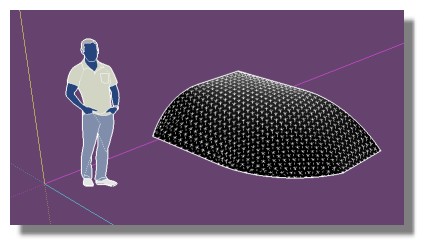
-
Very interesting process Bryan. I did some of it (enough to understand the process). I had to try several times to get the lines and arcs all connected properly to that CurviLoft would work correctly.
Want to experiment a little with the types of CurviLoft so I understand the differences better.
Thanks for sharing..............Now I will have to go off and try to be "inventive".

-
@ntxdave said:
Very interesting process Bryan. I did some of it (enough to understand the process). I had to try several times to get the lines and arcs all connected properly to that CurviLoft would work correctly.
That IS the trick. It does take some fiddling. If the arcs aren't connected just perfect, it will not work. Be sure to connect arcs on "points" (green dots) and not "midways" (blue dots).
You're welcome. My pleasure. Many people here have helped me over the years and I am happy I can do anything to pay back or pay forward any way I can.
-
Curviloft can be downloaded from here.
https://sketchucation.com/pluginstore?listtype=3&author=0&category=0 -
@pilou said:
Cool tuto
Seems you can have same result with Extrude Tools by Tig from this step
(sure with less options after the mesh creation)or here Ferrari
(with some options after the mesh creation)[attachment=1:9phm9ipl]<!-- ia1 -->ferar.jpg<!-- ia1 -->[/attachment:9phm9ipl]
Oh that is cool. Nice!
Extrude tools are what I've been looking for some time but forgot what it was called. Thanks!
And just installed and yes, this is what I've been looking for quite some time.
Ah, but it does not work on straight edges nor too many compound curves. Still, very handy tool.
-
@unknownuser said:
Ah, but it does not work on straight edges nor too many compound curves.
Extrude Tools
Yes you must first divided straight lines and recurve (weld (by Diggsey) & also Curves
-
@pilou said:
@unknownuser said:
Ah, but it does not work on straight edges nor too many compound curves.
Extrude Tools
Yes you must first divided straight lines and recurve (weld (by Diggsey) & also CurvesAh! Thanks!
-
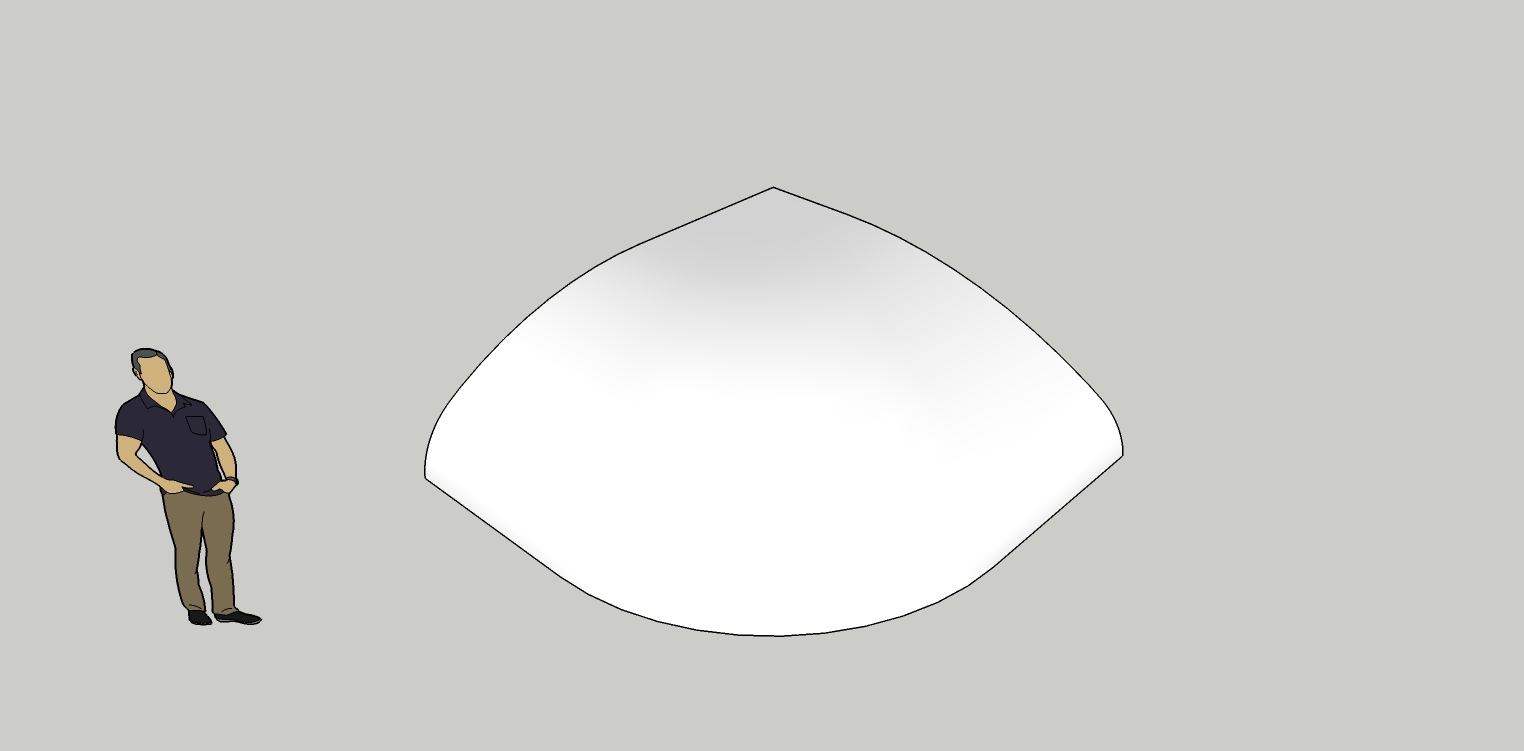
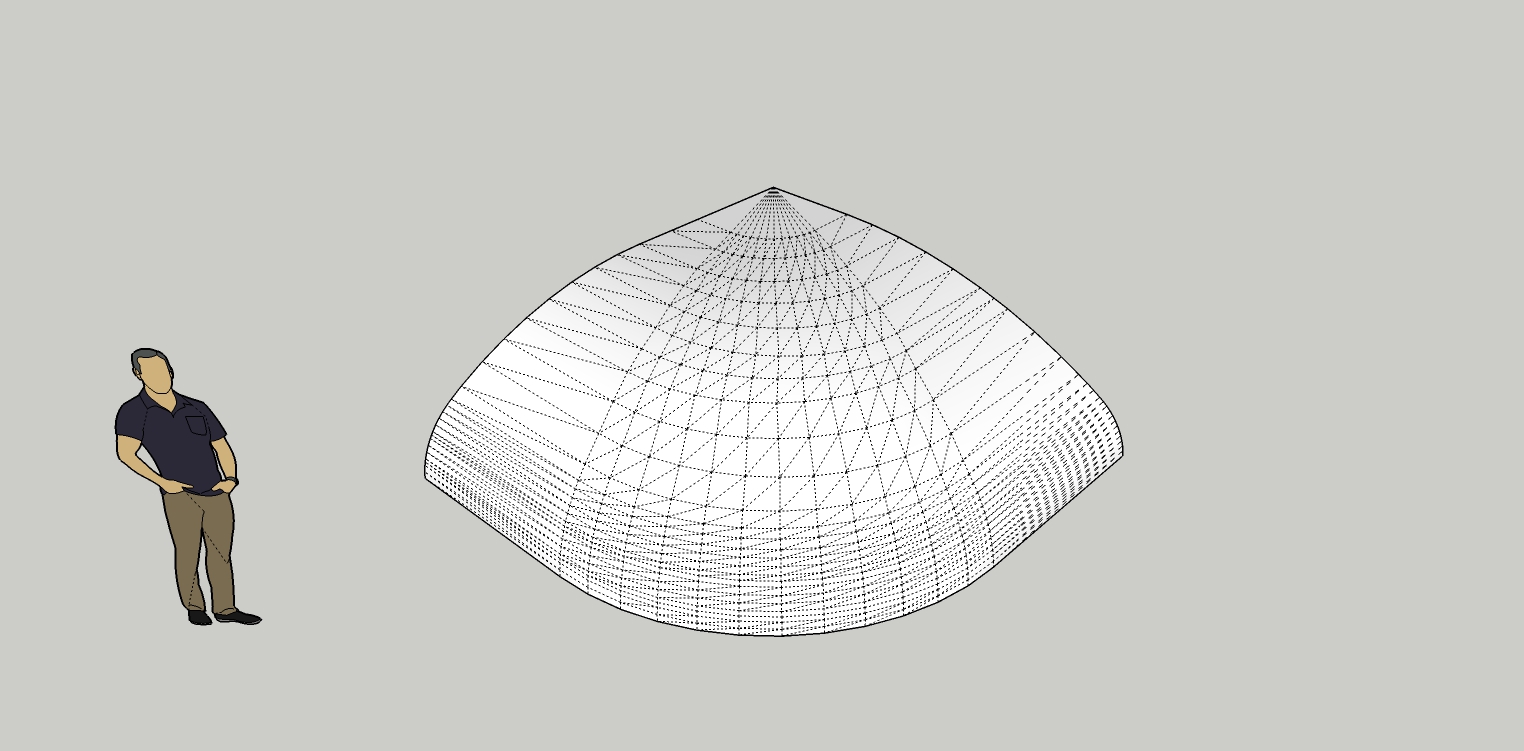
You now have a quarter of your final shape.
IMPORTANT! Make sure you EXPLODE the Curviloft shape or it will only be a shell and not a solid model. Exploding it welds it back to the lines you used to create it, giving it the flat inner sides and bottom and a fully enclosed model. This makes it easier to modify later.
Hello! It looks like you're interested in this conversation, but you don't have an account yet.
Getting fed up of having to scroll through the same posts each visit? When you register for an account, you'll always come back to exactly where you were before, and choose to be notified of new replies (either via email, or push notification). You'll also be able to save bookmarks and upvote posts to show your appreciation to other community members.
With your input, this post could be even better 💗
Register Login


Advertisement