Junji Okubo chassis
-
Having done some more research on the spider robot, https://sketchucation.com/forums/viewtopic.php?f=333&t=72465, I found Okubo had created a universal chassis for at least 6 other robots using this one chassis design.
I also found I need to make some minor corrections to the chassis and I can then model those other robot designs.
This thread will show how I update the chassis.
First, the reference to the previous chassis I modeled.
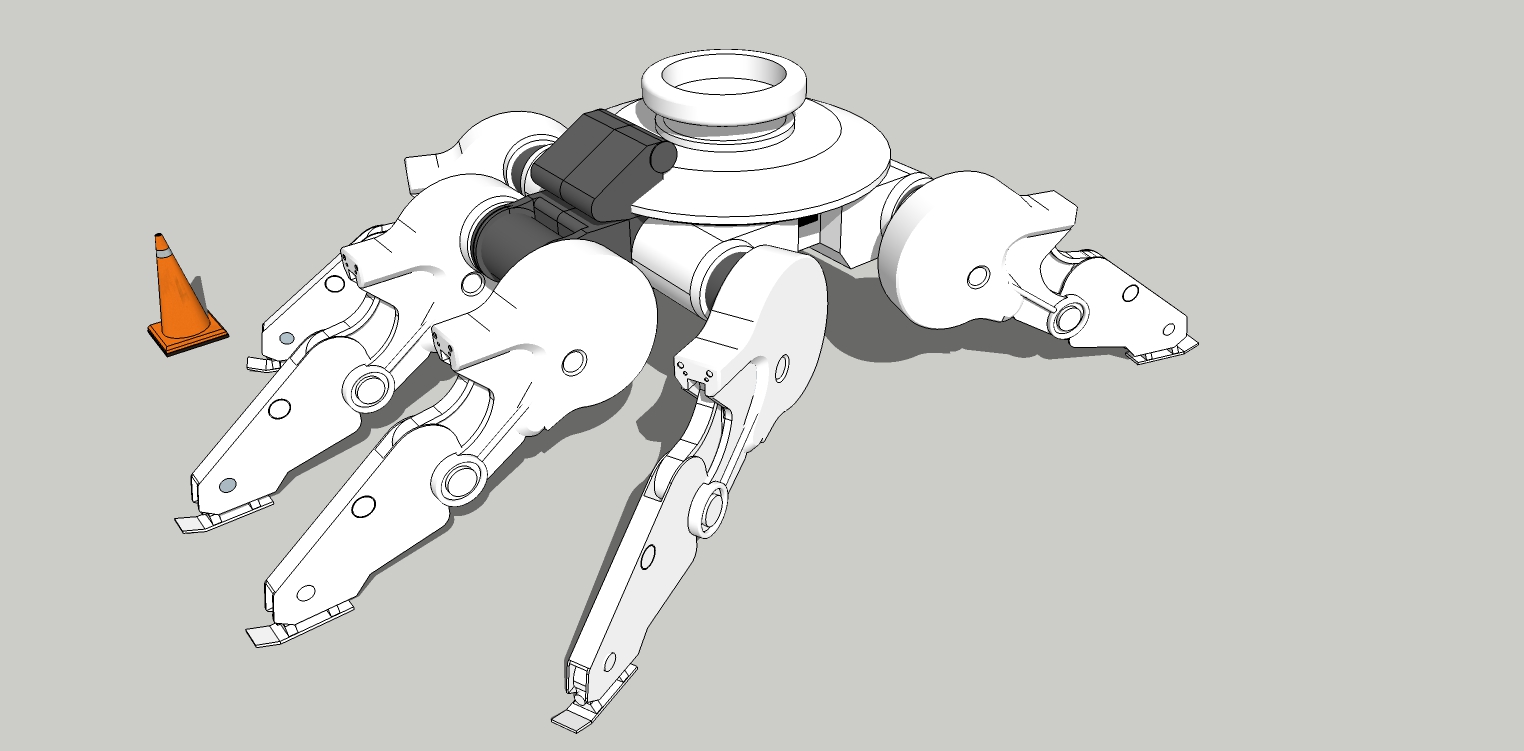
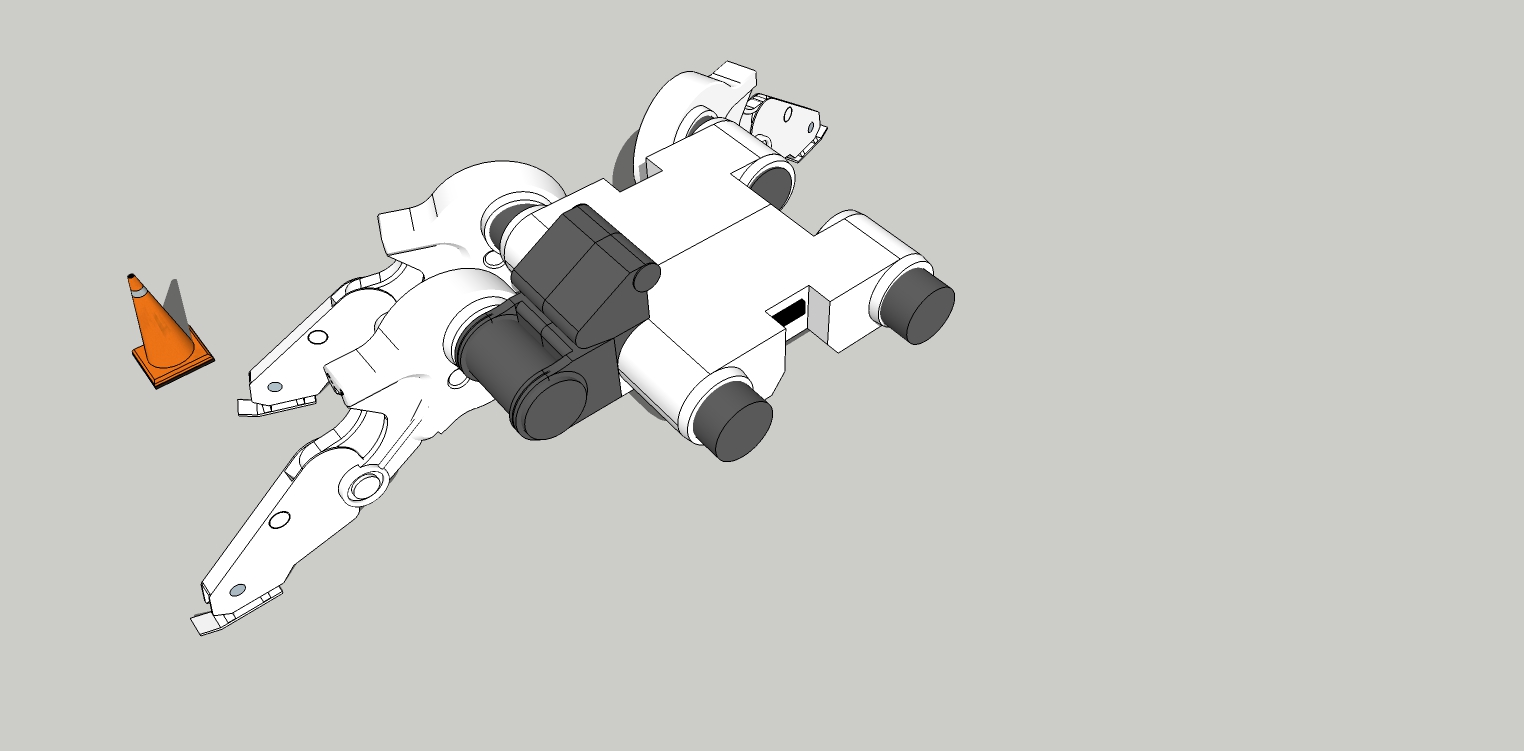
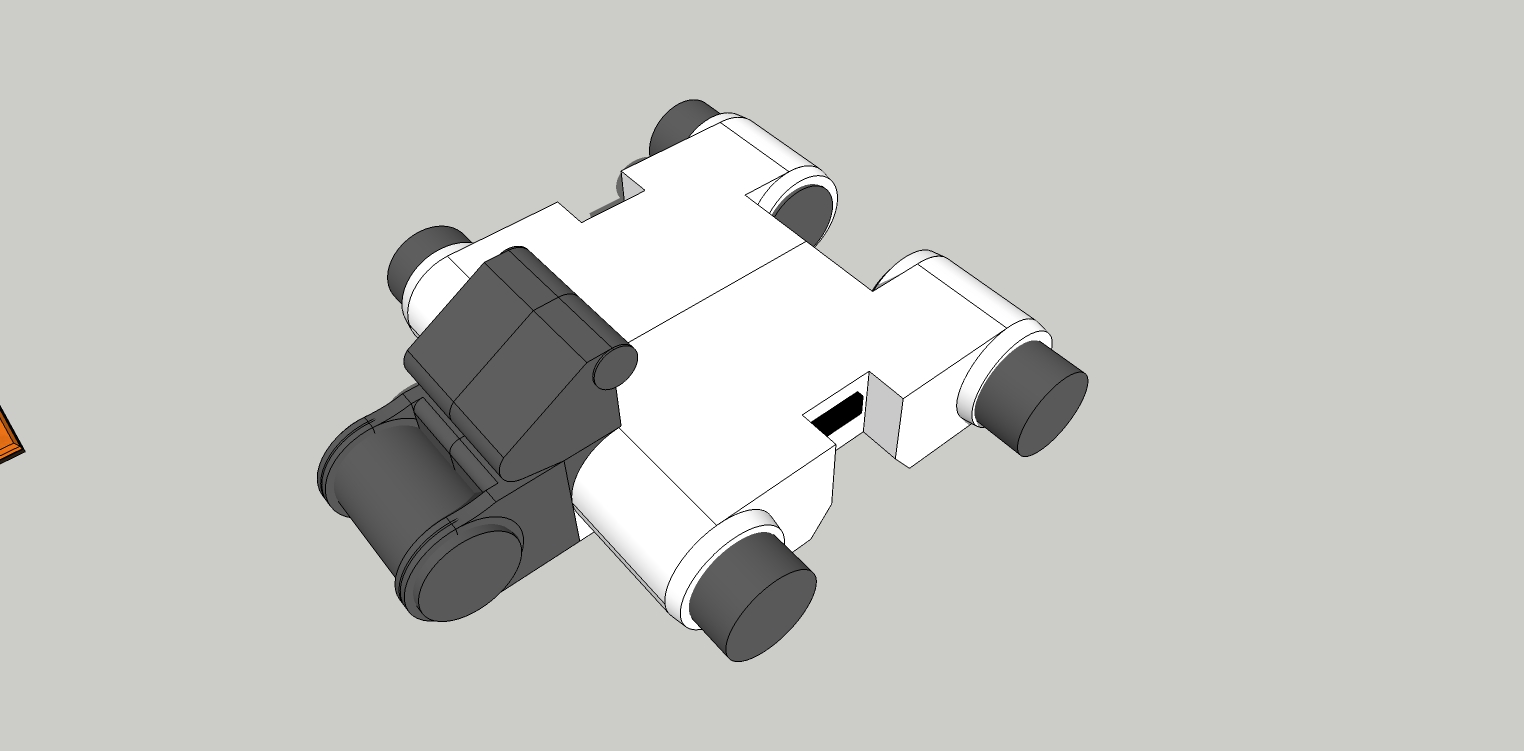
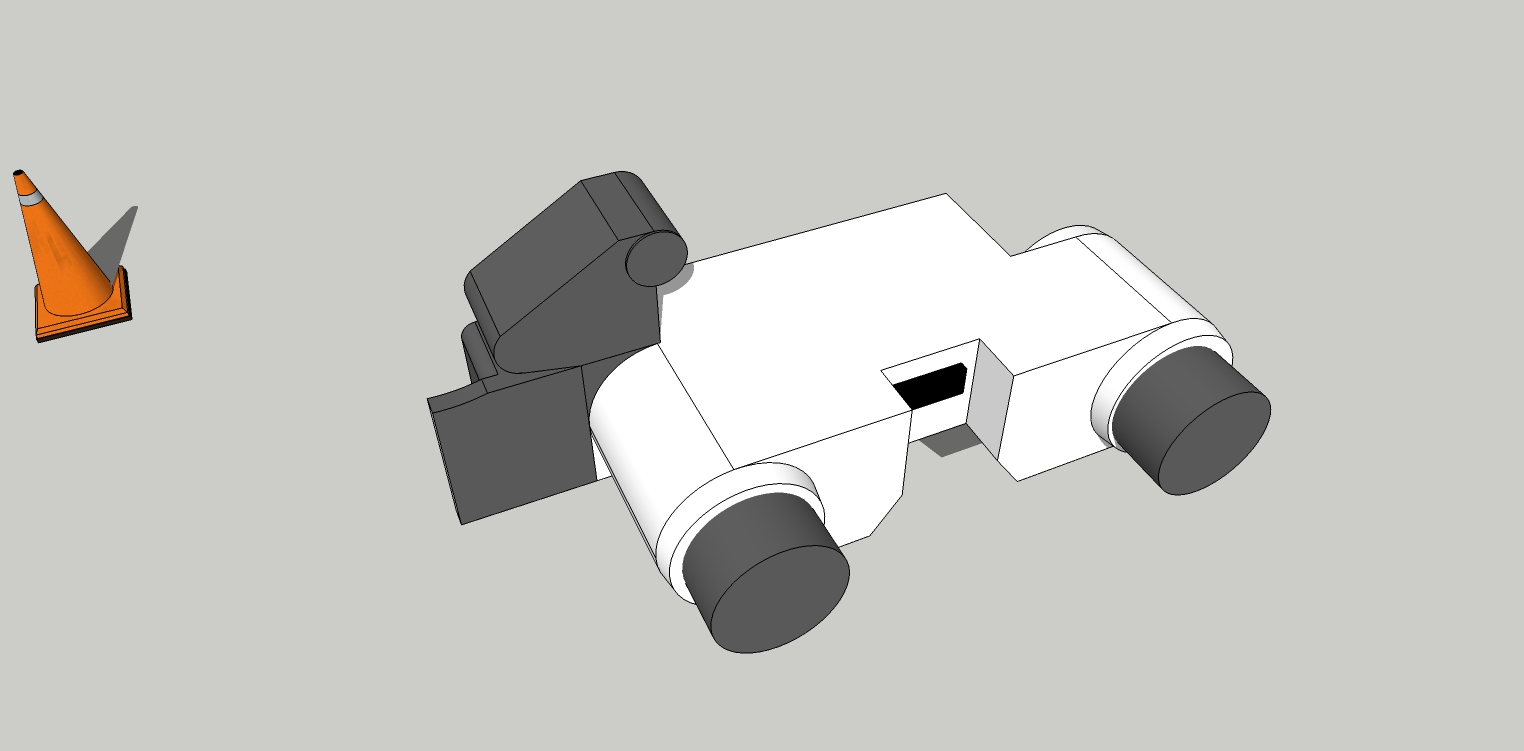
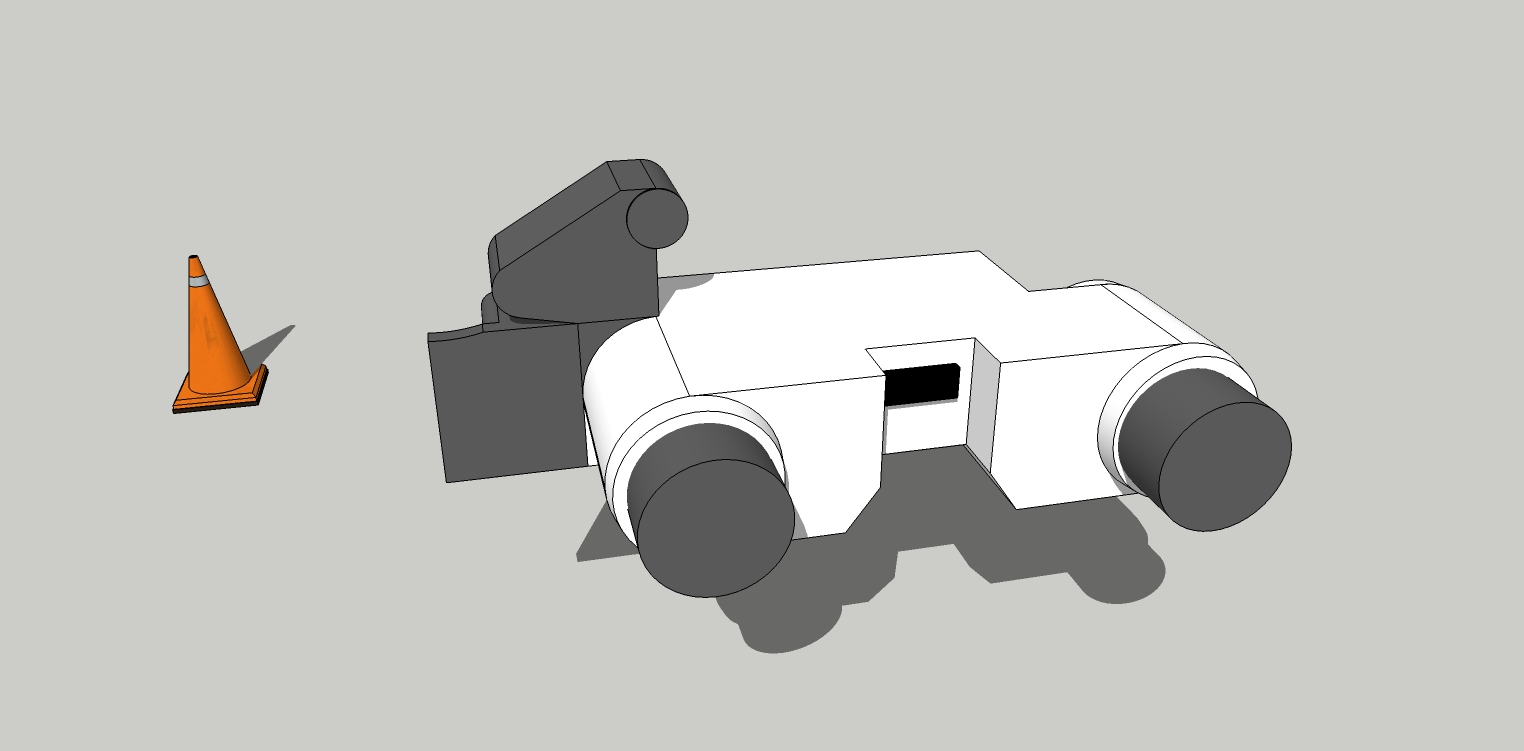
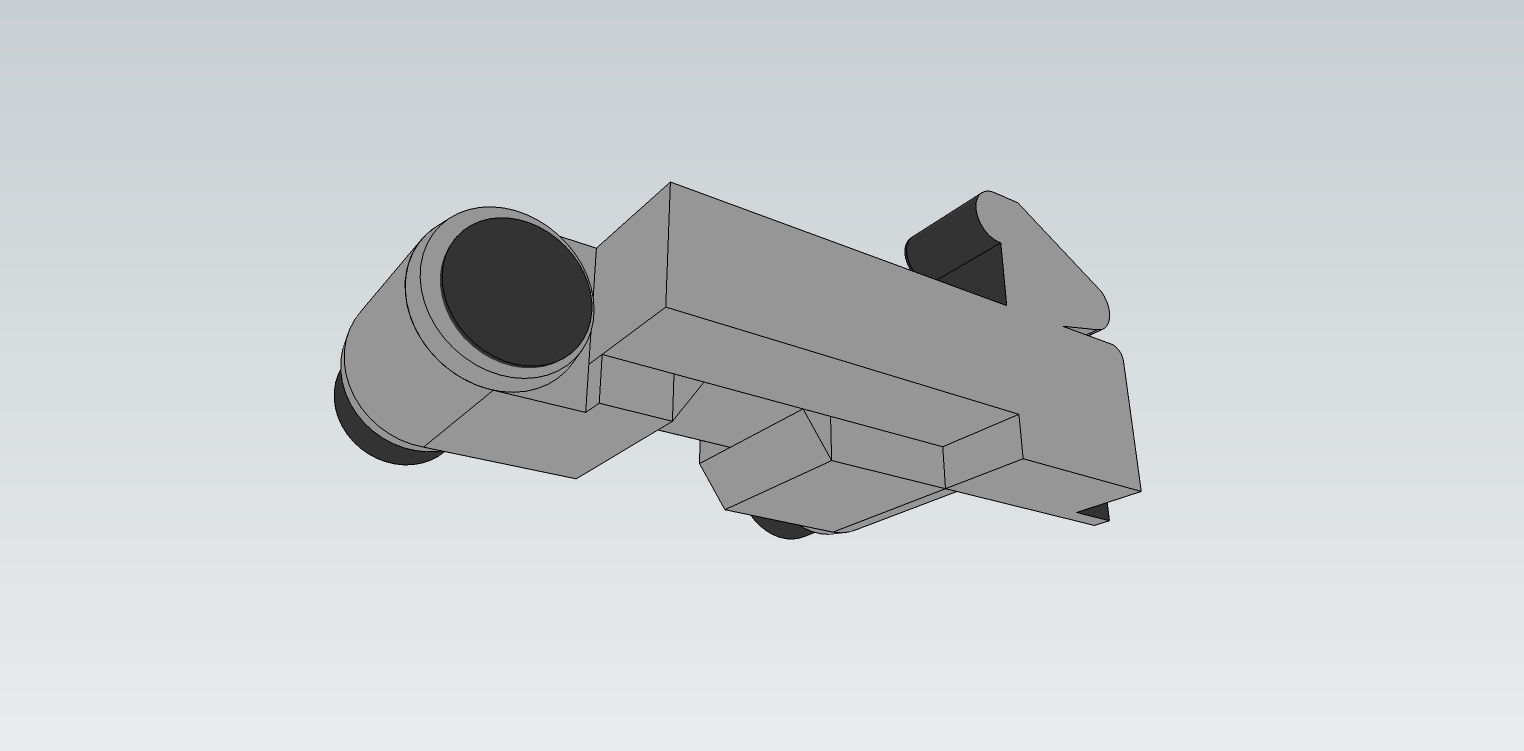
-
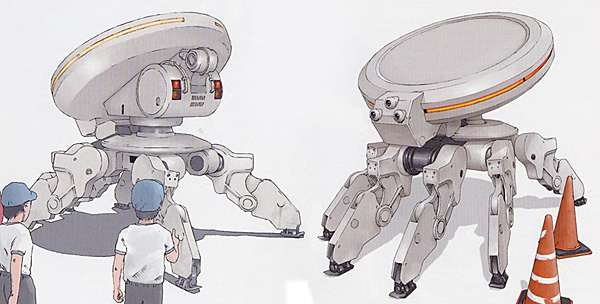
This is what Okubo's updated chassis looks like from his book. This was not clear from the reference drawing I used for the spider robot. (which is called the S2WT)
It also appears to be an update by the artist himself that is newer than the reference drawing I used. Notice the lack of indentation in the rear and what looks like a body extension with cooling vents.
I was not too far off in my guess, so the modification should be somewhat easy. I will not have to change the scale, only the details.
-
It's bloody marvelous mate, watching a classic take shape. Looking forward to the others.

-
Thanks Mike.

There are enough different robots to keep me busy for a few months.
But, at the same time.... https://sketchucation.com/forums/viewtopic.php?f=333&t=72530
The Aronnax. -
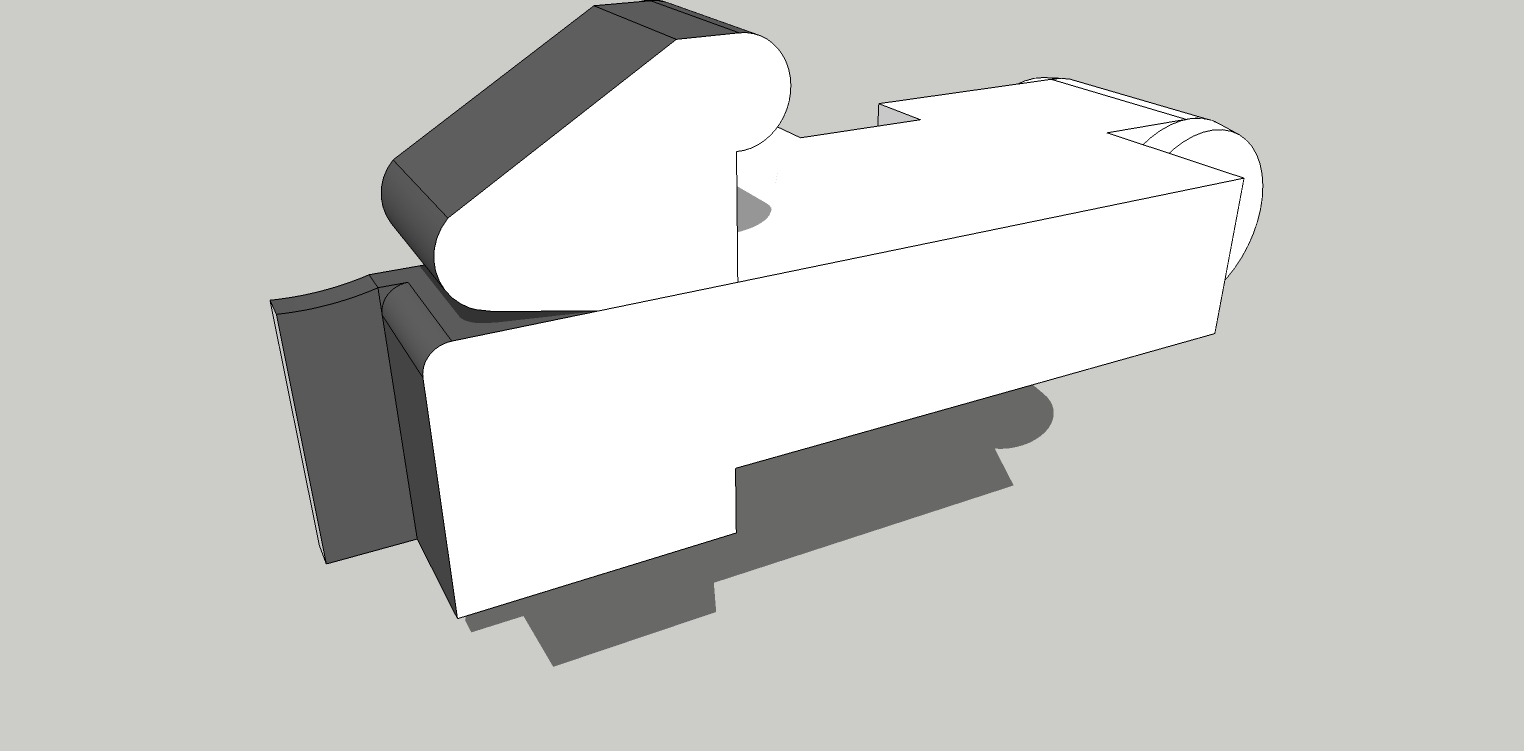
First, I've cleaned up the component half.
Simple line connections and then push/pull to both face (deletes shape) and extend. Then some line clean up.
Now I have the basic chassis ready for detailing.
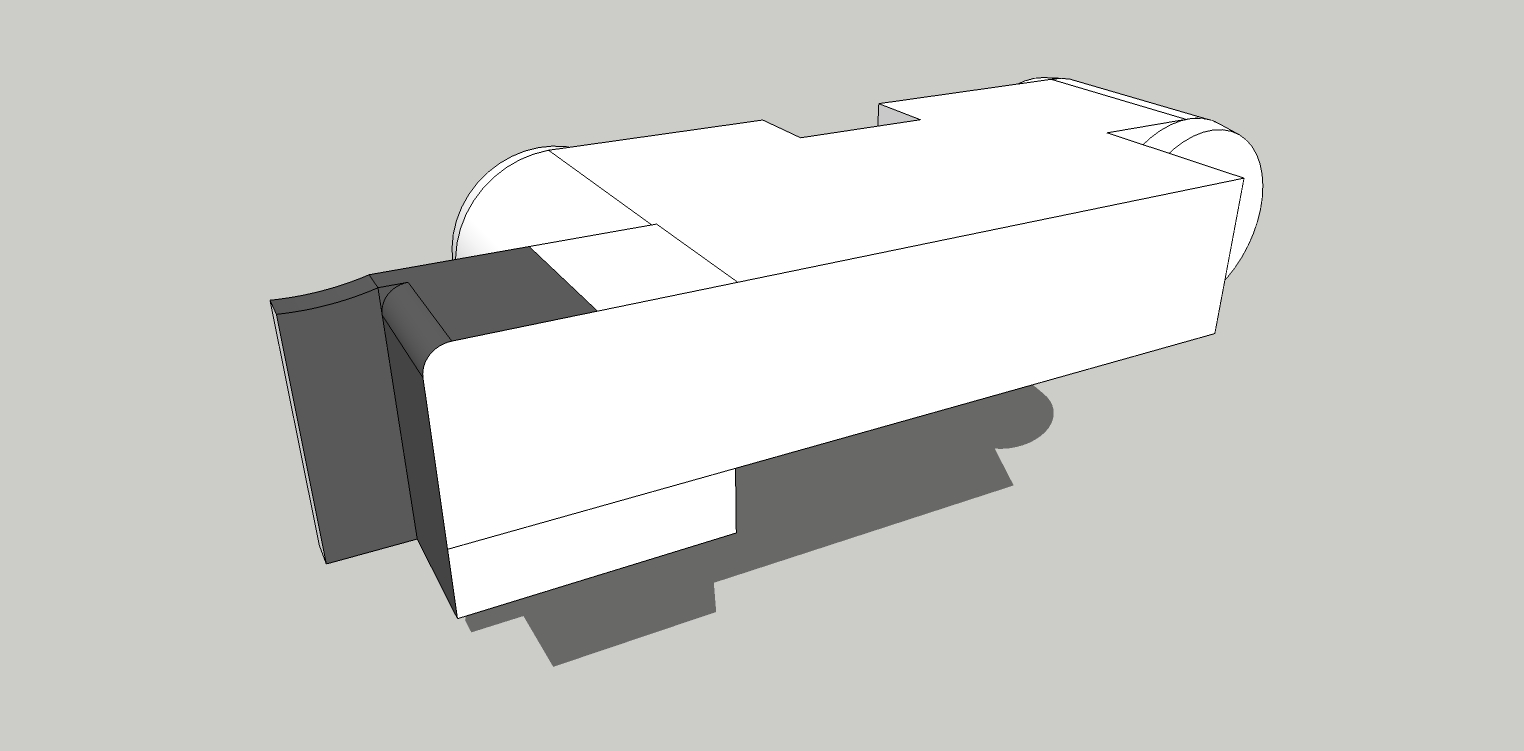
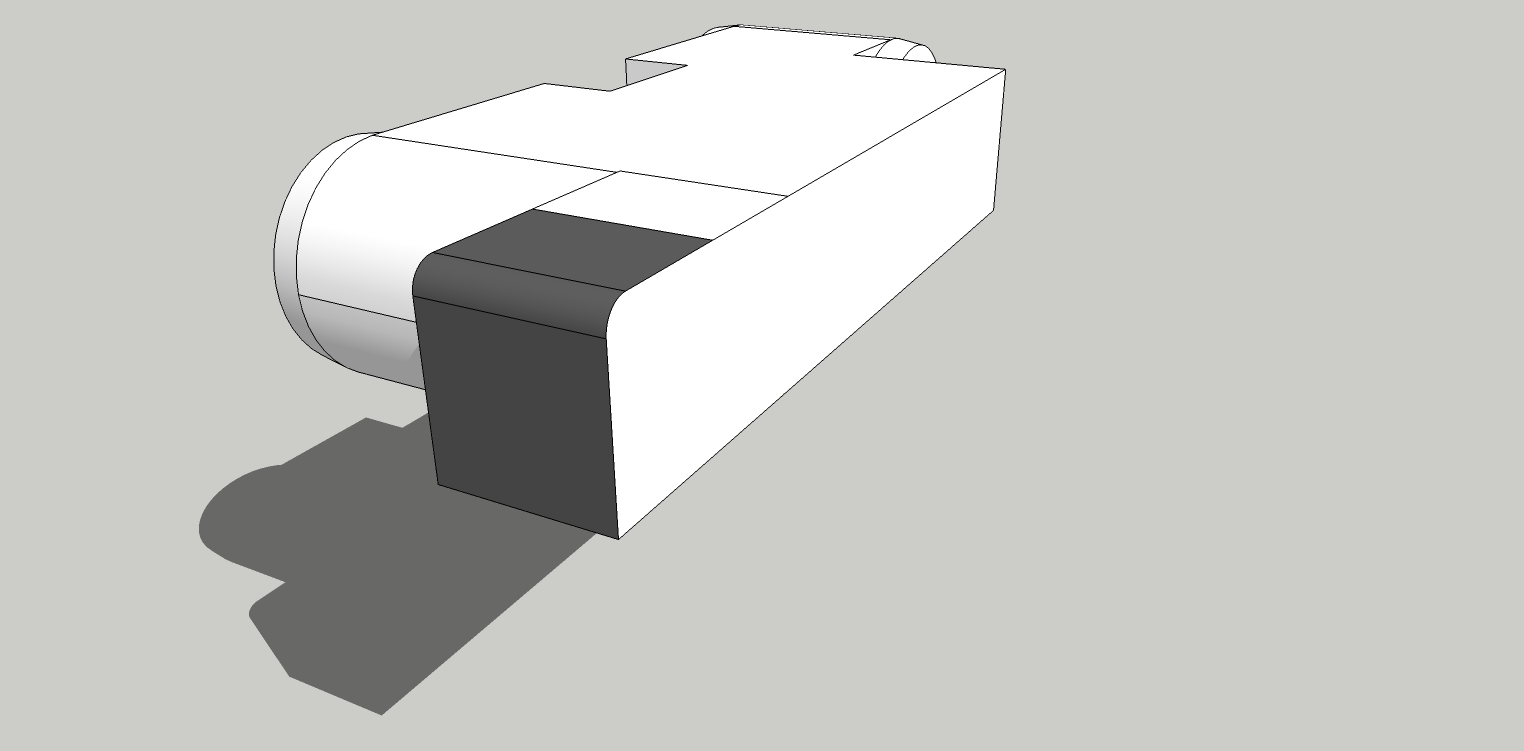
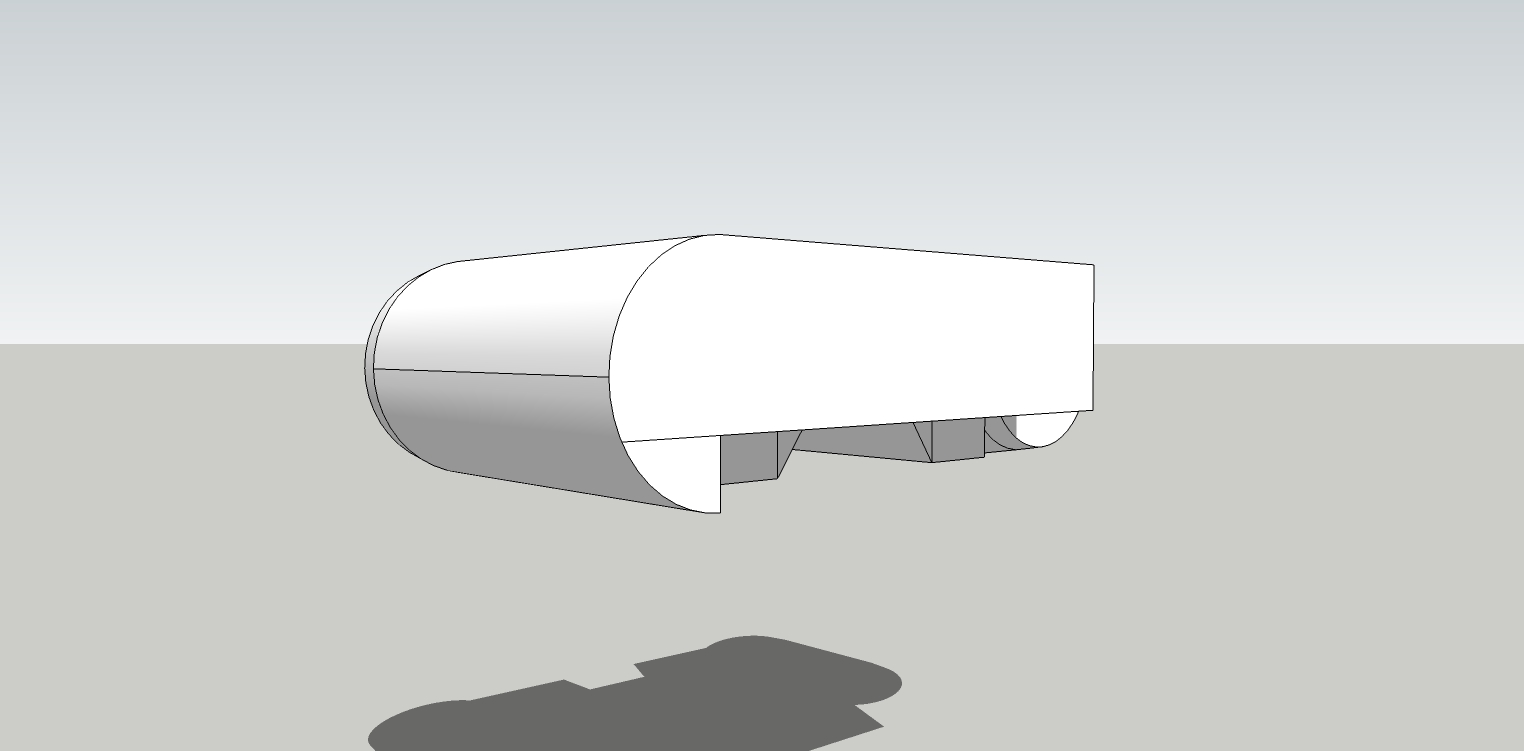
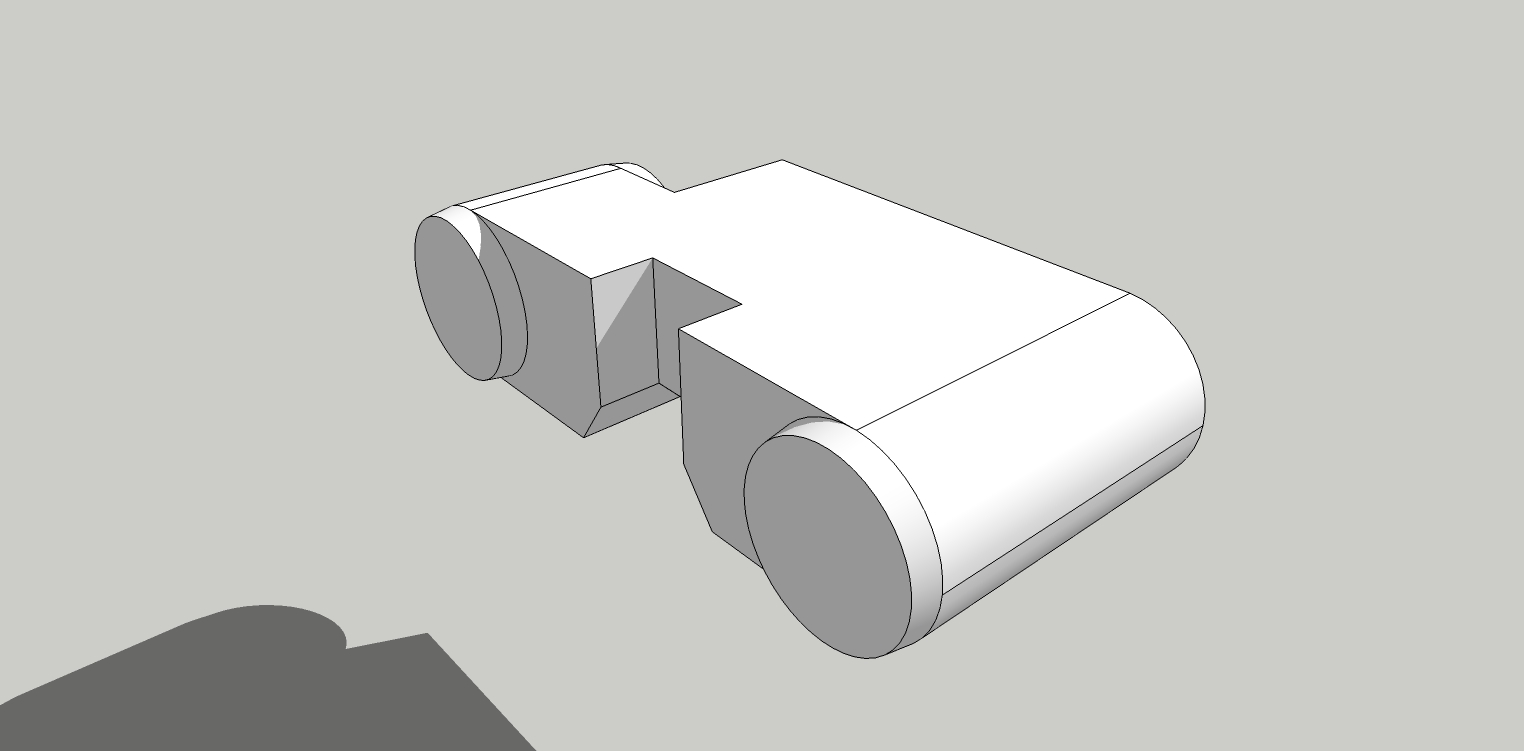
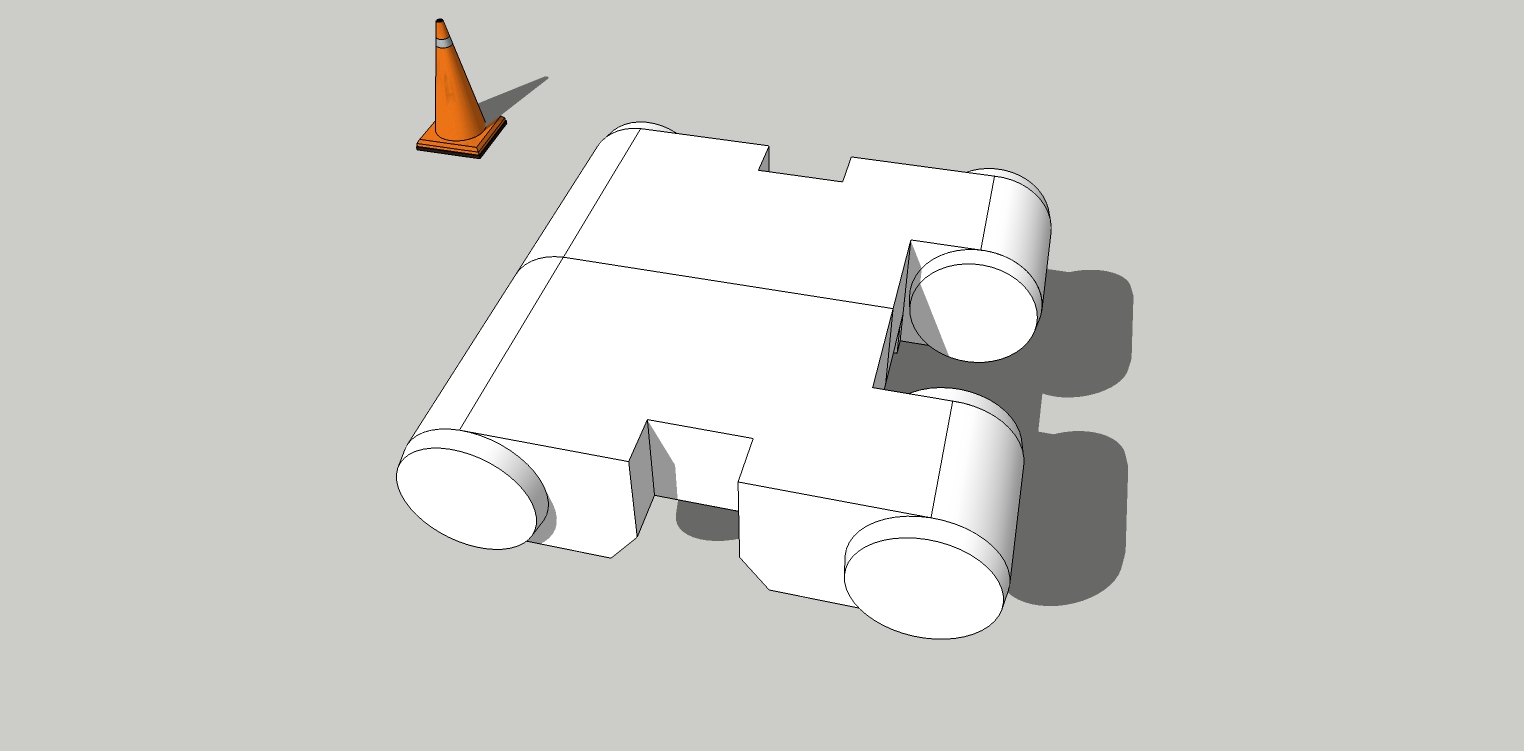
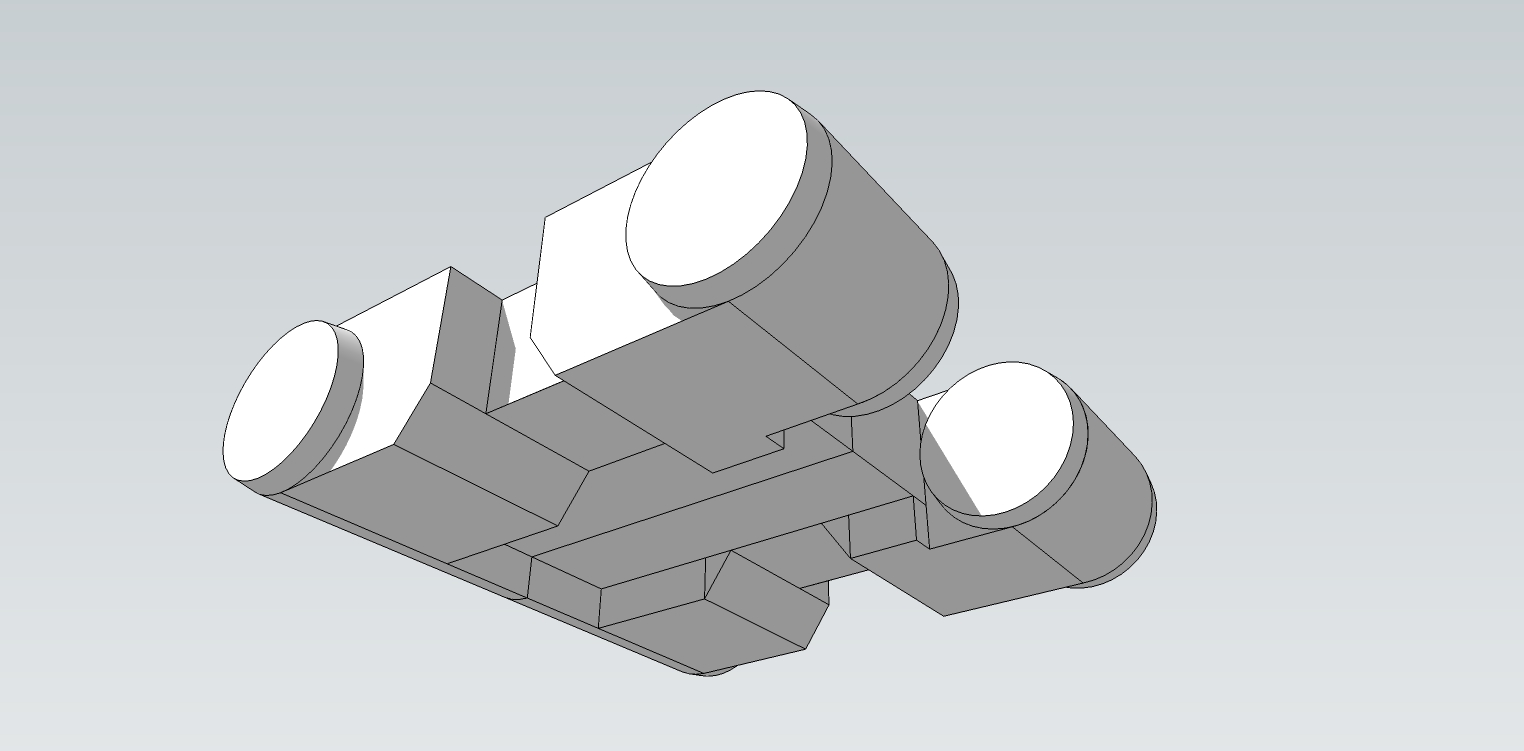
-
The detailing.
It's almost done.
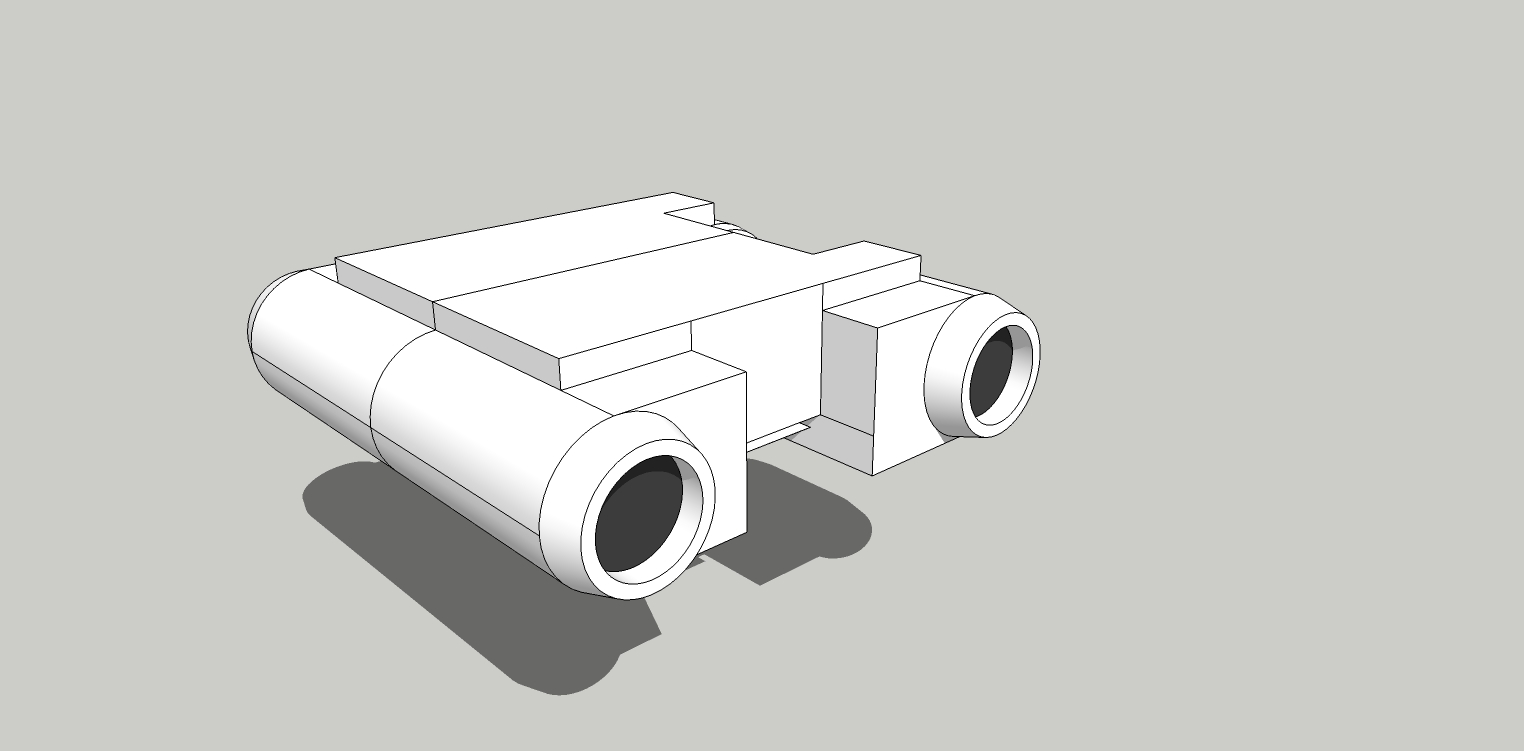
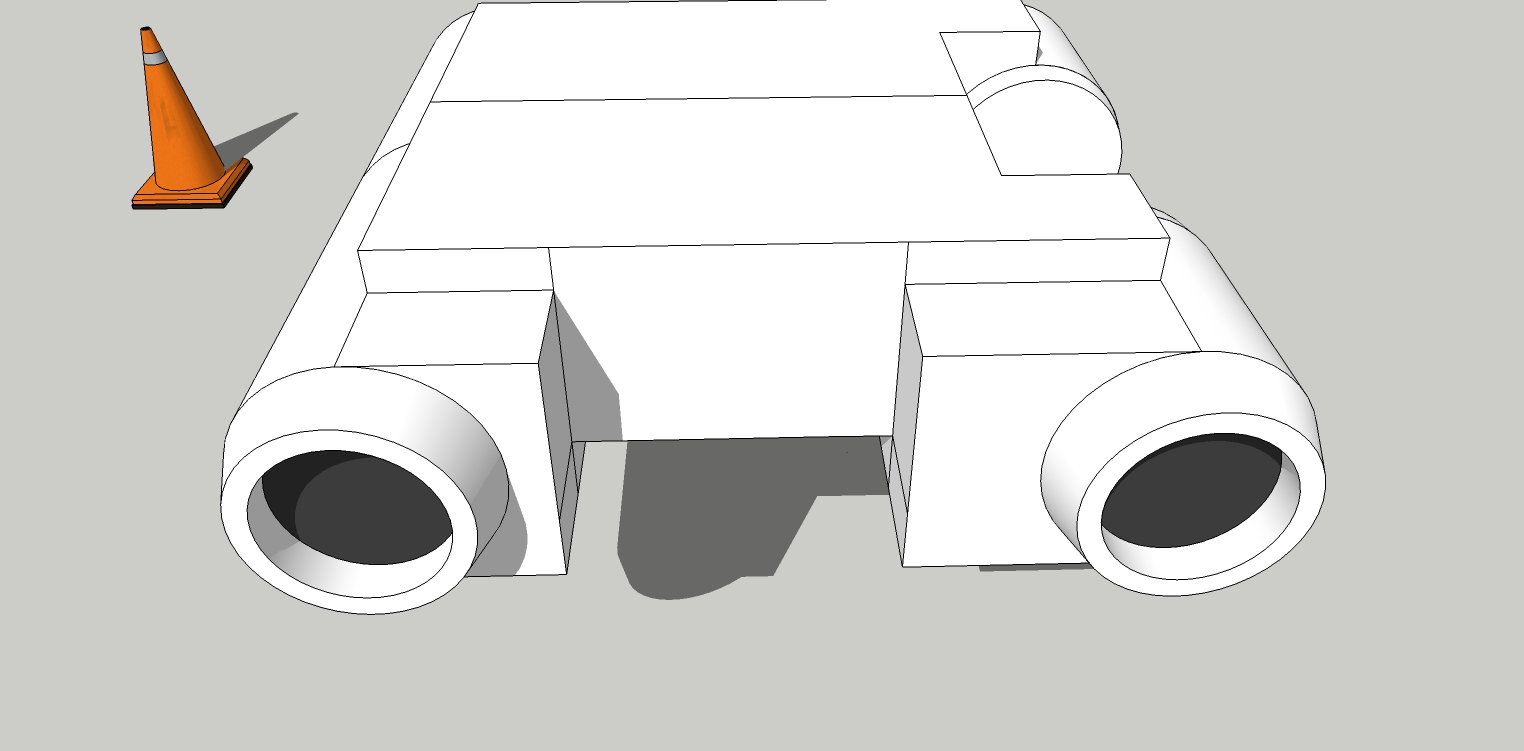
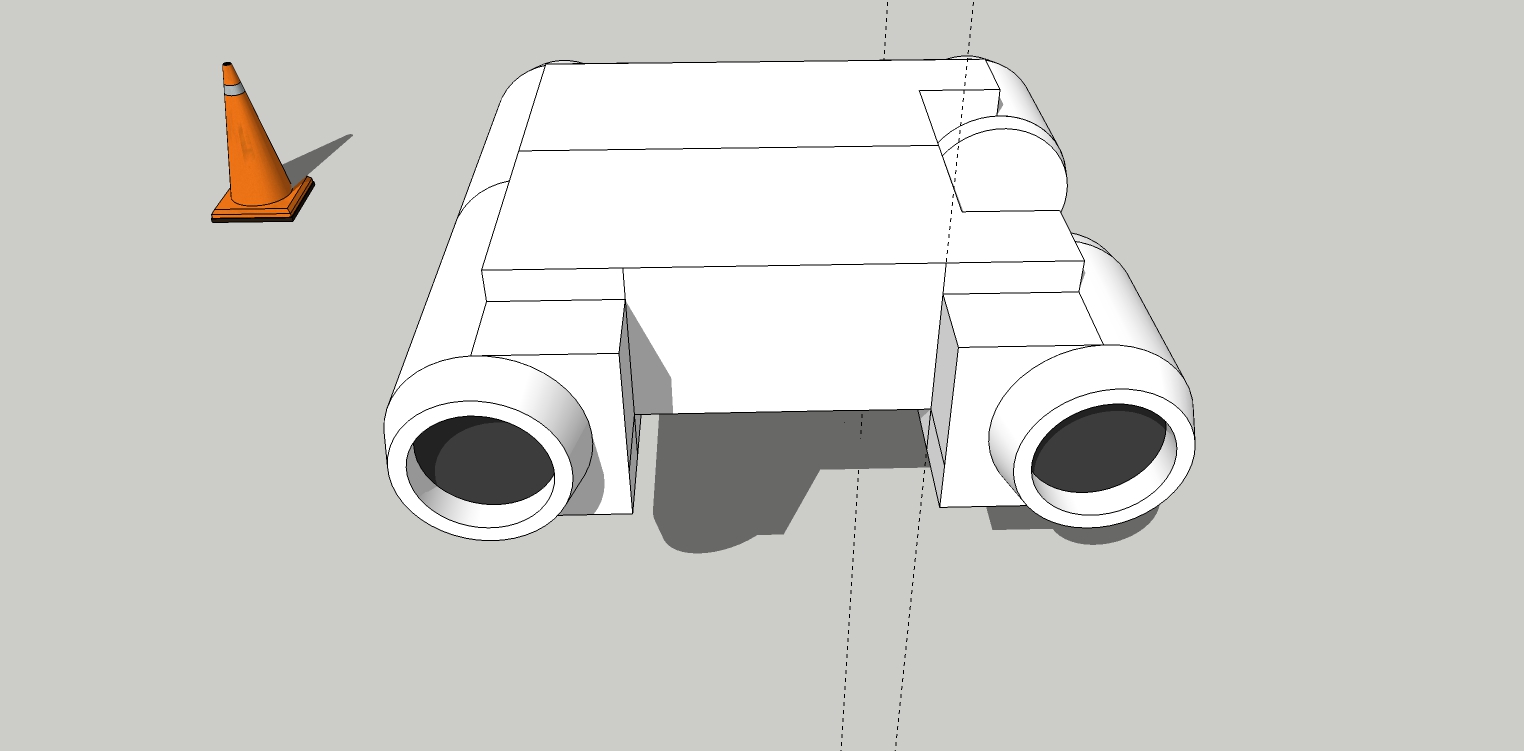
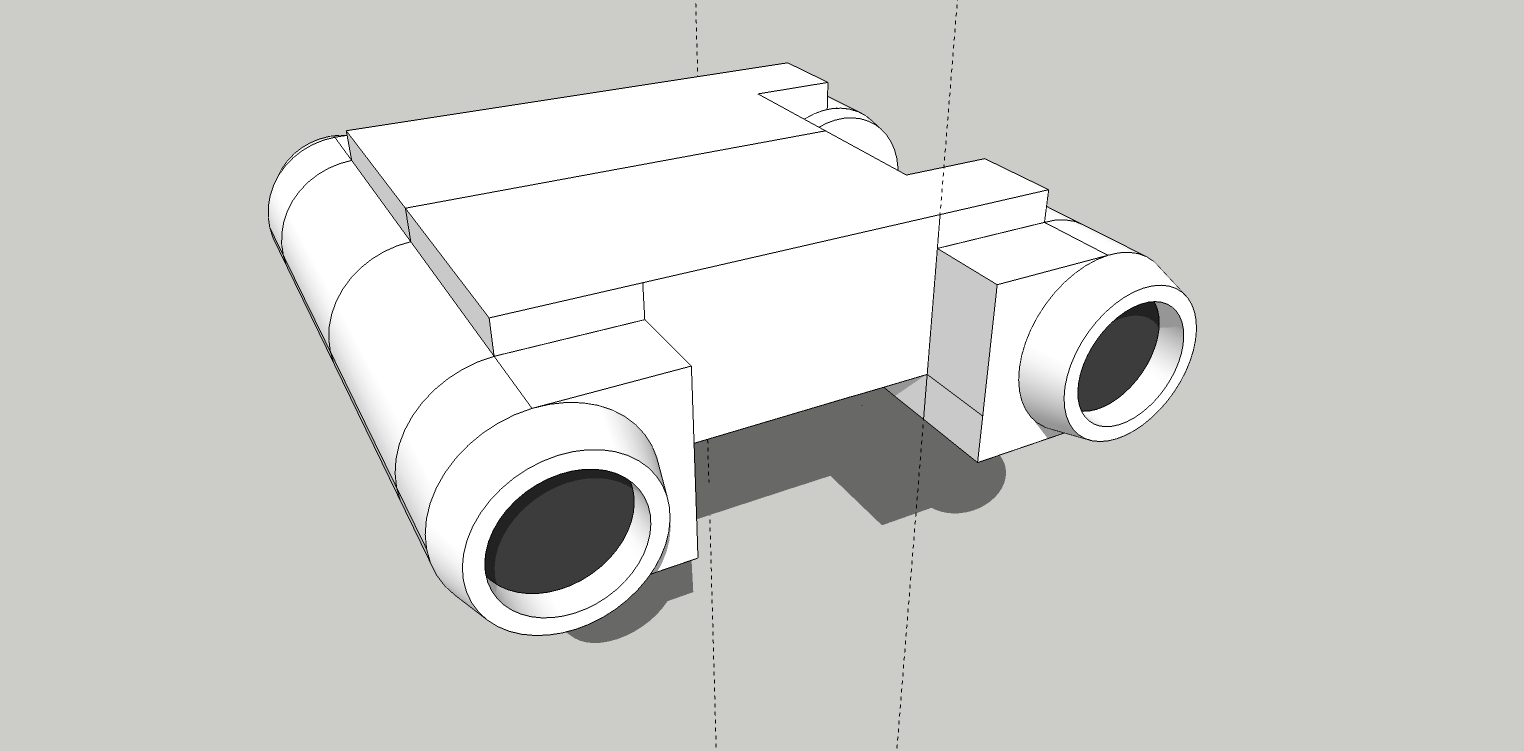
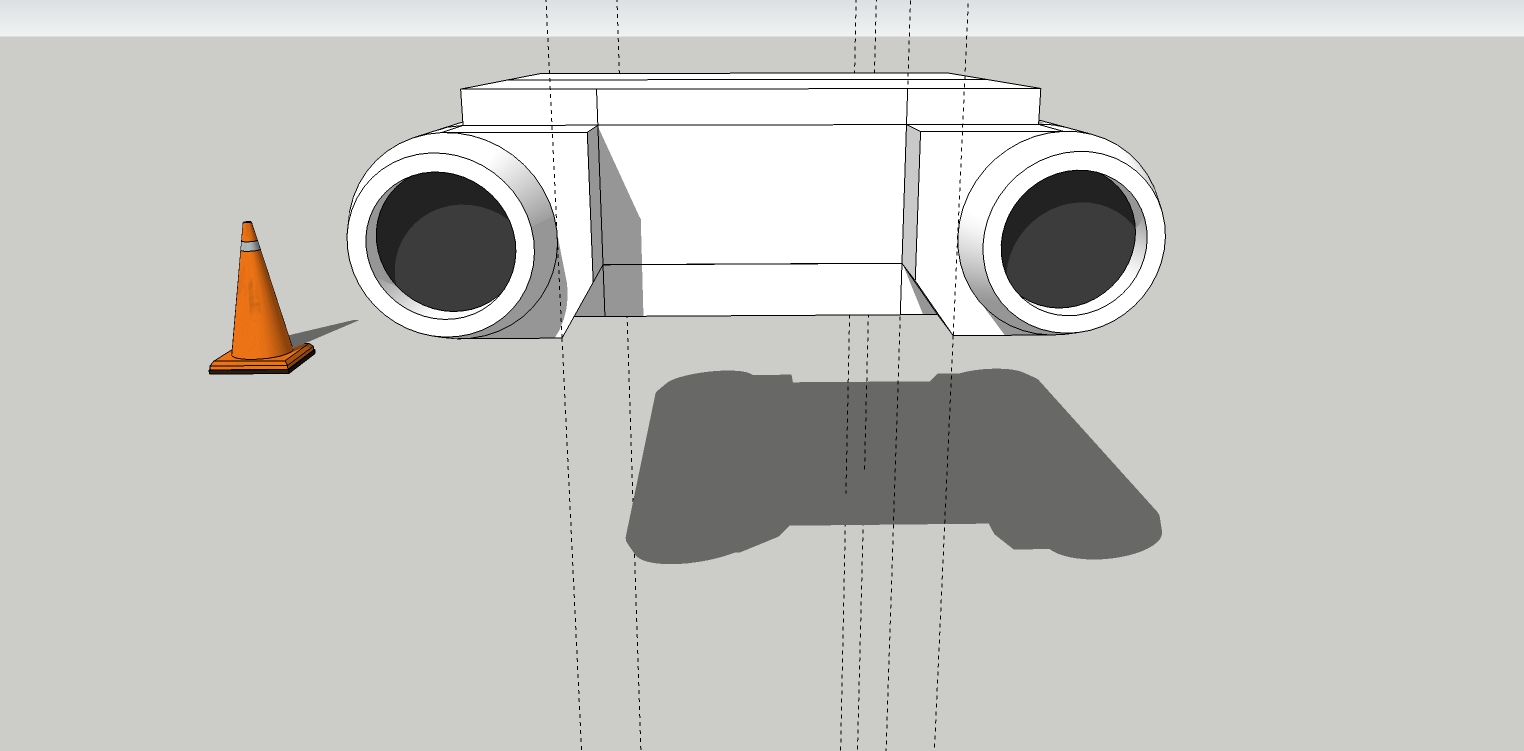
-
And shoot, I see some mistakes already.
-
This is better.
Had do a lot more fiddling. I had the geometry all messed up.
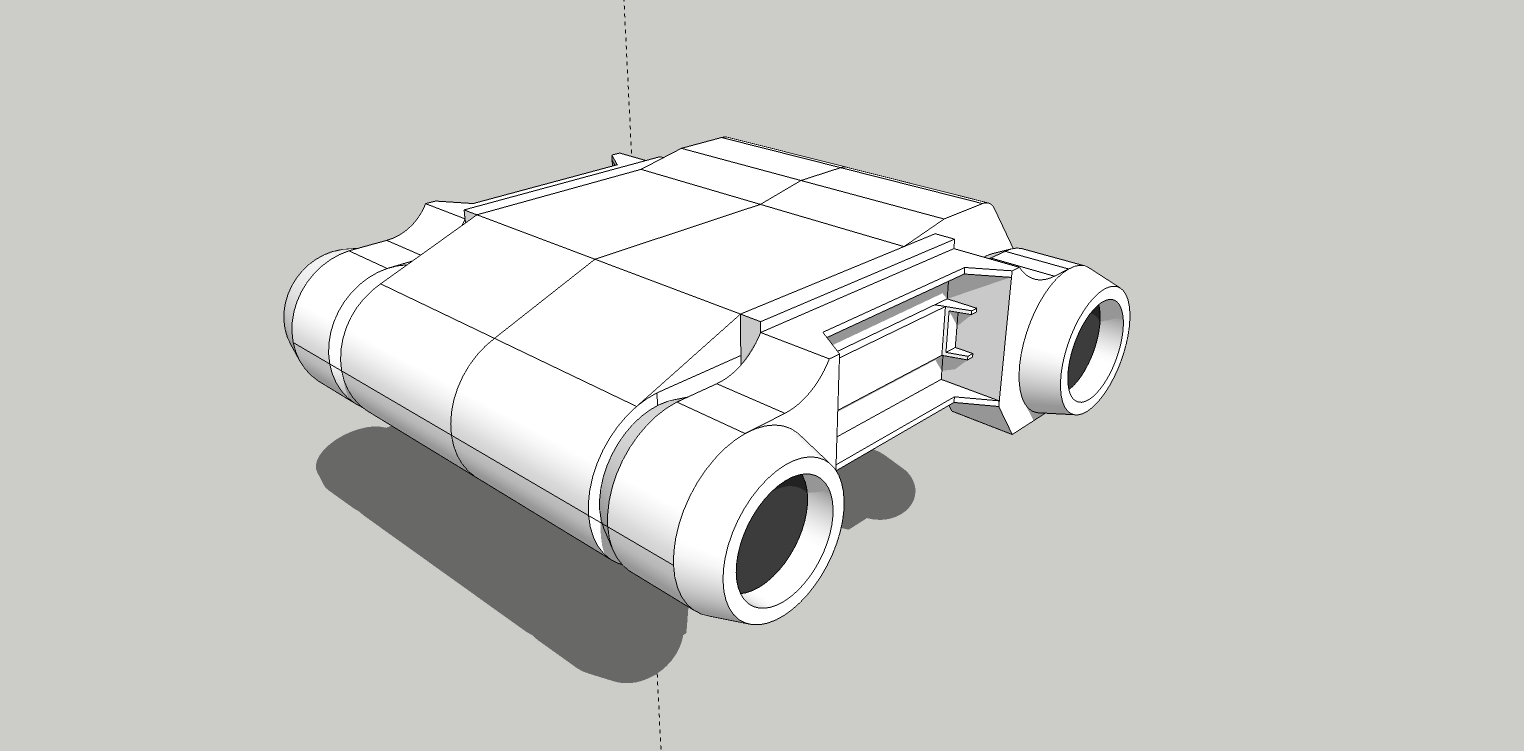
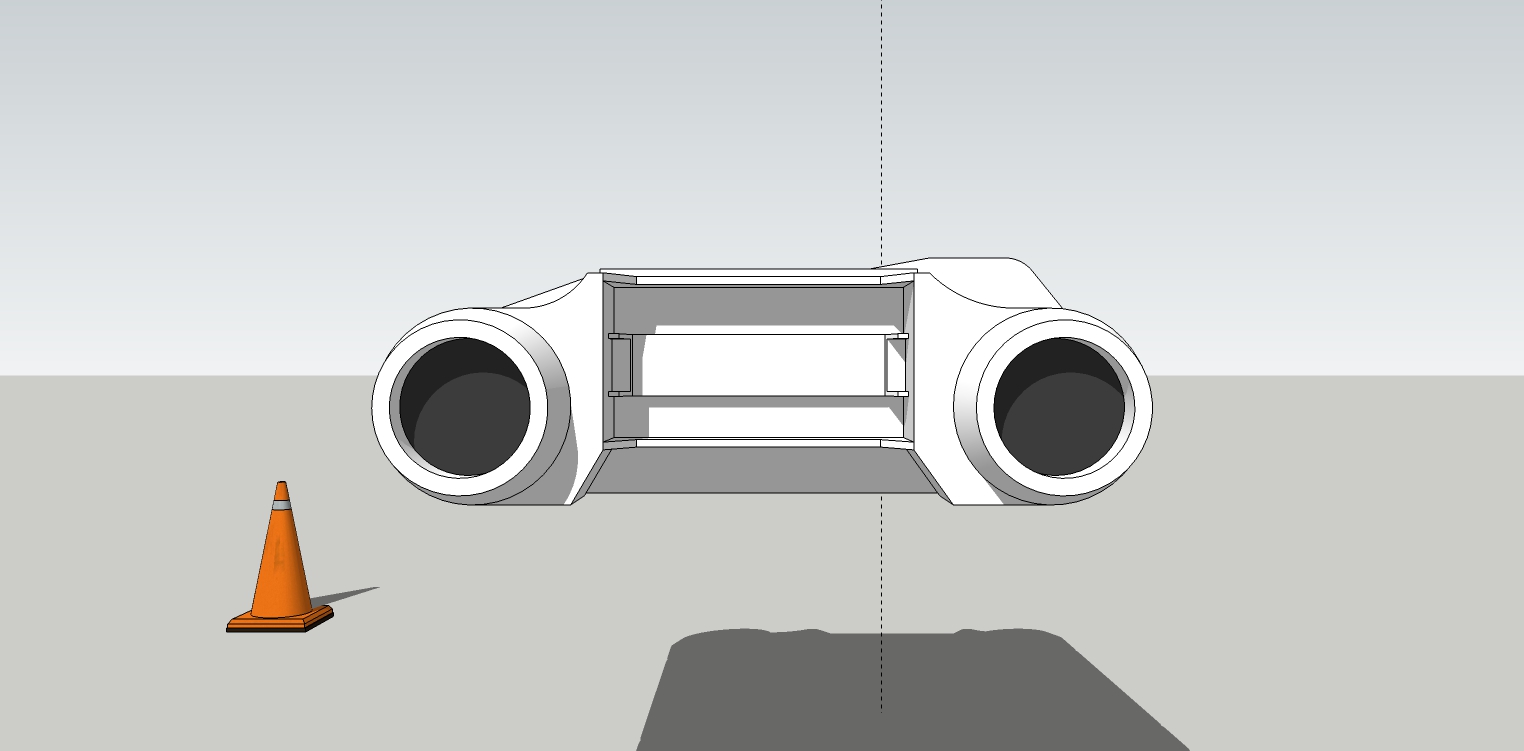
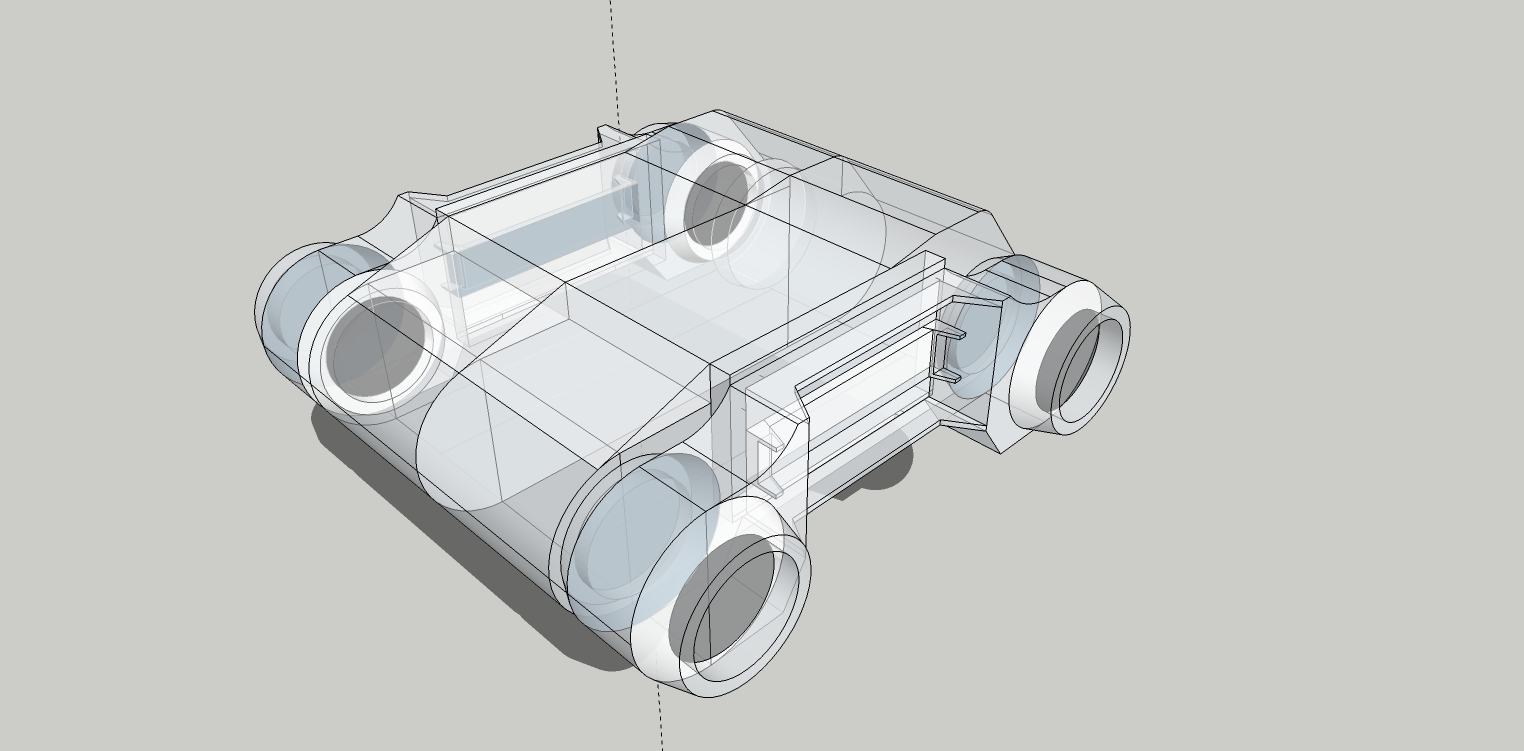
-
Back to detailing.
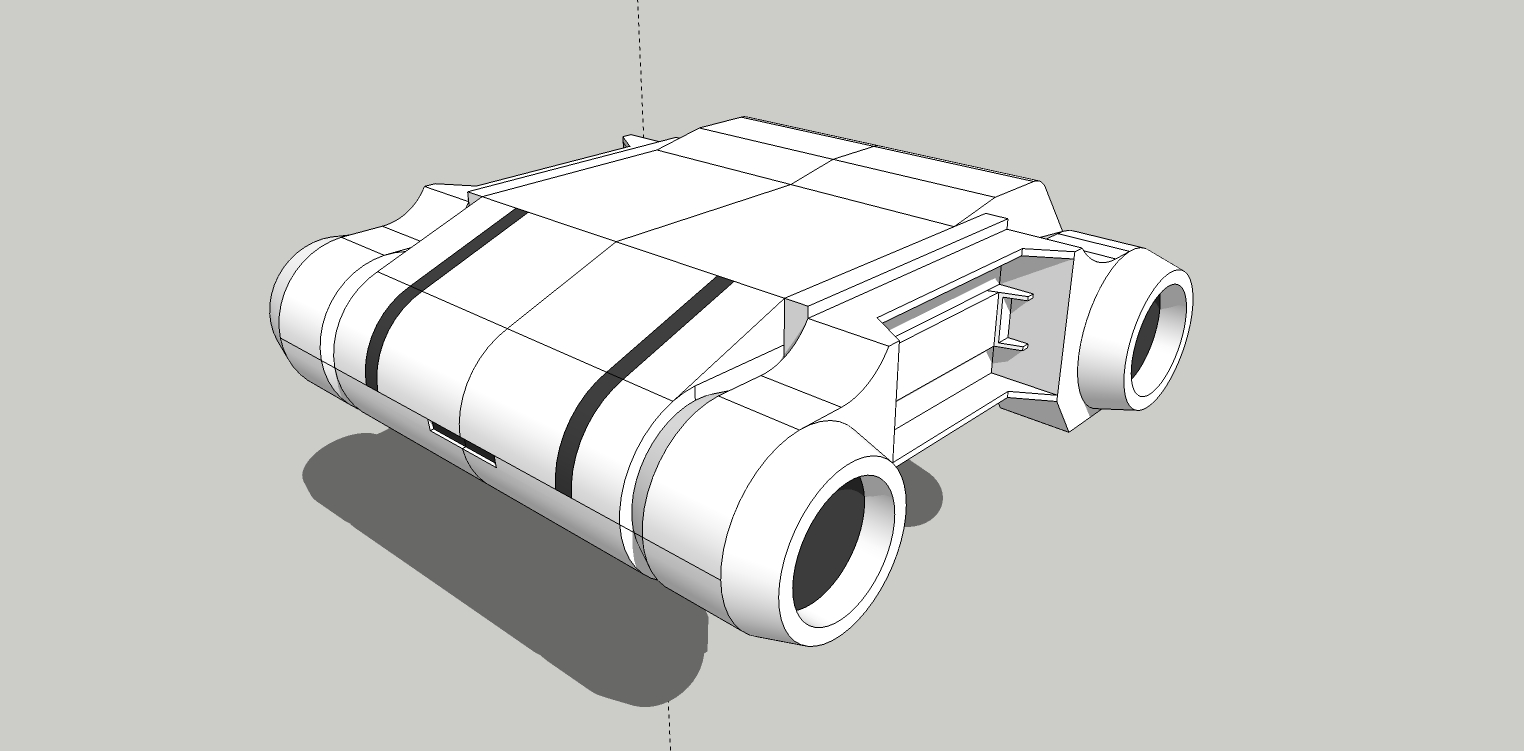
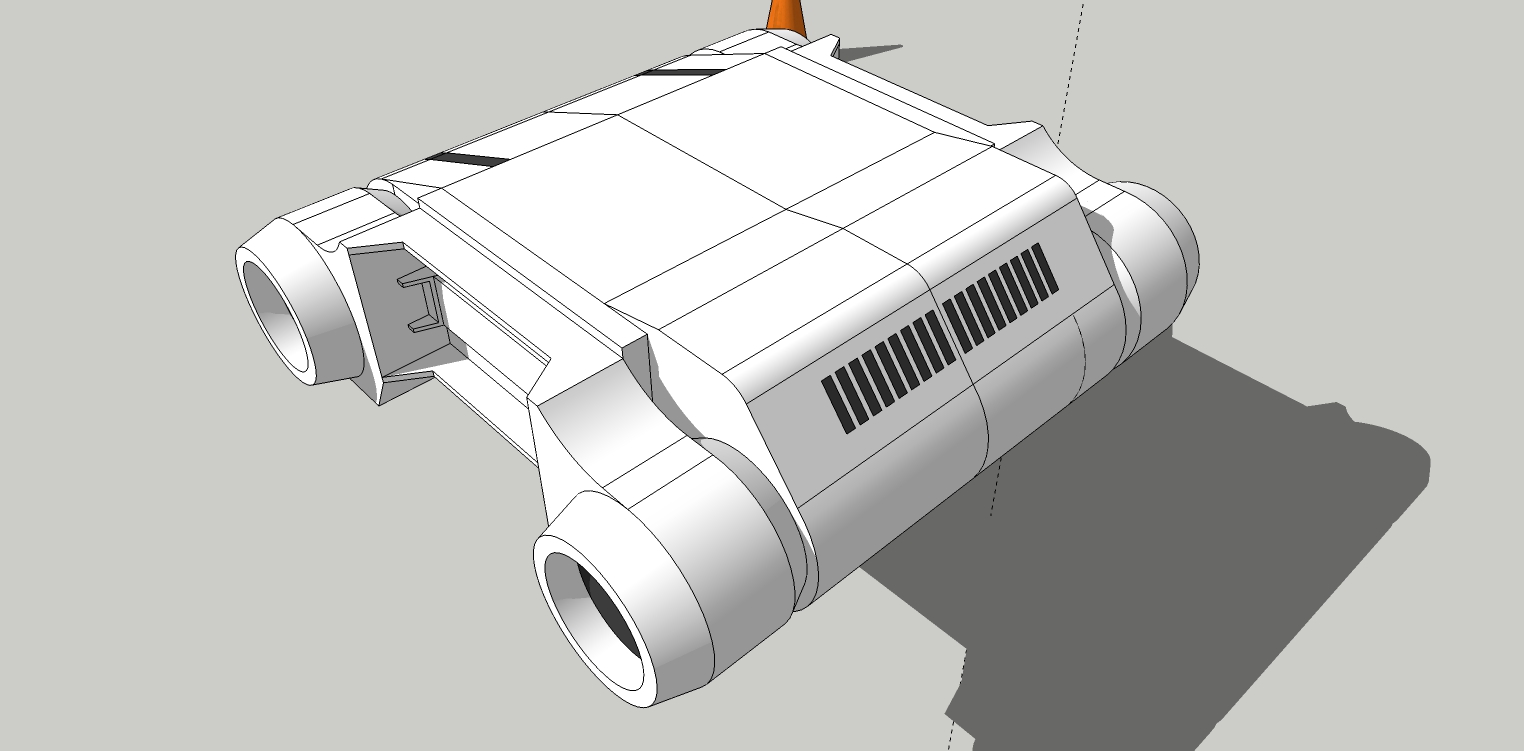
-
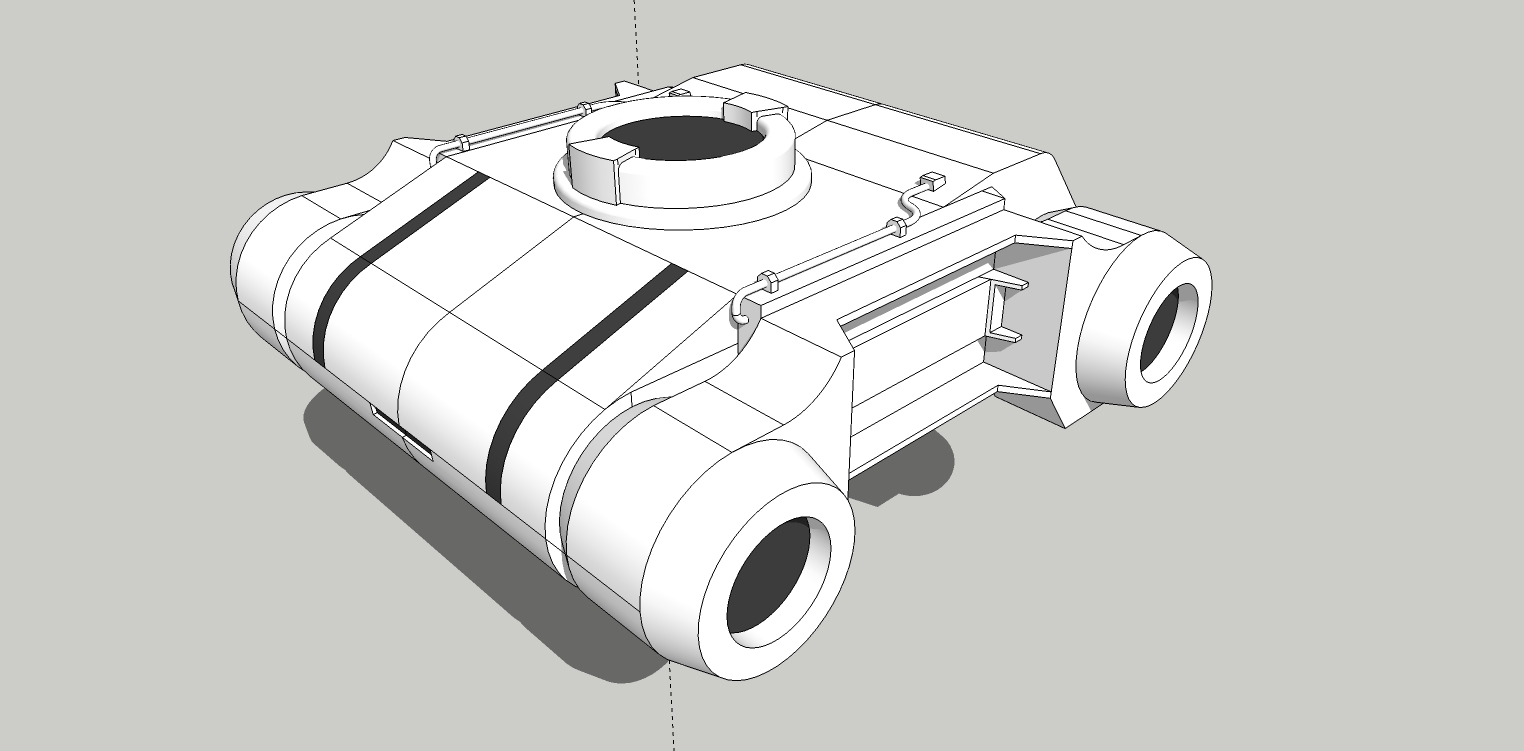
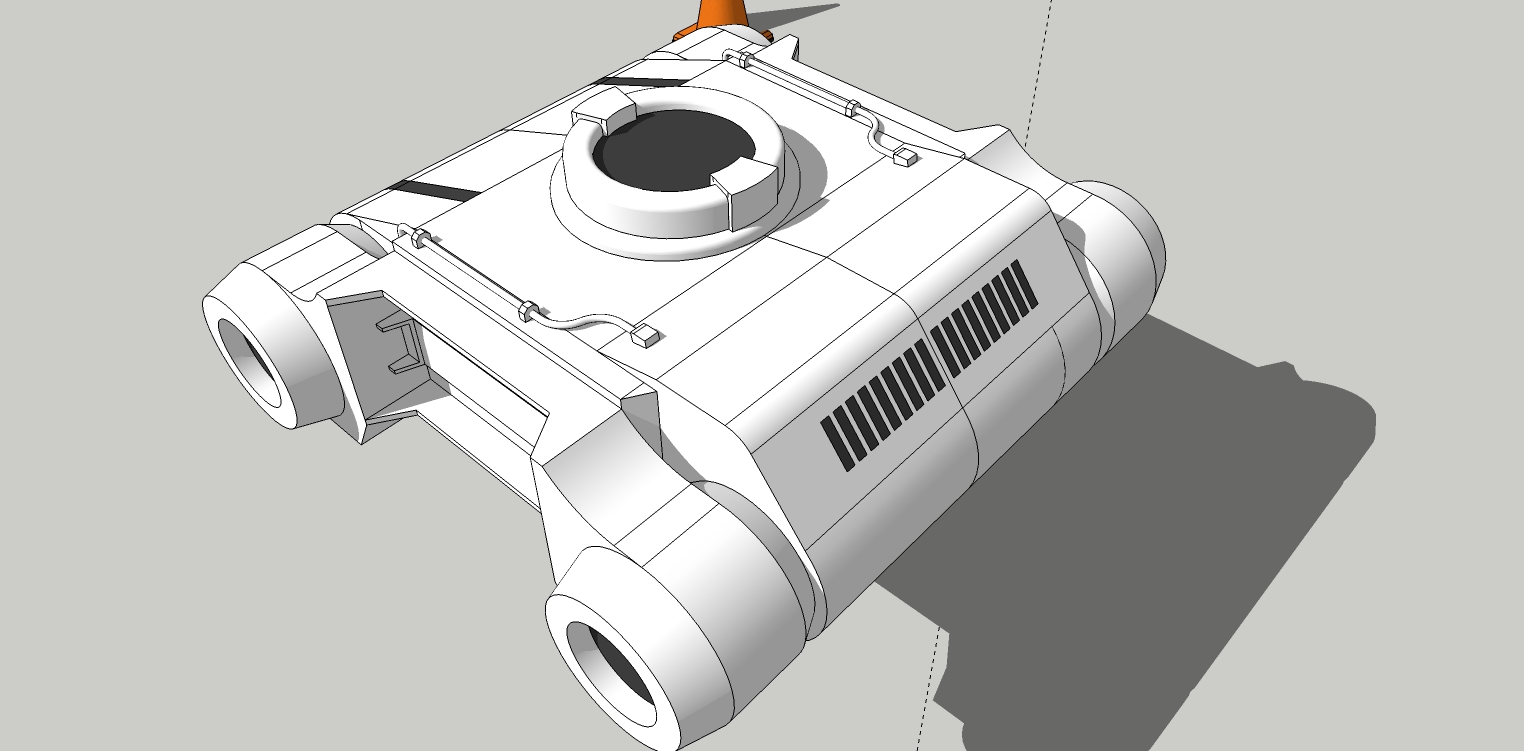
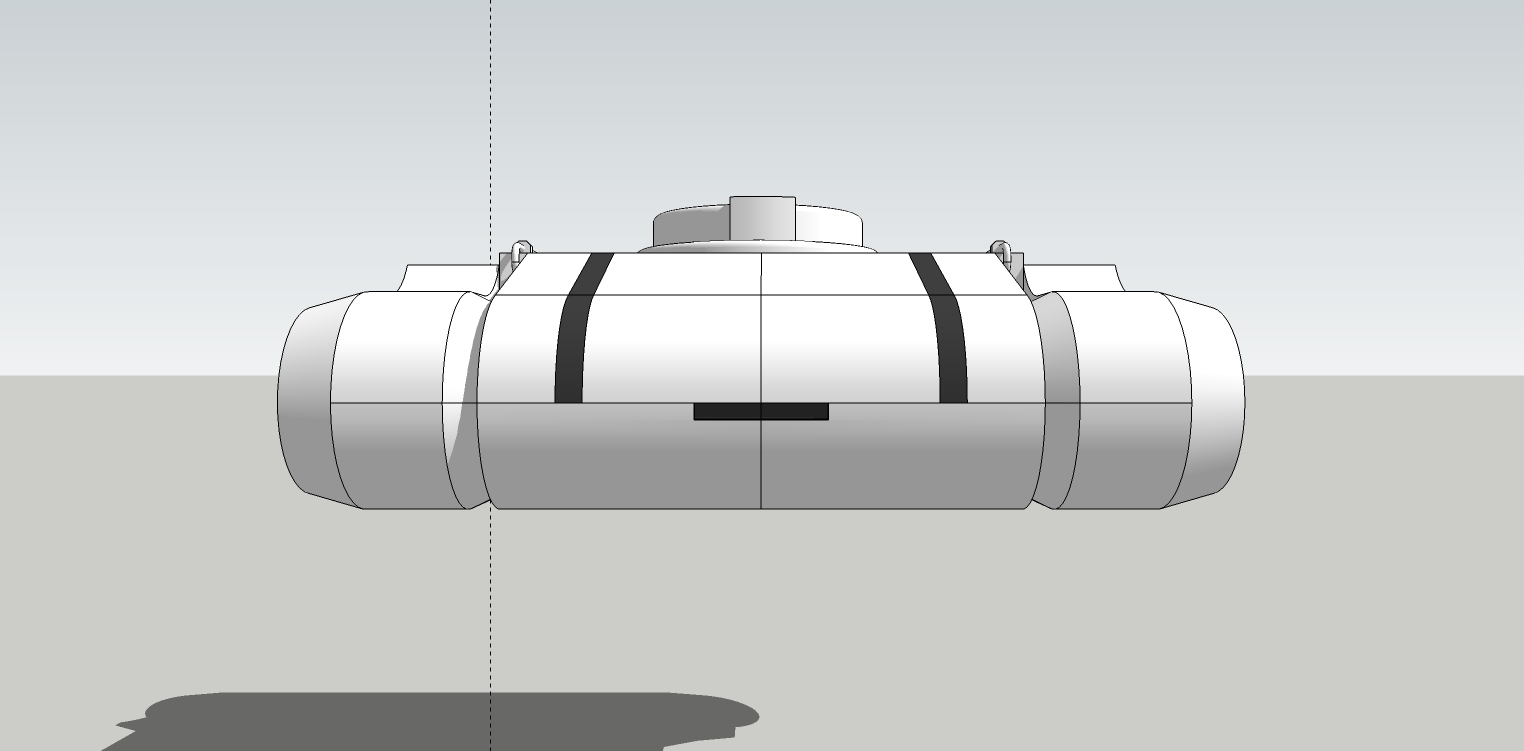
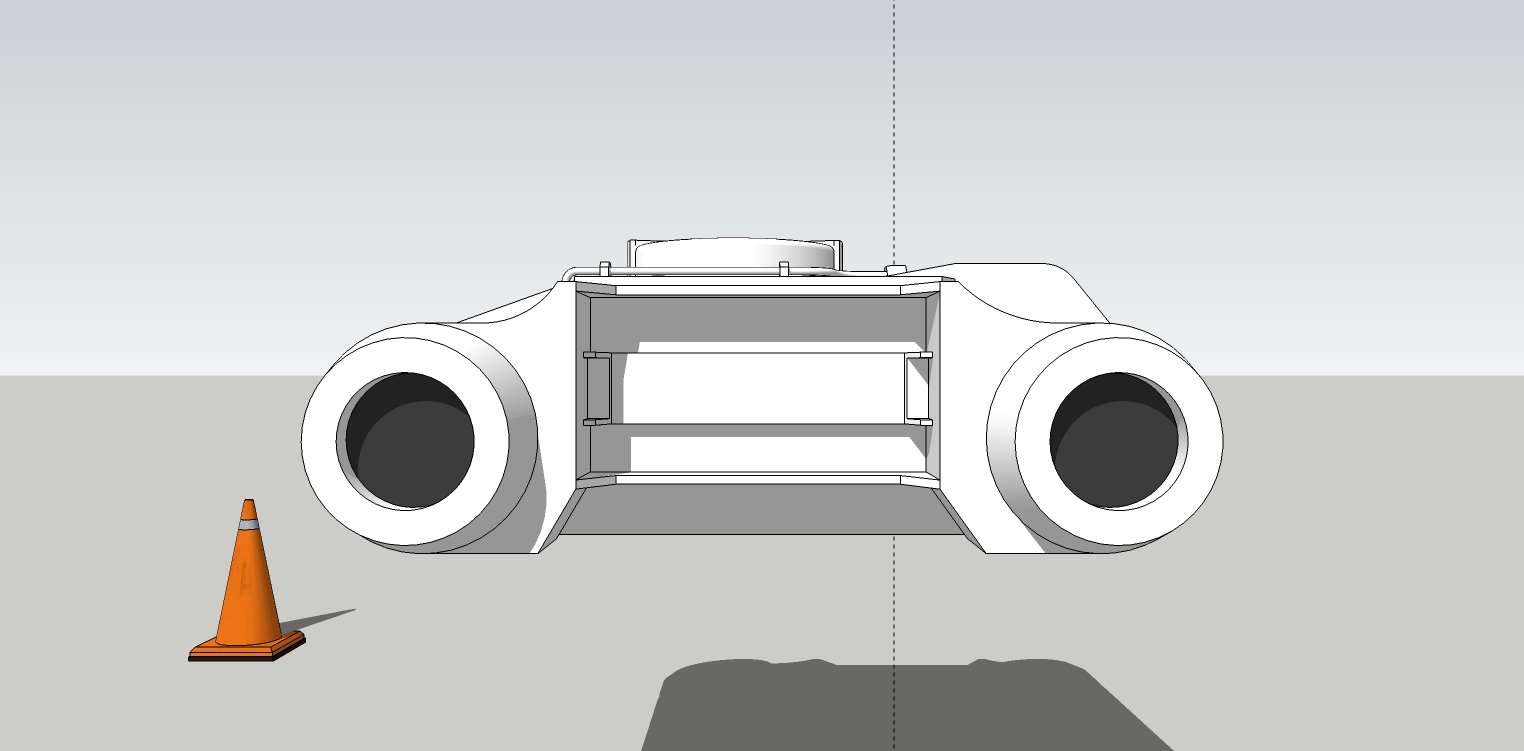
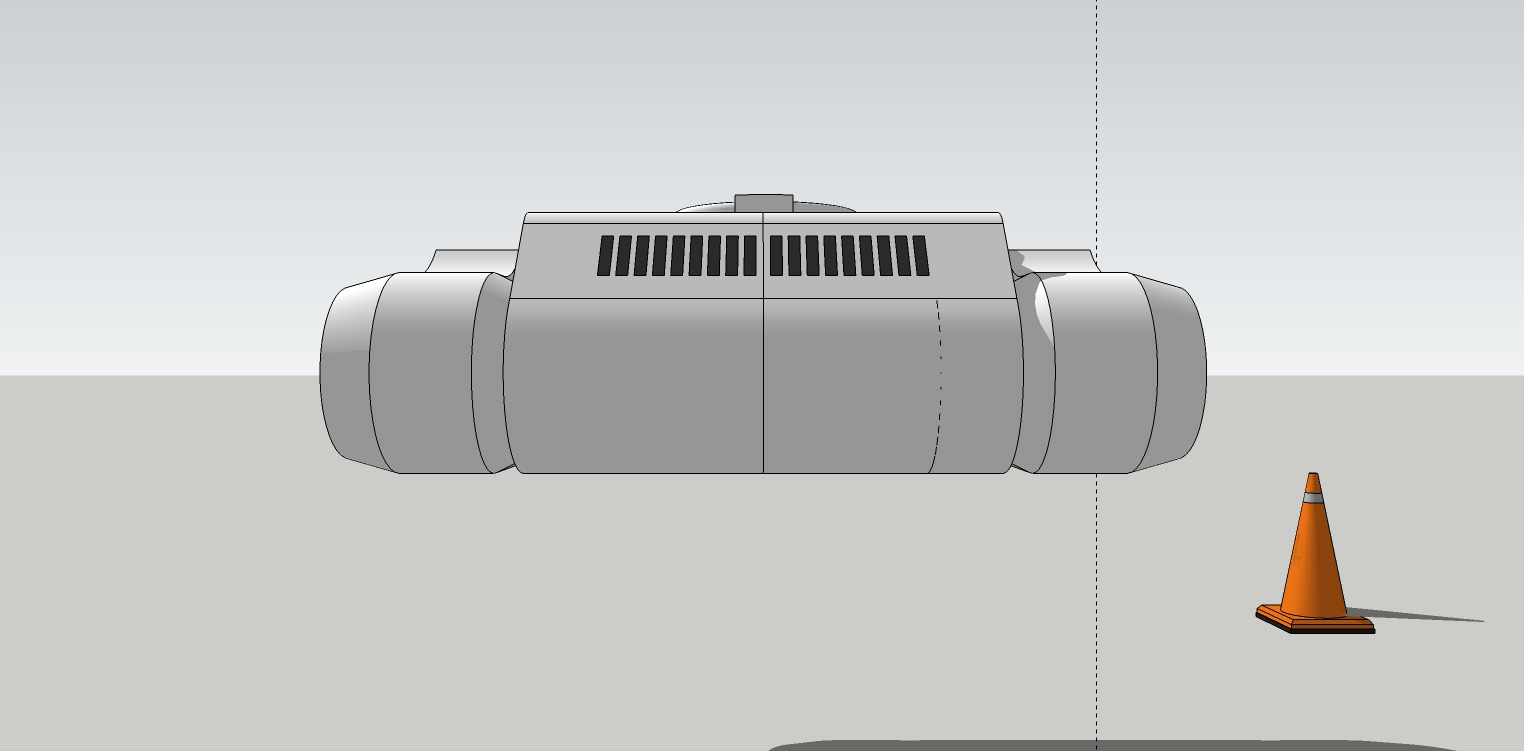
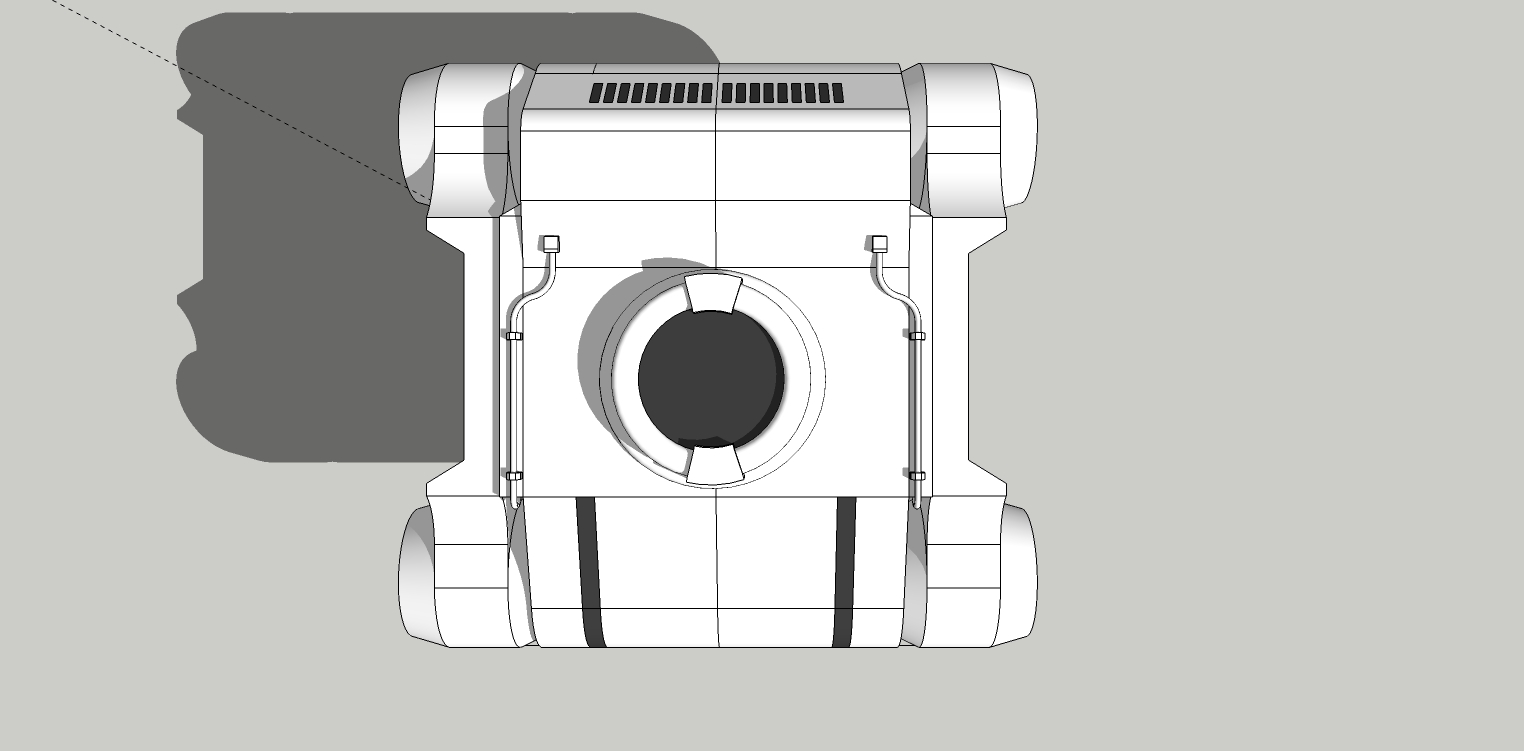
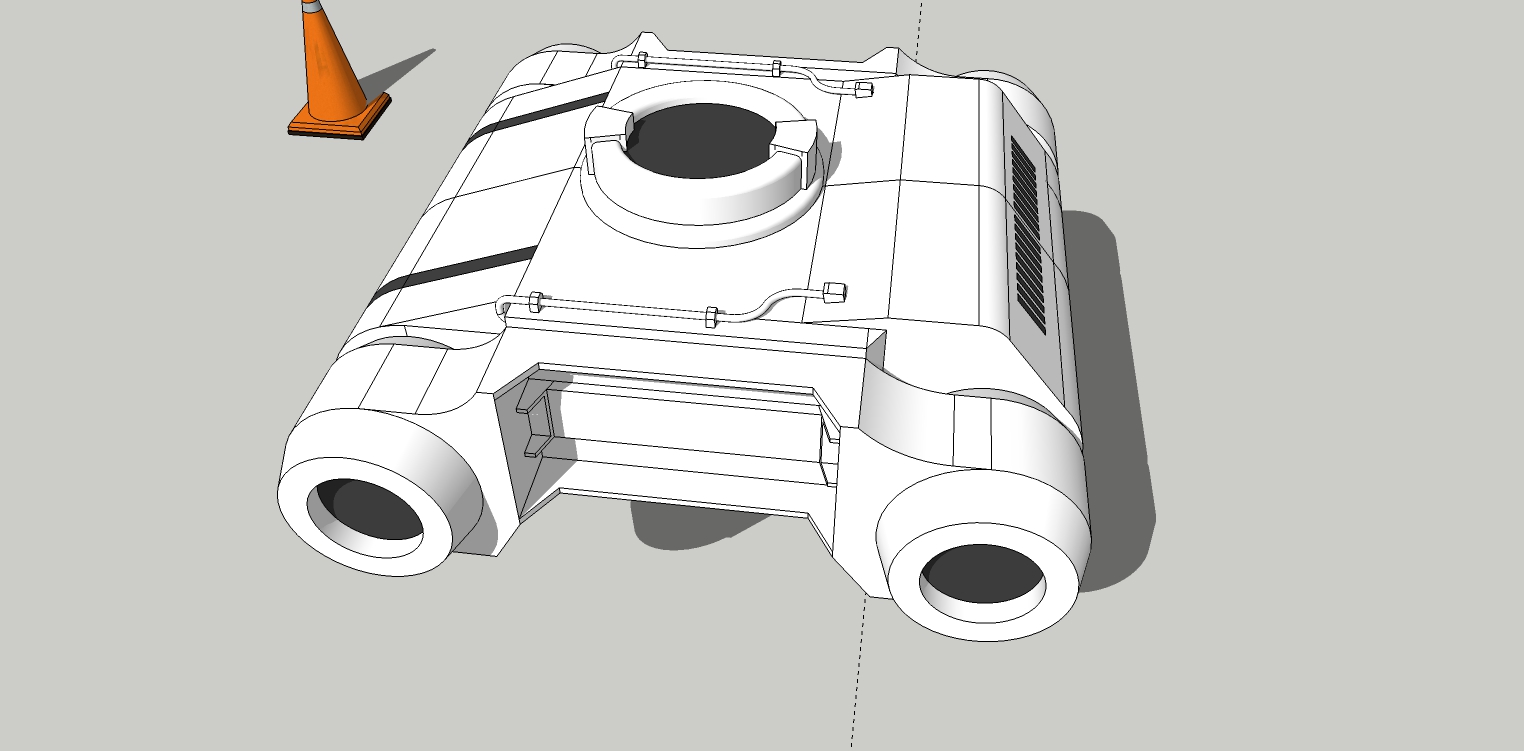
And that's it. Done. YAH!
I made the axle/attachment ports a little bit smaller and completed the details.
Is it exact? Nope, but it's close enough.

-
Moving along. (see above posts for previous steps)
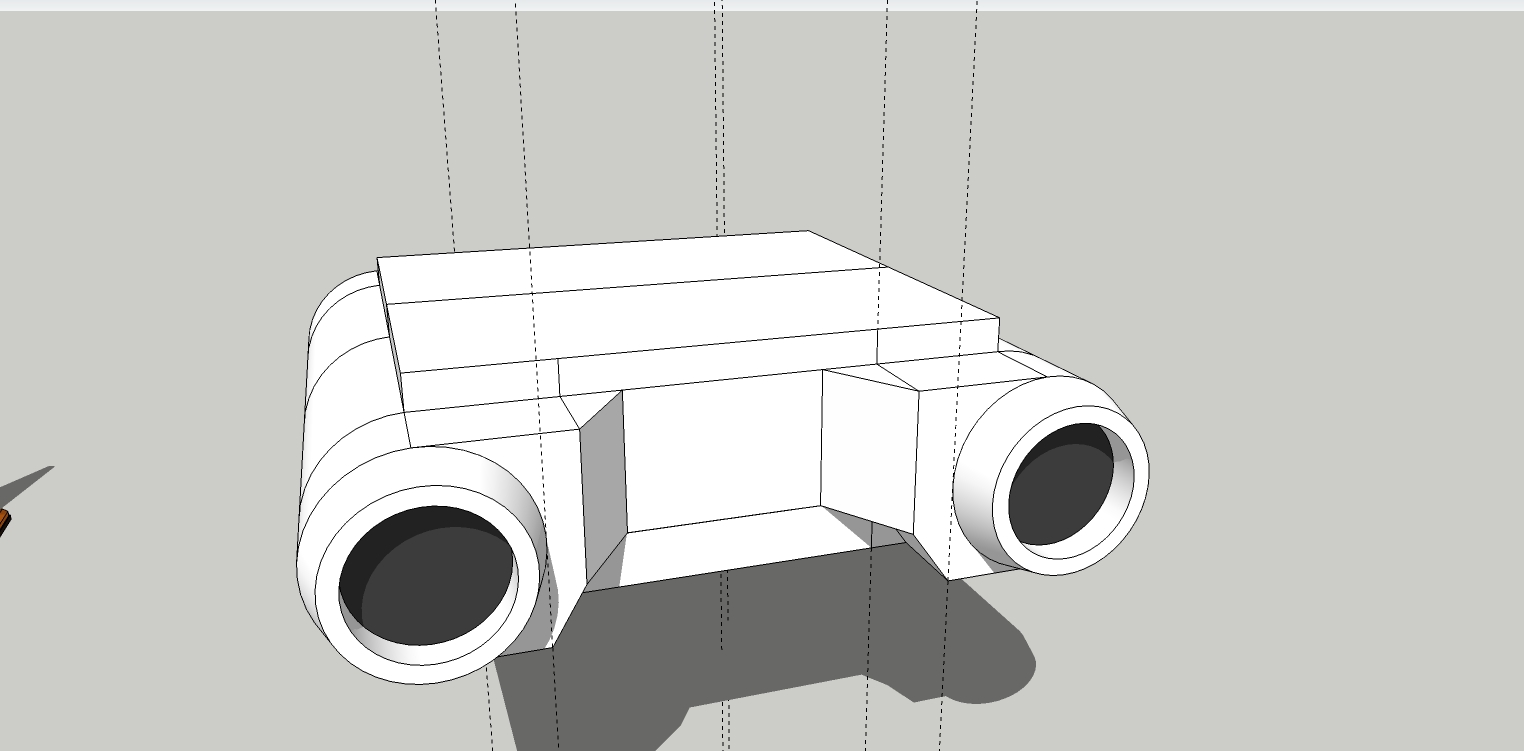
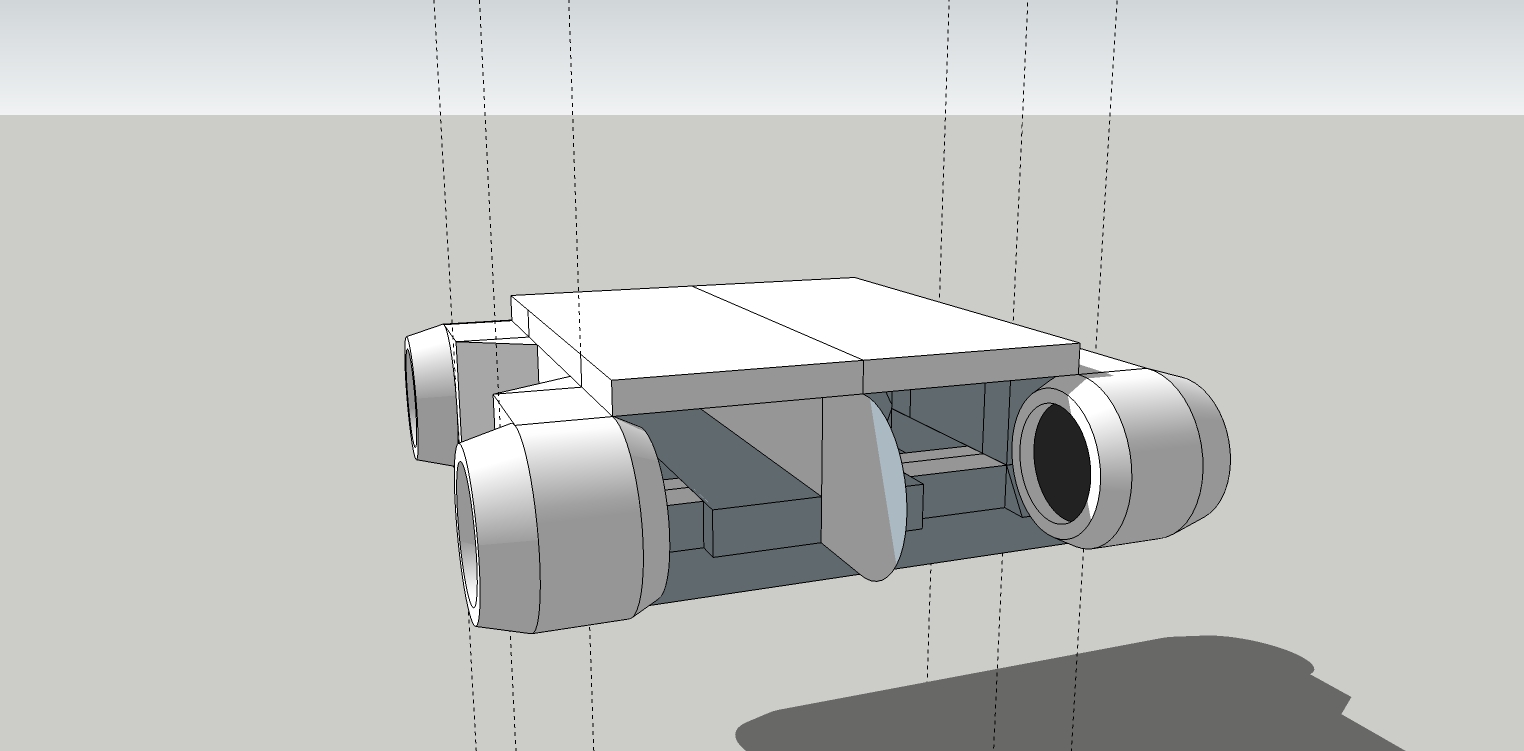
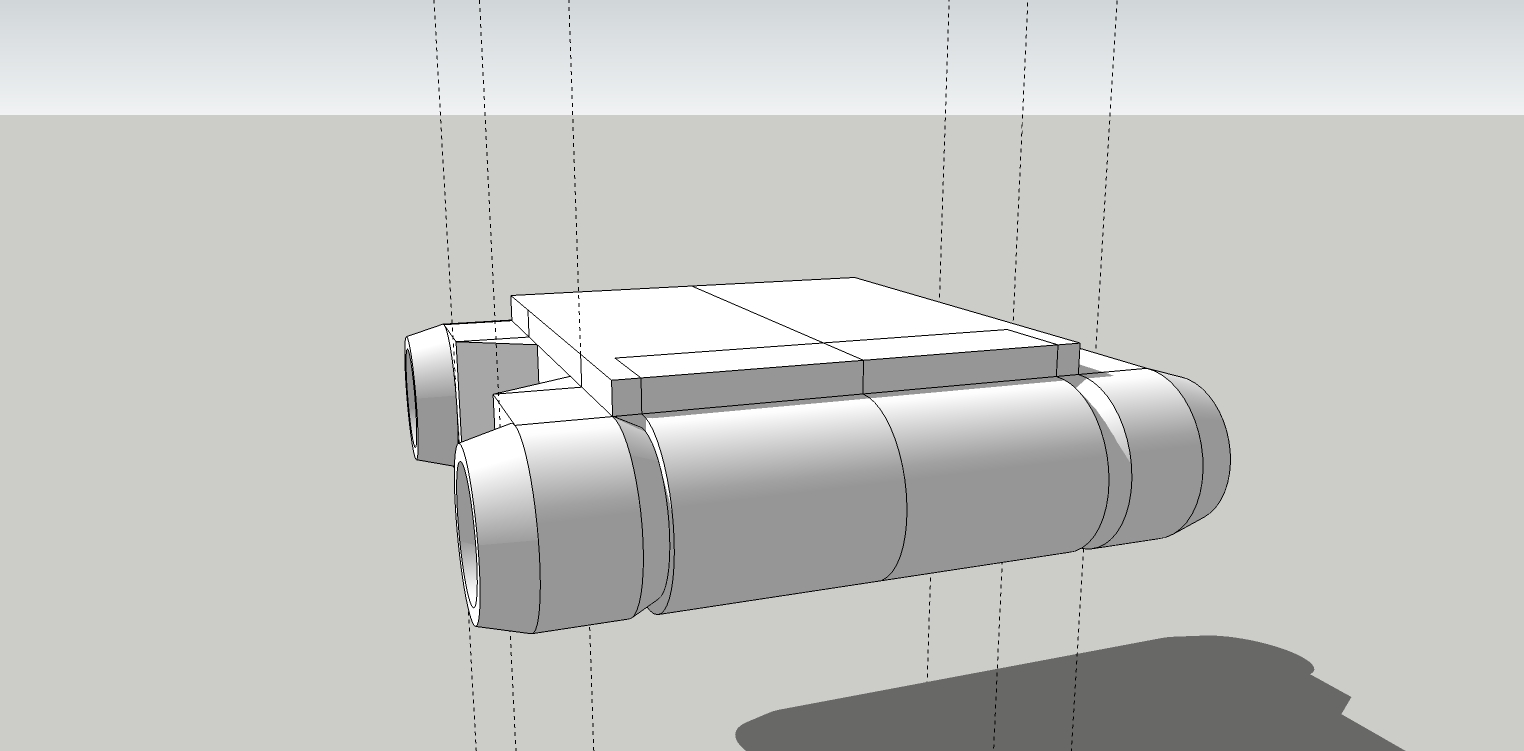
Do not copy this step. The geometry is wrong. Good example of how I mess up a lot before I get it right.
Go further down.
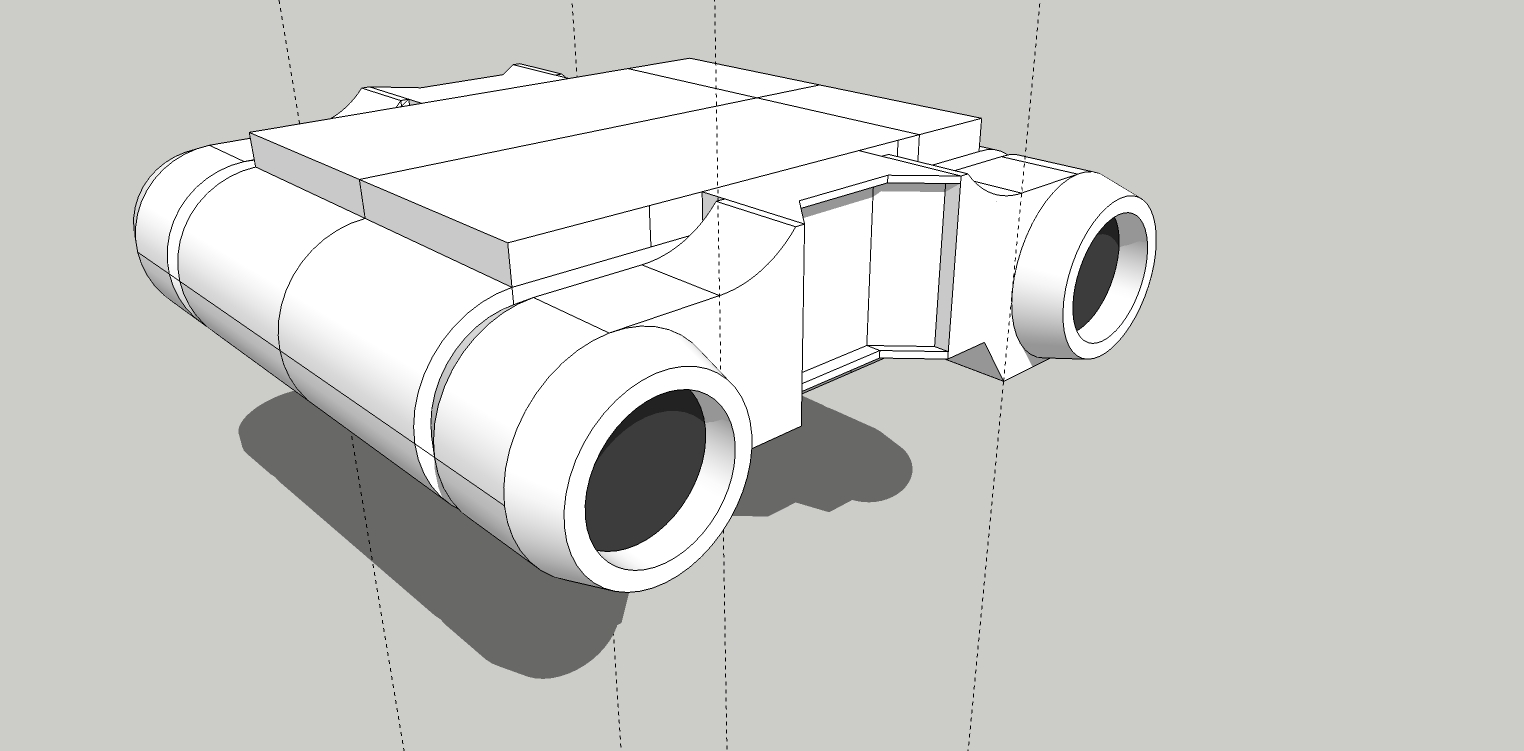
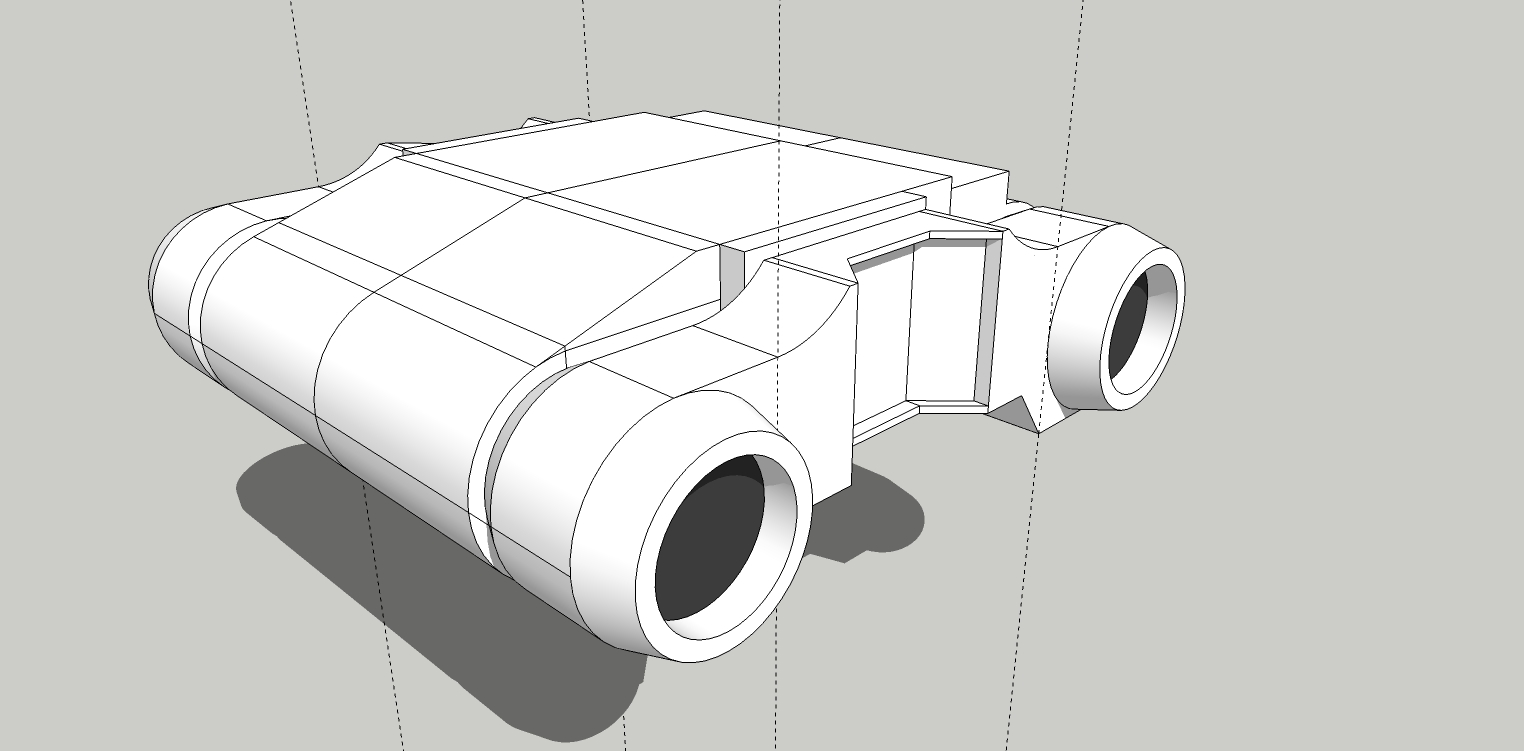
-
Do not copy this step. The geometry is wrong. Good example of how I mess up a lot before I get it right.
Go further down.
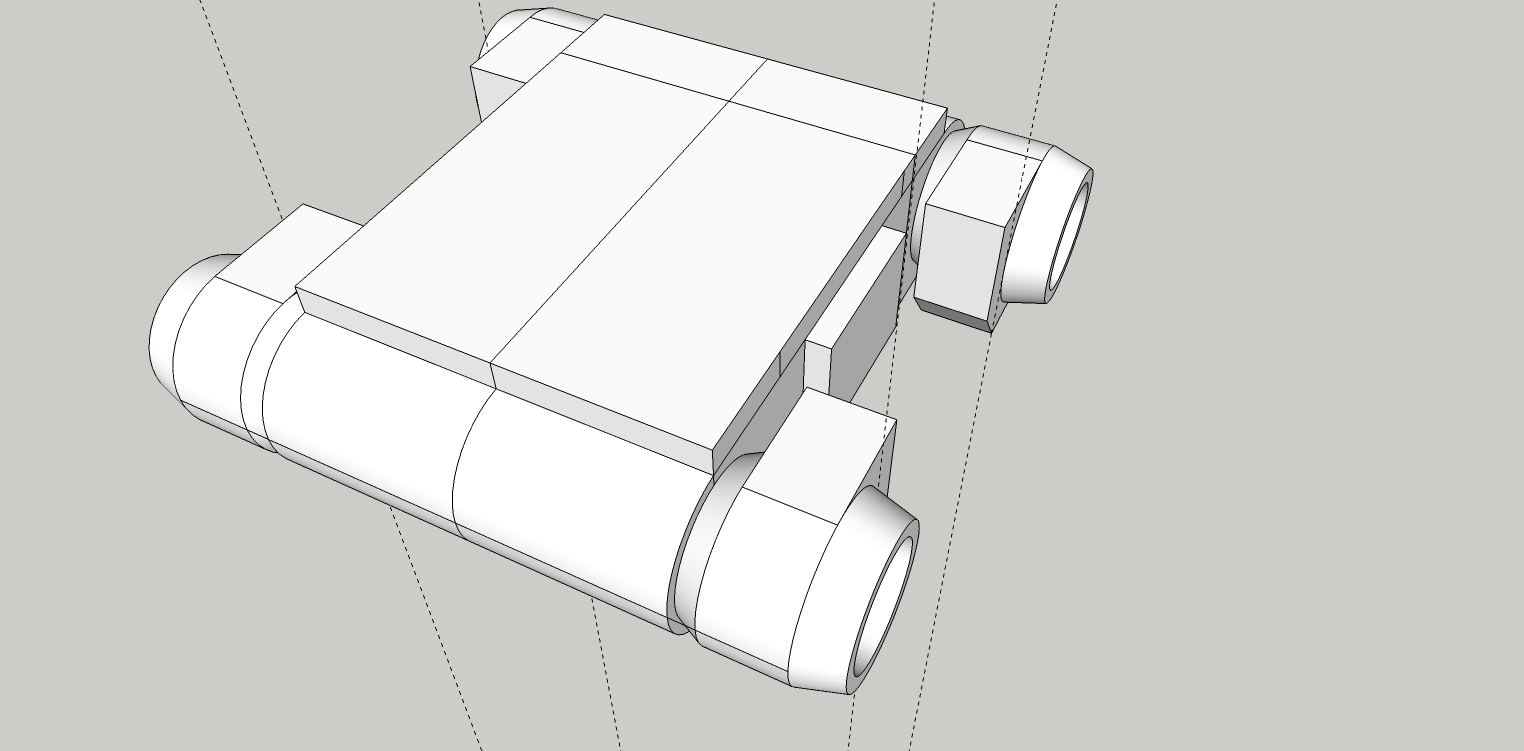
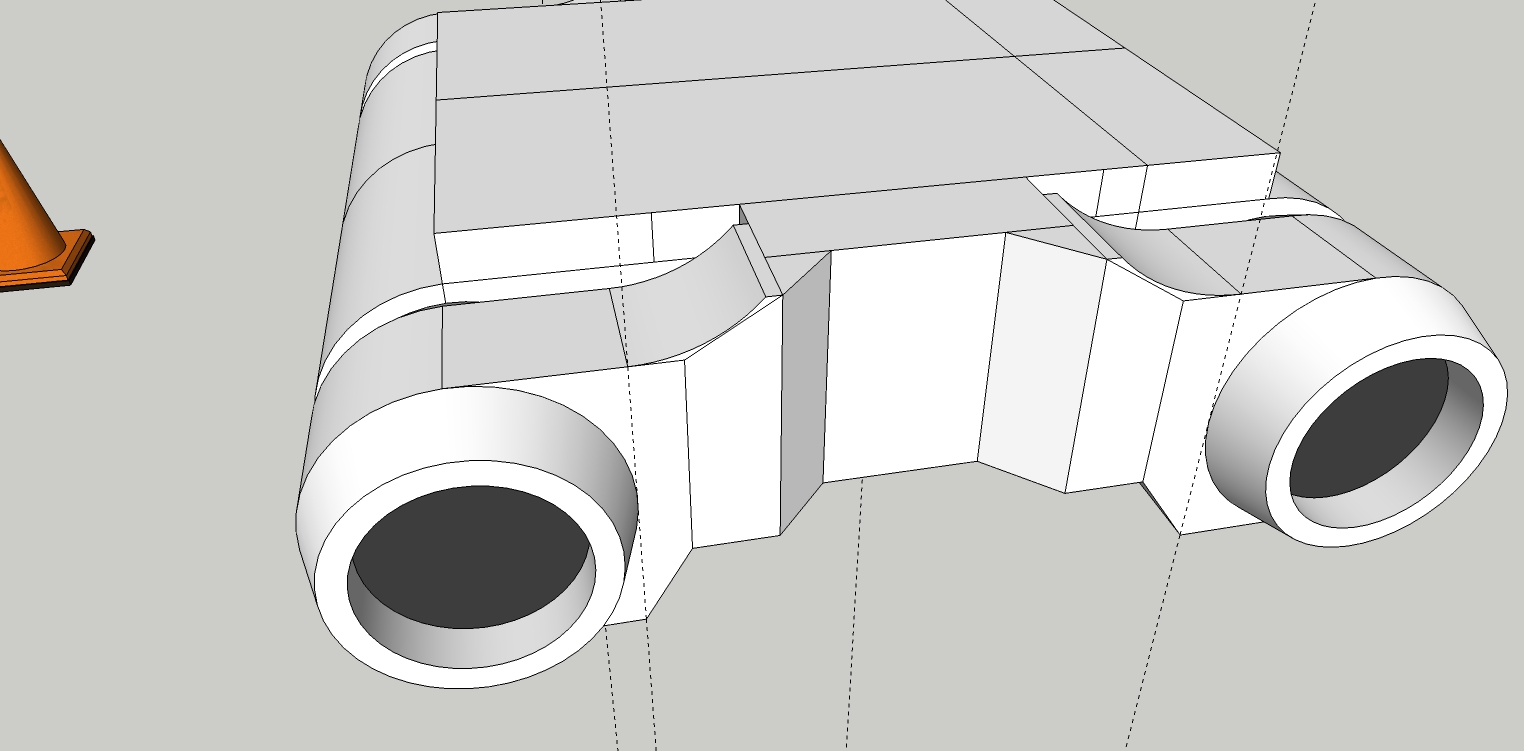
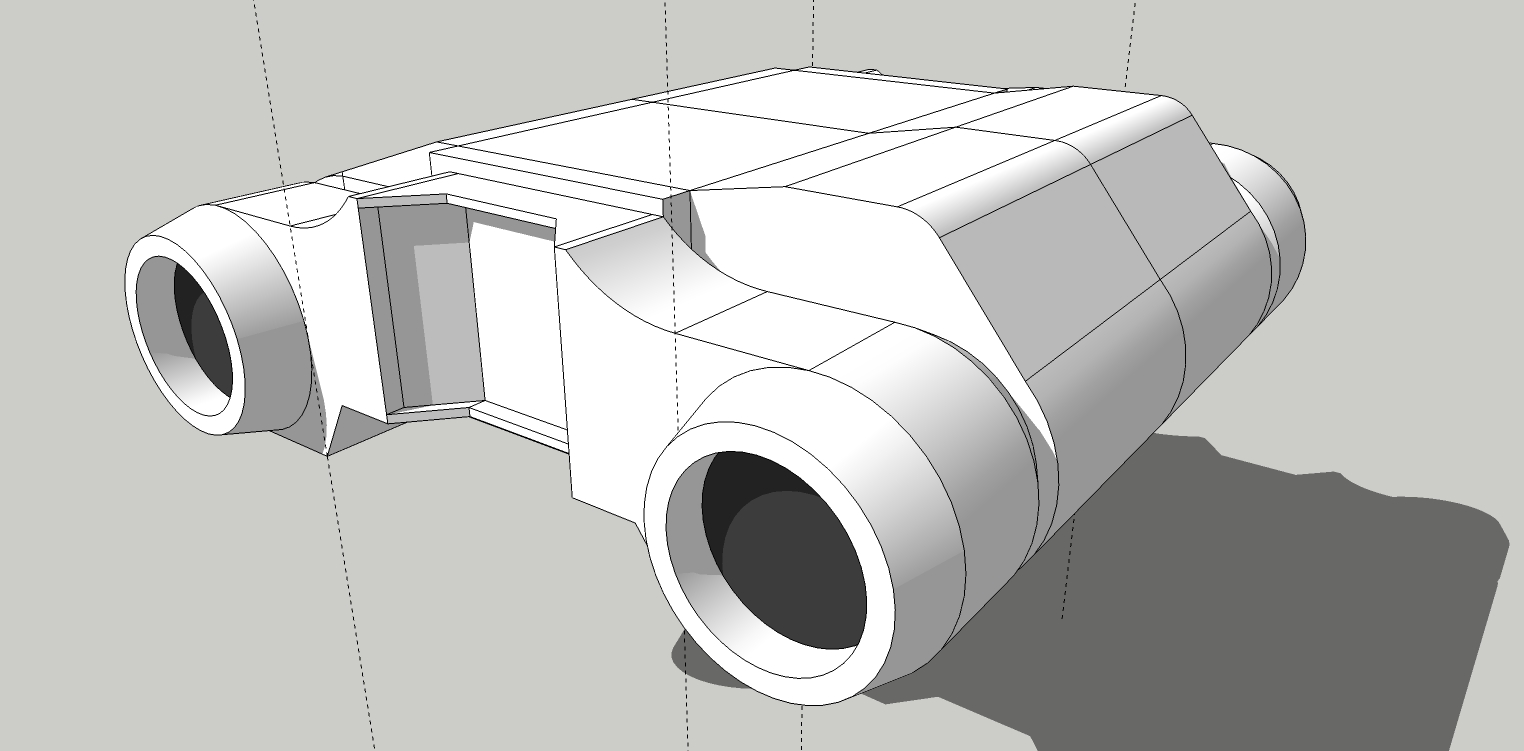
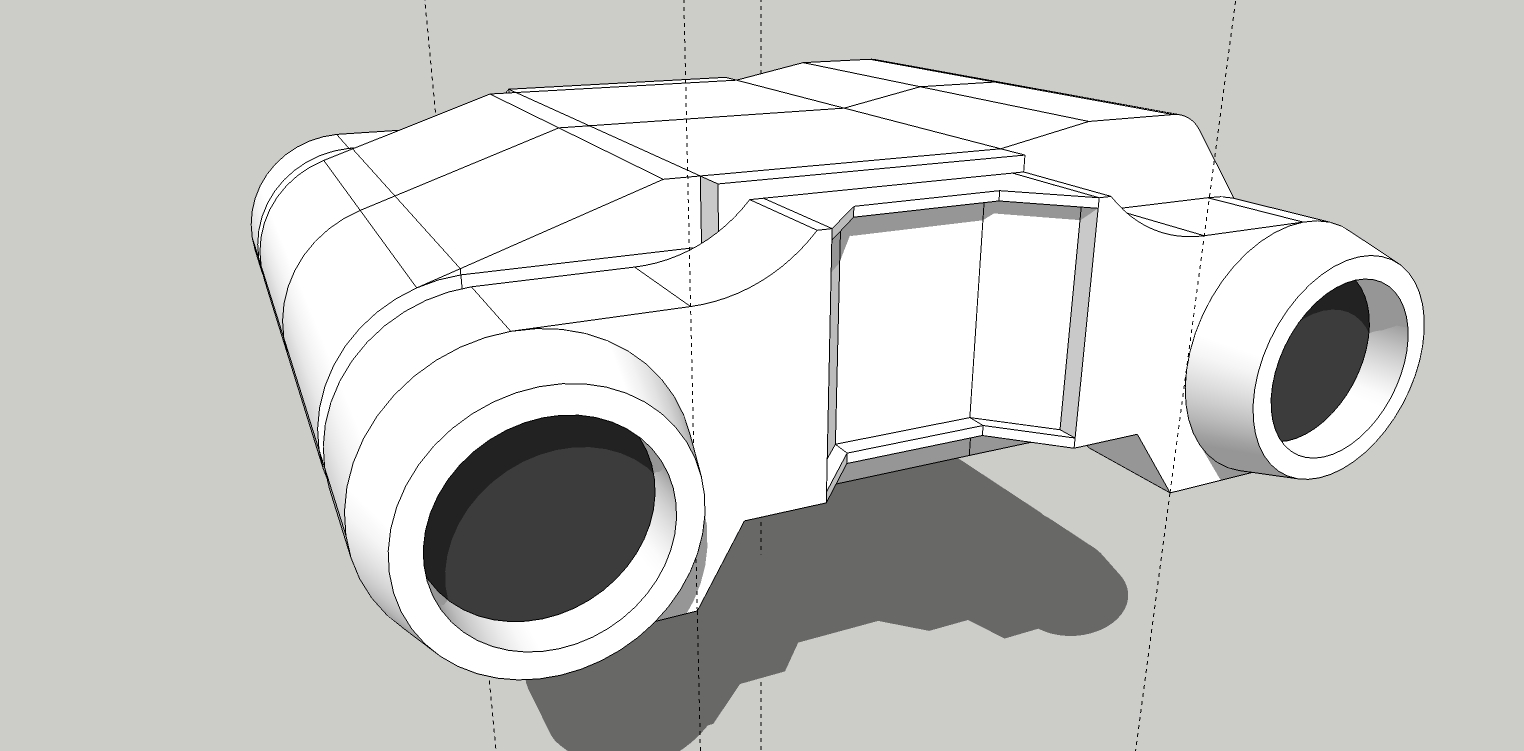
Final steps for main rough out.
It's just fiddly detail add-ons after this.
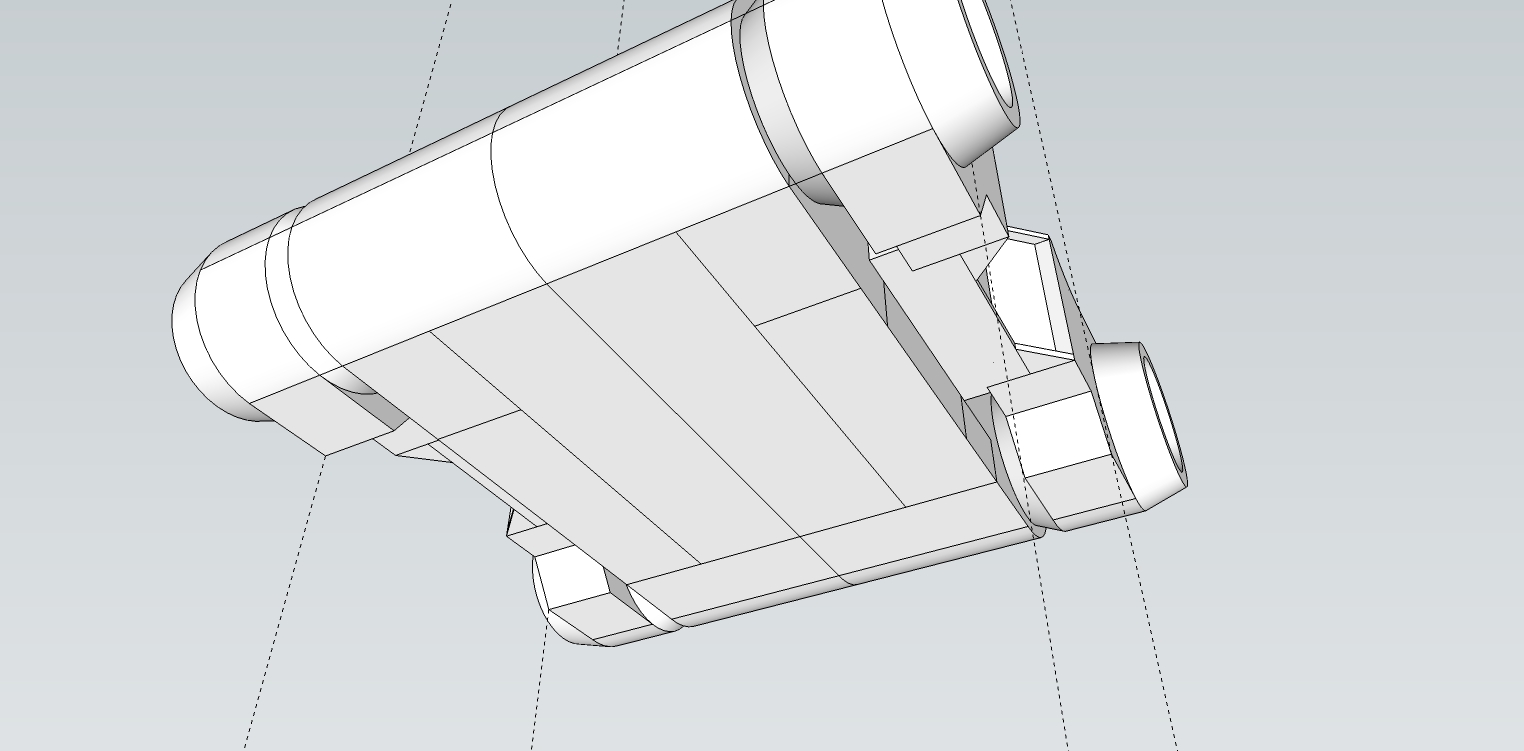
Well this was not as easy as I thought it would be. For some reason SketchUp was fighting me and many lines had to be redone several times. It also took time for me to figure out the curves.
Advertisement


