Medeek Electrical
-
I don't see single receptacles very often but I guess there is some call for them:
-
We are required to use a weather proof outlet that covers the plugs while in use. Perhaps a duplex a simple (minus curves) transparent lid should be provided. There are also gang boxes, some non transparent lids, but the first is most common.
Maybe you wish to go over the whole GFI thing with an electrician. I have my knowledge, but I'm not an electrician so I'll keep it to myself.
-
I have a 1-gang GFCI as well as a two gang GFCI-Duplex and GFCI-Decora combo. What other combinations of GFCI/Outlets are common? (I will handle the GFCI/switch combo later)
The possible permutations are crazy so I am trying to limit things slightly for certain outlet types, I think this makes the most sense. Just trying to rein in the madness.
For instance I have never seen multiple GFCI outlets ganged up in a single box, only ever one with another switch or regular duplex/decora receptacles.
Also what type of weather proof outlet would you prefer I include as the default? I'm looking at Leviton's offerings and also at Taymac, too bad I can't seem to find readily made models for any of these. Oh well, I would probably have to remodel them anyways because the poly count would probably be obnoxious.
After digging through Leviton's website straight for the last 3-4 days I now know more about switches and receptacles than I care to really, but it certainly is an education. I'm still amazed at all of the possible combinations of switches and outlets that are possible and how the manufacturers do their best to provide as complete coverage as possible, there are literally hundreds of face plates (configurations).
-
@pbacot said:
We are required to use a weather proof outlet that covers the plugs while in use. Perhaps a duplex a simple (minus curves) transparent lid should be provided. There are also gang boxes, some non transparent lids, but the first is most common.
Maybe you wish to go over the whole GFI thing with an electrician. I have my knowledge, but I'm not an electrician so I'll keep it to myself.
Does anyone have a model of a weather proof outlet (with transparent lid) that I could use as a starting point.
The most up-to-date covers (NEC 2014) seems to be the Taymac MM420C and the MM2420C:
-
It looks like I will need to add in one additional option, Weather Proof GFCI. It seems that this combination is fairly popular:
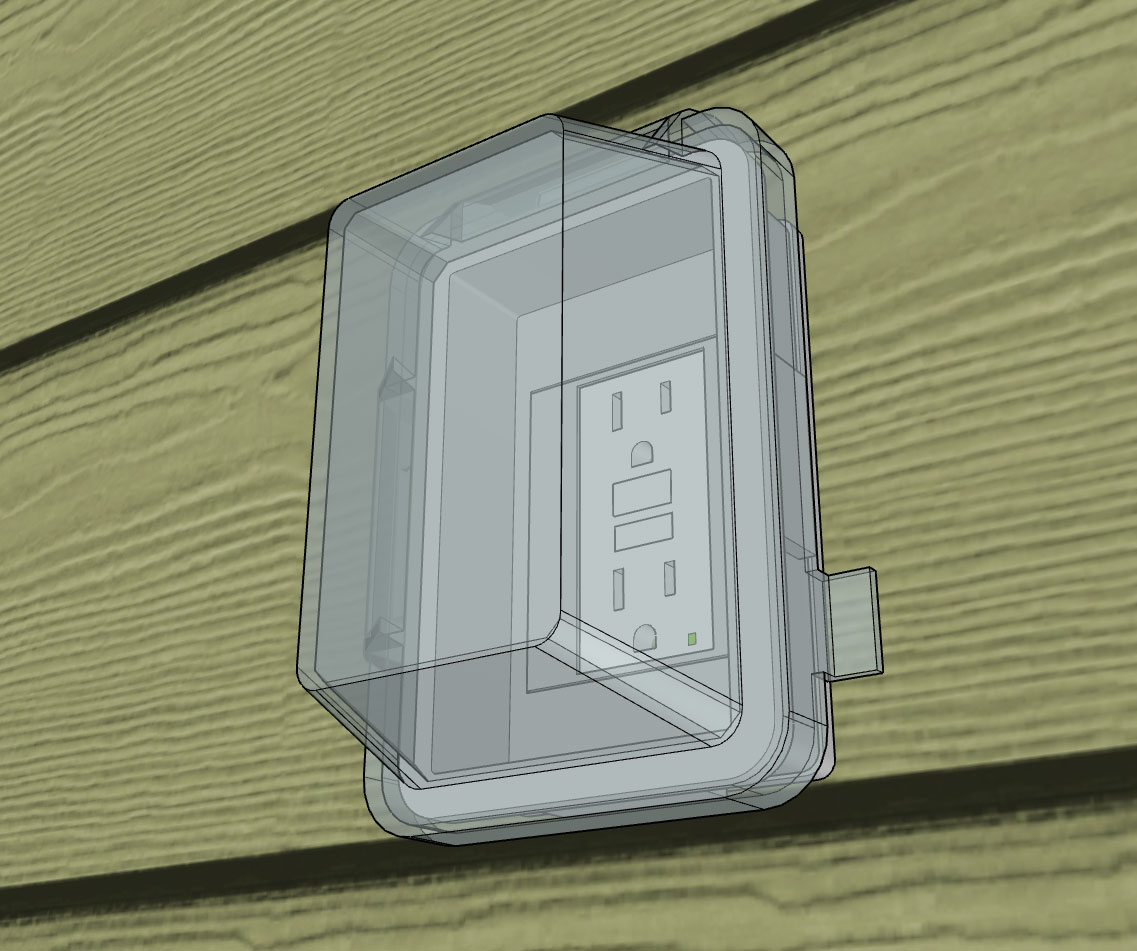
My weatherproof cover is based on the Taymac MM420C, probably a little more detail than it needs but I wanted it to look somewhat recognizable.
I also have the Decora option and the standard duplex option.
-
Nice!
-
Has anyone ever called out duplex receptacles with the integrated USB chargers?

I'm assuming the callout would just be a standard duplex symbol with the annotation "USB" added.
-
These type of outlets have a small parasitic load (50 mW), but I think many people are willing to accept that loss for the convenience. My worry would be that the device fails down the road and then I need to replace it. Its one thing tossing an old adapter in the bin, its entirely different when I need to pull out the tool bag and start re-terminating receptacles, or worrying that one of these things is really going to go bad and possibly create a fire hazard.
It’s not a big deal to provide a USB model of your standard USB Decora duplex receptacle, I’ll just base it on the T5632 (Leviton) and if people want something different they can replace the default model in the library that I provide.
As I was eating outing this evening with the wife I noticed along the bar a line of outlets (and even a couple switches) that were mounted horizontally rather than vertical. I will need to add in the first of the advanced options which allows the user to toggle between a vertical or horizontal mount, obviously vertical will be the default.
-
Added the advanced option which will allow for a horizontal mount of any receptacle:
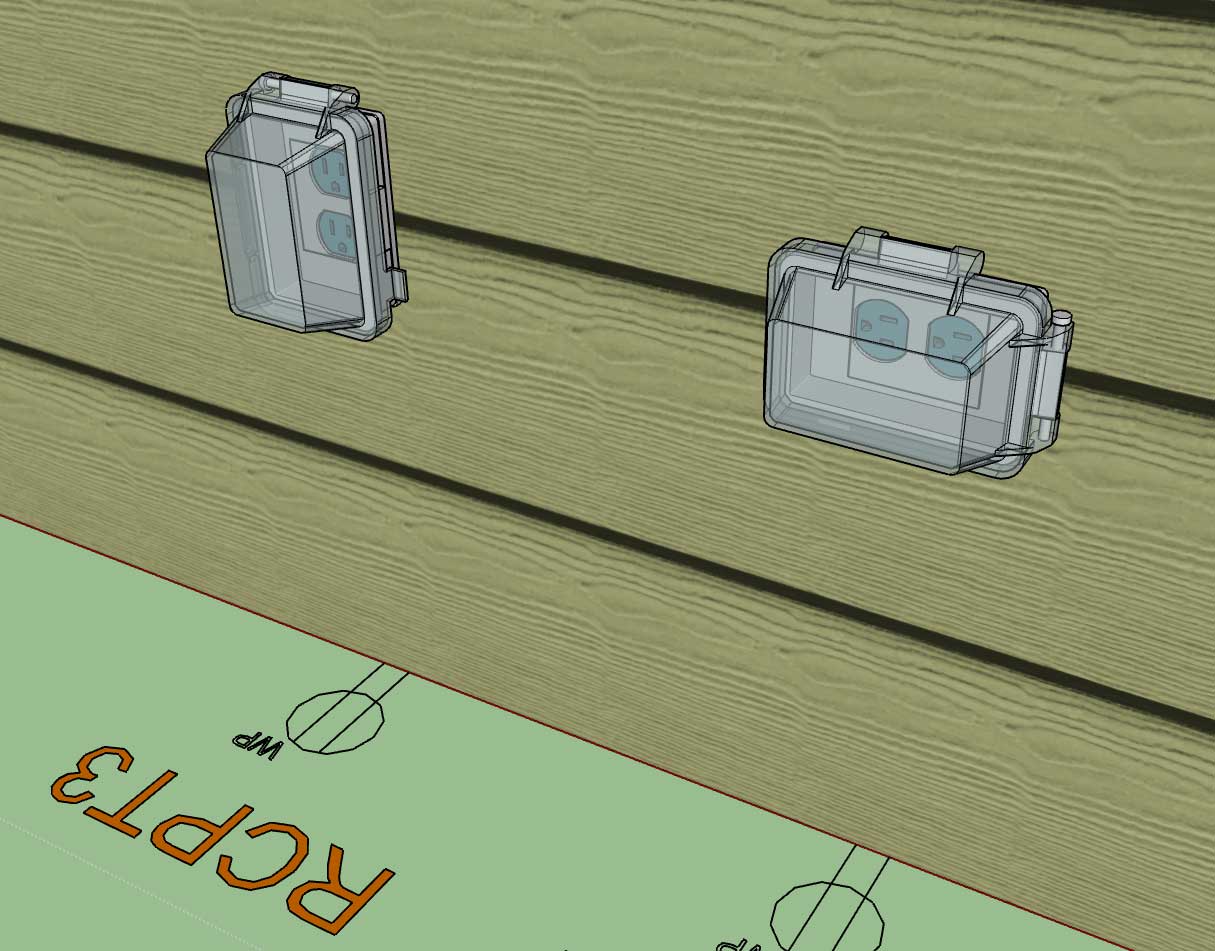
First look at the the following: GFCI, USB, Simplex, Horizontally mounted Duplex
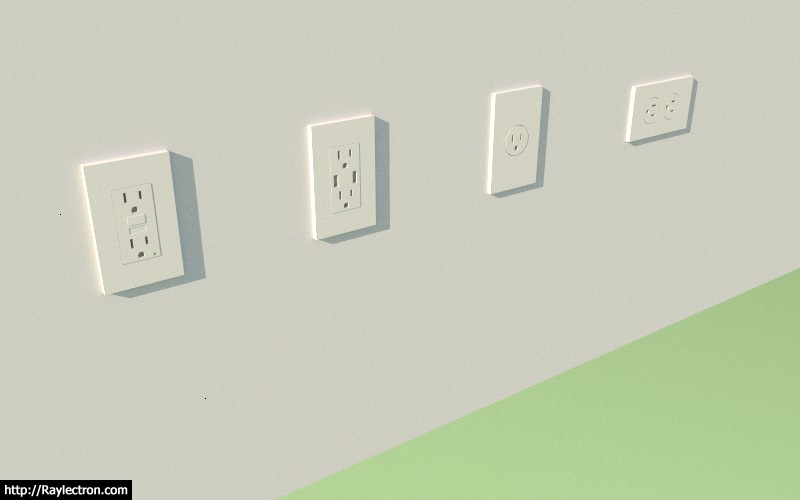
I will also extend this same functionality to the switch module so that they can be mounted in any orientation.
-
Option for weatherproof GFCI added:
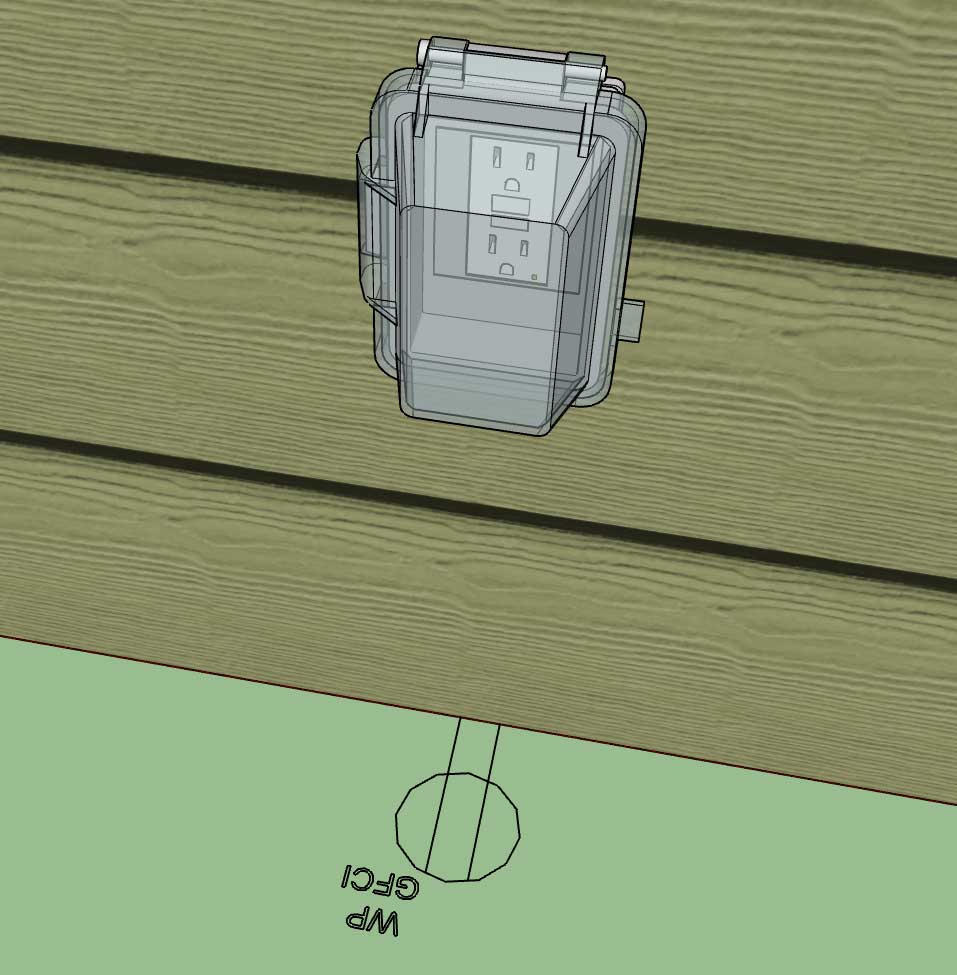
I haven't gotten every combination but I think I now have about 85% of the most commonly used configurations added in for outlets. I will now return to the switch module and work that over for a while until it is also about 85-90% coverage.
I also still need to add in a completely new style: 240V
This will comprise single gang outlets for clothes dryers, welders, and ranges.
-
I've added in the option for 240V receptacles:
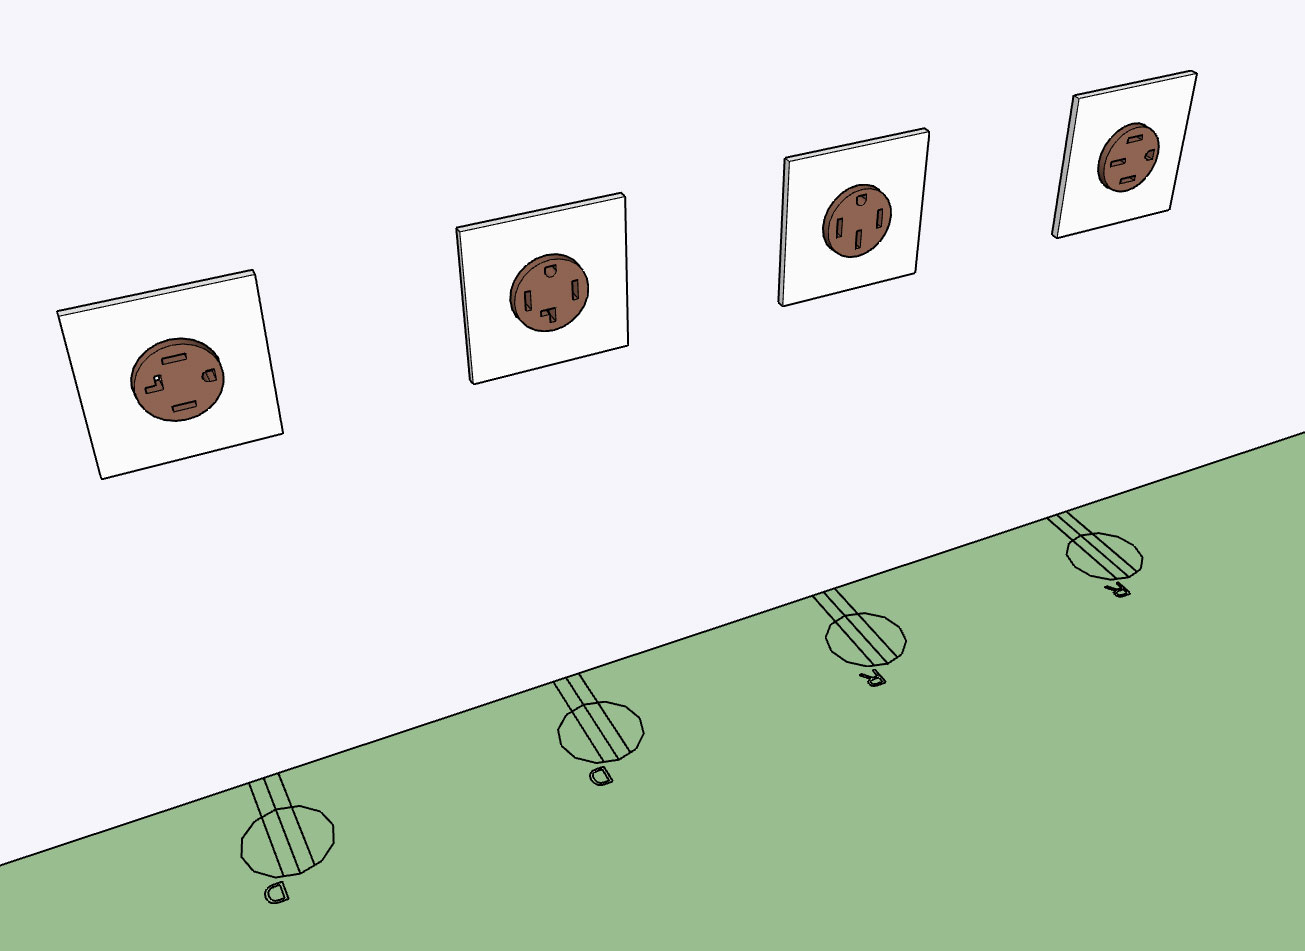
These are limited to single gang configurations as shown (2 gang electrical box). They can be mounted either vertical or horizontal. The annotation allows one to specify either a dryer (D) or range (R) outlet.
By default the color of the outlets is a dark brown (thermoplastic) but can be modified by the user as well as the wall plate material.
I was going to add in an option for a welder outlet but I'm not sure which outlet type is the most common for this application, it appear that the NEMA 6-50 is commonly used for welders but until I get more information or a direct request for this particular NEMA receptacle I will leave this one for now.
Dimensions for these outlets types are per Leviton's product lineup, as is the wall plate. For now I've employed the standard 2-gang Carlon PVC box but for a heavier circuit like these I personally would probably go with a metal box and the appropriate mud ring and cable clamps.
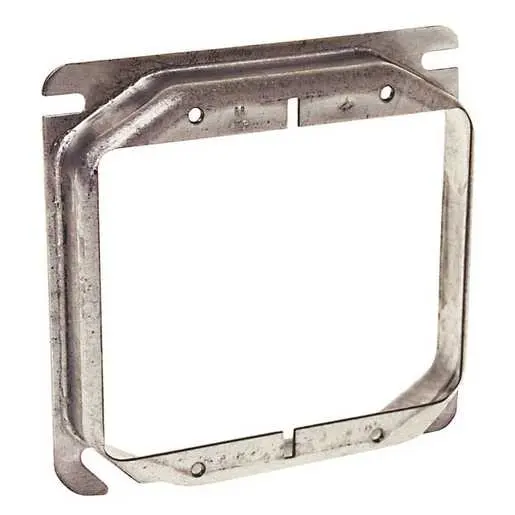
4 in. Square Cover, 2-Device, 5/8 in. Raised | 769 | Raco
4 in. Square Cover, 2-Device, 5/8 in. Raised
(www.hubbell.com)
-
A few more options for the switches module:
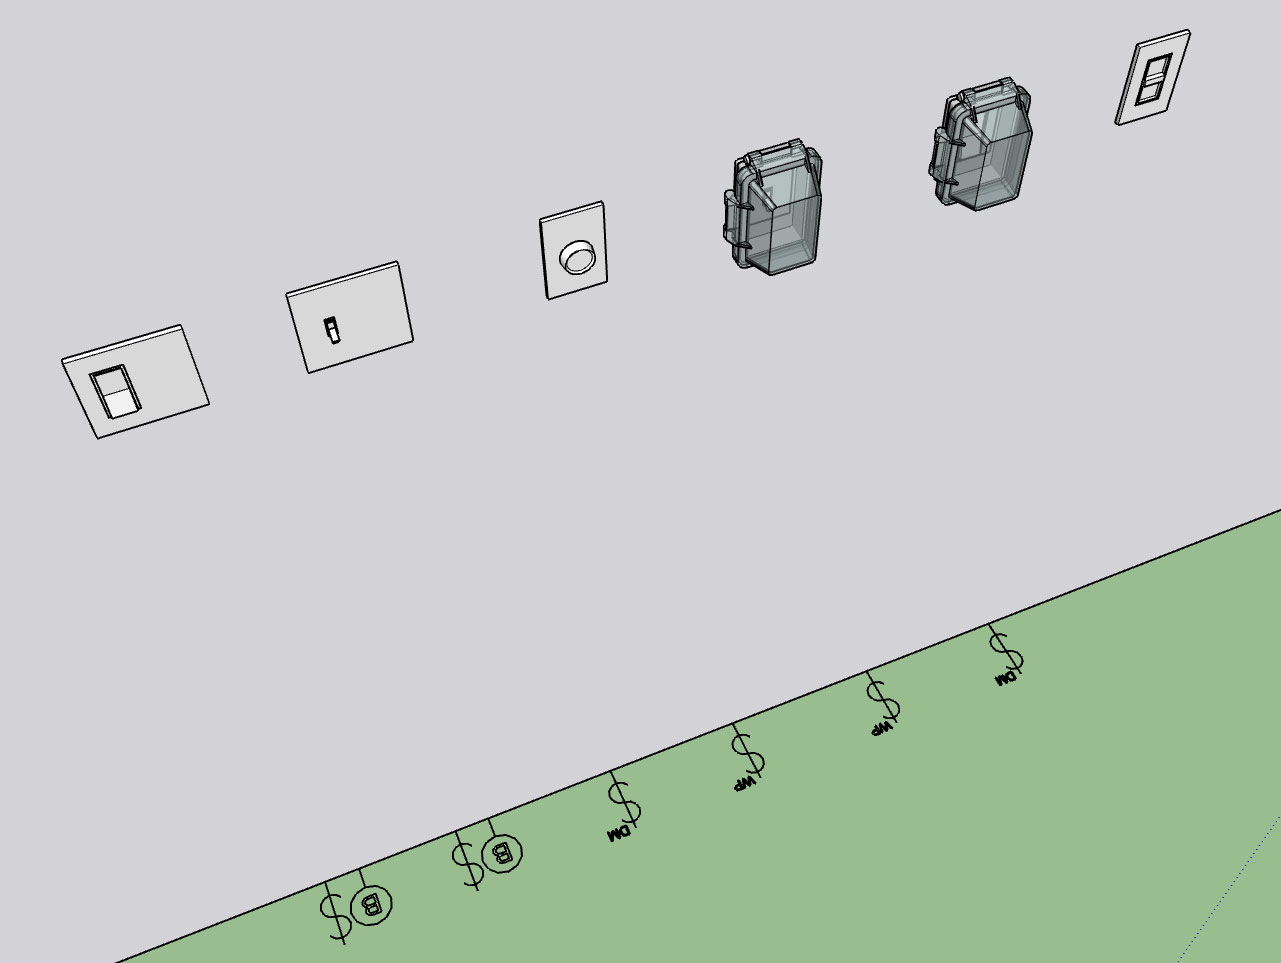
One of my favorite switches, the Trimatron.
Okay, I think I have my bases mostly covered for switches and outlets other than some specific combinations which will require a different icon/tool but I will get to that in the near future. Am I missing anything important here?
I currently have 47 pre-configured switch/outlets and combinations, see the model here:
3D Warehouse
3D Warehouse is a website of searchable, pre-made 3D models that works seamlessly with SketchUp.
(3dwarehouse.sketchup.com)
Besides switches and outlets there are all of the low voltage type components like:
Coax, Cat5/6/7, Phone, Speakers etc...
Then there are your service panels (breaker boxes)
The other elephant in the room is lighting fixtures.
I think for now I will start off with the switches and outlets and see what the response is. If the user base demands all of these other elements then I will take it one step at a time.
-
I will provide the same 14-xx outlet in 30 and 50 amp without the dryer or range designation, for those applications that are something other than those two typical residential usages.
I was looking at Square D service panels (load centers) last night and I'm most familiar with their QO product, not a huge fan of the cheaper Homelite product line. I can't seem to find any decent drawings or dimensions for these enclosures other than the overall size. If anyone can direct me to a resource which will allow me to model these up with some accuracy I would like to add in a handful of service panels.
I'm probably not going to dive too deeply into the load center module right now, only providing a basic model and label, but eventually it would be nice if one could assign specific outlets, switch and light fixtures to a given circuit/circuit breaker. There is a lot that can be done with this sort of thing.
-
For low voltage I am going to start with only one style for now and that is the Leviton Quickport system:
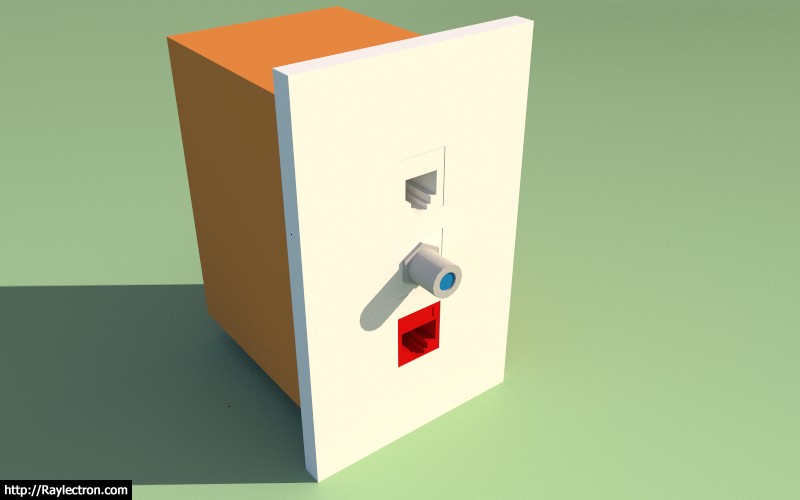
The advantage with this system in my opinion is that there will be less electrical boxes to install since you can get more than one outlet per box (max. is 6 ports for a single gang box).
My only problem now is how to show this type of port on the electrical plan. Typically I would have a symbol for TV, Phone and/or Data. However, what does one show when you have a situation like above where all three data types are compressed into one box. Even worse, what if I have the 6 port version and have one phone jack, two CAT6 jacks, two coax jacks and a blank?
What is the preferred convention? If there is one.
Additionally there is the 2-gang low voltage box (Carlon SC200AR) which can be fitted with a Quickport face plate and have a maximum of 12 separate ports, yikes.
-
The low voltage components that will be utilized in the Medeek Electrical extension:
3D Warehouse
3D Warehouse is a website of searchable, pre-made 3D models that works seamlessly with SketchUp.
(3dwarehouse.sketchup.com)
This collection is only the QuickPort components there is also the QuickPlate and Decora styles that I have not gotten to yet.
-
Would we be able to add/assign our own/custom components?
-
Yes, I think I can set that up. You will probably need to take a look at the way I am setting up the .skp files in the low voltage library (placement of origin) and then it shouldn't be too hard to add your own jacks etc...
I've also added in the RCA QuickPort by request.
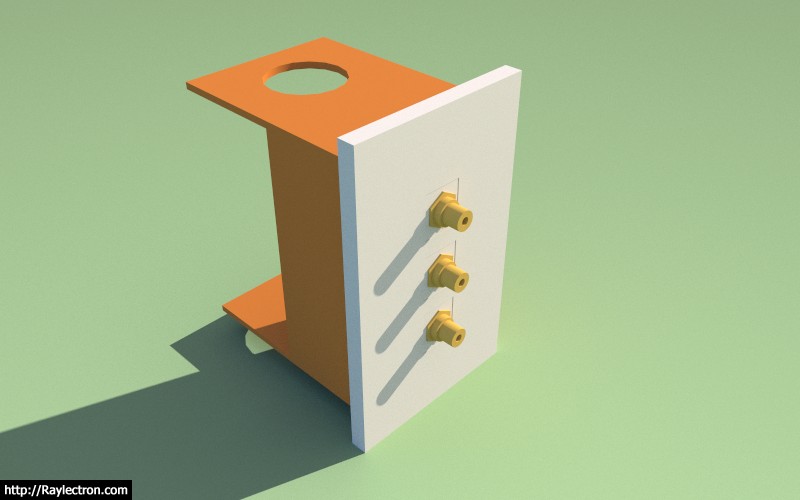
You will be able to assign a unique QuickPort outlet to each port of the wall plate and also assign it its own unique color if you choose (this will be important for people who are color coding network jacks).
-
The updated toolbar:

I will leave it up to inquiring minds to figure out what all these icons mean.

-
The low voltage module is working pretty good now. I just need to wrap up the 2D symbols and then we will see if I can put together a few typical load centers, and then its out to the public for some BETA testing.
A 2-gang, 12 port low voltage box is probably your worst case scenario:
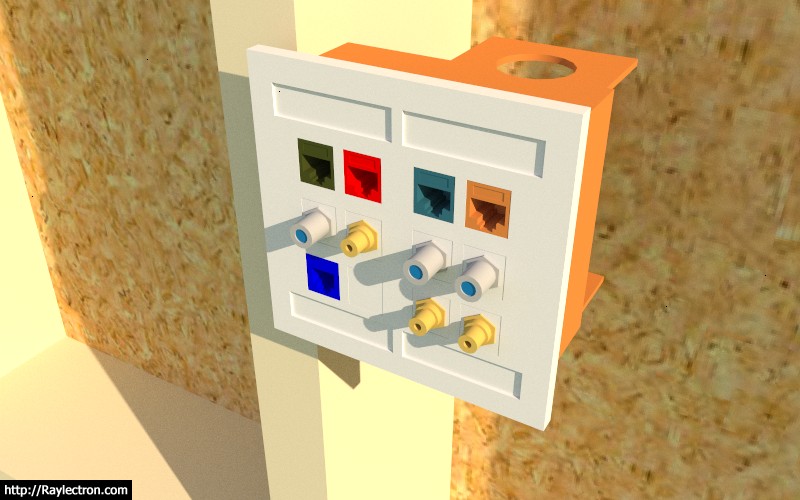
Each port can be assigned one of the following:
- CAT6
- CAT5e
- COAX
- PHONE (RJ11)
- RCA (Audio/Video, gold plated)
- BLANK (Plastic Insert)
Additionally each port has its own unique material/color which by default is "White". The faceplate can also be assigned a unique material/color.
Similar to other outlets the advanced options can be enabled which allows for vertical or horizontal mounting.
The number of possible QuickPorts is limited to the following:
1-Gang: 1, 2, 3, 4, 6
2-Gang: 8, 12There are additional 2-Gang QuickPort wall plates that I have not added. I will only add these if requested, since they are already covered by the 1-Gang option.
-
Various combinations of QuickPorts yields a number of possible 2D symbols:
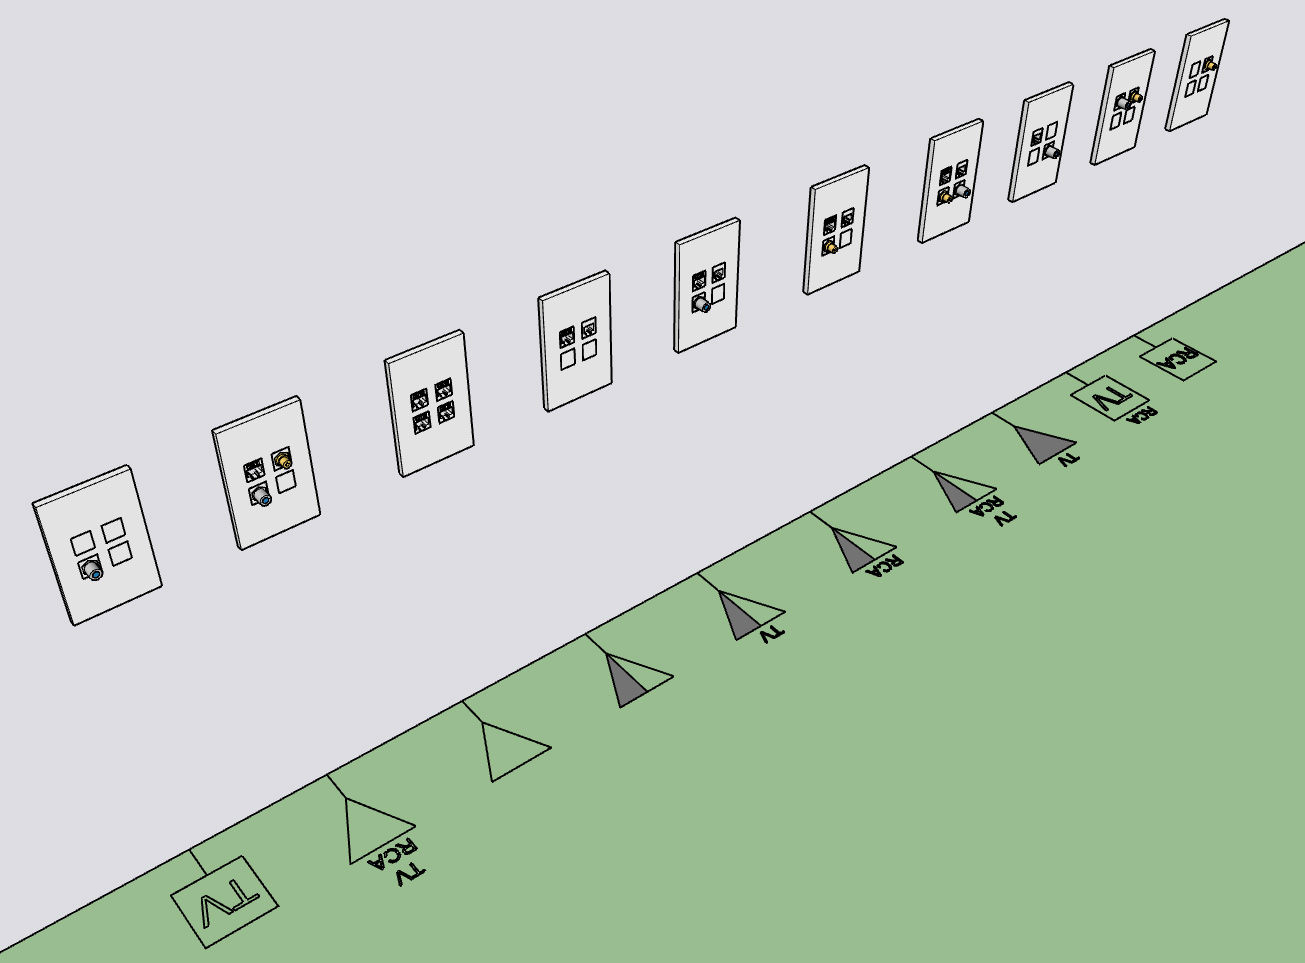
I've tried to stay with conventional symbols as much as possible. Please let me know what you think on this.
Advertisement


