Medeek Electrical
-
You've probably got this covered at the "?" icon, but you need to clarify if the height refers to the centreline, the top or the bottom. I normally work to the centreline.
-
Yes, vertical distance between center of switch to the floor. The tooltip will cover this detail.
-
The draw tool is now working and able to insert switches on both sides of the walls:
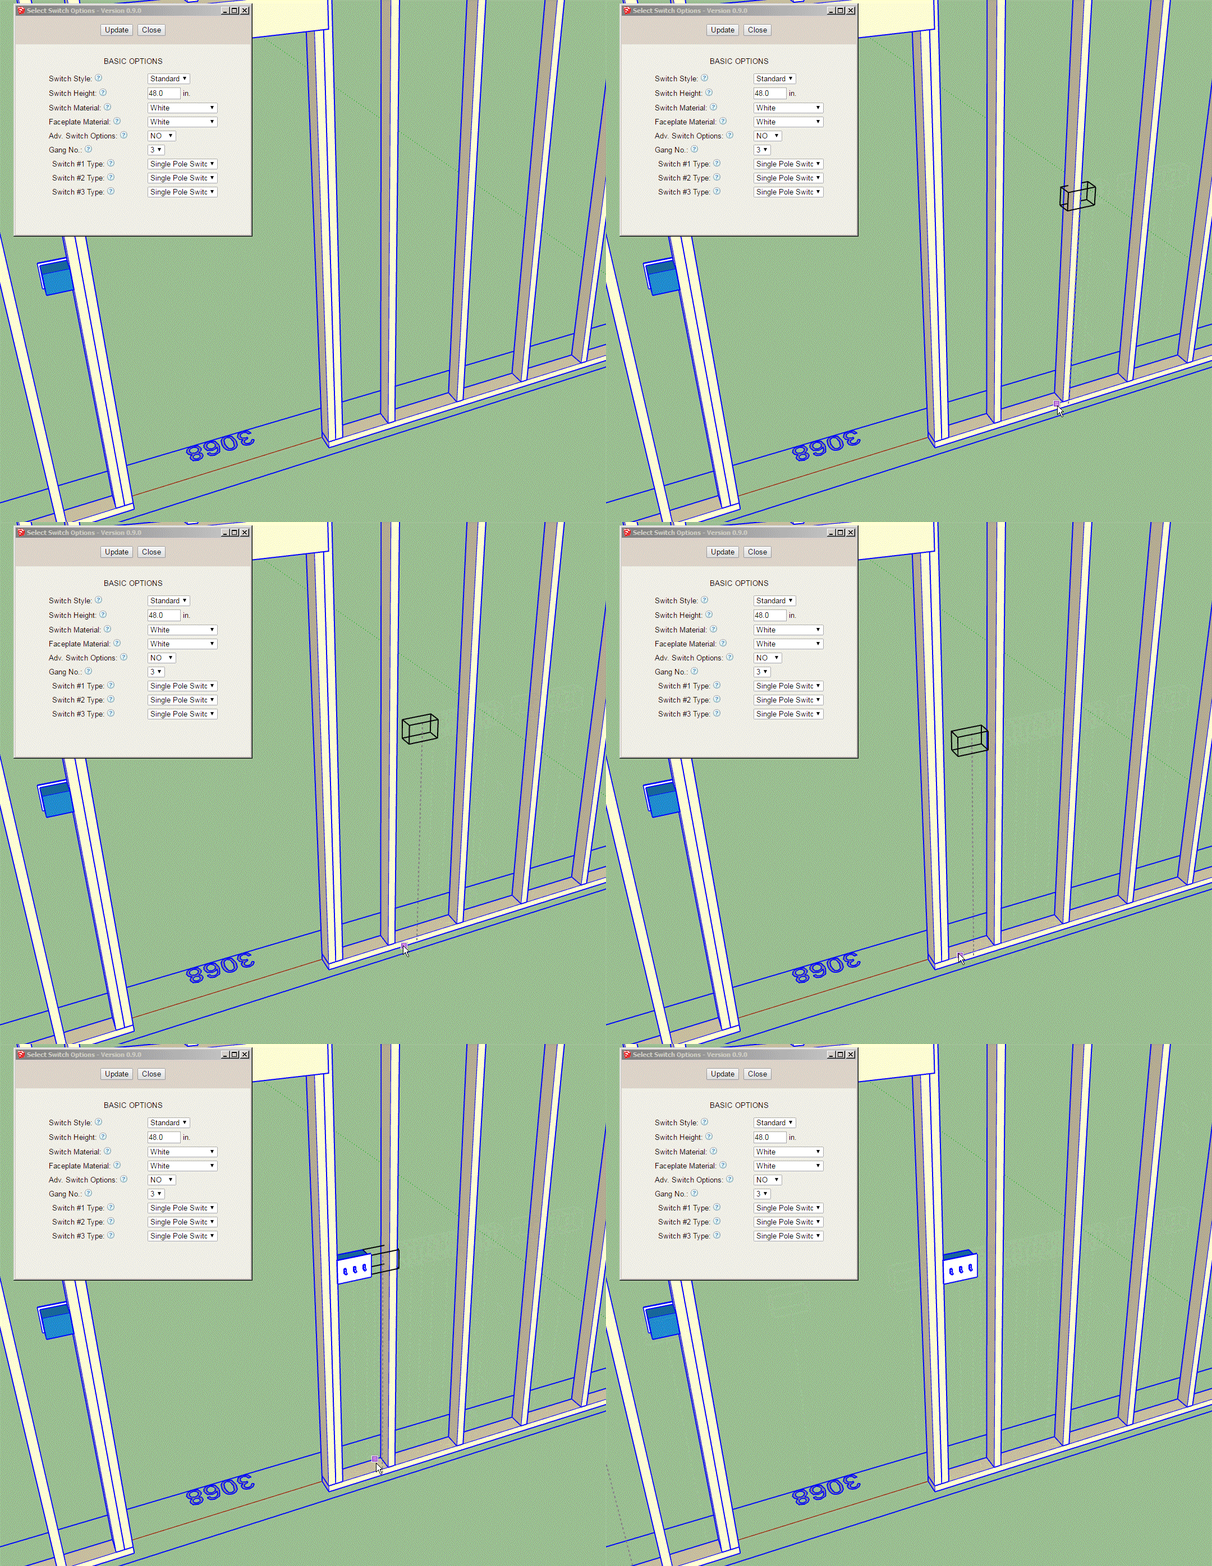
Click on image to see animation
Now I just need to work on the edit menu and global settings.
The outlet module will be almost identical to the switch module so once I have the switch module done it is just a matter of copying and pasting and making some minor edits.
The Wall Plugin will require a minor edit to retain the electrical groups, this means that previous versions of the Wall Plugin will not work with the new Electrical Plugin.
-
What do we want these electrical symbols to look like?
Simple lines or filled in faces?
Any input would be greatly appreciated.
Size of symbols?
-
Here is a first look at the switch symbols, I've shown them drawn at 4.5" in height but I've set it up so that the symbol height can be determined by the user in the global settings and everything (symbol spacing etc...) should scale appropriately.
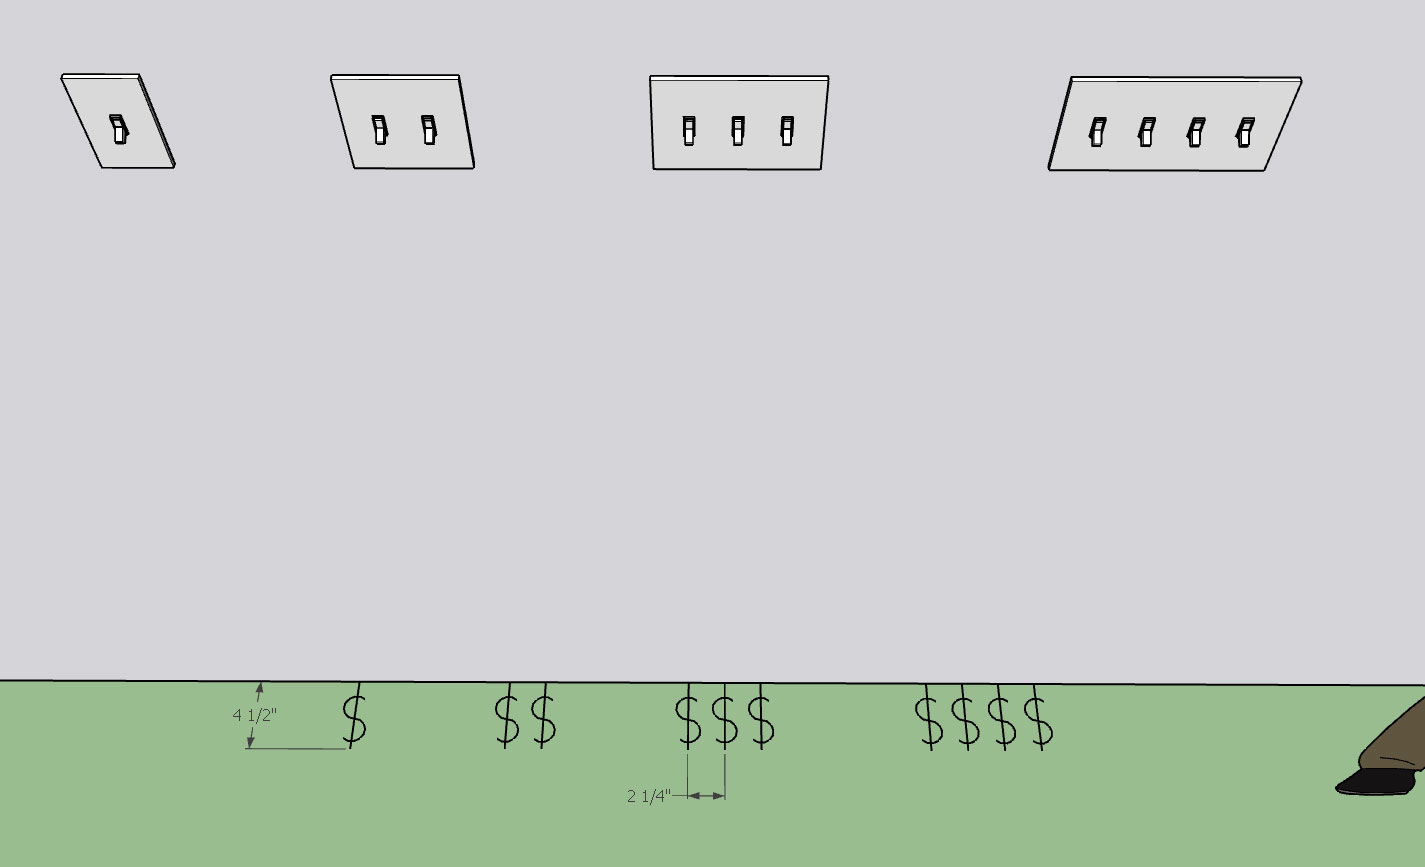
Also note that the symbols are with the switch group so when you move the switch in the wall the symbols move with the switch.
The symbols are also placed on the electrical_2d_layer by default (again user definable in the global settings) so they can easily be toggled on or off.
-
I'll probably need to add a few more icons in the toolbar. Off the top of my head I'm thinking about:
1.) Service Panels: These are typically 14.5" in width and fit nicely between 16" on center studs
2.) Exterior Service and Meter
3.) Additional Faceplates/Media Outlets: CAT5/6, Coax, Telephone, etc...Another can of worms would be light fixtures. I'm not quite sure I'm ready to jump into that one just yet. There are so many variations on light fixtures that I would certainly need to make it so the user can create their own light fixture components that then can be used by the plugin.
Hit me up with any suggestions while my focus is on this plugin. In about a week I'm back onto the Wall Plugin and its massive todo list.
-
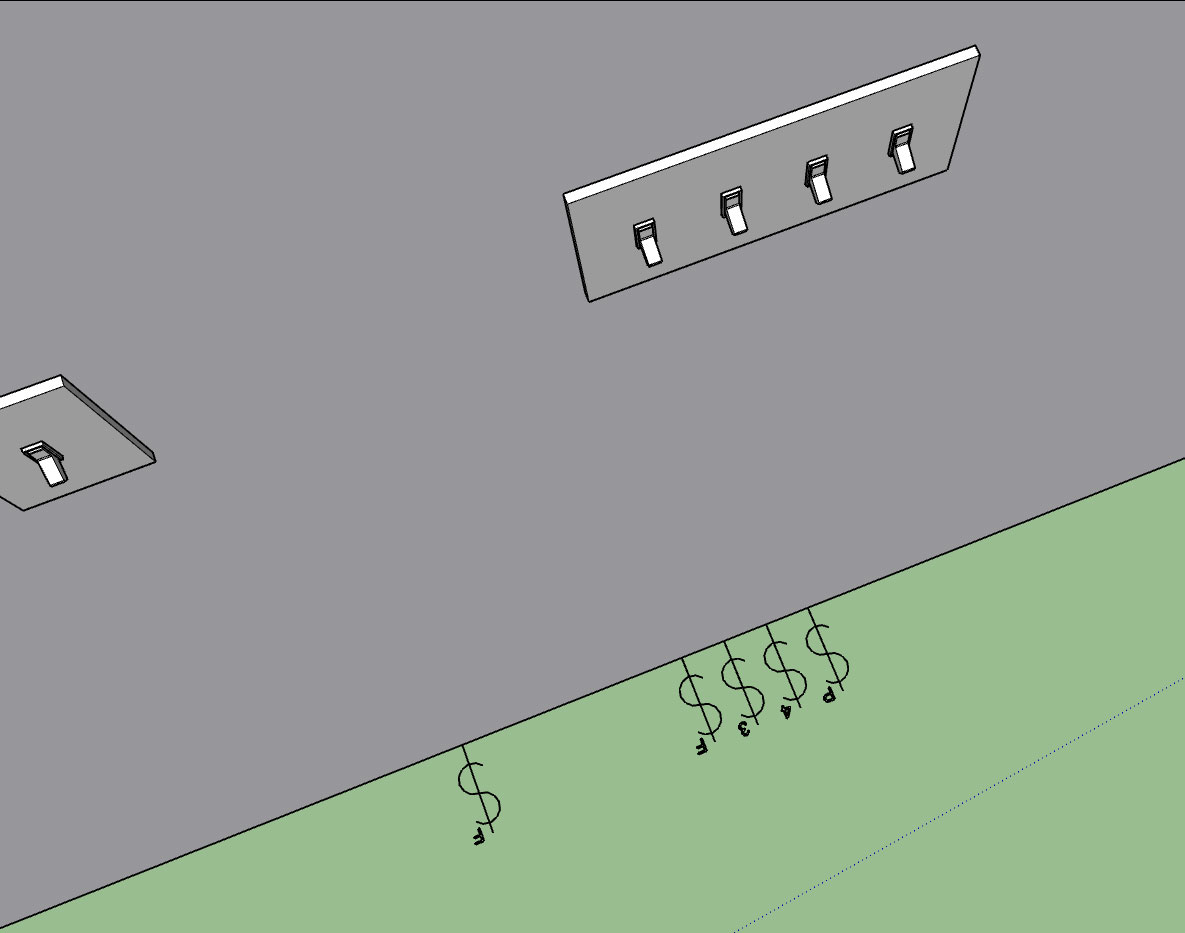
As can be seen in the image below a gang of switches can all be different types:
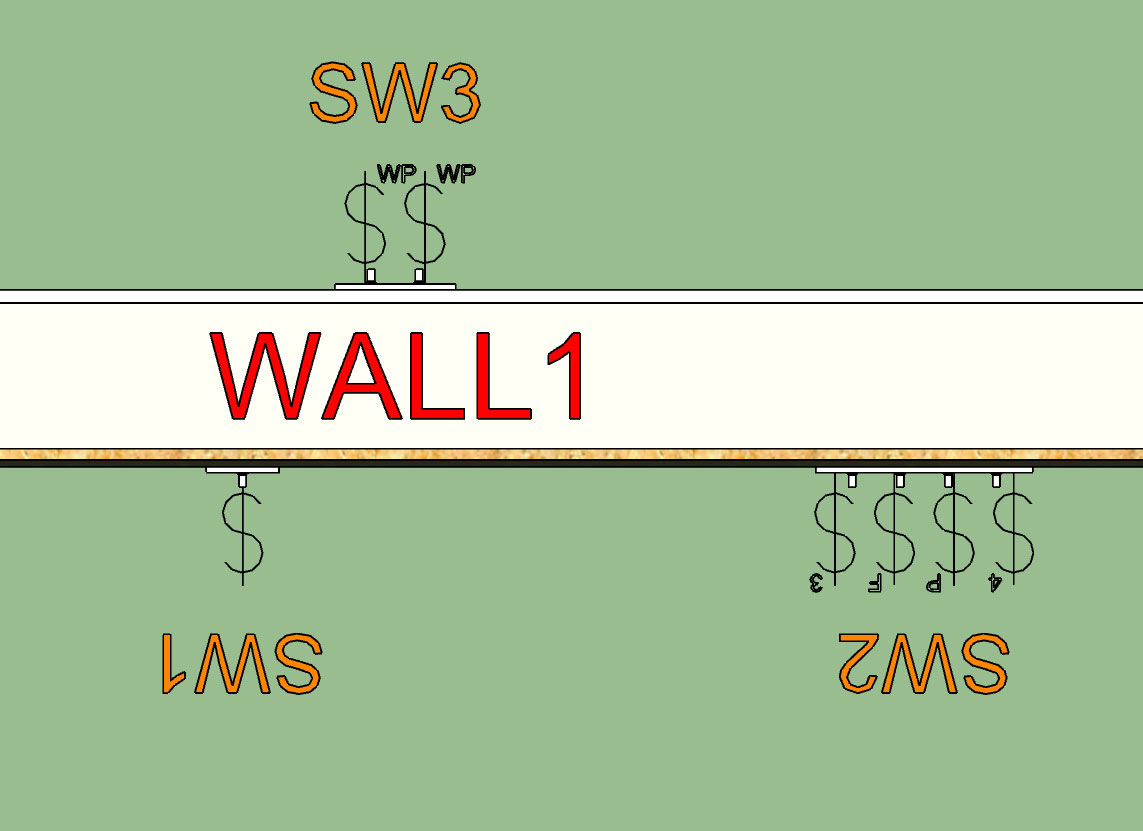
In the image below I've turned on the "Labels" for the switch boxes. The Switch (box) name can be edited in the switch edit menu for each switch:
With weatherproof switches I will need to have a different faceplate but for now it will default to the generic toggle switch.
Tomorrow I will spend a few minutes and model up a low poly version of the Leviton Decora switch and outlet series and then we will have at least two options for switch and outlet styles.
Similar to the Wall Plugin the labels are assigned by default to the Dim3 layer and can be toggled separately from the symbols, or be turned off completely in the global settings.
-
Please tell me that you're scripting this so we can pre-assign layers to the 3D components (separately per type, if possible) and the 2D part thereof on another single layer.
Crazy idea, I know...
-
@juju said:
Please tell me that you're scripting this so we can pre-assign layers to the 3D components (separately per type, if possible) and the 2D part thereof on another single layer.
Crazy idea, I know...
I'm basically using four layers right now:
1.) electrical_rough (electric boxes)
2.) electrical_finish (faceplates, outlets, switches)
3.) electrical_2d (symbols and annotations)
4.) electrical_dim3 (for the box labels) -
I'm not an electrician so bear with me, I'll probably get a few things wrong initially.
When you gang together switches you typically see the symbols ganged together as well. However with outlets is the same symbology used or do you just put a subscript next to the outlet symbol indicating the number of outlets and just show one outlet symbol?
-
After reviewing a few more electrical plans online it looks like the convention is to show the ganged outlets similar to ganged switches.
I've added Decora switches (and outlets) as well as the option for a simple blank face plate, which I am labeling as a junction (box):
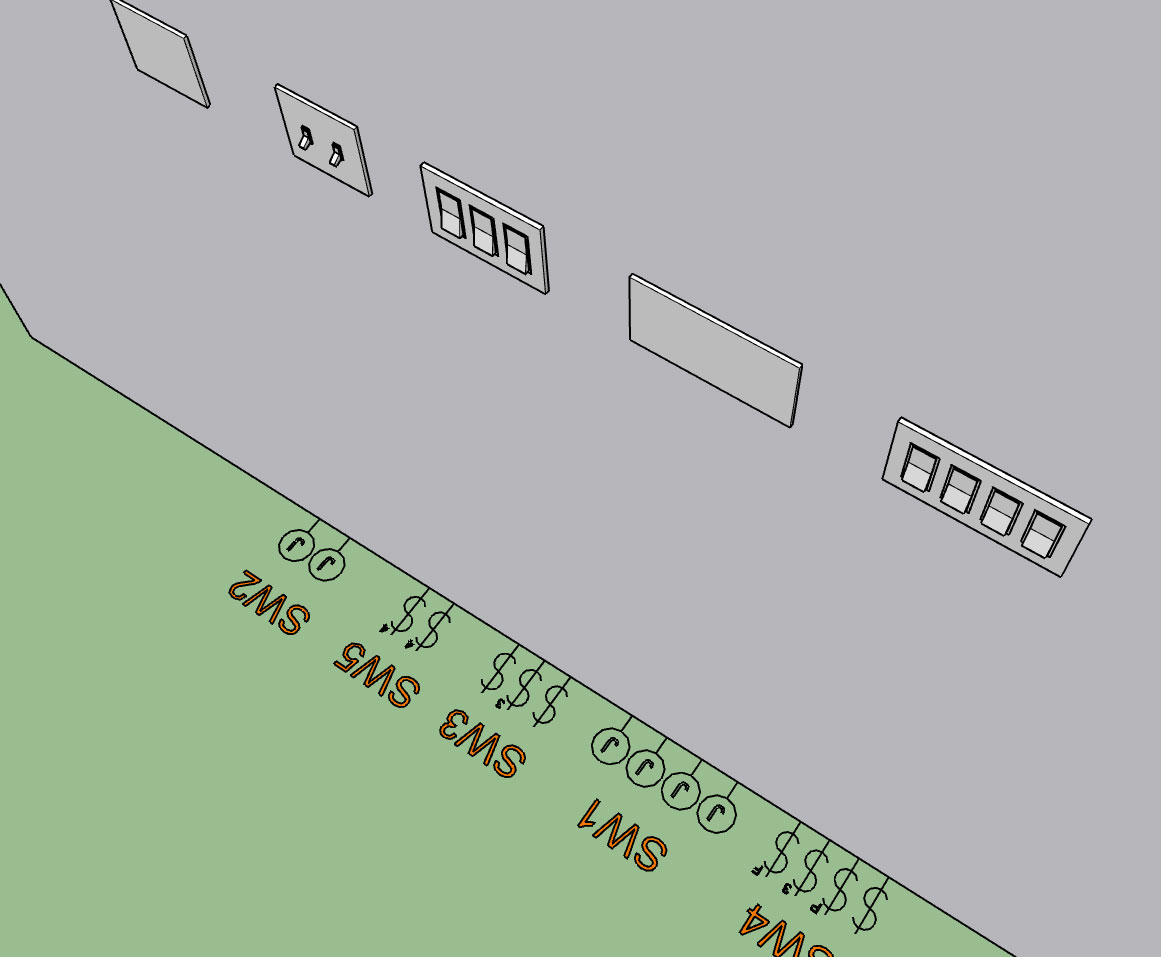
For junction boxes or blank face plates I am following the same convention as I am for outlets and switches and showing a symbol for each location.
I will eventually add another icon in the toolbar for Combo Outlets (ie. switch, blank, outlet combinations), however I probably won't get to this until later.
-
First look at some outlets with switches:
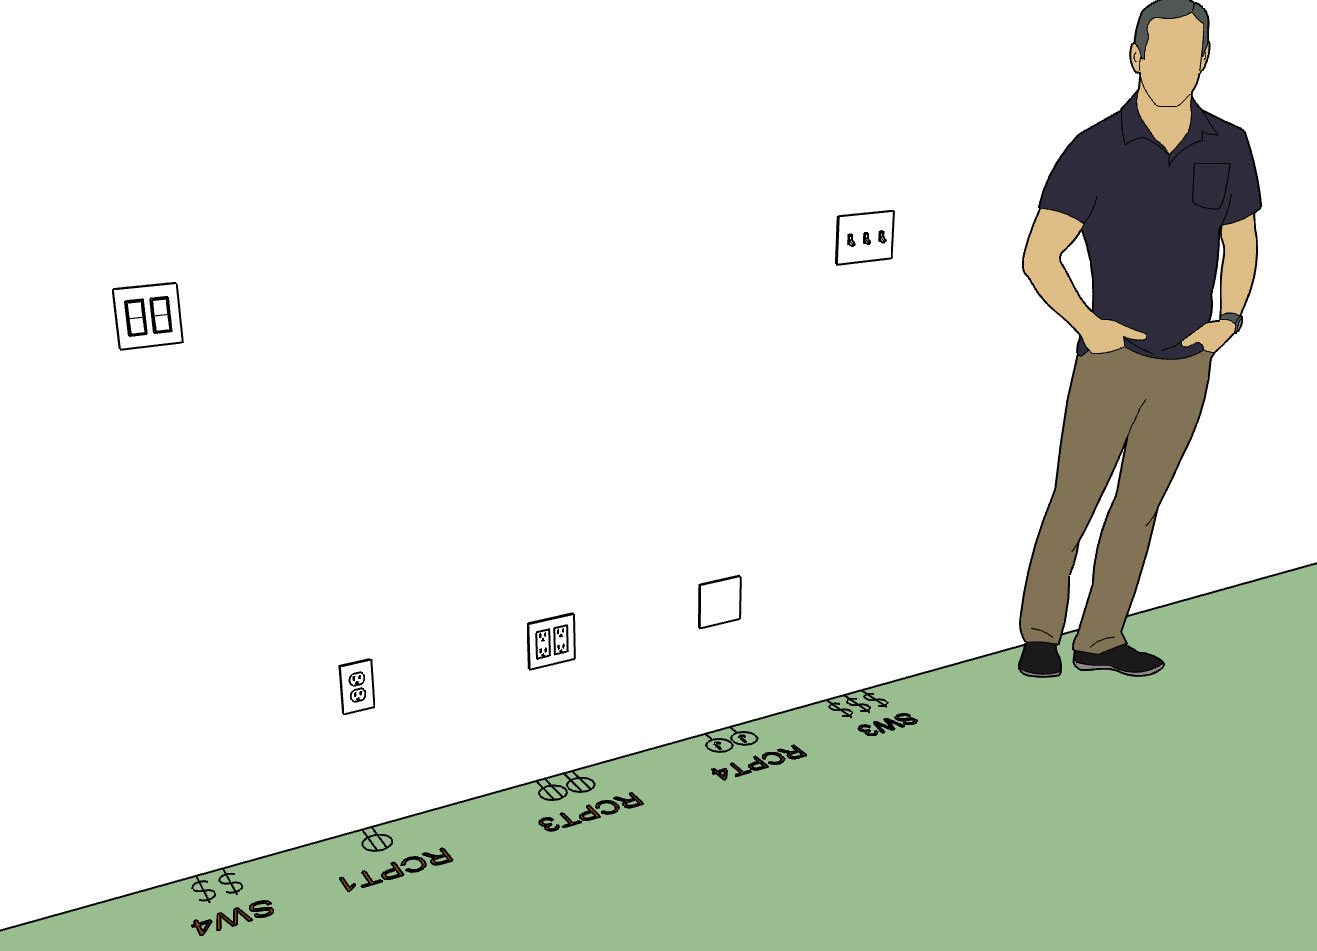
I now need to look at all of the various outlet types and add in those annotations.
-
Here are all of the various outlet/receptacle options currently available:
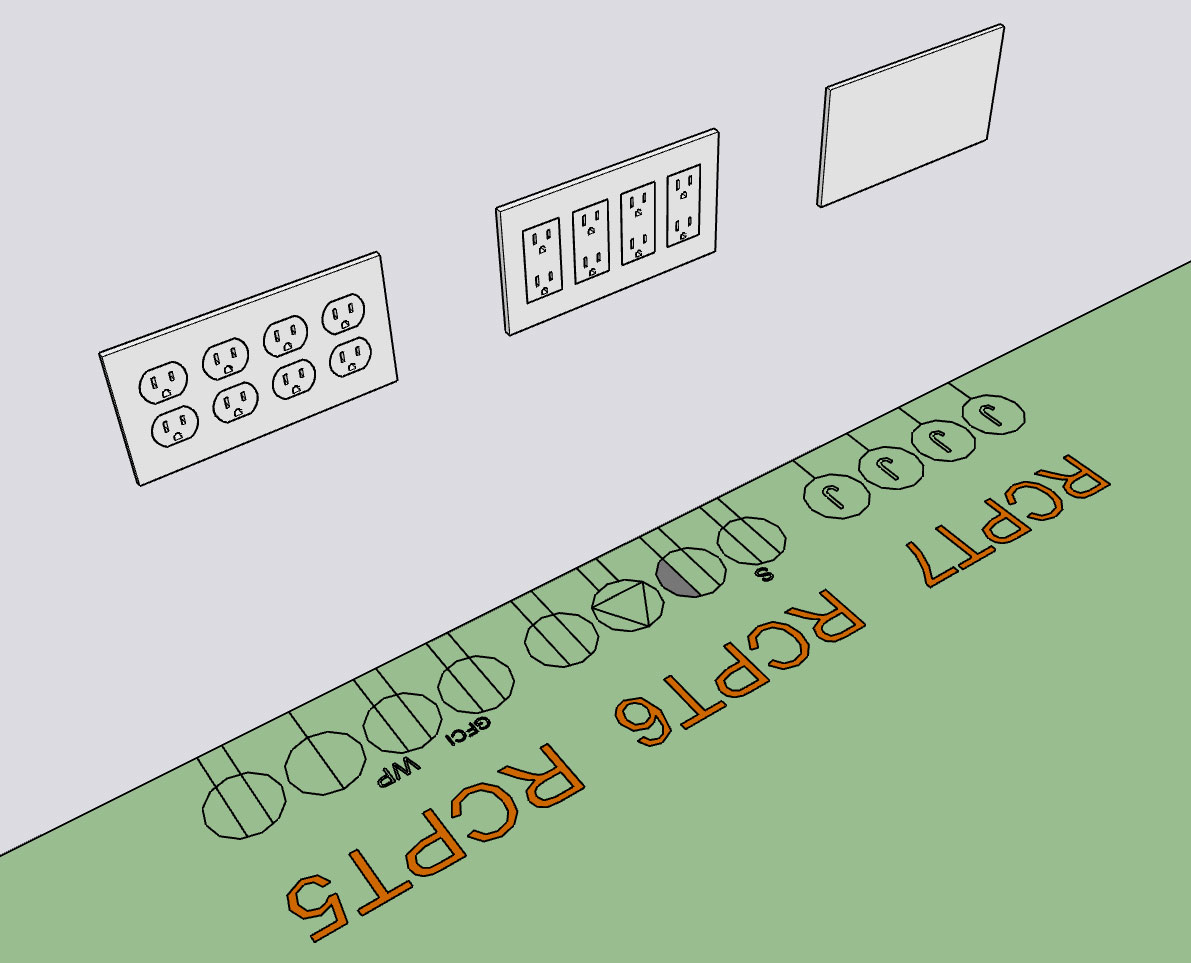
I still need to put some logic in for the single, weatherproof and GFCI receptacles so that they display the proper outlet and corresponding face plate.
-
I don't see single receptacles very often but I guess there is some call for them:
-
We are required to use a weather proof outlet that covers the plugs while in use. Perhaps a duplex a simple (minus curves) transparent lid should be provided. There are also gang boxes, some non transparent lids, but the first is most common.
Maybe you wish to go over the whole GFI thing with an electrician. I have my knowledge, but I'm not an electrician so I'll keep it to myself.
-
I have a 1-gang GFCI as well as a two gang GFCI-Duplex and GFCI-Decora combo. What other combinations of GFCI/Outlets are common? (I will handle the GFCI/switch combo later)
The possible permutations are crazy so I am trying to limit things slightly for certain outlet types, I think this makes the most sense. Just trying to rein in the madness.
For instance I have never seen multiple GFCI outlets ganged up in a single box, only ever one with another switch or regular duplex/decora receptacles.
Also what type of weather proof outlet would you prefer I include as the default? I'm looking at Leviton's offerings and also at Taymac, too bad I can't seem to find readily made models for any of these. Oh well, I would probably have to remodel them anyways because the poly count would probably be obnoxious.
After digging through Leviton's website straight for the last 3-4 days I now know more about switches and receptacles than I care to really, but it certainly is an education. I'm still amazed at all of the possible combinations of switches and outlets that are possible and how the manufacturers do their best to provide as complete coverage as possible, there are literally hundreds of face plates (configurations).
-
@pbacot said:
We are required to use a weather proof outlet that covers the plugs while in use. Perhaps a duplex a simple (minus curves) transparent lid should be provided. There are also gang boxes, some non transparent lids, but the first is most common.
Maybe you wish to go over the whole GFI thing with an electrician. I have my knowledge, but I'm not an electrician so I'll keep it to myself.
Does anyone have a model of a weather proof outlet (with transparent lid) that I could use as a starting point.
The most up-to-date covers (NEC 2014) seems to be the Taymac MM420C and the MM2420C:
-
It looks like I will need to add in one additional option, Weather Proof GFCI. It seems that this combination is fairly popular:
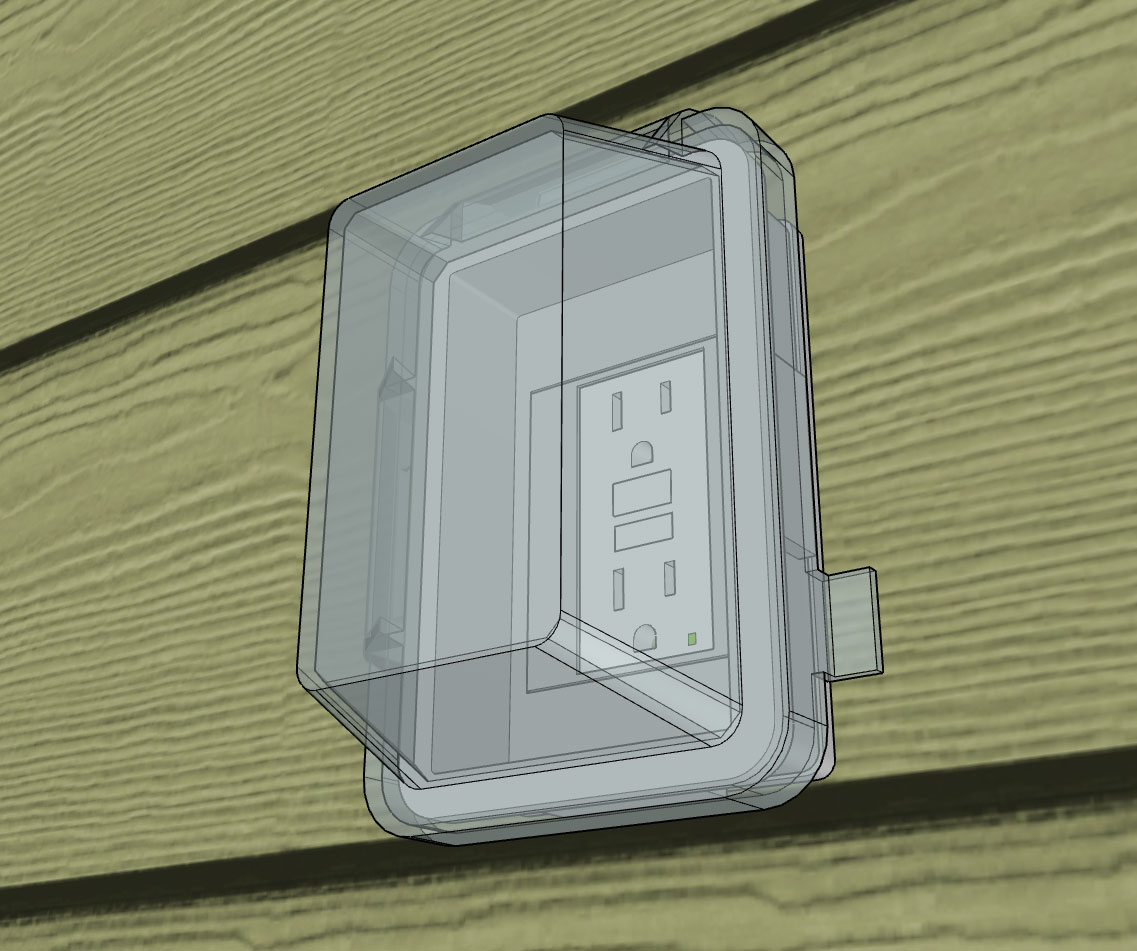
My weatherproof cover is based on the Taymac MM420C, probably a little more detail than it needs but I wanted it to look somewhat recognizable.
I also have the Decora option and the standard duplex option.
-
Nice!
-
Has anyone ever called out duplex receptacles with the integrated USB chargers?

I'm assuming the callout would just be a standard duplex symbol with the annotation "USB" added.
Advertisement


