Huge model , fredo tools , extrusion tool , lots of problems
-
Hello ,
I am working on a model which is about 160,000 sqm (400mx400m) , I designed an international exhibition , I used "Extrusion Tools" and "Fredo6 joint push pull" tool to create the body of building .
But , now that I want to work on details on the walls or ceilings , got lots of problems cutting surfaces or putting materials on , or finding edges of a wall , and etc. .One of the main problems is , selecting edge of a wall created with extrusion tool . I've read some posts about how it works , but it was so difficult to work with , considering how big the model is and having so many walls and ceilings makes my modeling method useless . I have to find an easy way to do it .
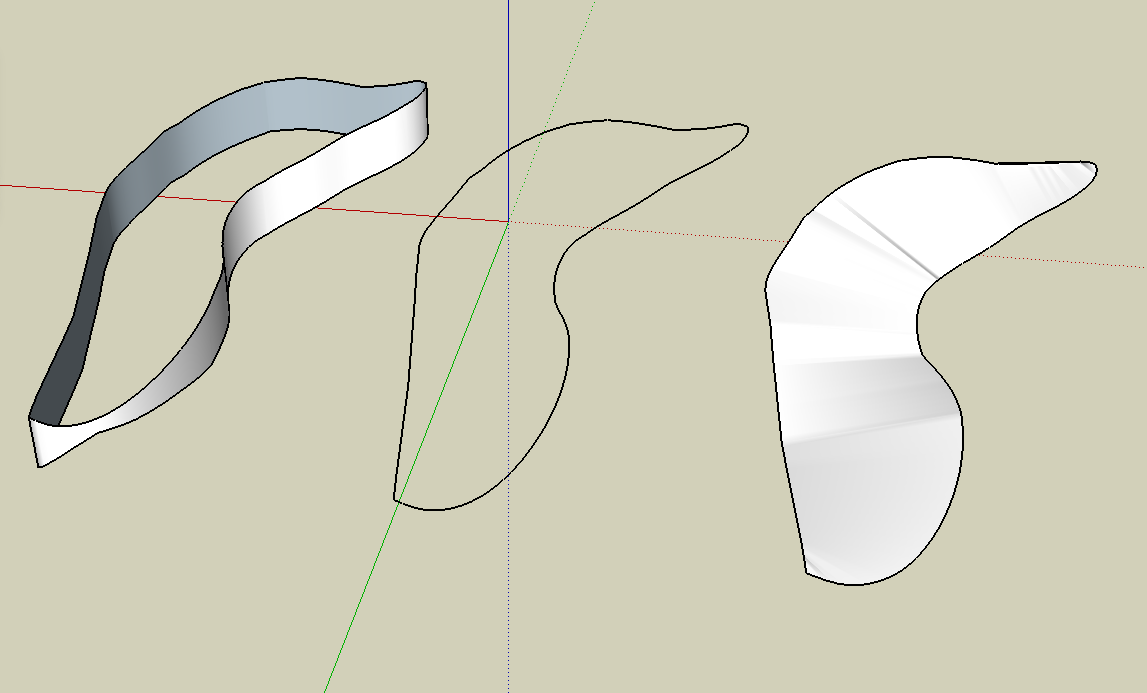
The site is like a hill and the form is very curvy , and this combination makes modeling so hard for me .
I have lots of questions but I try to ask major ones ,
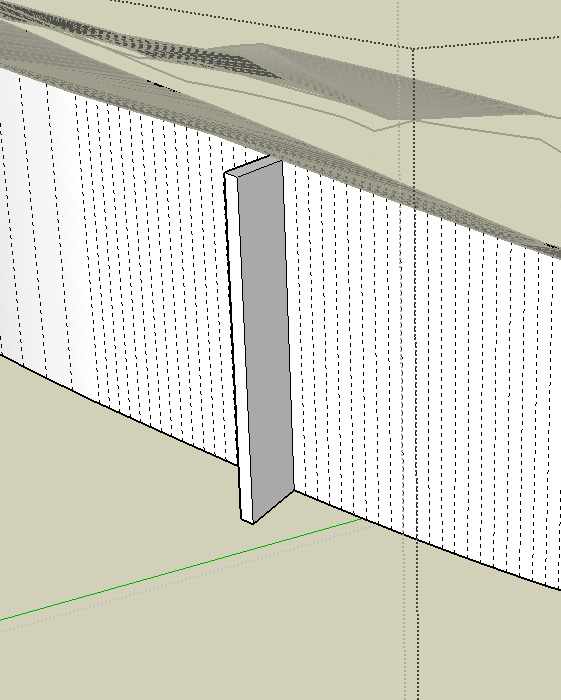
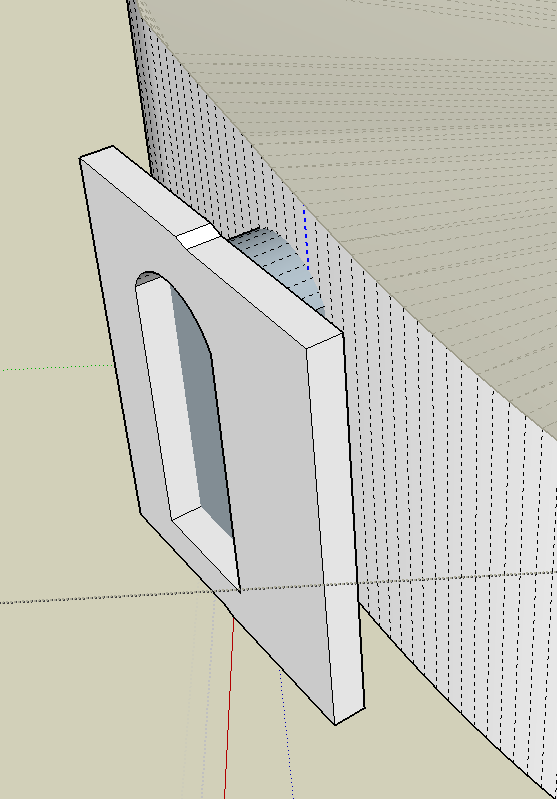
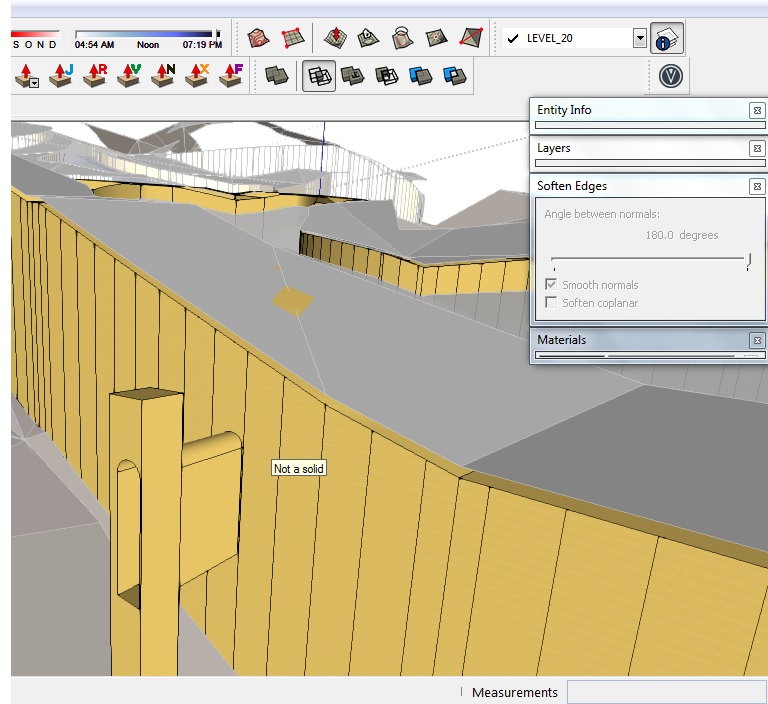
As you can see in 1.jpg I'm trying to select the top edge of walls to create ceilings , but all lines are separate and its almost impossible to continue selecting like this on the hole modeling process .
even if I select all the edges with least errors , when I use sandbox contour , It doesn't give a good result . Even one single wrong select will make a bad result . and this happens because there are too many single separated lines caused by extrusion tool or joint push pull tool .
next question is , how can I cut a non-flat surfaces to place some door or window on it ?
another question is : I have to make a 3dsmax export to render it from , because my render guy do not know SU very well . I have no idea what will happen for surfaces I created with fredo6 extrusion tool in 3dsmax . and don't know if its possible to put materials on curved surfaces , in 3Dsmax instead of SU to get better result .
and lots of more problems if anyone likes to hear

P.S : I am going to make a new model and start it all over again , do you think it's a good idea ? Or suggesting to work on this model ?
And I have only 6 days to make everything done ! including modeling and rendering and etc. .
I've posted the SKP file saved in SKP8 .Thank you guys for helping me

Form sent to skethucation 1 saved skp8.skp

-
Well,you should use this model to create logical sections of your model, to be able to put them onto layers and then work piece by piece. U just need to make a work plan what comes first and then second.
At the end u can export to obj format to export to max, but I don´t know how max operates, but if u make differences in materials your guy should be able to uv texture your model. -
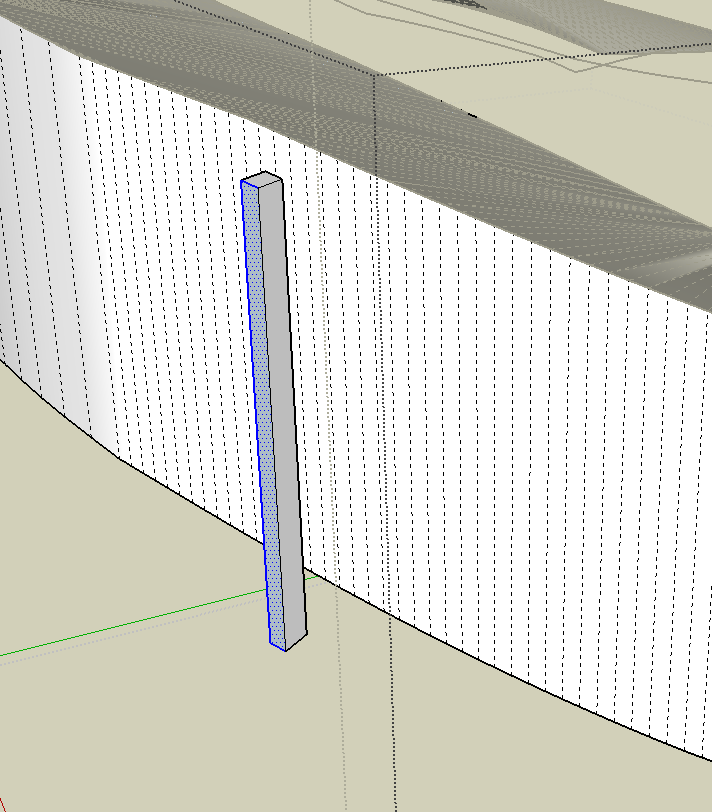
Yes making layers and putting your groups and components on them will help you work on different areas, hiding what you don't need to see. For example put the lower building walls on a layer. Now looking at those walls, half the faces are backwards. You want the white (front) sides facing out. Depending on your renderer that can make a difference. "orient faces" may help a little but it looks like you will need to use "reverse faces" What are all the interior faces? Are you showing interior scenes? if you don't need them they are interfering working on the outer wall skin anyway. The easiest way to select the uppper wall edges is to isolate the skin into a a group that is just a clean ribbon of the outer surface. Use the smooth[-soften window to soften the vertical edges. Then you can select the top edges indpendently more easily.
-
Selecting the smoothed wall surface-- you can "cut" it and then triple click select the top edges and group. You can paste the wall surface back in.

-
I don't know 3dsMax but you probably can do better texturing there. Why not run a test file now.
-
next question is , how can I cut a non-flat surfaces to place some door or window on it ?
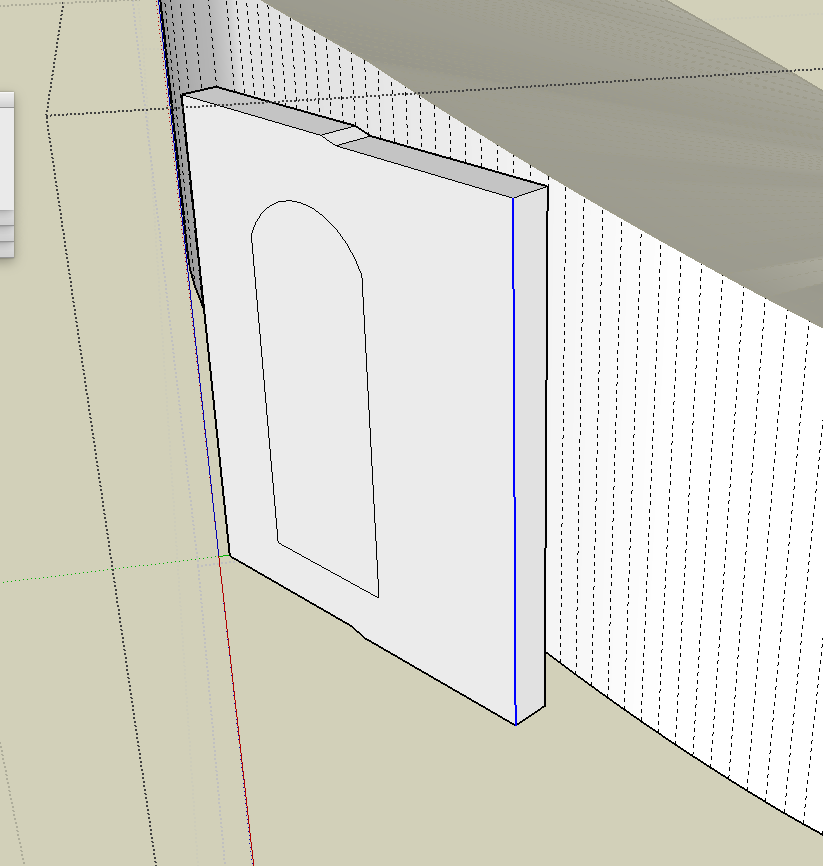
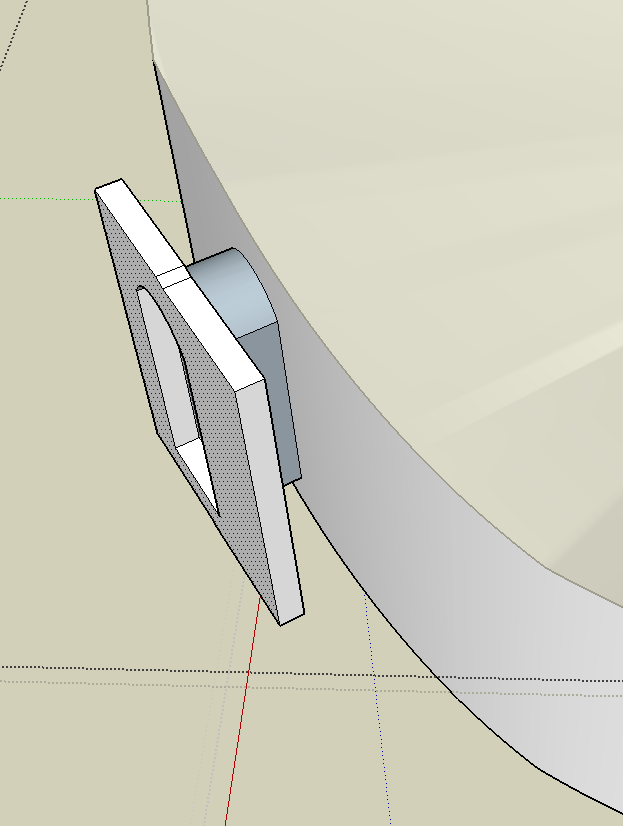
I'd try intersect faces to make a hole and jambs. You can use the jamb edges for a face to make windows and doors too.
First select a face that will be the orientation of the door. Extrude it, then extrude a perpendicular face (clear of the wall). Draw the door shape. Push pull back through the wall surface. Intersect faces "with context" and erase what you don't want.
-
@pbacot said:
"orient faces" may help a little but it looks like you will need to use "reverse faces" What are all the interior faces? Are you showing interior scenes? if you don't need them they are interfering working on the outer wall skin anyway. The easiest way to select the uppper wall edges is to isolate the skin into a a group that is just a clean ribbon of the outer surface. Use the smooth[-soften window to soften the vertical edges. Then you can select the top edges indpendently more easily.
thank you so much pbacot for answering ,
the interior faces created when I was trying to extrude the non-flat face to create the walls , and as they are all separated I can't delete them all,
smoothing the edges worked great , but the lines are still separated but now I can select the hole wall and deselect the wall , is that what u mean ? this would help@pbacot said:
I'd try intersect faces to make a hole and jambs. You can use the jamb edges for a face to make windows and doors too.
First select a face that will be the orientation of the door. Extrude it, then extrude a perpendicular face (clear of the wall). Draw the door shape. Push pull back through the wall surface. Intersect faces "with context" and erase what you don't want.okay , now this is one of the big problems using fredo and extrusion tool,
none of shapes are solid and I can not use intersect ! I know they are not solid because they are not a complete closed shape , but this is what the plugin makes , so is there anyway I can solve this problem ? or I am in complete dark knowing how to use SU
Thank you so much
-
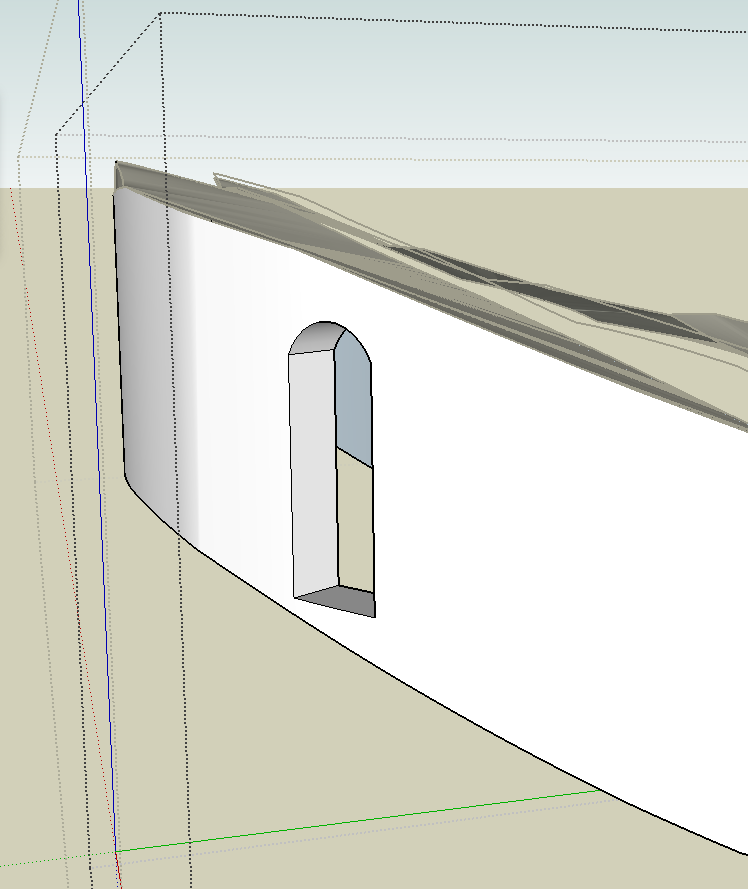
Intersect Faces is a contextual menu item that will work with any faces selected. It does not need solids. To clarify a bit on the method I showed, some of that is just a quick way to create a flat face to draw your shape on, which will be somewhat aligned to the curved wall. The main idea is to extrude your shape through the wall face so you can use "interesect faces" to draw the edges on the wall face.
As for deleting the interior crisscrossing walls. I did just that in the part of the model I worked on. If you go into plan view it's quick to select or just use the eraser until you can get rid of them all. This is where layers help. You can make any roof, and the terrain into components, put them on an appropriate layer and hide it so you can work on the walls. You mentioned starting the model again. Keeping the model free of extraneous material makes it easier to continue work on it.
-
Thank you guys for all your comments ,
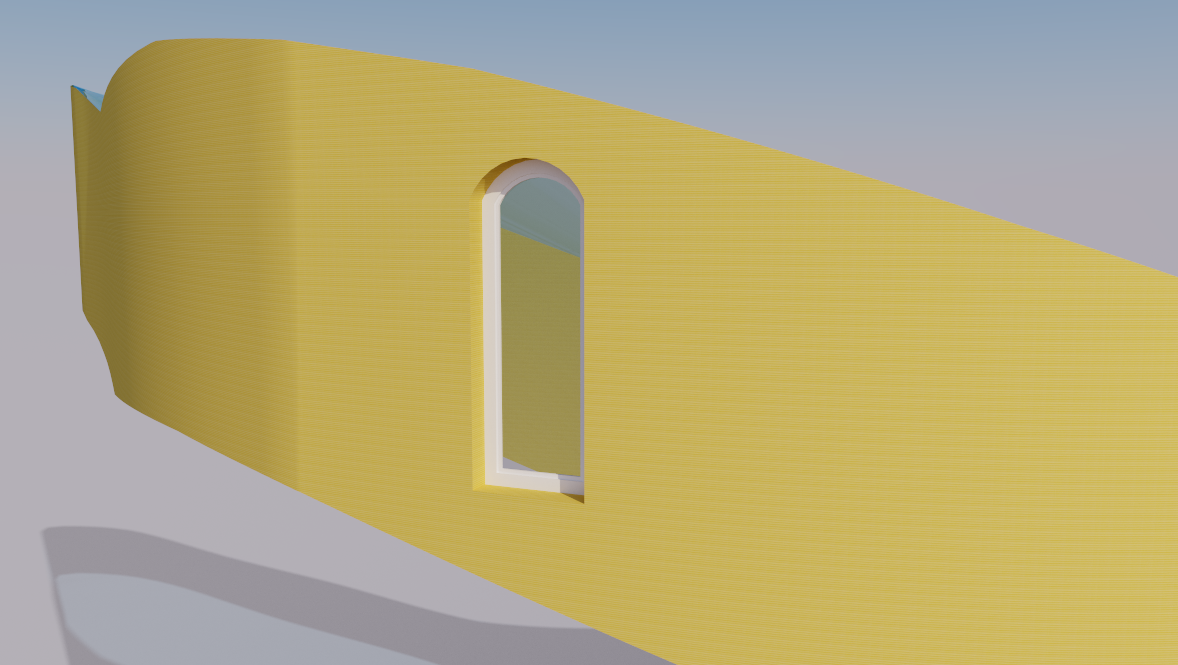
I decided to edit the previous model , and using "weld" plugin makes a huge different on editing , and using soap and bubble plugin is very useful to create ceilings . -
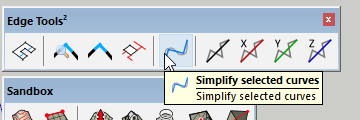
Edge Tools have a function that will reduce the density of contour edges and weld them in the process.
-
@ridation said:
another question is : I have to make a 3dsmax export to render it from , because my render guy do not know SU very well .
You can simply import the skp directly into max. It should come in incl. all layers, materials, texturing and scene settings. To be able to work on the geometry later in max you should weld vertices in max.
In my opinion the easiest way to texture curved surfaces is ThruPaint.
Hello! It looks like you're interested in this conversation, but you don't have an account yet.
Getting fed up of having to scroll through the same posts each visit? When you register for an account, you'll always come back to exactly where you were before, and choose to be notified of new replies (either via email, or push notification). You'll also be able to save bookmarks and upvote posts to show your appreciation to other community members.
With your input, this post could be even better 💗
Register Login


Advertisement