How should I tackle this?
-
Hi there guys.
I have been using sketchup for a long time. I design model railroad trains and structures and until now I have managed to acomplish my goals. Most of the trains and structures I designed were angular or with simple curves and curviloft or RoundCorner had helped me to solve my problems.
But now the challenge is bigger, the train I intend to design (and later 3D print) has more complex curves, I searched the web and found artisan which I've been using but unfortunately I'm not getting anywere. I watched a lot of videos on Youtube but I'm still lost on how to make this happen.
Do you guys think Artisan is the right tool for this job? Should I be using other plugin?
Which strategy should I adopt to design this?
The front is the problem, the rest is easier.Here are the pictures of the subject (I have plenty of pictures and the plans for this):
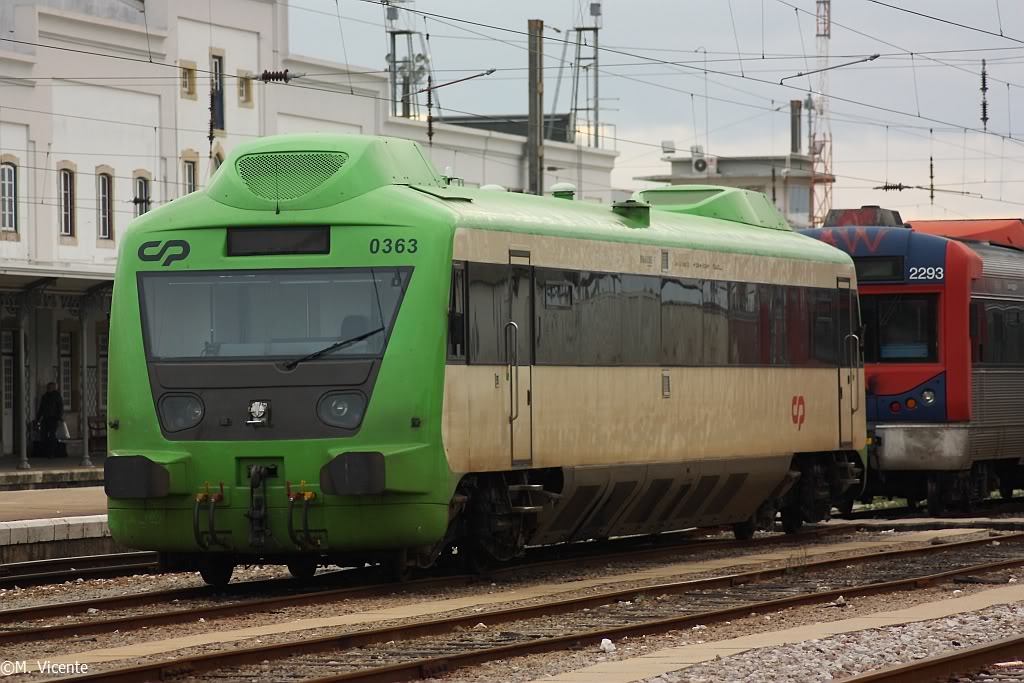
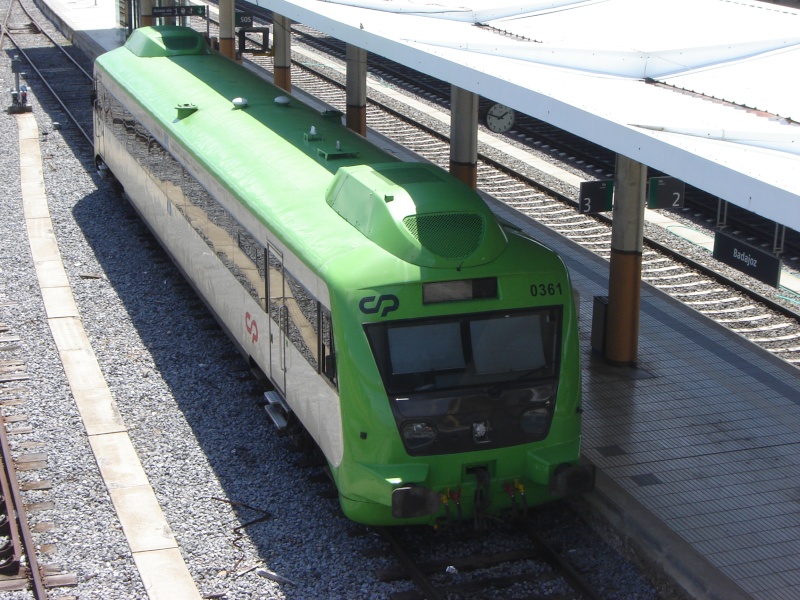
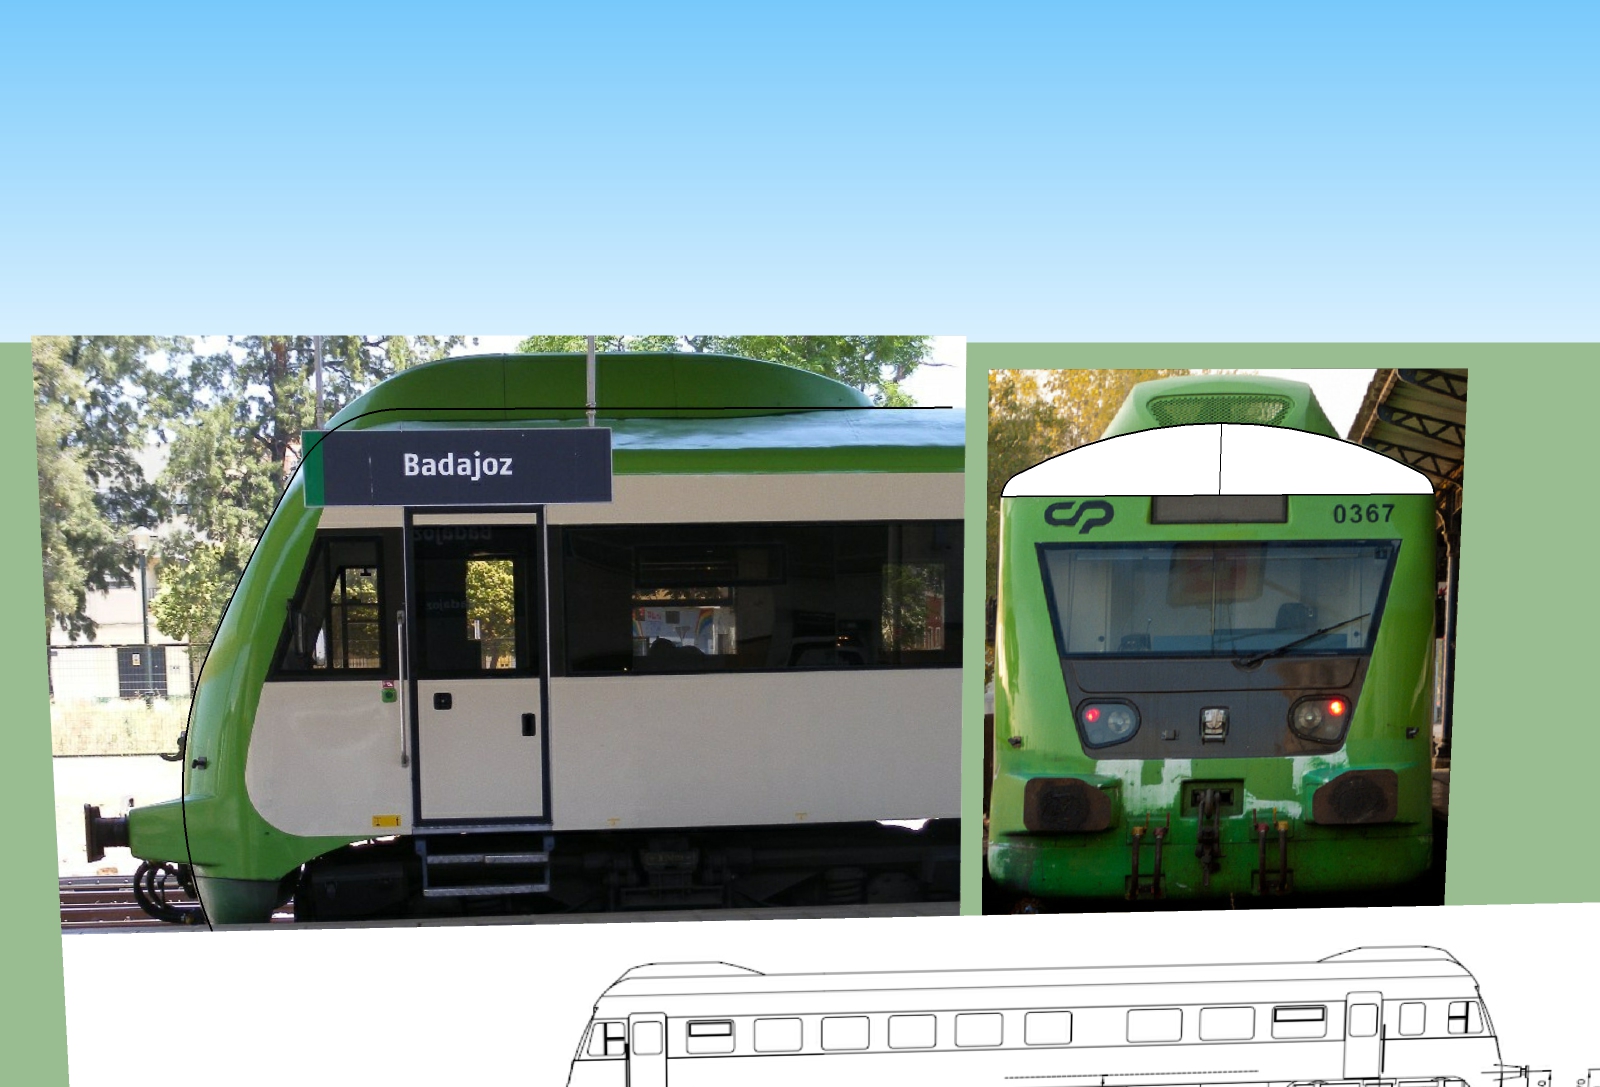
My desperate attempt!
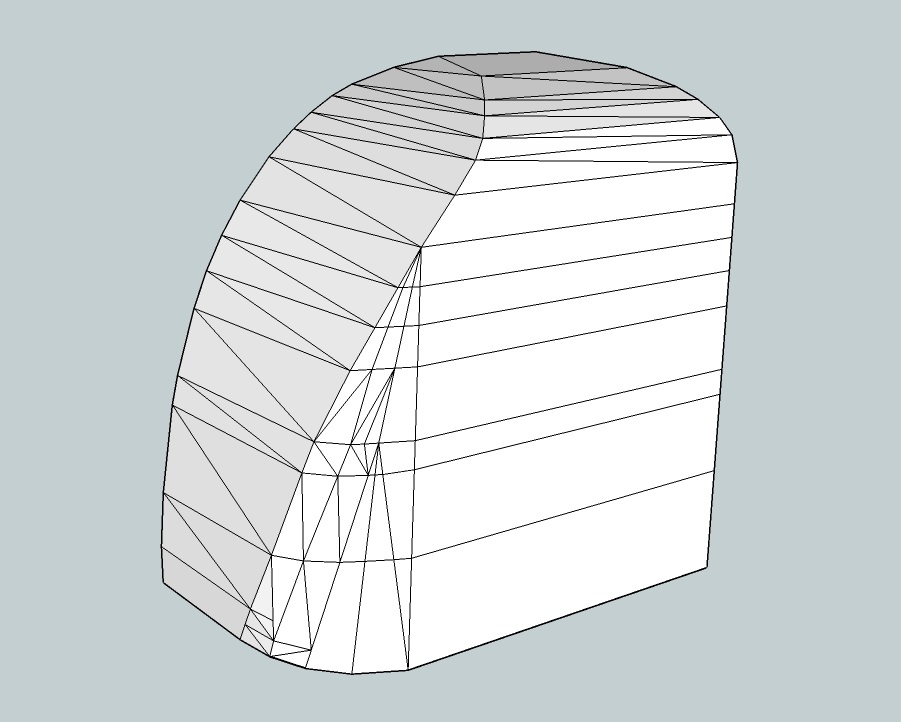
Thanks in advance for your help.
-
Definetelly! Though you can do it with native tools, Artisan or SubD and Vertex Tools would serve you good...
-
Maybe you won't have a scan to start with! but this might have some ideas for you.
http://sketchucation.com/forums/viewtopic.php?f=81%26amp;t=61928
I appreciate how the form was sectioned off.
-
Get some blueprints or at least some good parallel pictures.
-
Thanks guys, I have the plans:
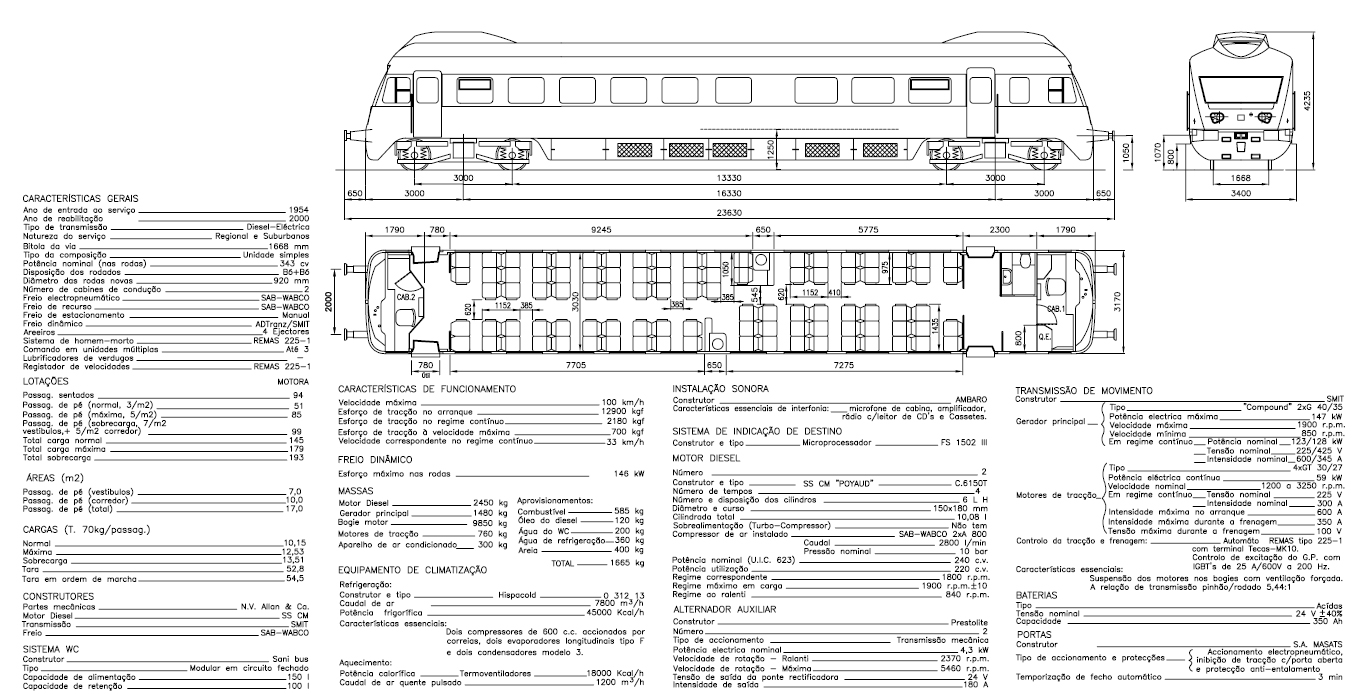
And plenty photos:
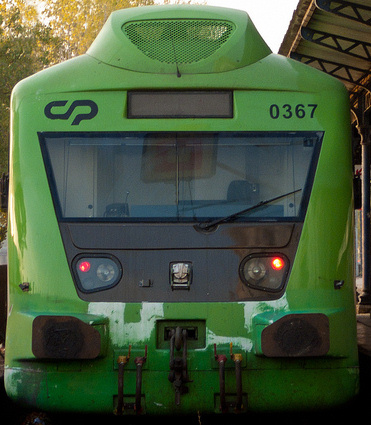
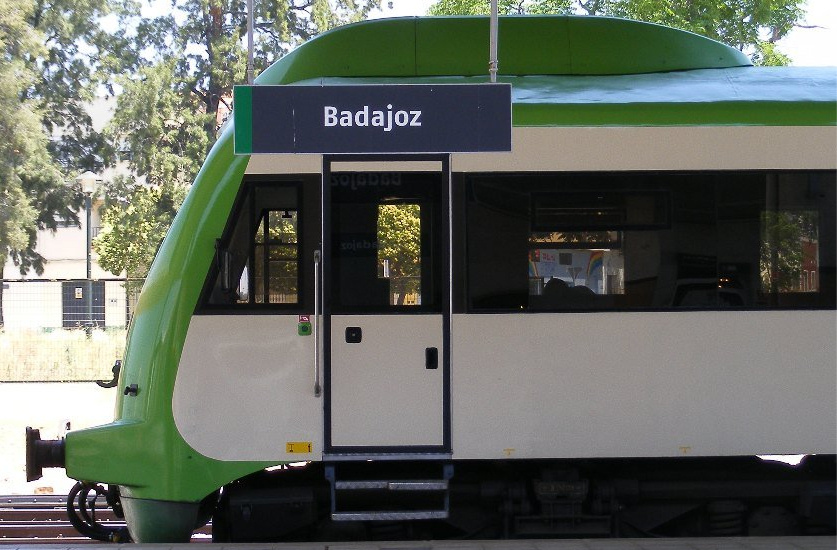
I'm just not sure on how to approach it!
-
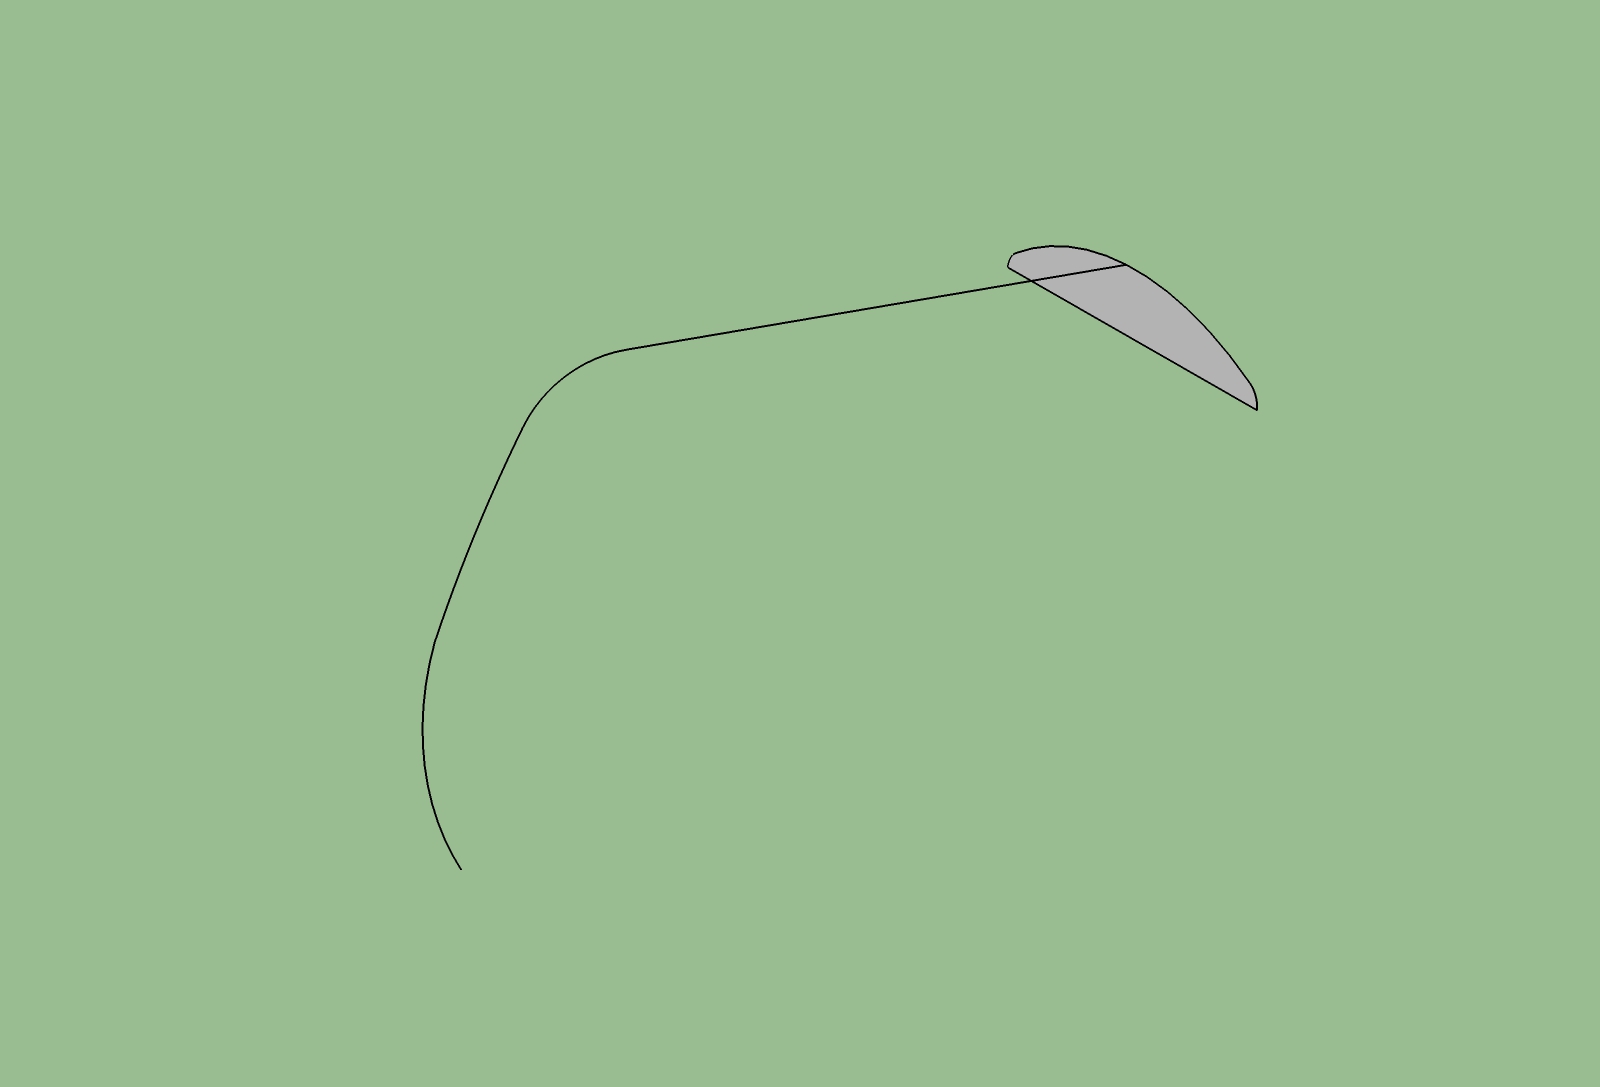
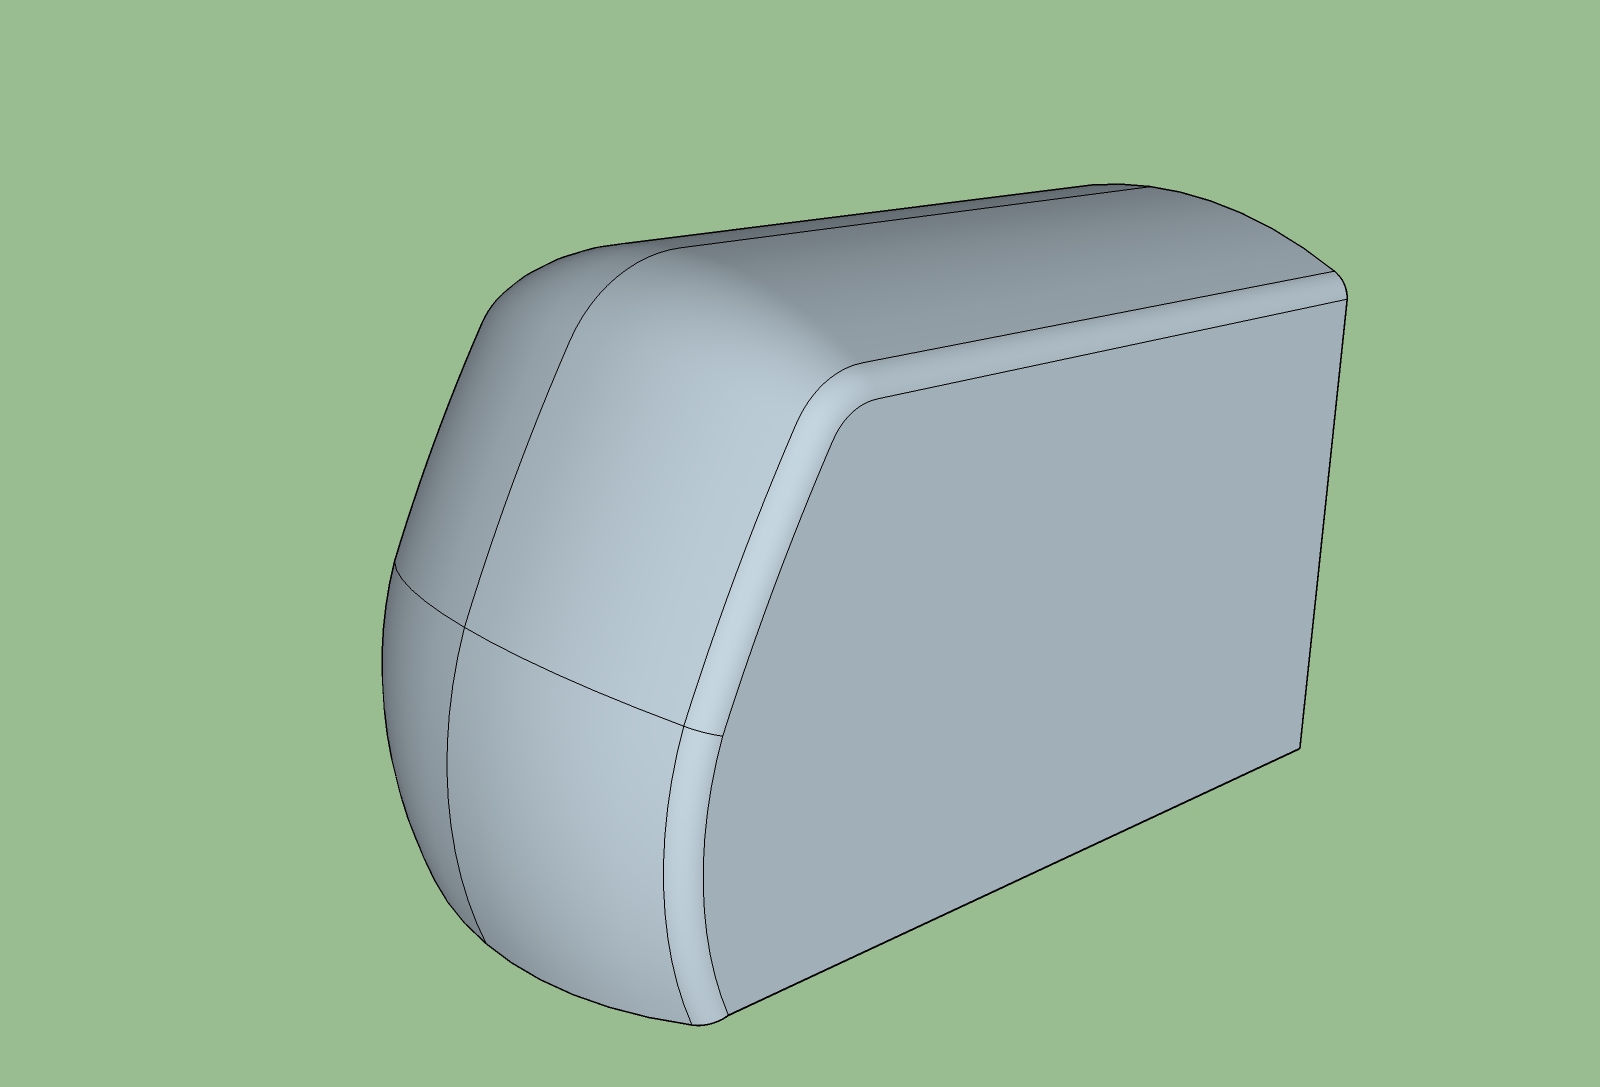
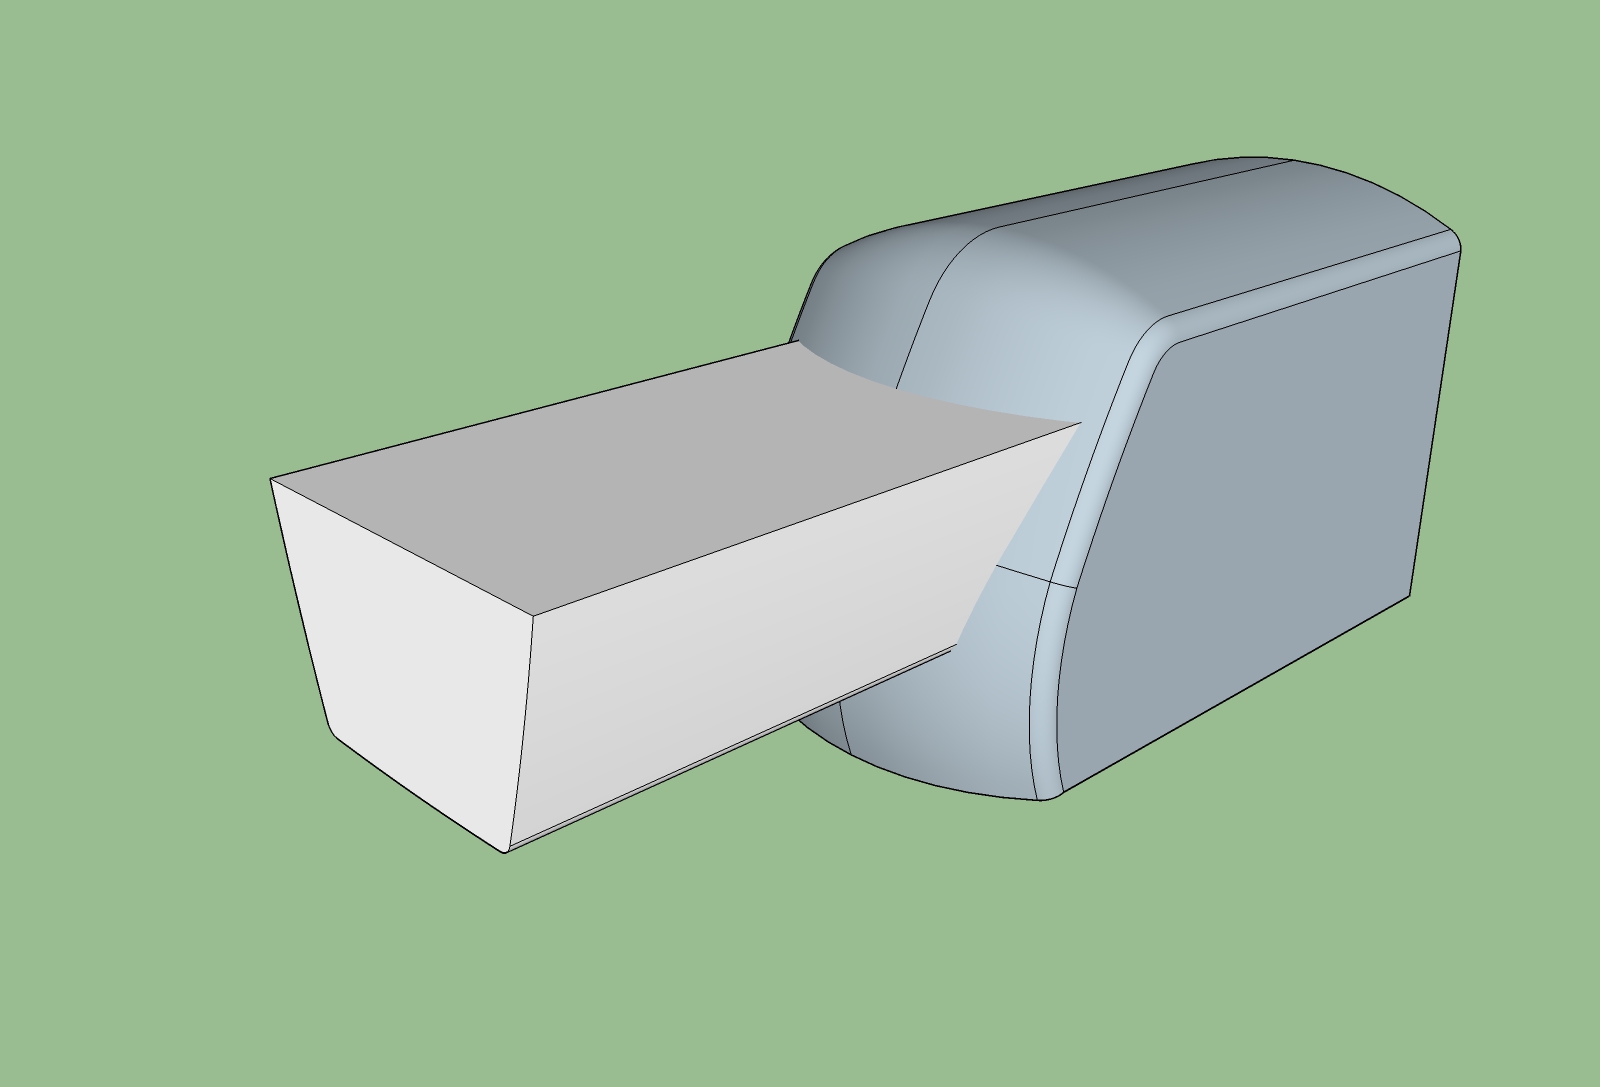
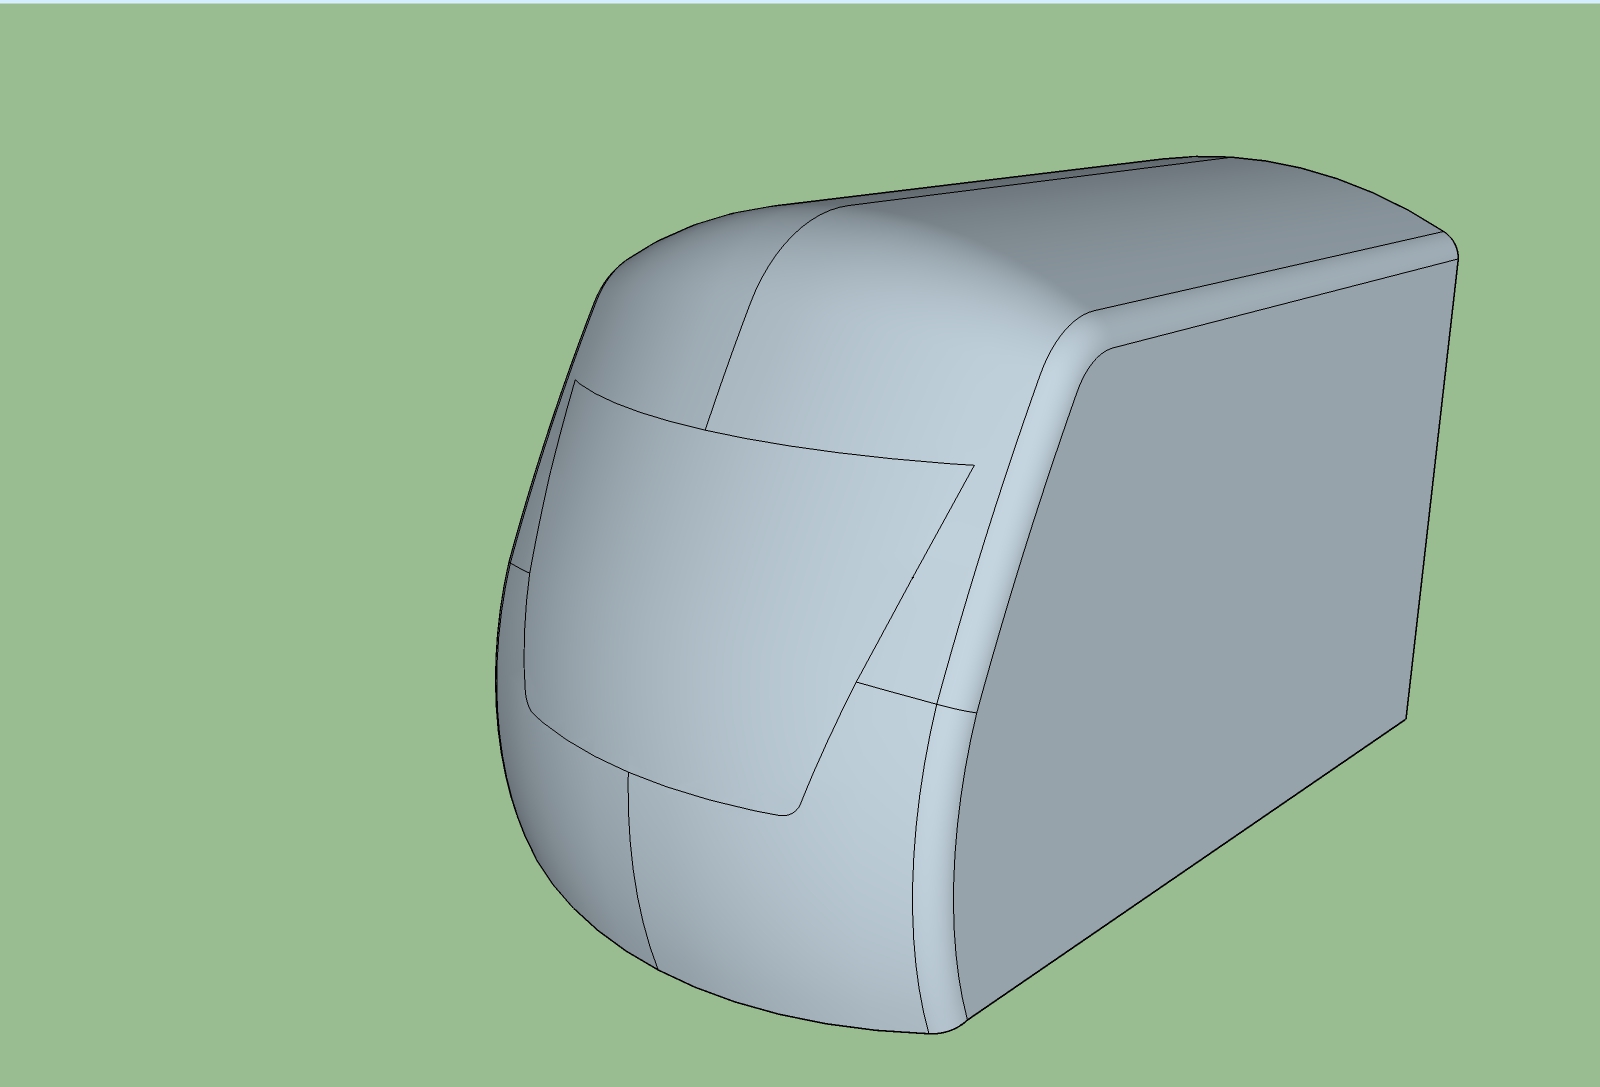
Trace over the outside of that front view, then use Push/pull to draw the main body.
Then trace the front side part and try to intersect it with the main shape.Actually I believe you can use follow me from the top to the front down. It looks like the top shape goes down to the front.
Mainly this is how it should be done in an easy way !
-
Thanks Elisei, unfortunately the curve of the bottom is different from the top. Theres a small diference that matters a lot in the overall shape:
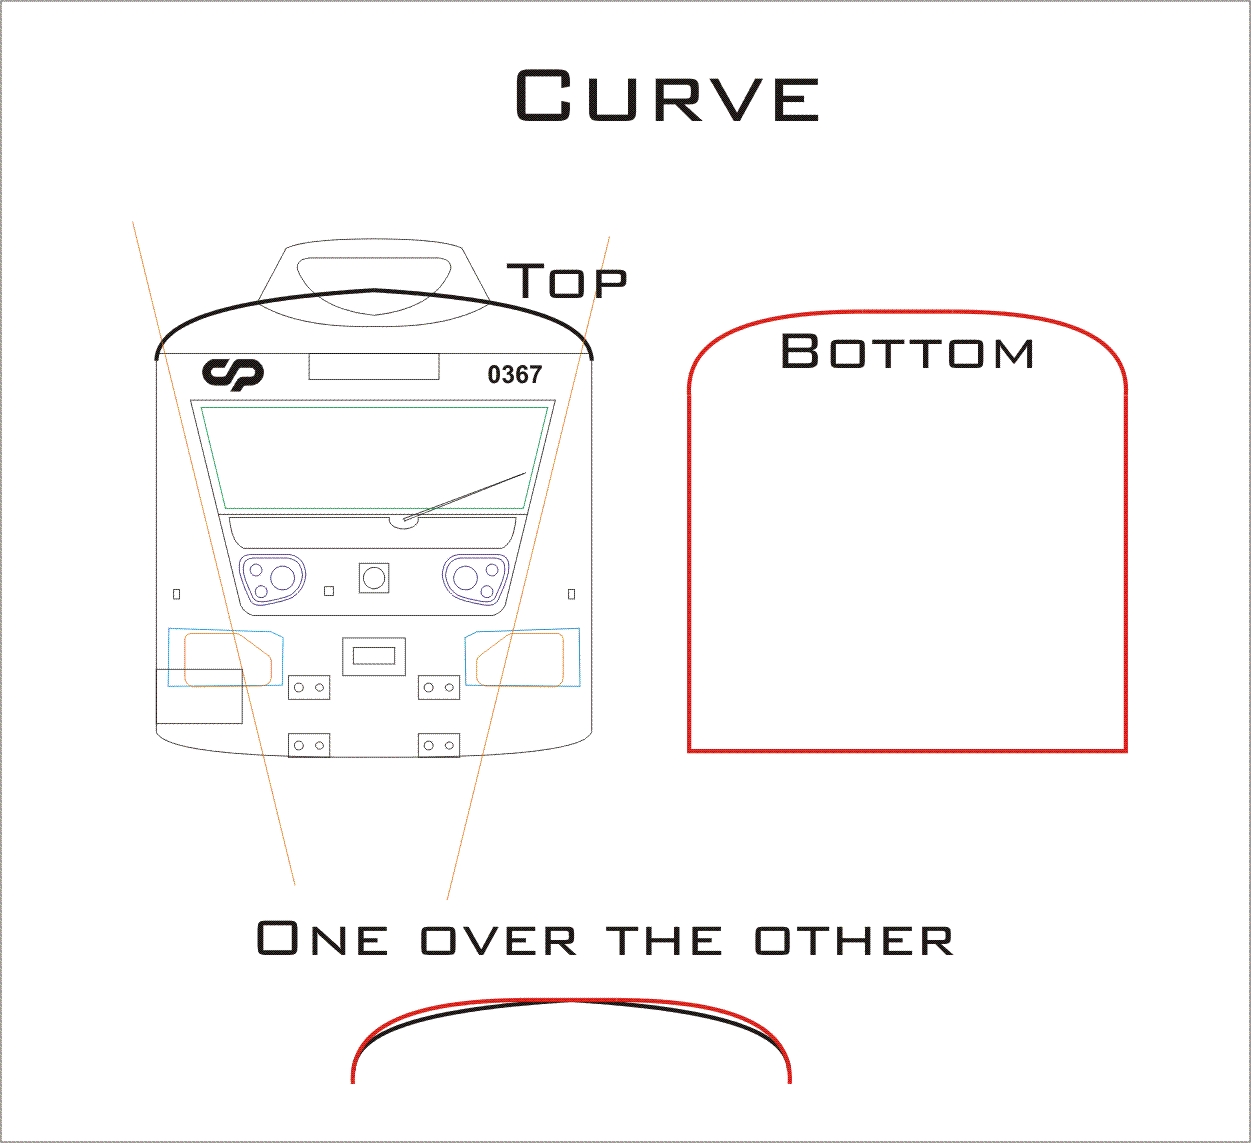
The orange lines on the front give an idea of the "slighter" planer area.
-
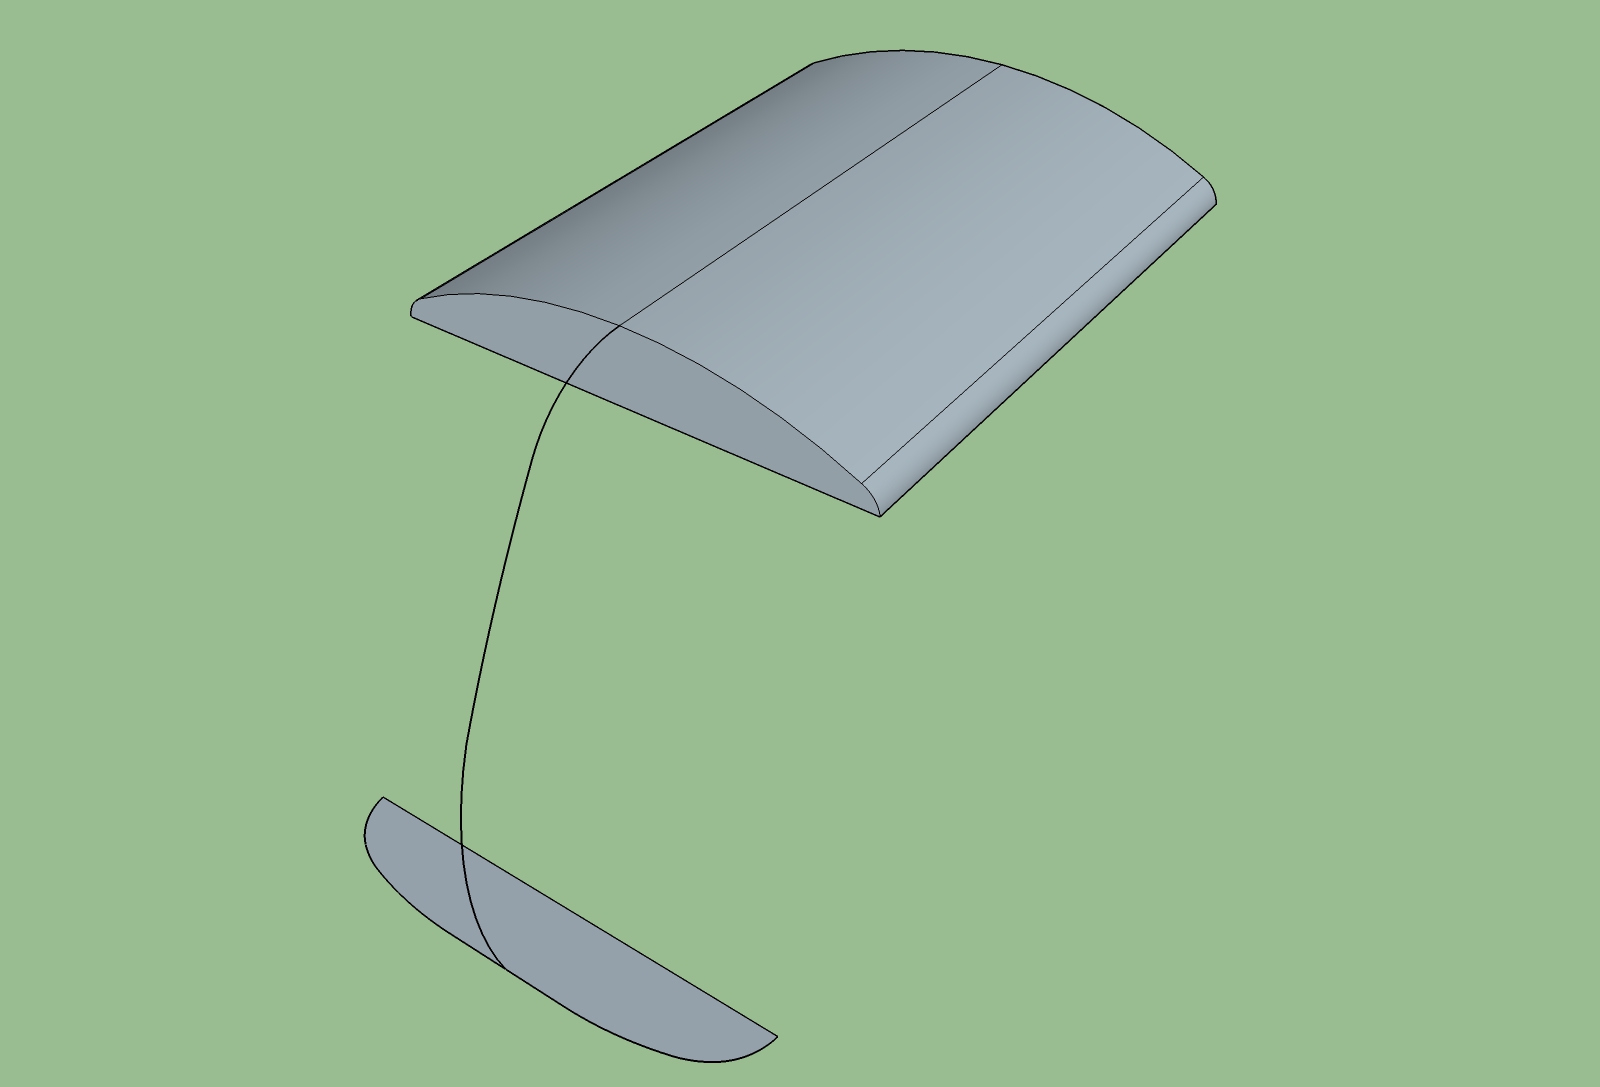
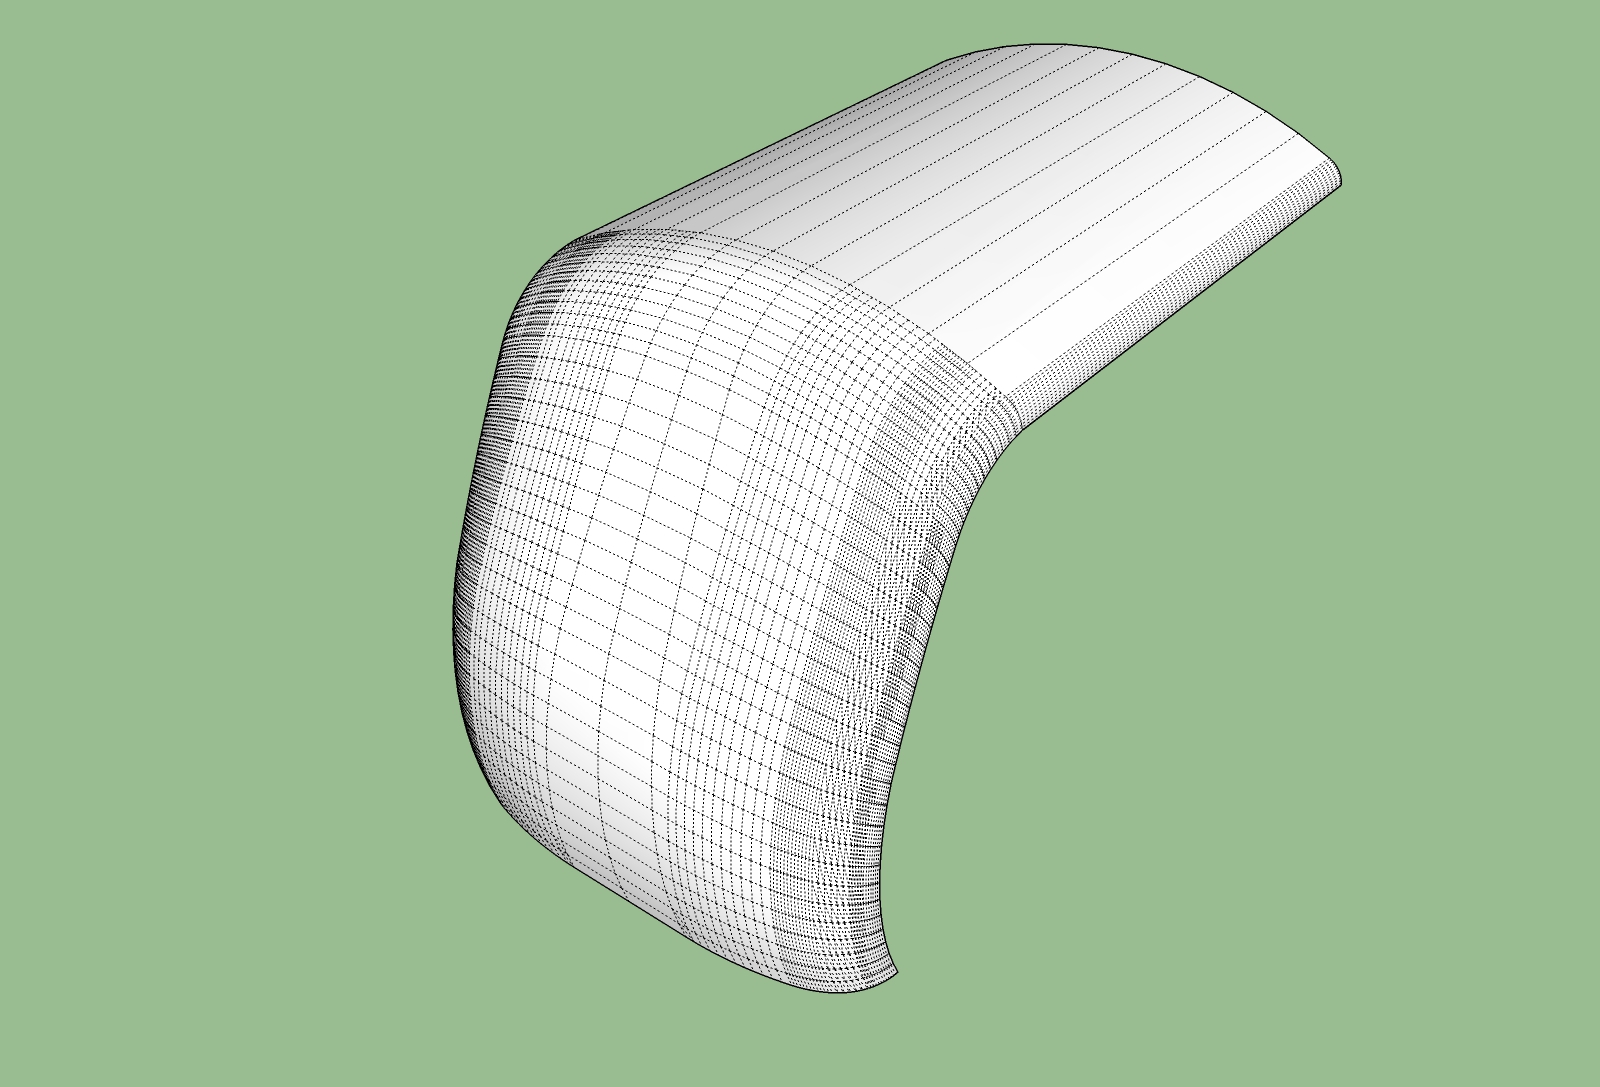
Then I suppose you can do this, using Curviloft.
If you know the shape, and a bit of Sketchup things should just come to you !
-
Thanks once again Elisei, I tried your sugestion but the shape still doesn't match the original. I don't know how to describe it but looks to plain. If you look closely theres some sort of triangular (see the orange lines) curved area that doesn't appear with this method.
Thanks for your effort. -
Ok, so I tried it the hard way. Like building blocks:
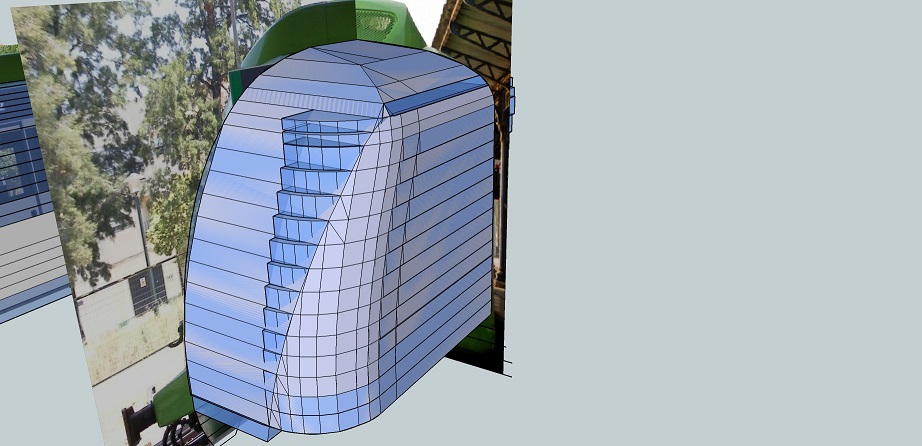
And this gave me the mesh I consider most faithfull to the original:
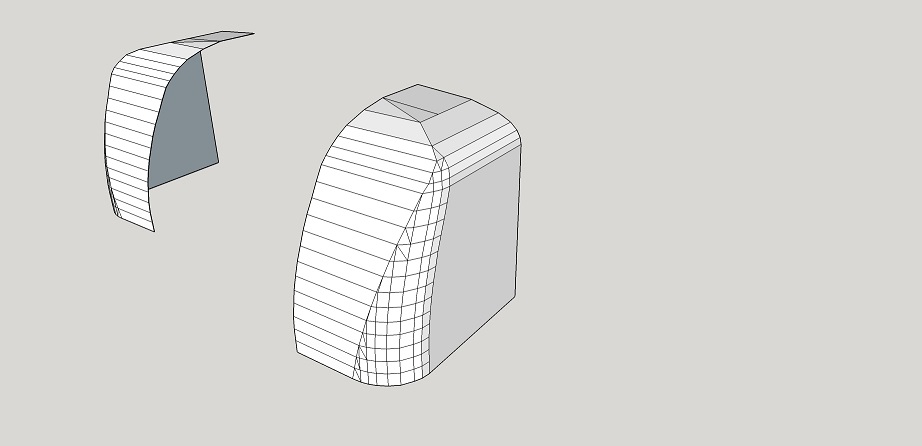
Unfortunately, and since I'm on Artisan baby steps the mesh becomes all messes up:
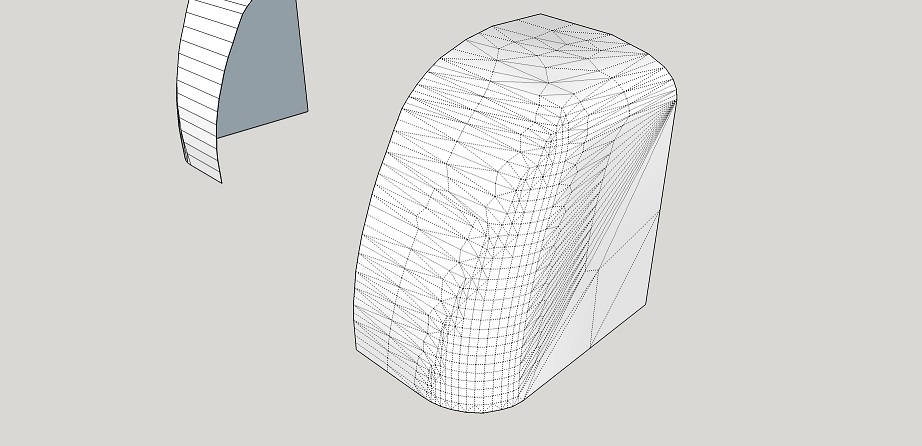
Which gives an awfull result with bumps!
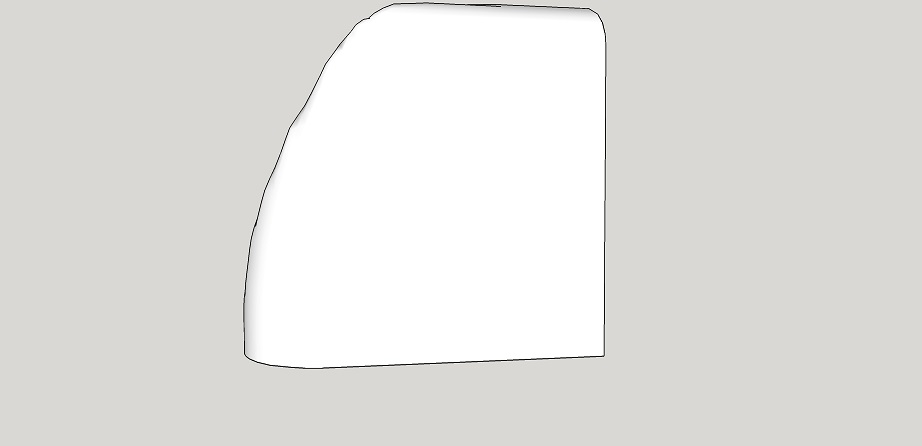
Any tips on how to optimize the mesh? I'm attaching the .skp file in case anyone can help.
-
I think you would benefit from learning about Quads and Quad Face Tools which will help with Artisan.
Here you can see some quick quads and SubD as a rough interpretation of what you are looking to do.
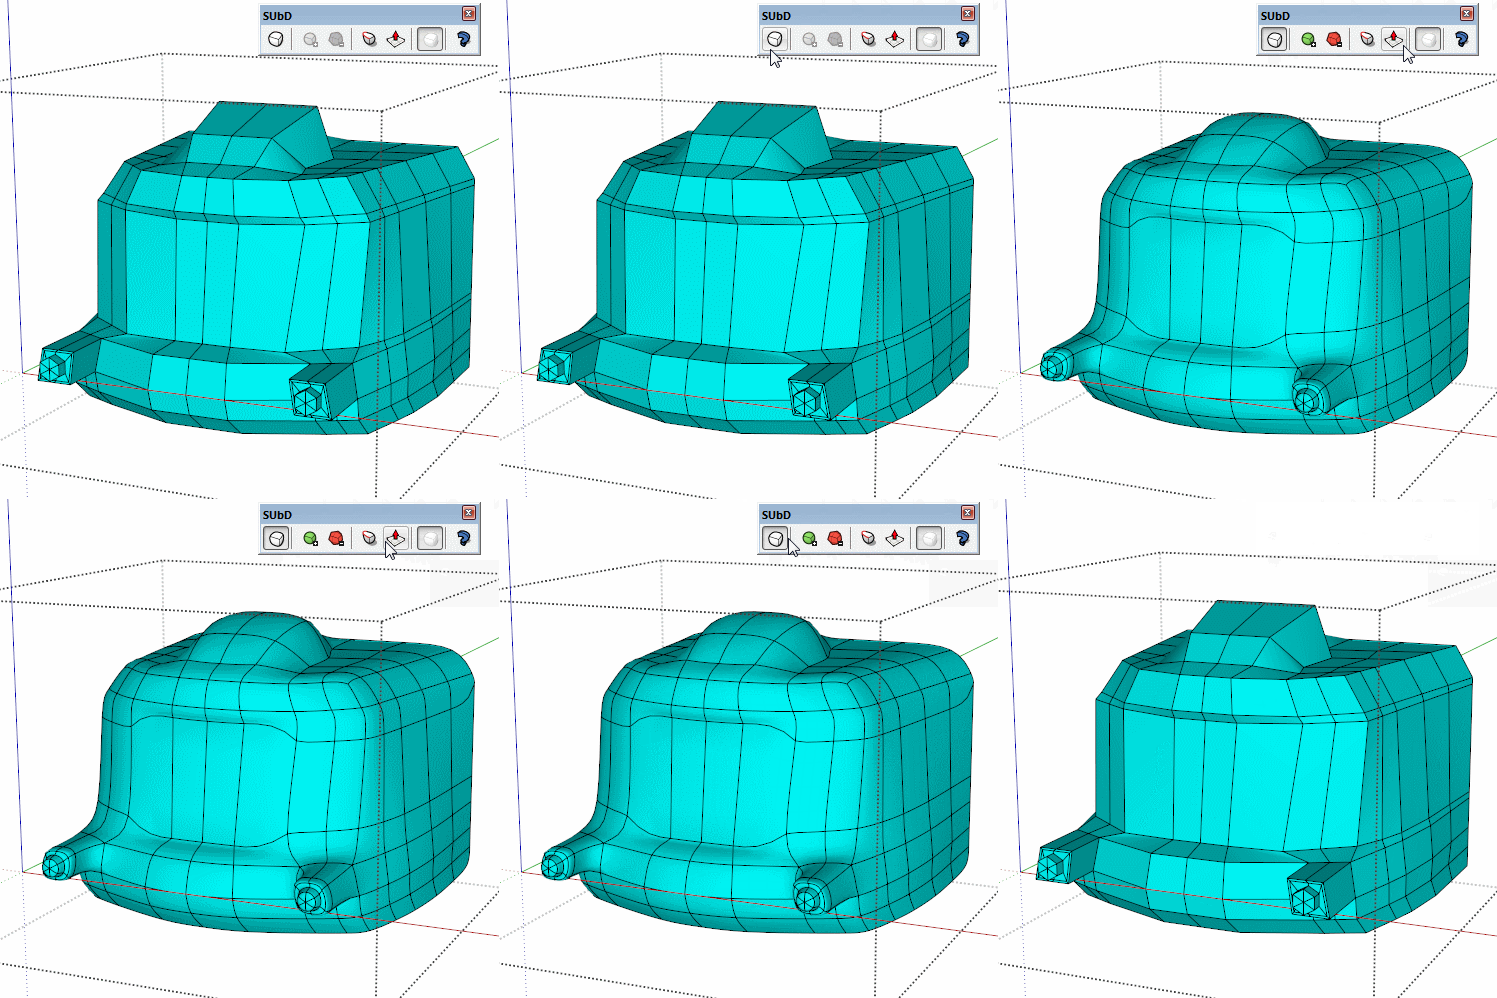
-
With quad thinking, as Box suggested, eith either Artisan or SubD you will have an easier control on textures at a later stage. It's easier to texture the control box and it will automatically texture the final model too.
Elisei's method is impressive though and you can also use texture projection on your model.
-
Artisan is not working well with a geometry that has already been built like that. You need to start from scratch thinking you will smooth it.
I managed to get your shape to work with artisan, but I believe is still inferior to the Curviloft surface.
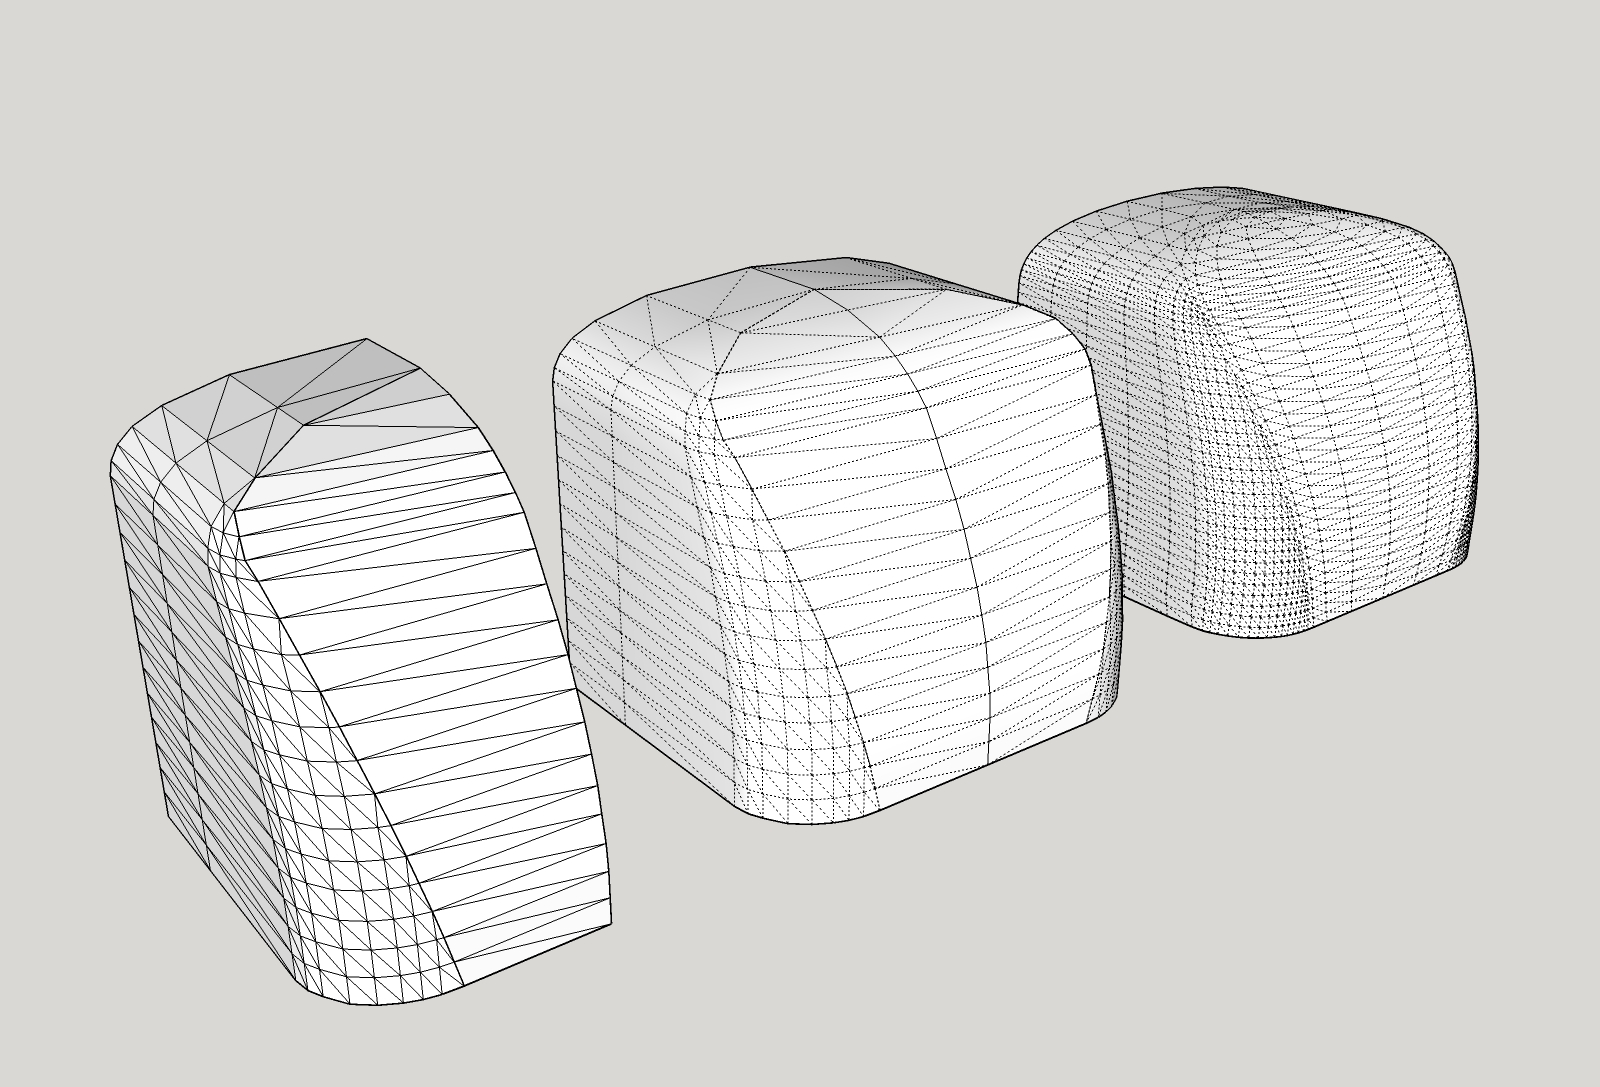
I would still stick with Curviloft. Now that you say this is the shape you want, then just copy the main profiles and smooth them and connect them with Curviloft. I have used Curvizard/Smooth curve to smooth the curves and then.. magic.Edit/
The more curves you use, the more control you have. If you believe you know the body shape, just draw the main curves and then connect them.
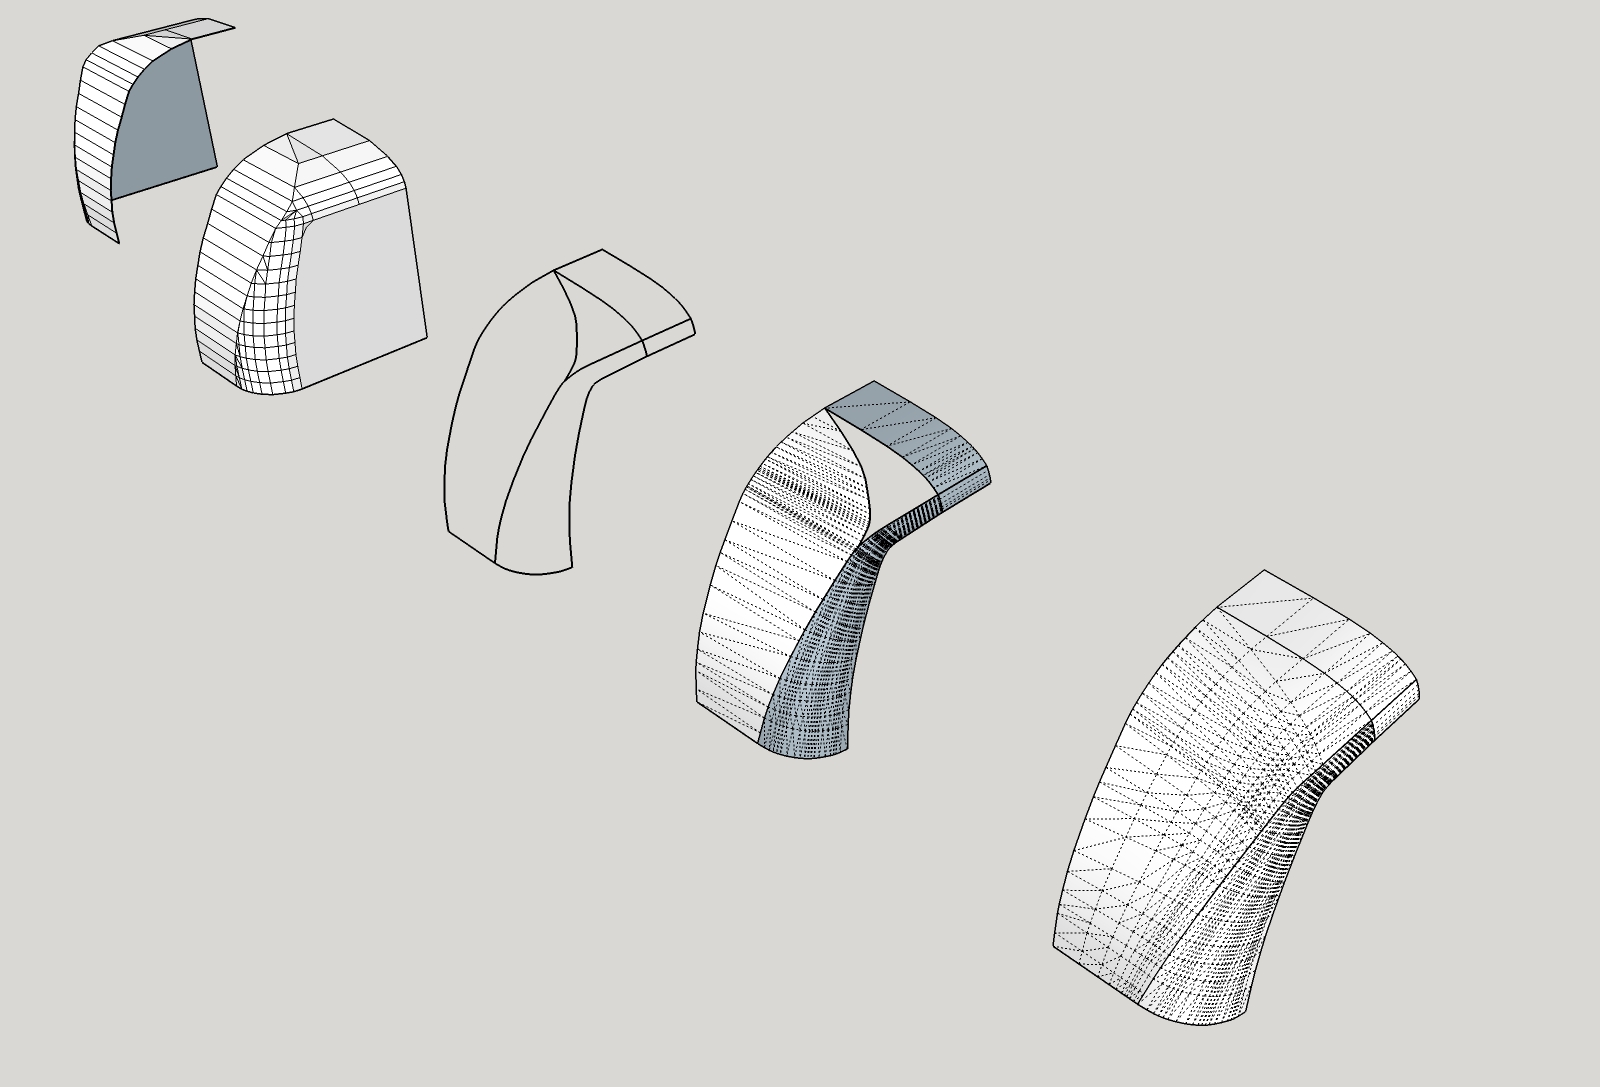
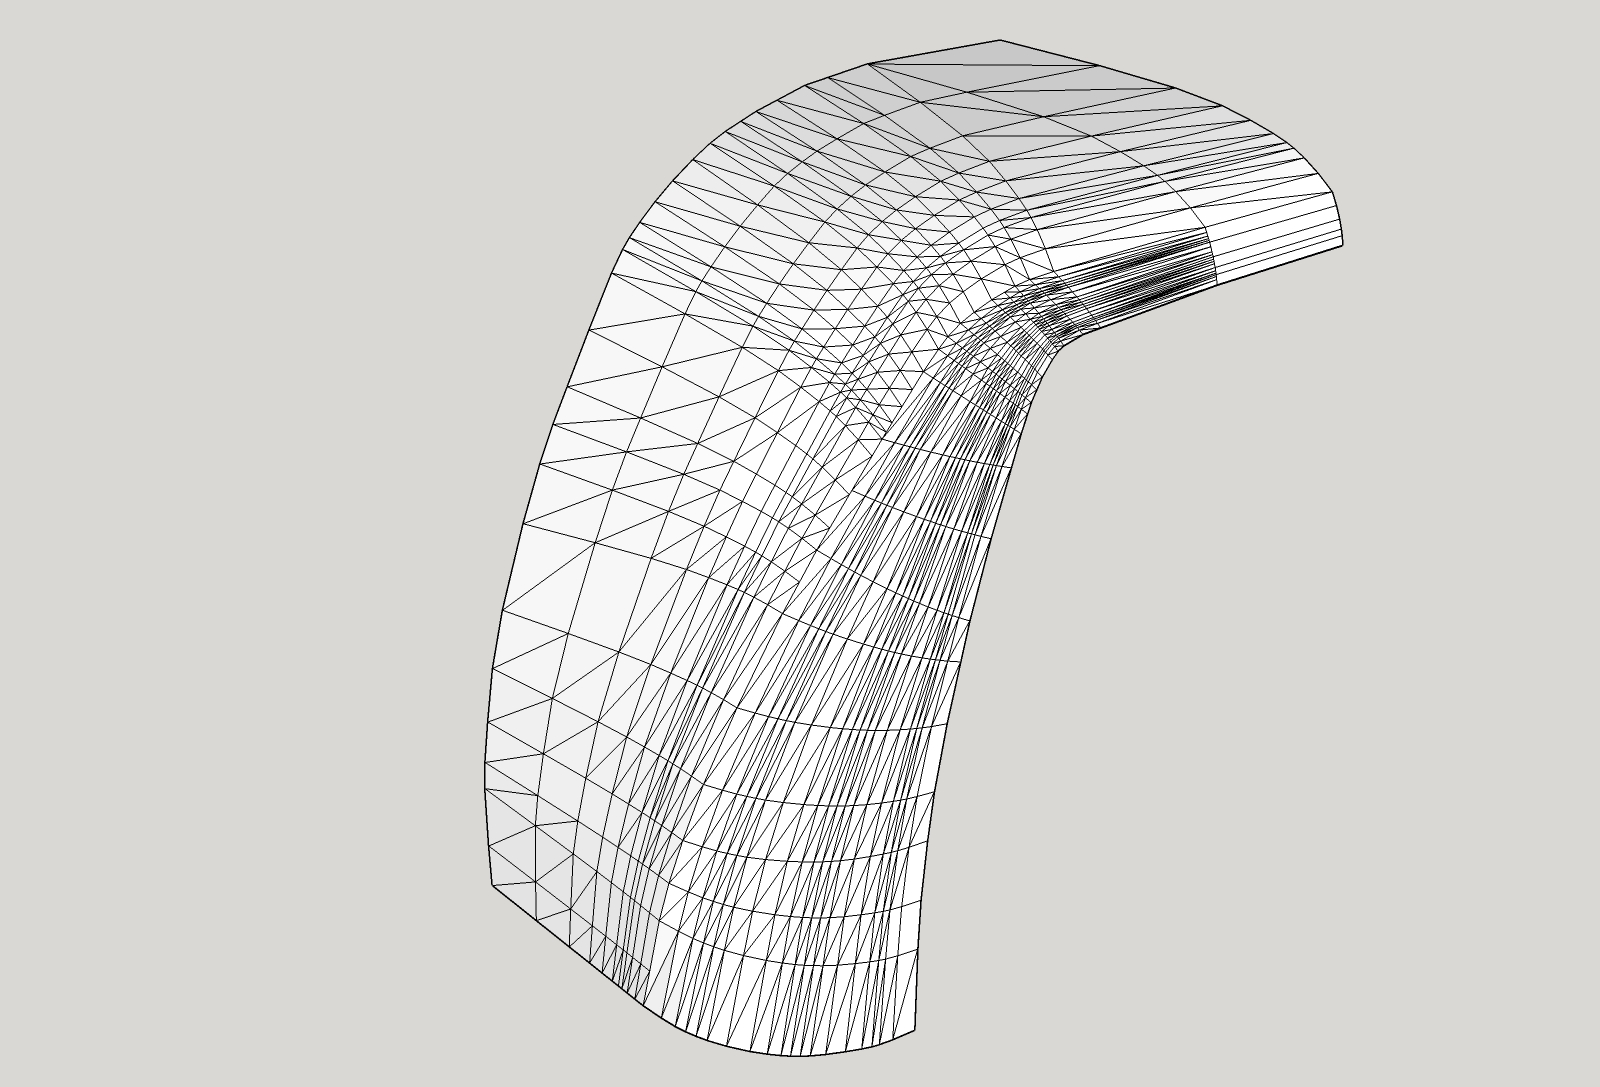
-
Thanks a lot guys.
Elisei, your work is impressive, for some reason I still prefer the Artisan geometry than the curviloft one. I did replicate what you did with curviloft (Curvizard is annother adition to my toolbar, thanks) but cannot so far replicate the Artisan one, could you please share the .skp so taht I can analyze it deeper?
-
Sure.
What I did to your mesh : removed smaller triangles which will give bumps, triangulated all the quads and oriented the diagonals, and I doubled the main line to keep that detail into the final geometry. At last I ran smooth from the artisan toolbar, as the geometry seemed edgy in some places.
-
Thanks Elisei, next step for me will be the quads as they seem essential to master the curves

-
I believe that if it is hard for you to do it with regular tools, then is harder to go with special tools as Artisan or SubD.
-
@nalmeida said:
Thanks Elisei, next step for me will be the quads as they seem essential to master the curves

that's generally speaking a good idea.
if you are interested in this, i suggest to follow this tutorials i did with some sketchup quad-modeling introduction, tips and tricks
https://www.youtube.com/playlist?list=PLaL30WxyeD1XNay4pinirG5wU4L5-O7_4BUT in this case, you are modeling with accurate reference drawing, so you can go and skin it as Elisei properly mentioned. (and this is also stated in my tutorial introduction) subdivision modelling is a great way to guess an shape trought a process of trial and errors, which is helpful when you don't have proper reference/measurement and you need a mesh which just "visually represents" your object, if you need an higher grade of accuracy (say to build the object) you could stick whith skinning/lofting techniques.
you may say this is less confortable when you are trying to eyeball something (at least in sketchup, which follows a "destructive" approach for lofting etc..).
but working with loft/roundcorner etc, may be more confortable when you have to just imput a few numeric values for dimesions, angles, curvature radius etc..@jql said:
With quad thinking, as Box suggested, eith either Artisan or SubD you will have an easier control on textures at a later stage. It's easier to texture the control box and it will automatically texture the final model too.
Elisei's method is impressive though and you can also use texture projection on your model.
i agree with this, but only for the first statement. Sure, quads are better for texturing, assuming you will map it with tru-paint, or quadface mapping tools and also if you export a quad obj from quadface you can more easily unwrap it in most application (rather than unwrapping tris or even worse n-gons)
BUT, that said, notice curviloft is also compatile with quadface tools and it has options to generate quads and even to create and orient triangulation of diagonals (see the screenshot) which is a further help in quad-texturing . So you can still use curviloft and then use quad mappig on it, or export your quad mesh trough the qft exporter.
i would say that's not an all or nothing thing. actually in some cases i build part of the model with subdivisions and part by lofting, or mixed togheter, depending on what you need.
you may also want to build a low-poly loft and then subdivide it when you need a closeup.. and more..@nalmeida said:
Thanks once again Elisei, I tried your sugestion but the shape still doesn't match the original. I don't know how to describe it but looks to plain.
are you sure you checked every option in curviloft "method"? (see screenshot again)
-
Thanks everyone once again, specially Elisei and Paxinia.
Paxinia: Thanks for the input and for sharing your view on the subject. The youtube videos were very enlightening. Actually I don't need to render anything so probably Artisan isn't effectively the best choice. One thing I might have wrong was that using a cleaner mesh would make it more efficient when using the solid tools. I use the solid tools a lot and I was under the impression that a cleaner mesh would give better results but I've been exploring Curviloft a bit deeper and does have a lot of options I didn't notice.
I already used Curviloft to make the bottom part of the front and after some trial and error I got it right. Now it's on to detailing.
The render:
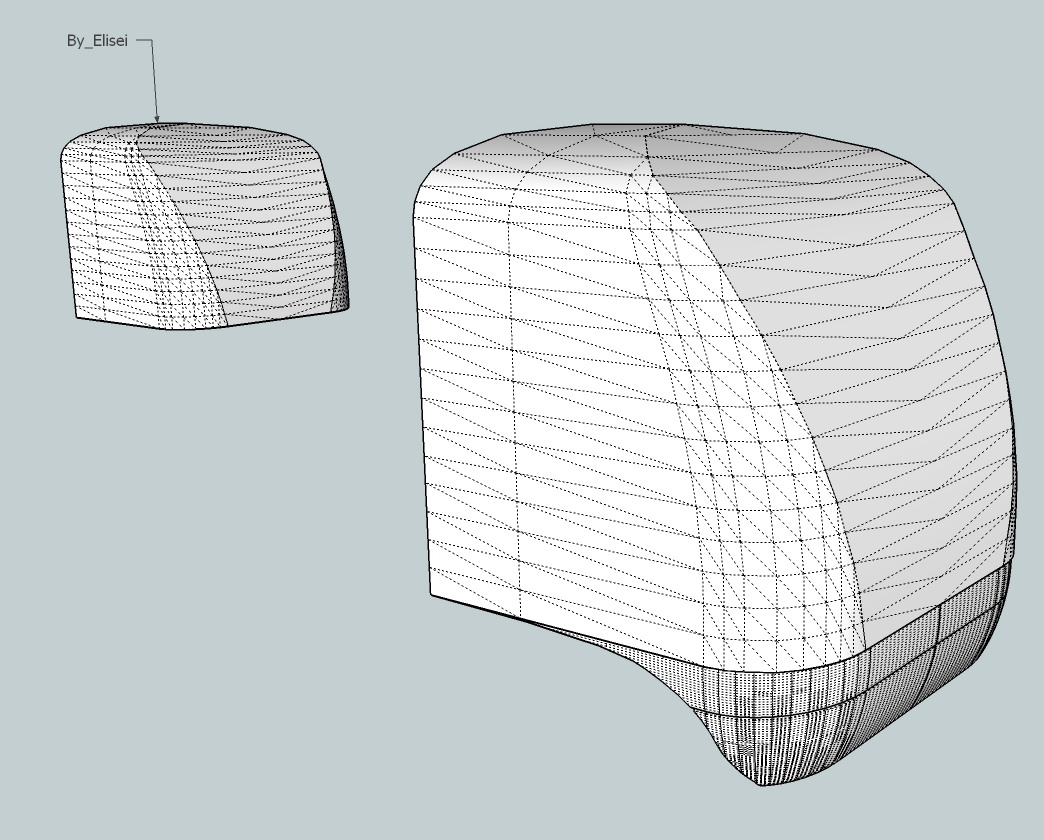
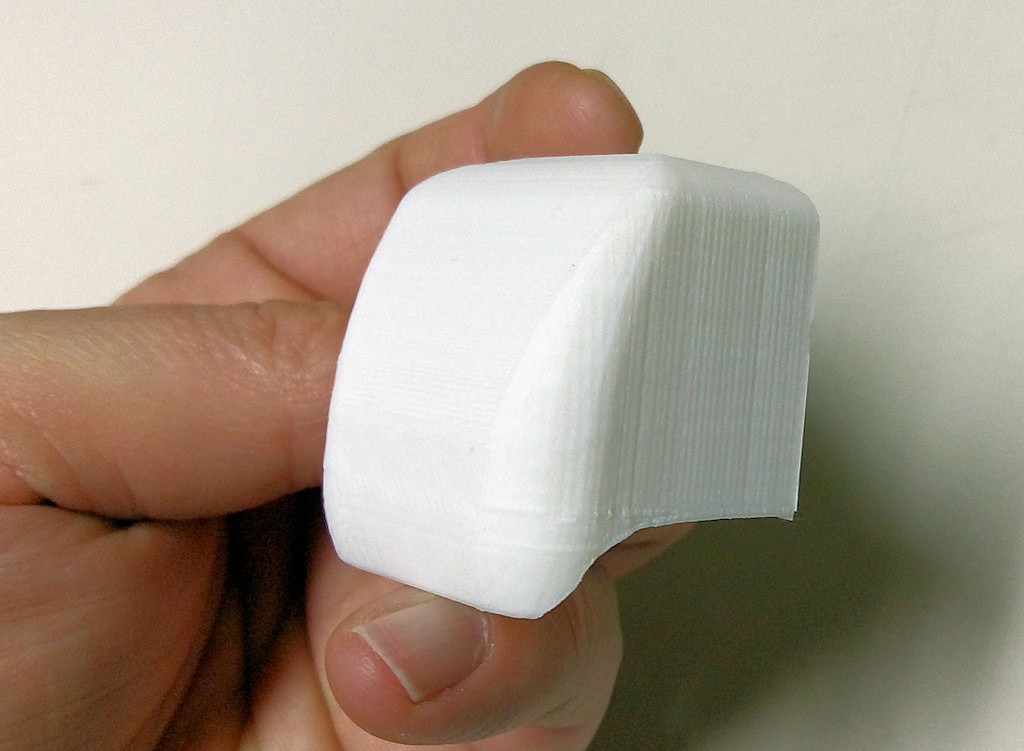
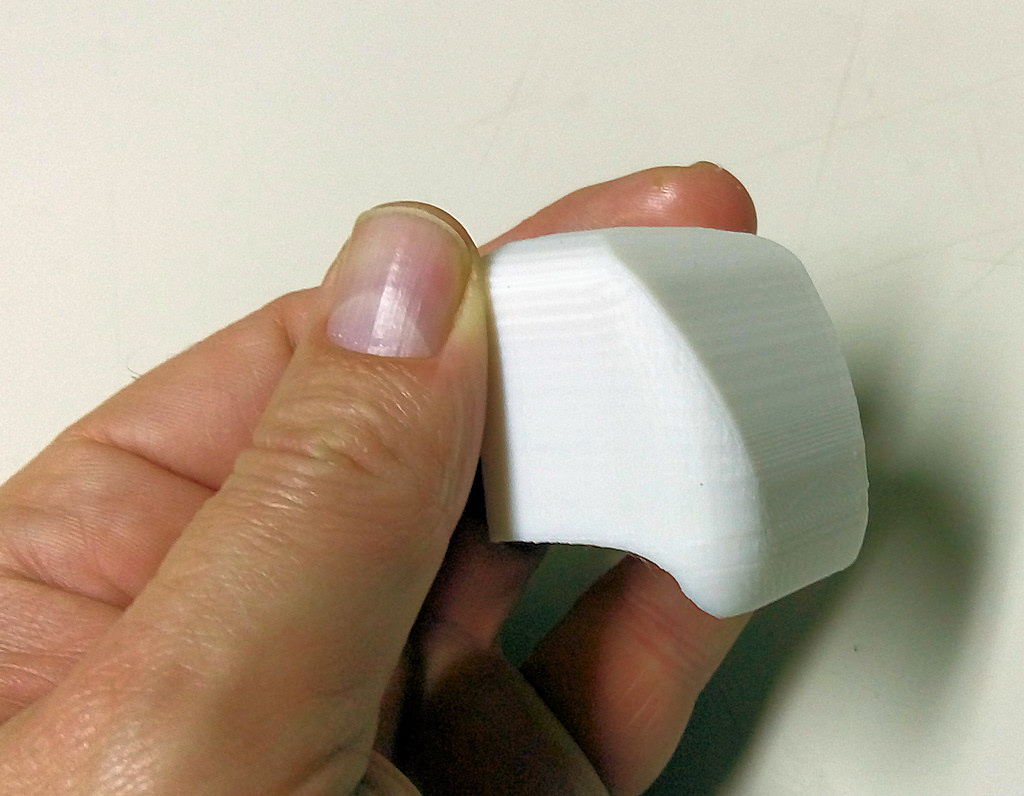
And the first draft printed with my FDM printer. The finals will be printed in my resin printer.
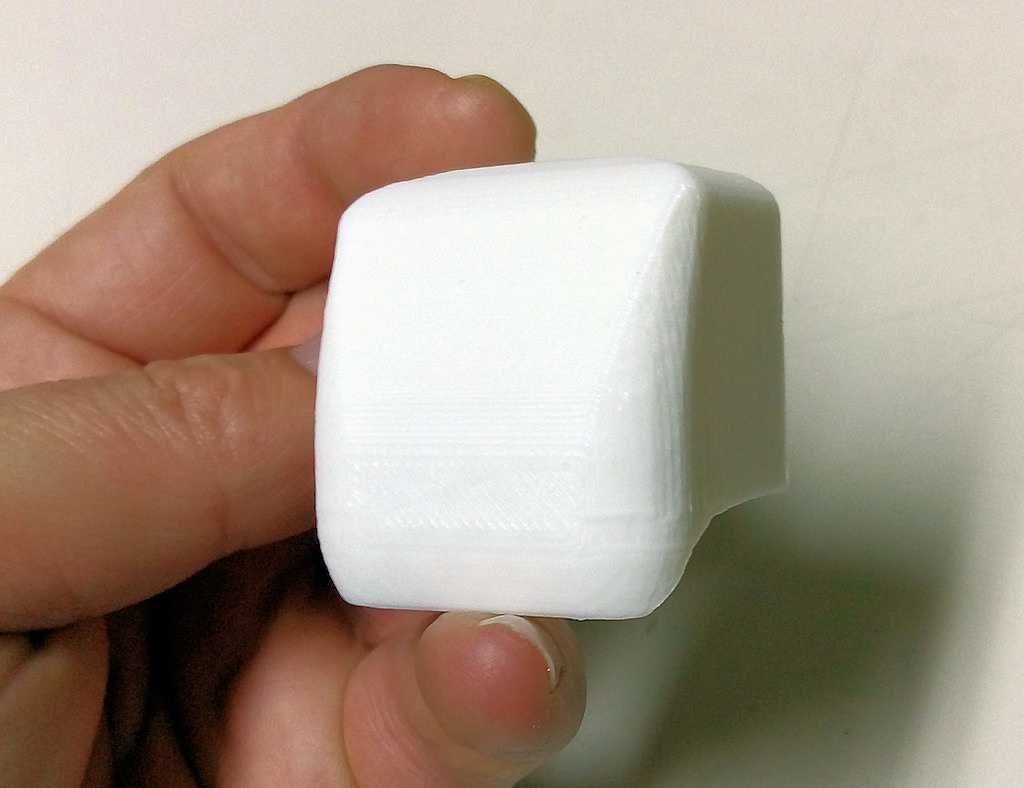
Thanks once again.
-
Definitely subdivision modeling. Which means for Sketchup -> SUbD
Advertisement


