Cutting up a model for 3D printing
-
-
@revelever said:
Should I scale it up before importing into netfabb or no difference?
-rev
Shouldn't make a difference, but you can scale it quickly in Netfabb if needed. Glad it helped!
-
@ely862me said:
Here you go !

Awesome! Did you do that inside sketchup??
Can';t wait to fire up the printer
-Rev -
Yep, you just have to wait a bit, about 3-4 minutes, for each intersection to be made.
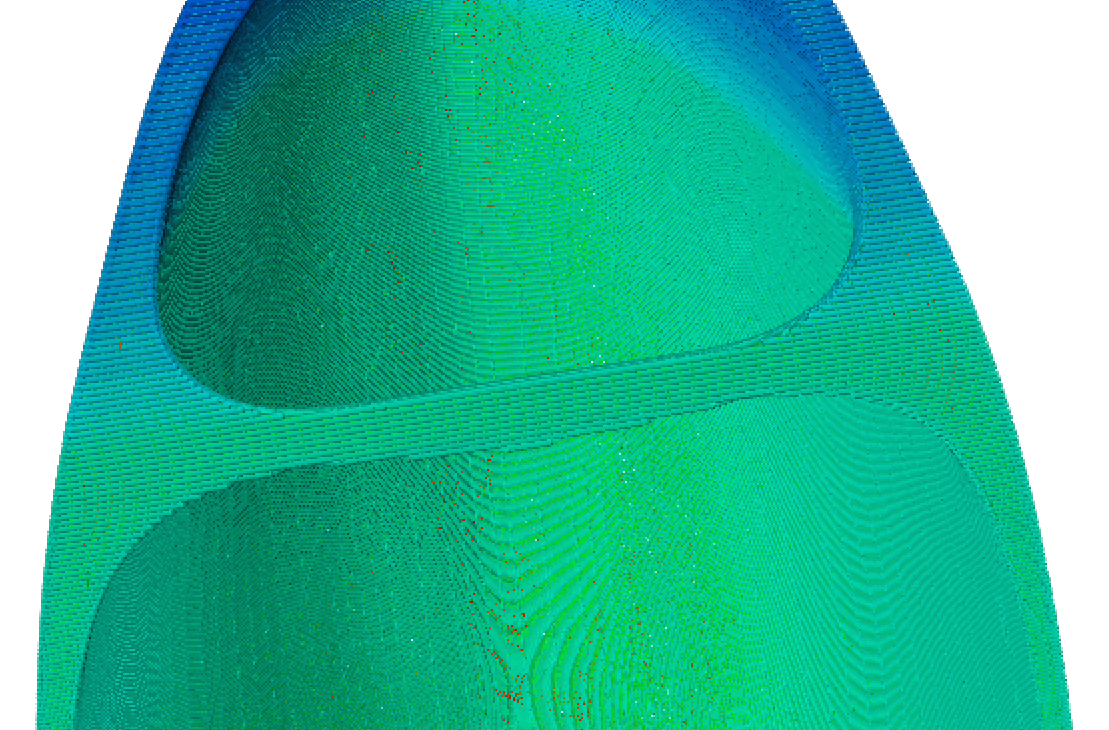
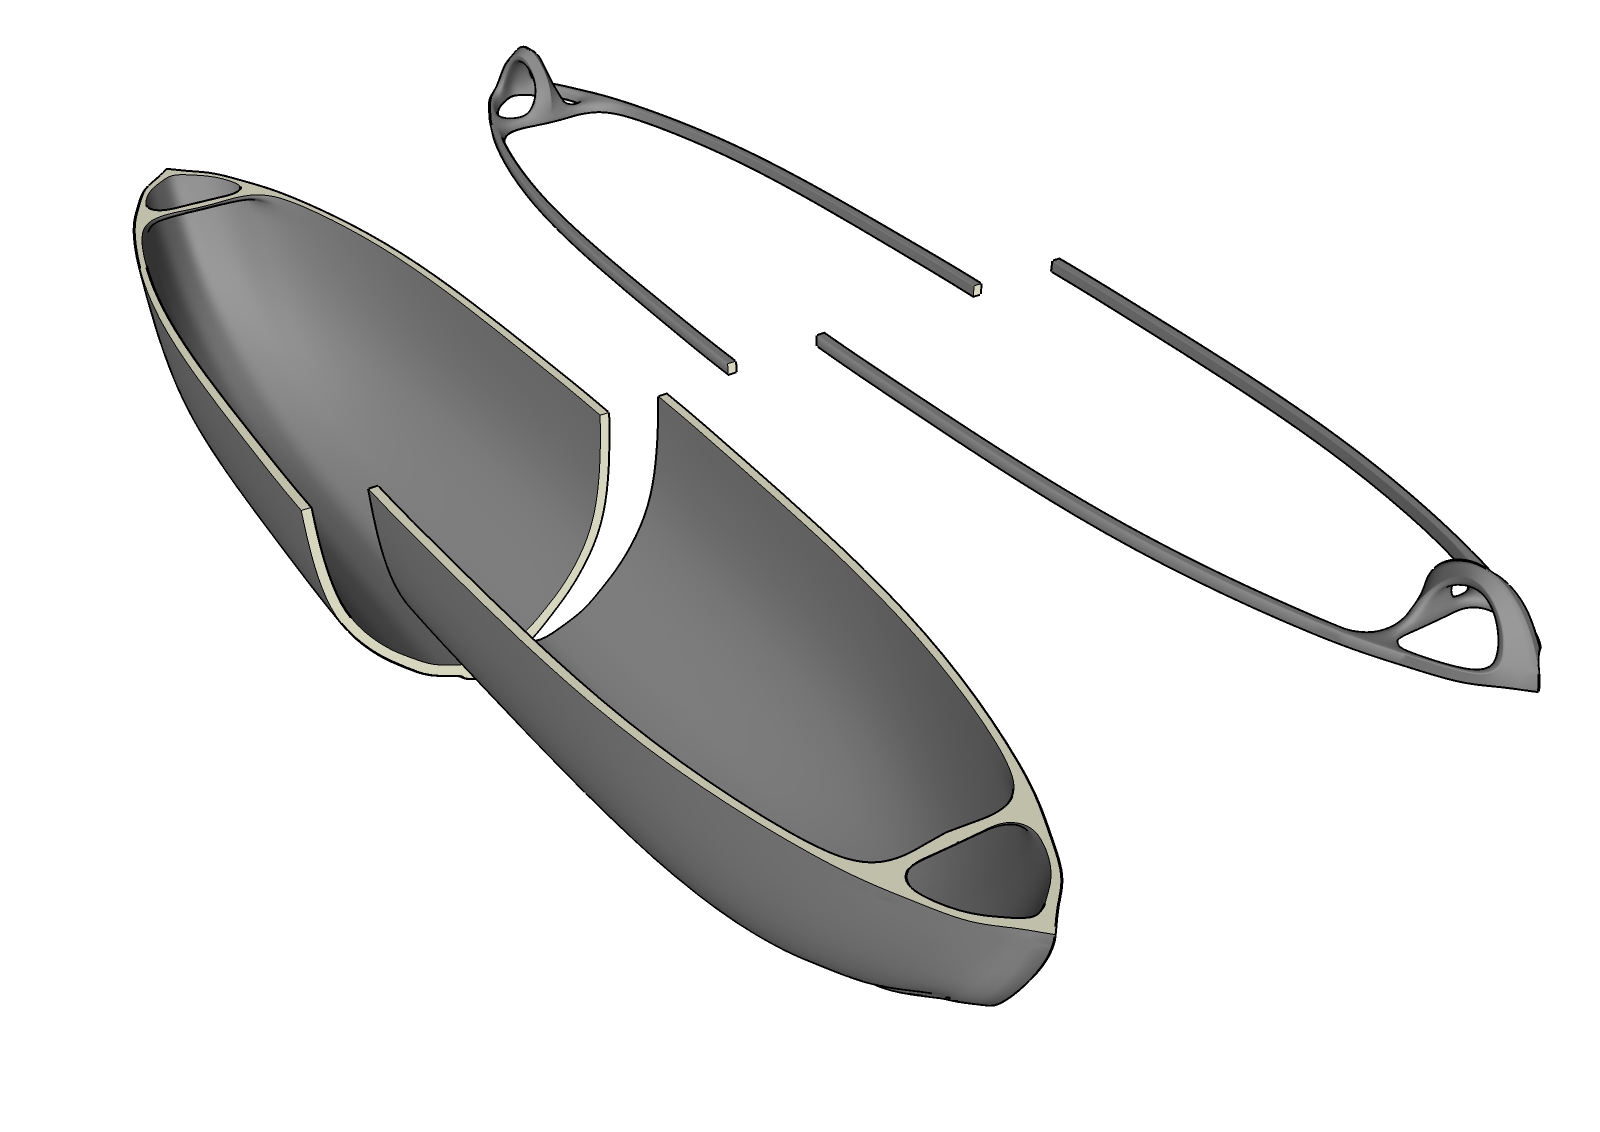
In the middle I opted to make the middle line coplanar and just cut the inside part which has no middle line. Then you just unsmooth it and you have the cut.
Keep in mind to intersect each plane separately to have faster response with the intersection. In my case I worked the middle line then each end .
I also scaled it up 10 times more, then down again. -
@ely862me said:
Yep, you just have to wait a bit, about 3-4 minutes, for each intersection to be made.
In the middle I opted to make the middle line coplanar and just cut the inside part which has no middle line. Then you just unsmooth it and you have the cut.
Keep in mind to intersect each plane separately to have faster response with the intersection. In my case I worked the middle line then each end .
I also scaled it up 10 times more, then down again.That is very impressive to me, I am missing something in my approach. However Netfabb was a breeze, and I'm up and running! First part is being printed.
Some details on the parameters:
Extruder temp: 218 C
bed temp: 60 C
Layer height: .2mm
1st layer: .3
Perimeters: 2
Layers on top and bottom: 3
fill density: .3Speed:
infill: 40mm/s
inside perimeters:45 mm/s
outside perimeters: 35 mm/s
bridge: 60 mm/s
non print speed: 300 mm/sThese numbers are not based on anything other than my experience, which is fairly minimal. If anyone has any pointers in this department, please let me know!
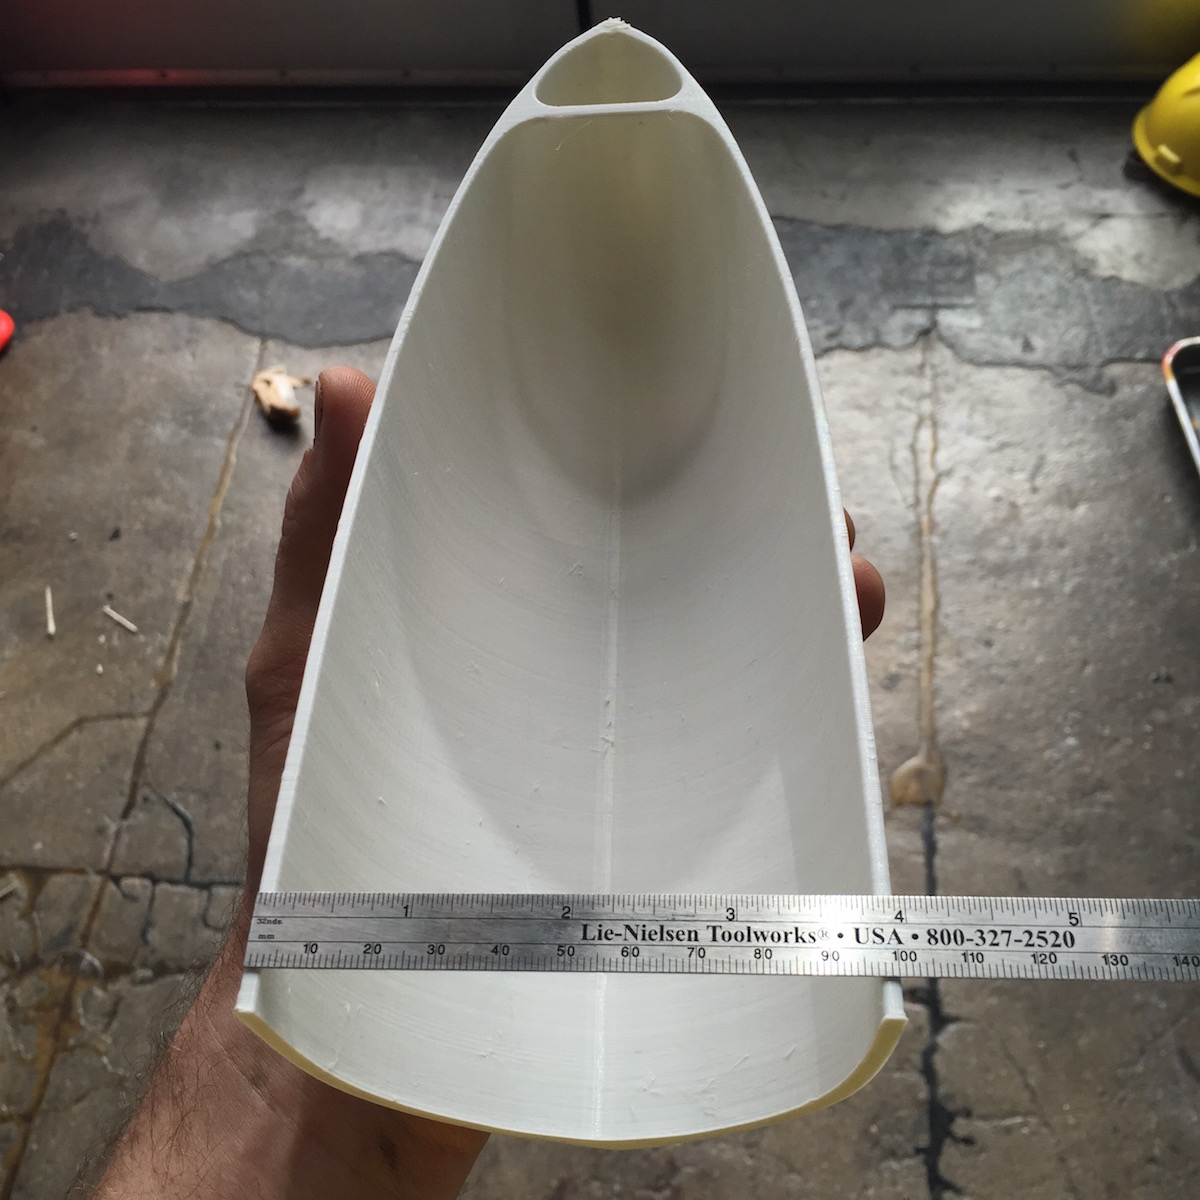
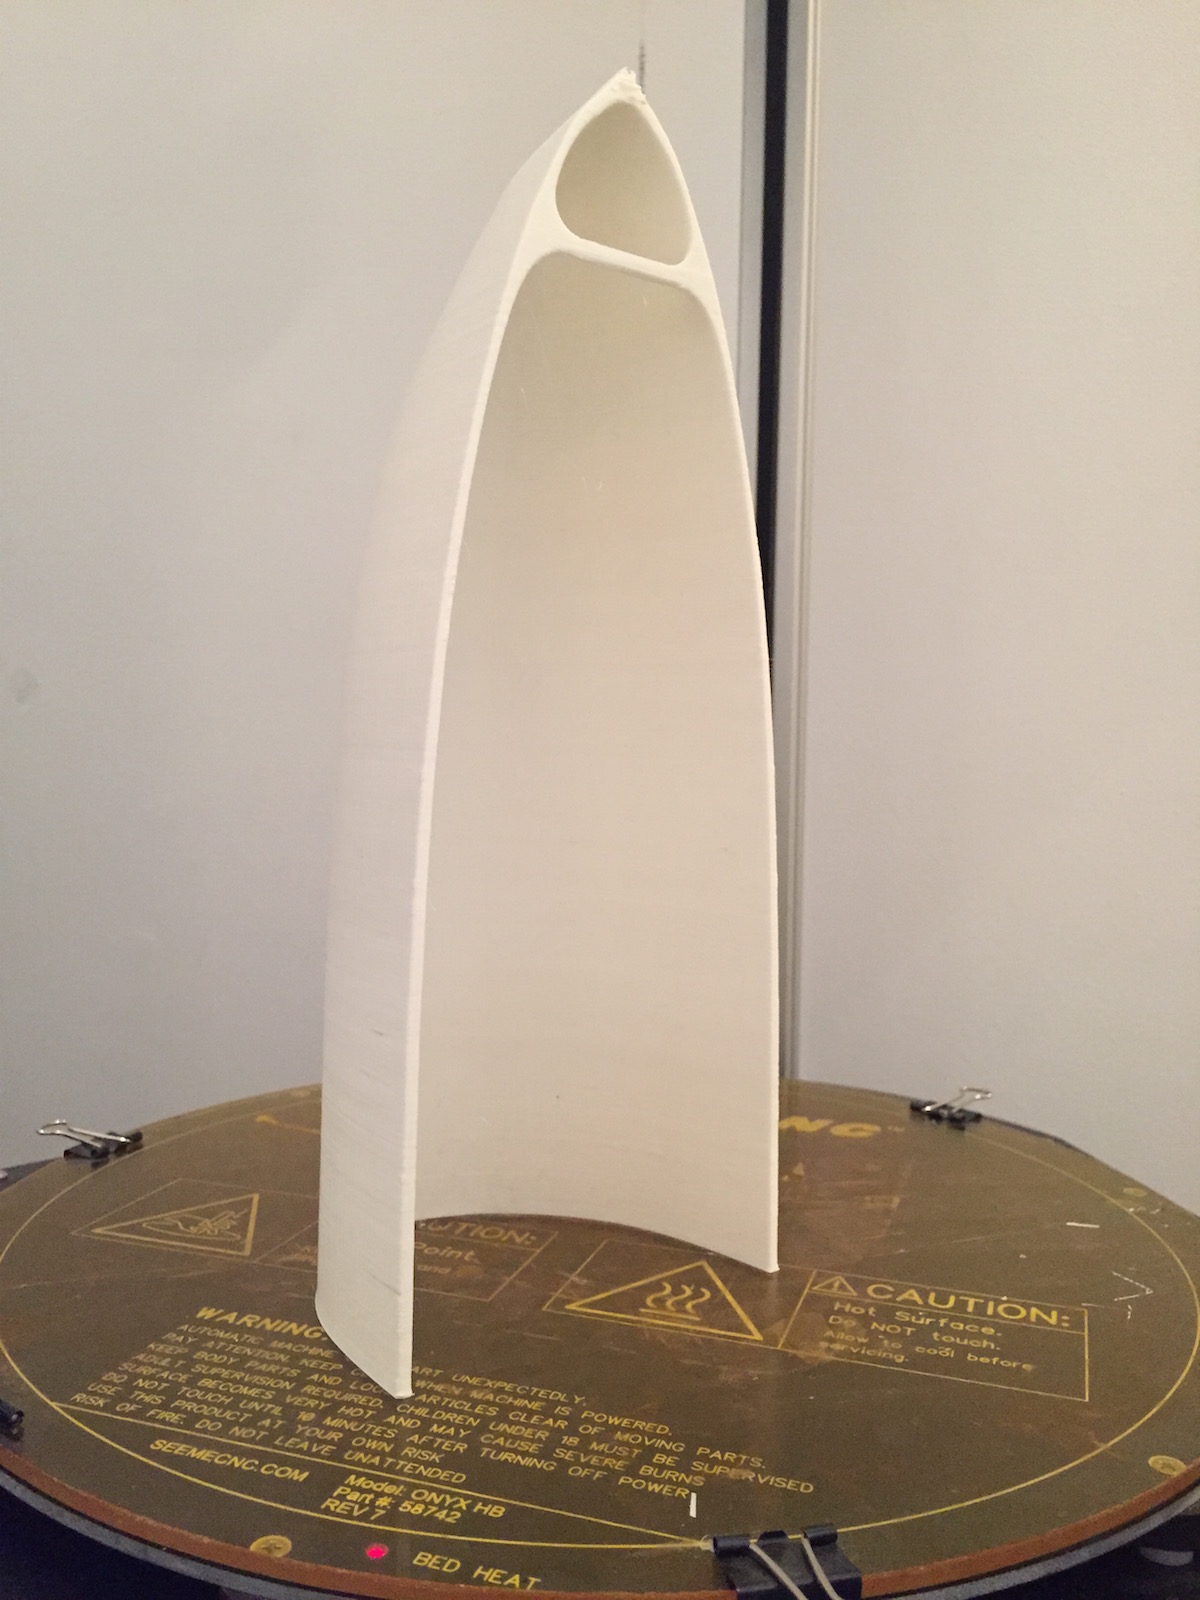
I could probably push the speed a bit, but I figured I would play it safe for this first one. I am printing half of the boat hull vertically which is about 25cm tall, 9.85". Originally I had planned on printing it horizontally upside down, but it barely fits on the bed, and would necessitate a lot more bridging. I've found a good rule of thumb with Rostocks is to stay away from the very edge of the bed as you will lose resolution. With the Rostock design, if you have a choice and good bed adhesion etc, go vertical!
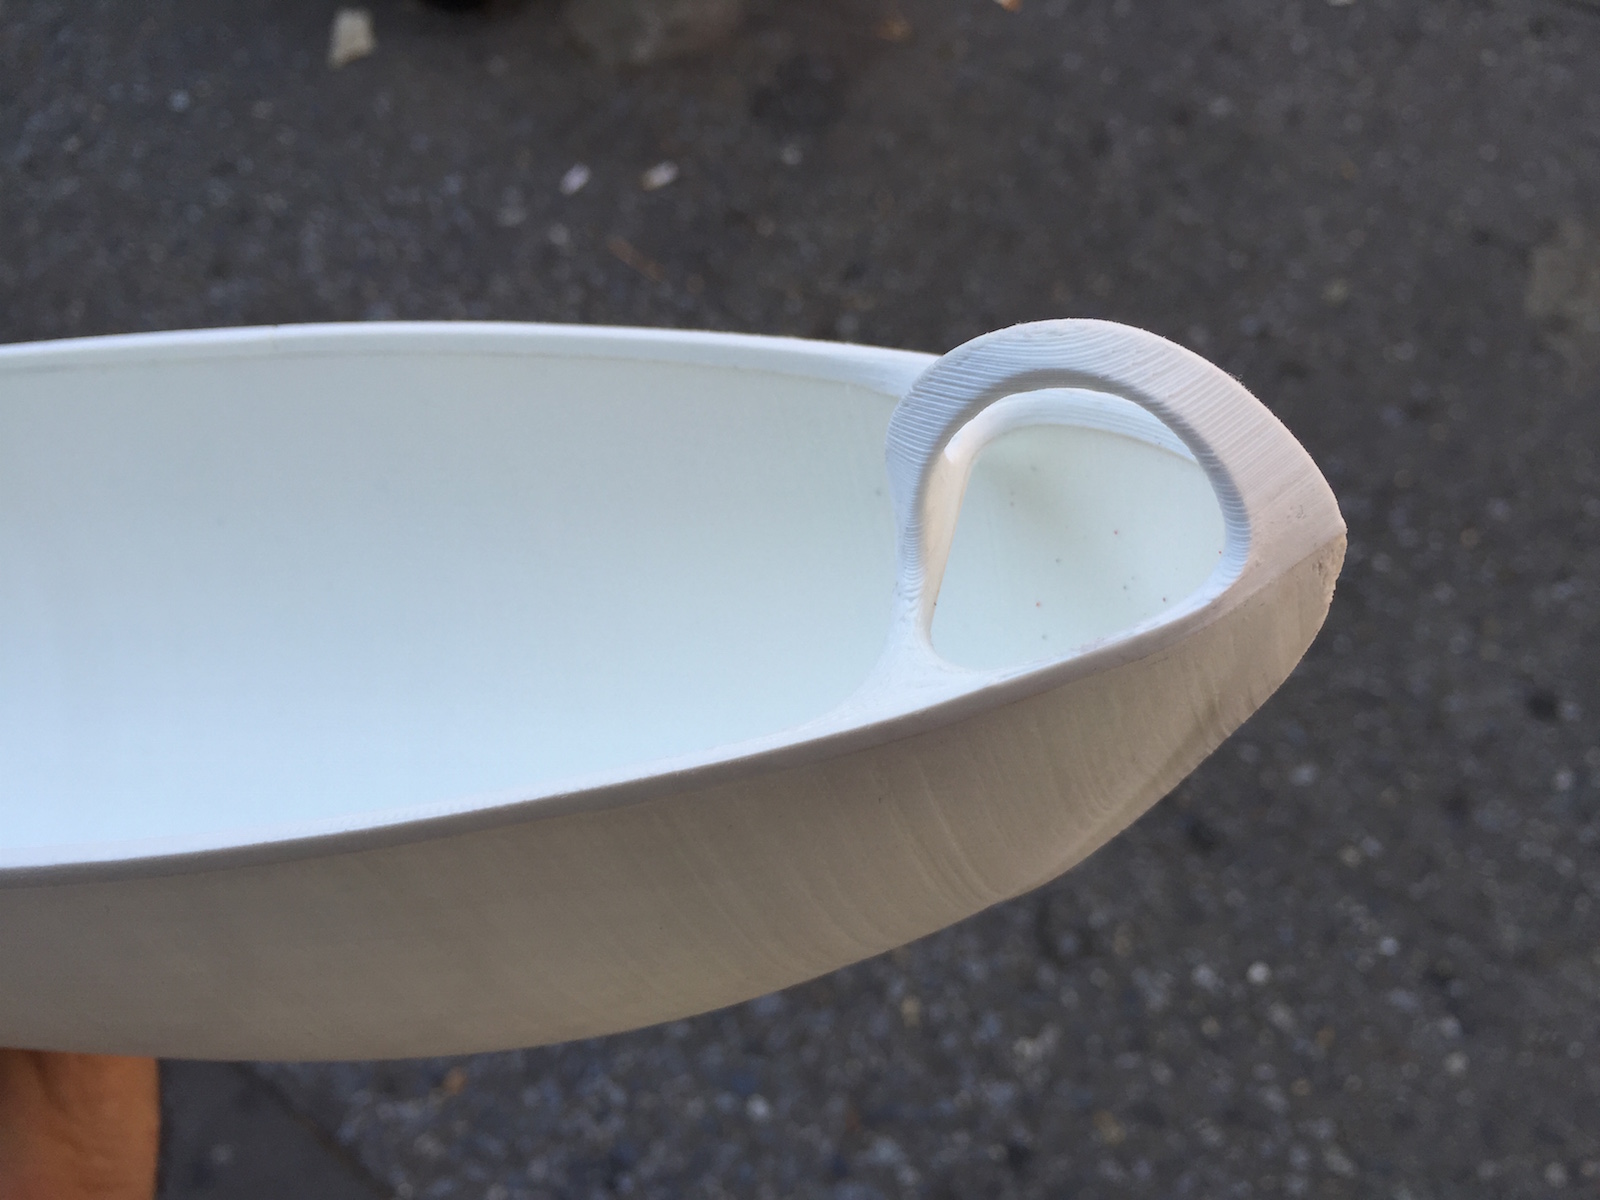
EDIT: I just realized that when I cut this up, i had been thinking i would print the hull parts upside down, the advantage being that I would have a clean seam on the upper lip to glue to. So, I sliced it wrong, as evidenced in the pic below-- there is a belly in the bridge. I would need to slice it a little lower on the Z axis to avoid this... or go back to printing it upside down. Impending Fail? we'll see. I'm 6 hr into the print so I think I'll let it run its course.


-
revelever: FYI, You may not have found this but Shapeway has a free cloud based service wherein they run checks on your model, more extensive then NetFab free, check their web site. BTW they have a limit on model size and number of polys ( 64 MB and 1,000,000).
Here is link http://www.shapeways.com/tutorials/how_to_use_meshlab_and_netfabb. I think most printer have to use slicer to print the item since they lay down a small layer at a time. I was initially concerned about your model and possible issues running into small sections that are not supported. -
@mac1 said:
revelever: FYI, You may not have found this but Shapeway has a free cloud based service wherein they run checks on your model, more extensive then NetFab free, check their web site. BTW they have a limit on model size and number of polys ( 64 MB and 1,000,000).
Here is link http://www.shapeways.com/tutorials/how_to_use_meshlab_and_netfabb. I think most printer have to use slicer to print the item since they lay down a small layer at a time. I was initially concerned about your model and possible issues running into small sections that are not supported.Interesting I will certainly check that out. However I don;t think Shapeways uses 'out in the open' desktop class FDM printing,, but rather an SLS process which works in a sand bed so their support criteria is going to be different...i think. But I should check it out before I say anything more. I have done 2" bridging on this printer pretty successfully, so I am not concerned about the loop parts on the rim for example. You can get away with some pretty crazy overhangs and bridges in mid air with an FDM printer as long as you set your toolpath velocities and fan speeds right.
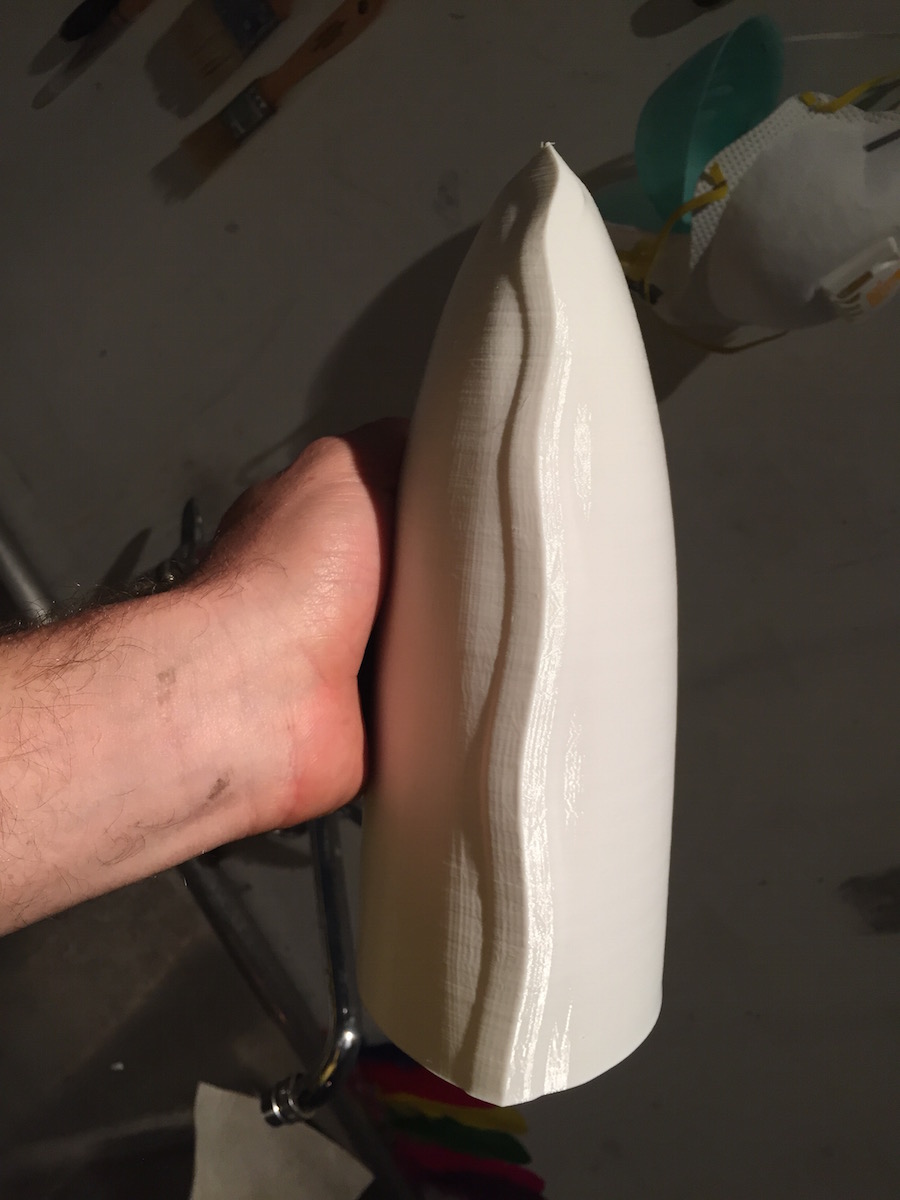
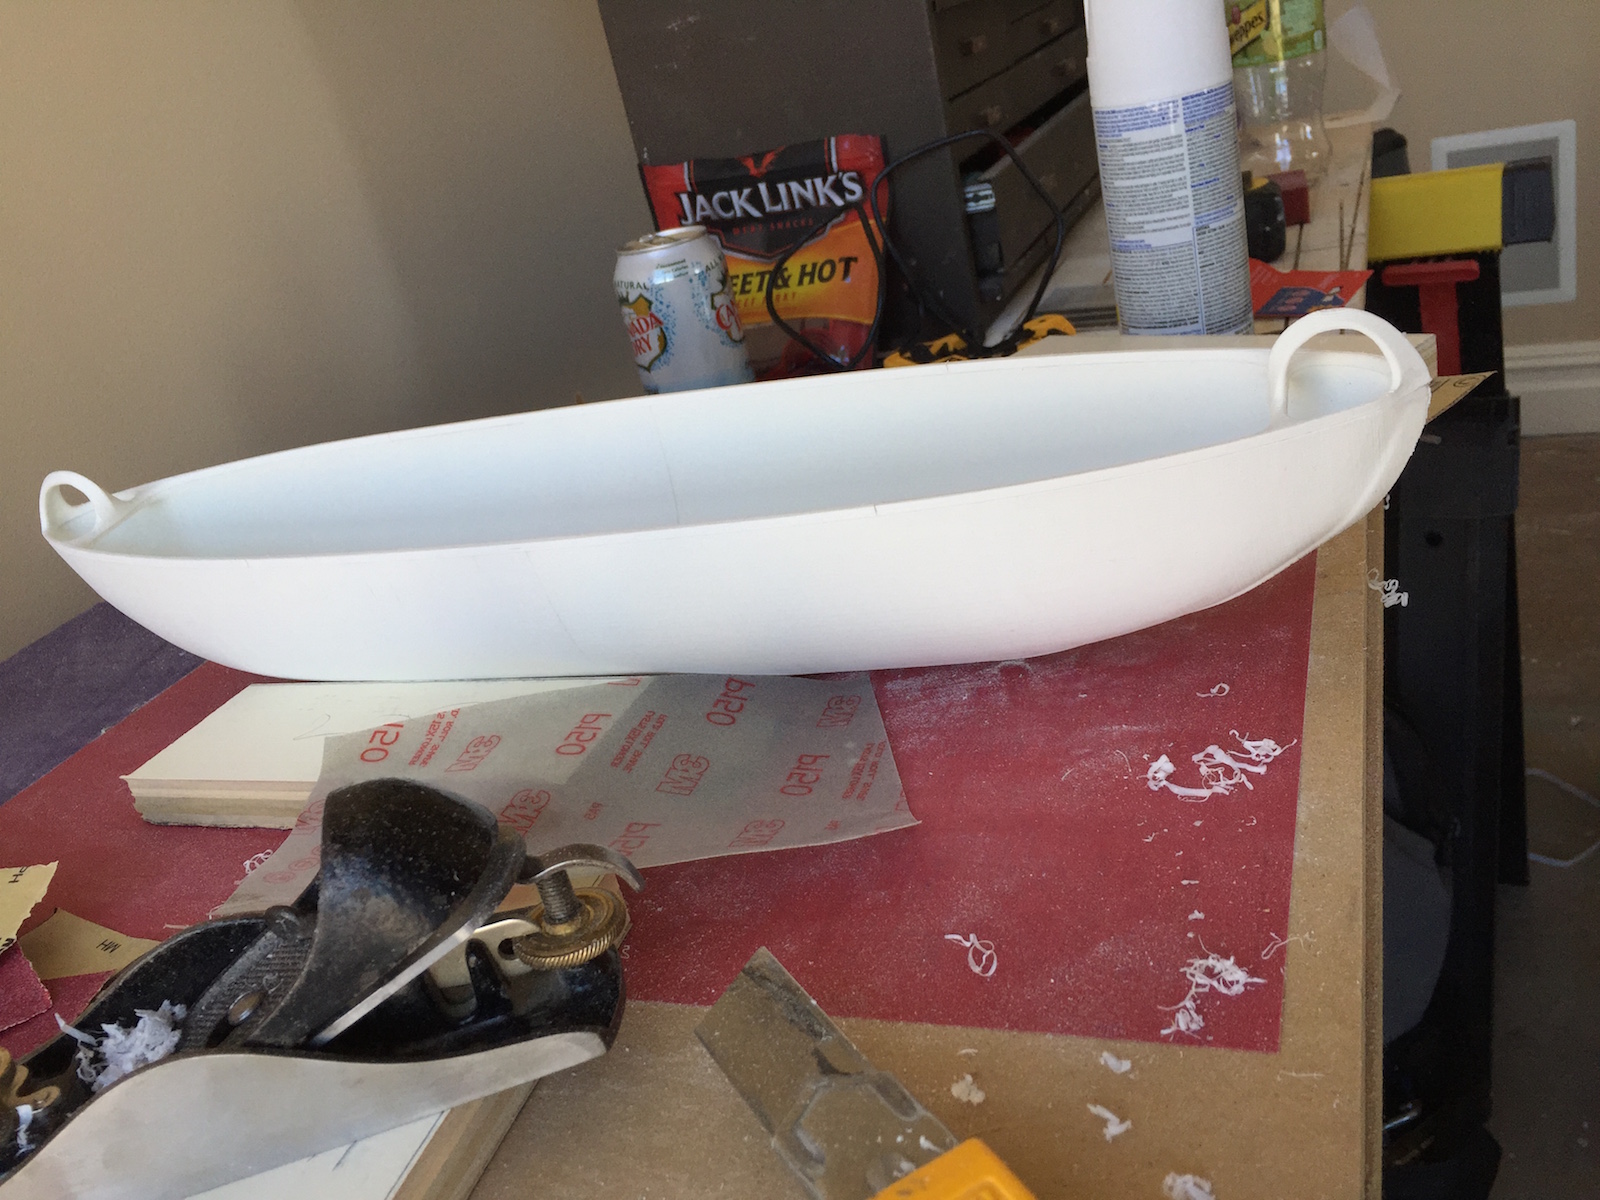
The print actually came out quite well, I'm doing the other half right now. Slicing is quite a powerful thing!
The aforementioned bridge did have a flat bottom as opposed to a bellied one, but its pretty subtle. Re slicing the model a little lower on the Z axis or closer to the bottom of the hull would take care of this issue.Here are some pics
-
That looks great !!
Perhaps when I finally put my CNC at work I will buy some printing attachments too. -
@ely862me said:
That looks great !!
Perhaps when I finally put my CNC at work I will buy some printing attachments too.What kind of CNC are you building? What is the Z axis movement? That is one of my next projects!
-
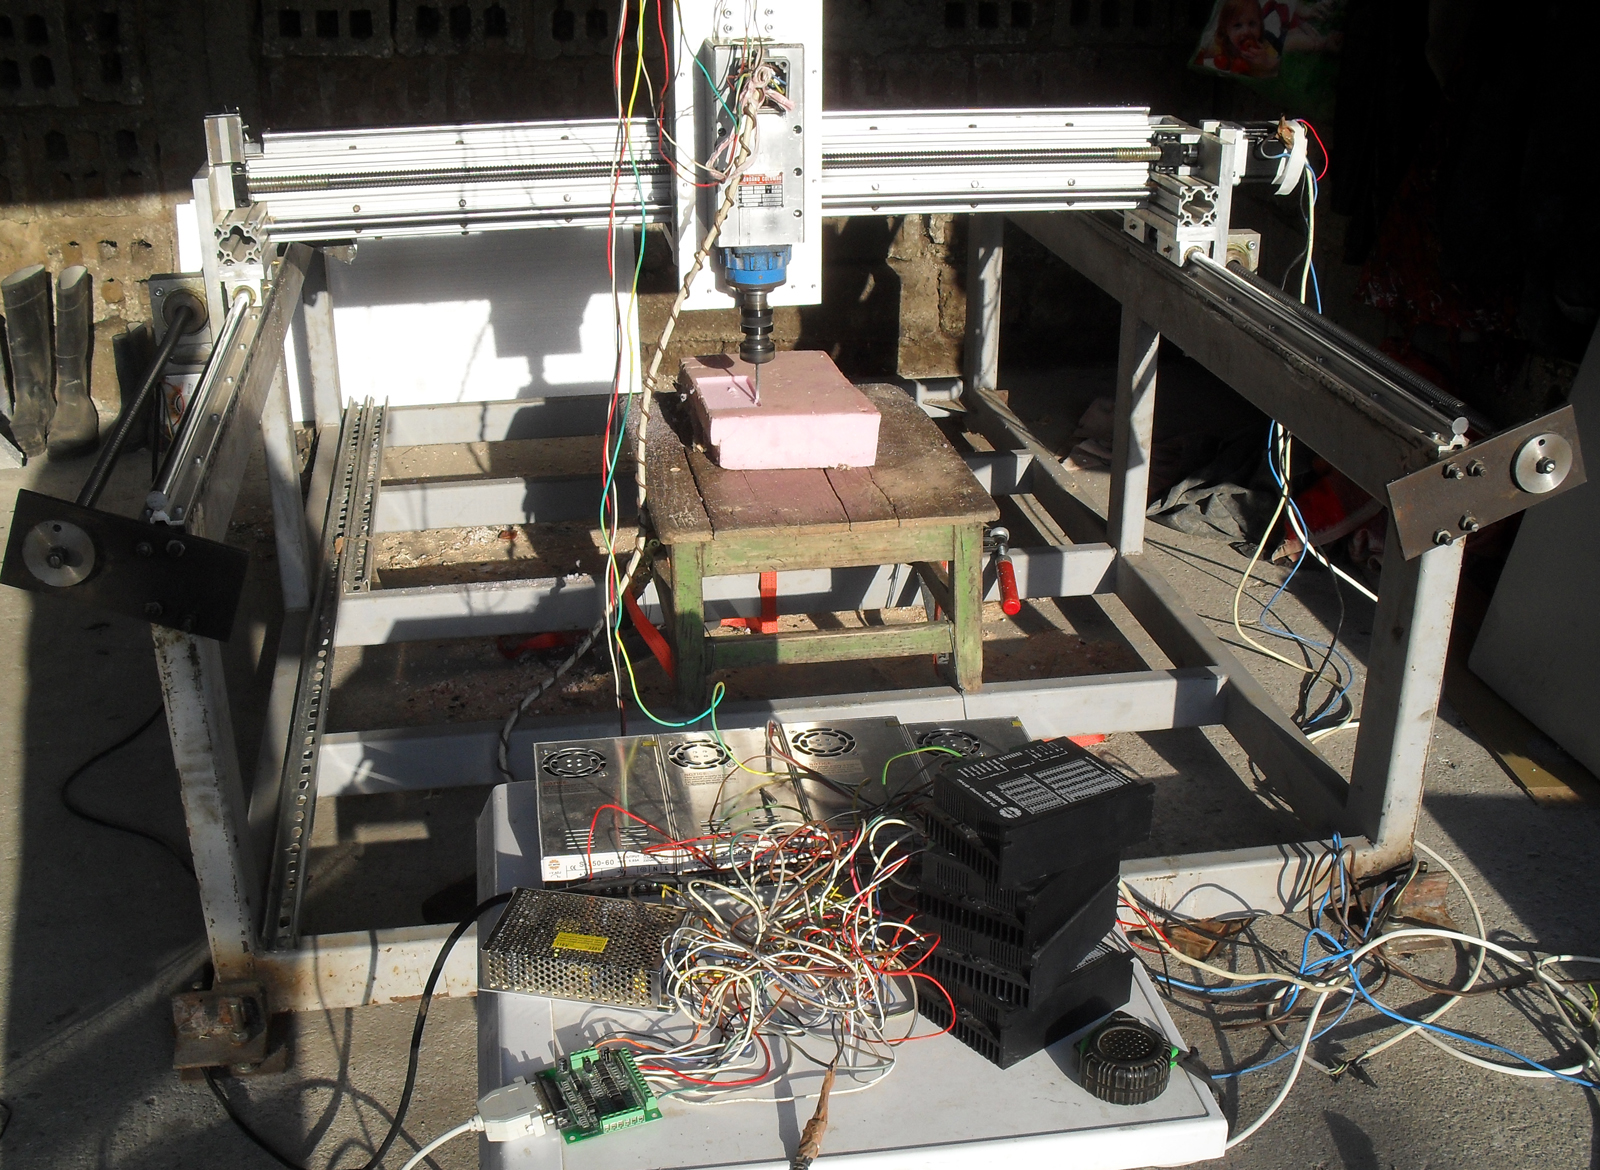
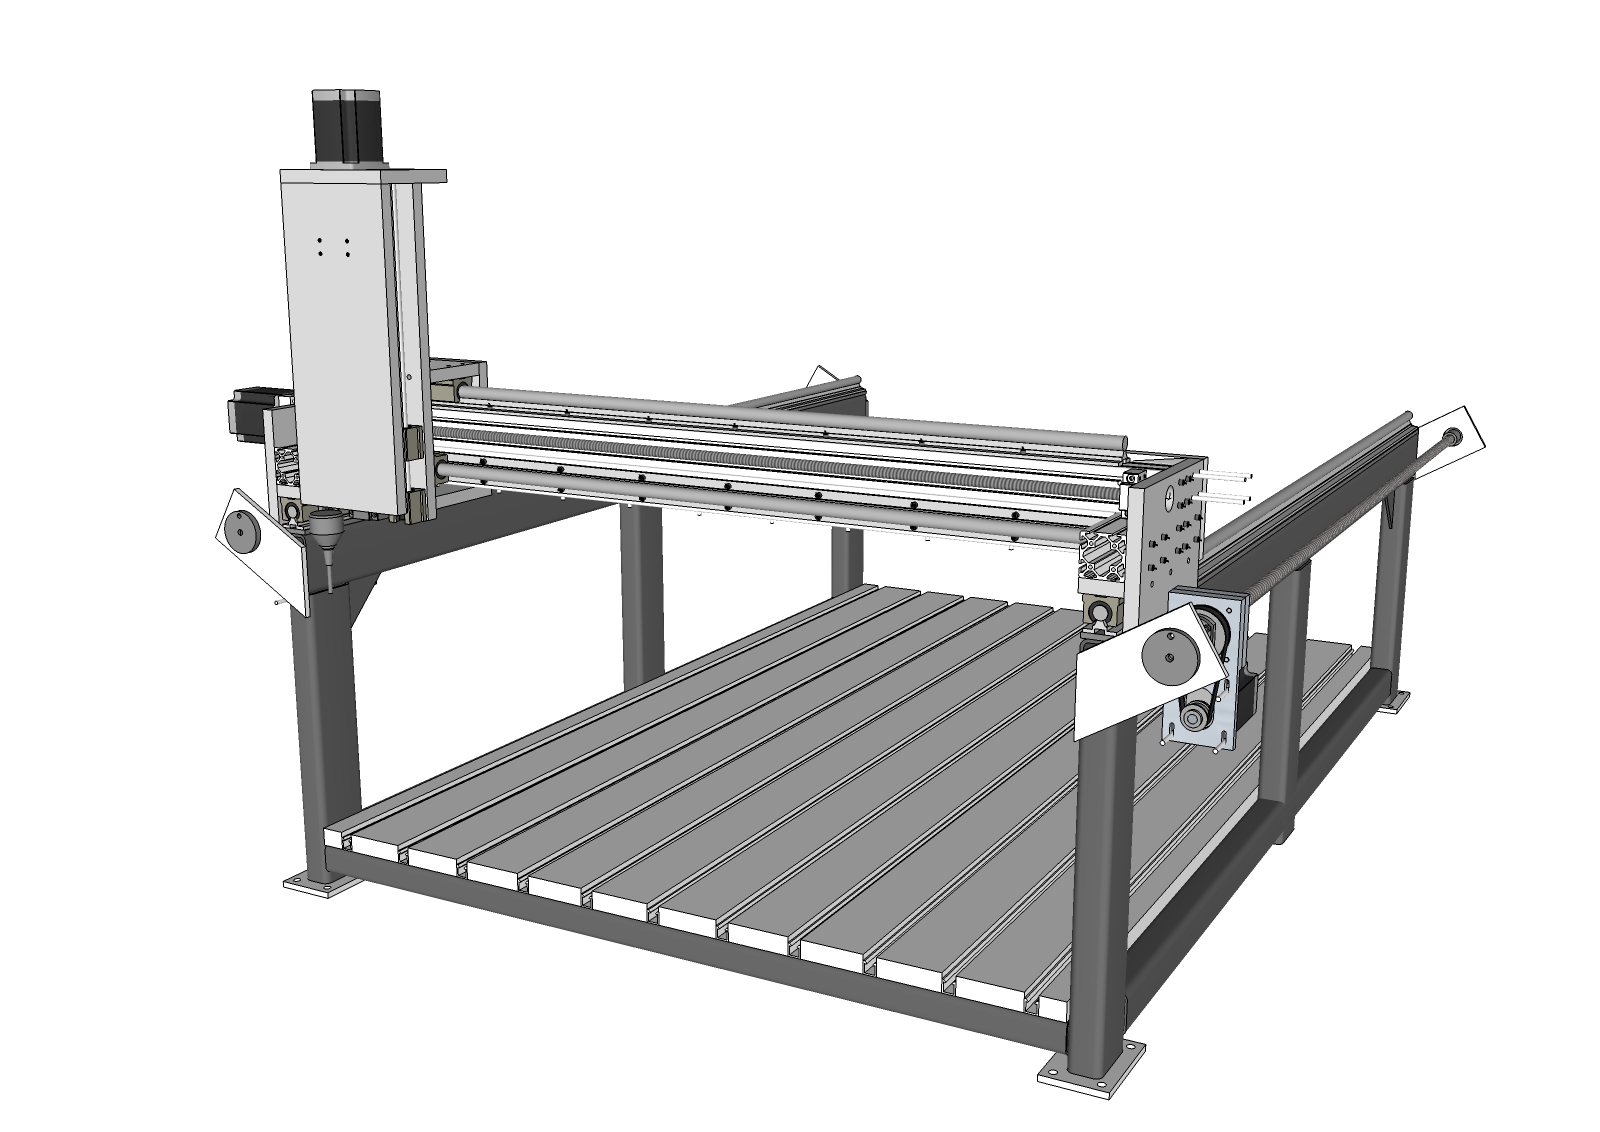
This kind of CNC. Took me a while to build and it is still far from complete.
The Z axis travel should be over 350mm, X is 1750mm and Y is 1100mm.
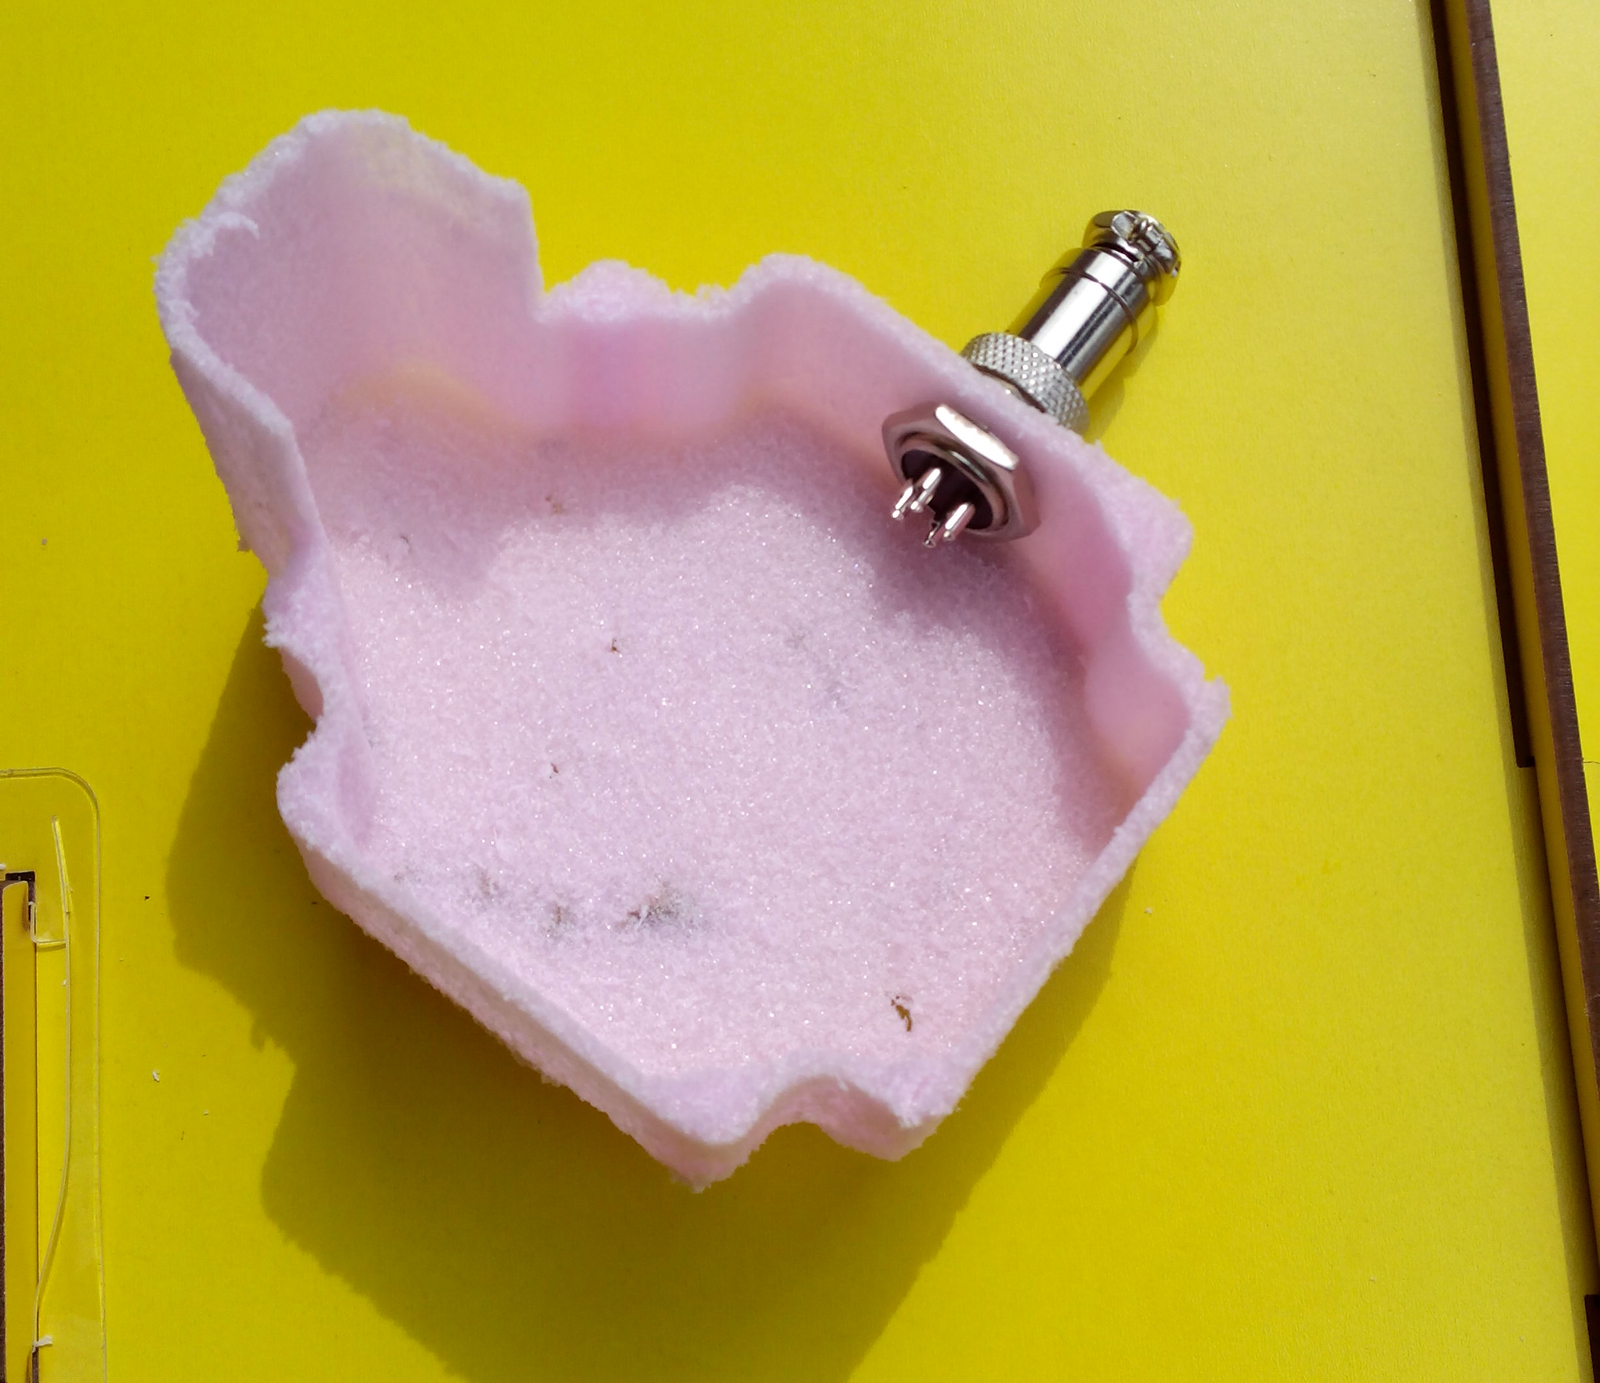
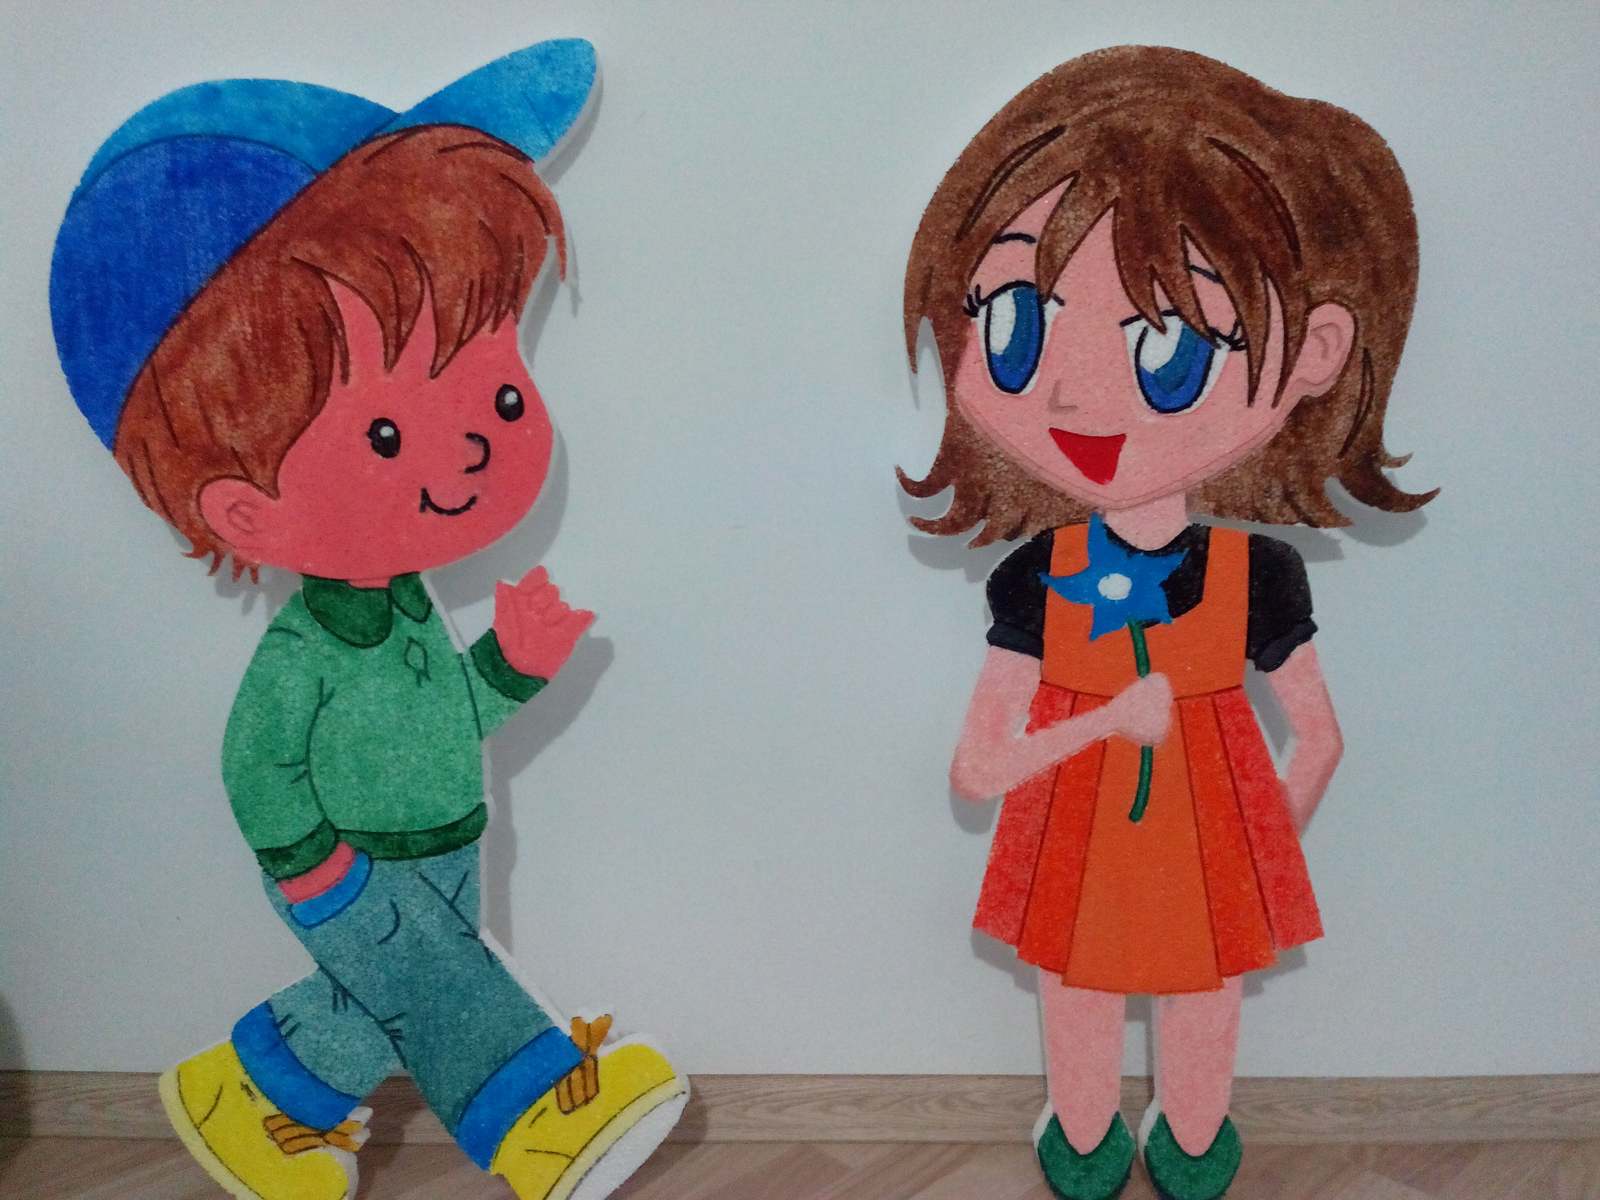
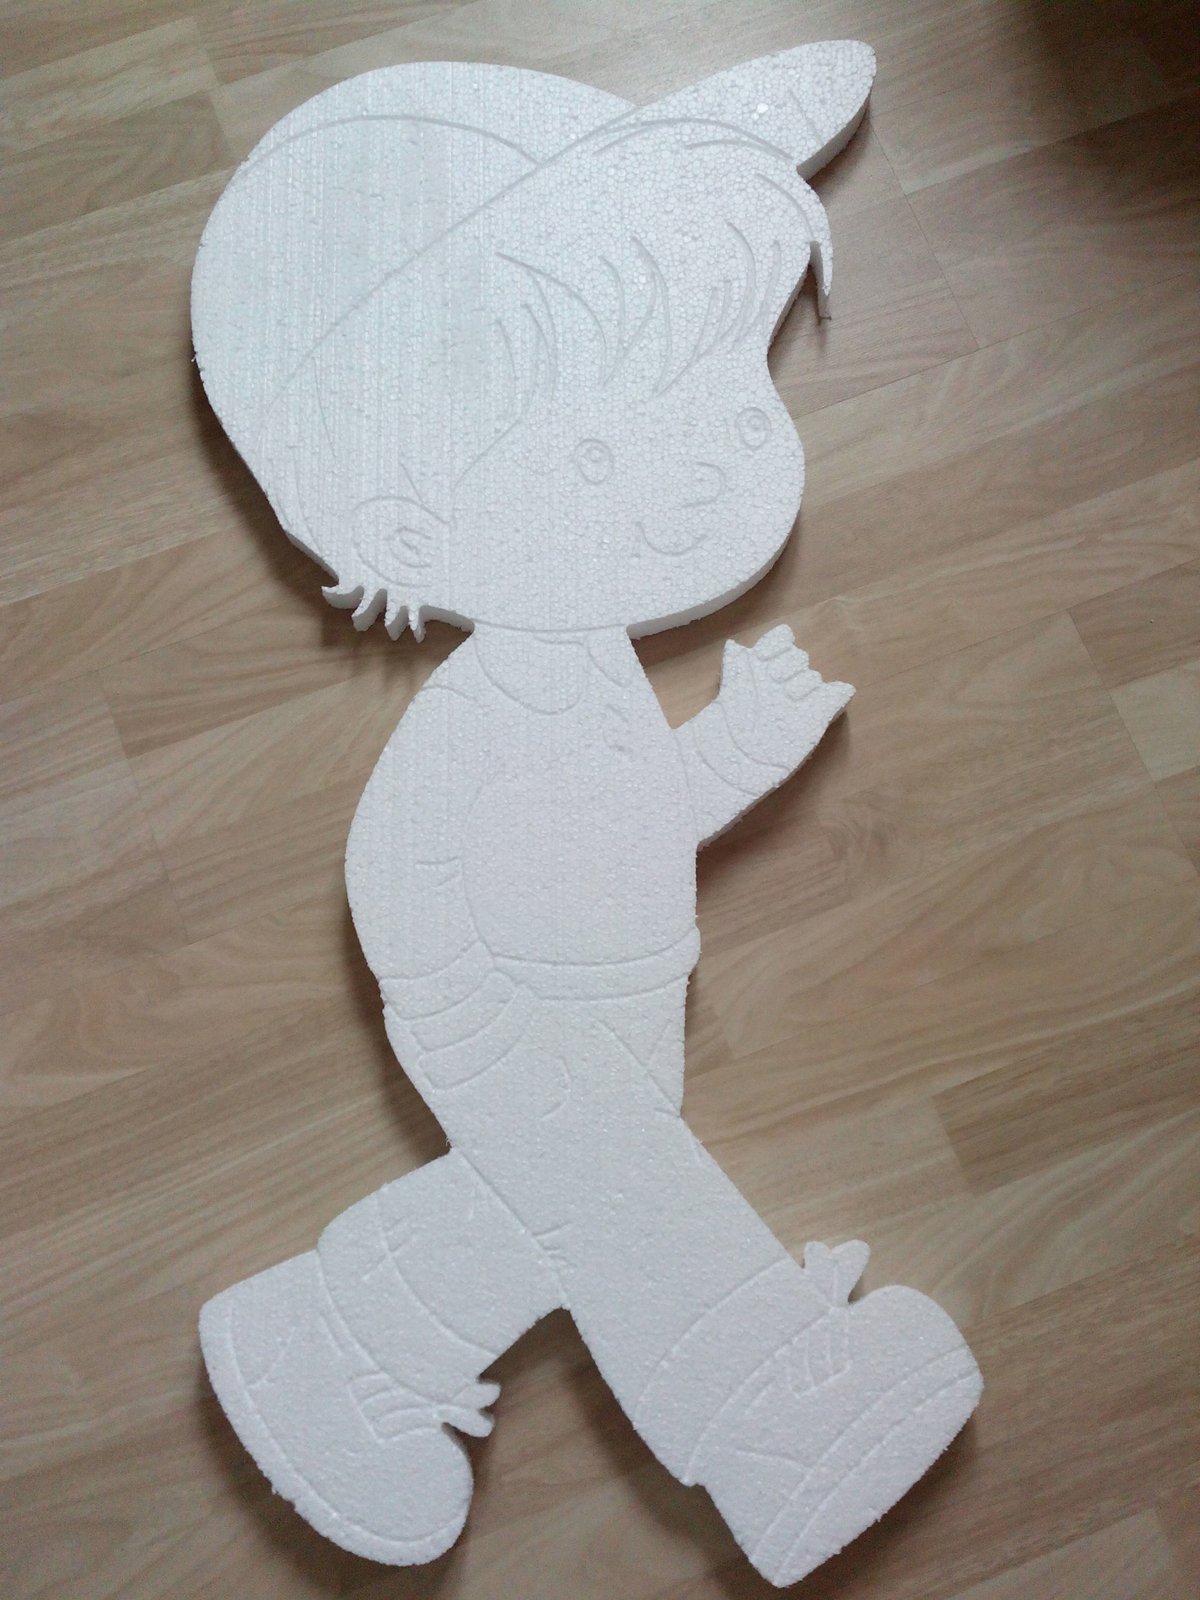
These are my first real attempts. Some models done for my sister in law - she's a kindergarten teacher. And a stepper motor cover done in foam- just for testing the code.
Sorry to somehow hijacking the thread.

-
@ely862me said:
This kind of CNC. Took me a while to build and it is still far from complete.
The Z axis travel should be over 350mm, X is 1750mm and Y is 1100mm.
These are my first real attempts. Some models done for my sister in law - she's a kindergarten teacher. And a stepper motor cover done in foam- just for testing the code.
Sorry to somehow hijacking the thread.No I invited the thread jack. That is a very badass CNC btw.
Here are some pics of the final product. Definitely room for improvement but overall it came out very well, client happy etc.. Thank you for all the help guys, It really was invaluable!
Hello! It looks like you're interested in this conversation, but you don't have an account yet.
Getting fed up of having to scroll through the same posts each visit? When you register for an account, you'll always come back to exactly where you were before, and choose to be notified of new replies (either via email, or push notification). You'll also be able to save bookmarks and upvote posts to show your appreciation to other community members.
With your input, this post could be even better 💗
Register Login


Advertisement