Everything turns Black
-
What do they look like if you zoom in close to one of the black ones? Have you experimented with changing OpenGL settings under Window>Preferences>OpenGL? Any change?
-
Have you changed the style to one with thicker profile, sketchy edges, hidden lines, ...?
-
Thanks for your suggestions. I tried different OpenGL settings, no change. The designs stay black even when zoomed in. In the Default Styles section, all have the black parts except Hidden Line and Wieframem which look as they normally do.
I tried to attach a zipped version of the file last time but no luck, so am attempting to attach the full file now.
Hmm.. I have tried attaching the file several times, zipped or unzipped. I find the file, click Add File, the upload shows itself happening, but ten I can't see if I've attached it. Can anyone see the file?
-
How big is the file? Maybe you could upload it to the 3D Warehouse temporarily and give us the link?
-
I uploaded the file to my Dropbox folder. Here is the link:
This one has a mix of white and black parts. Yesterday one I've been working on fine for months suddenly went all black. It's almost impossible to work on the black parts, please help!
If you recall, I had an issue with constant crashing which turned out to be paretly due to SU Solid plugin. Could that be causing this?
-
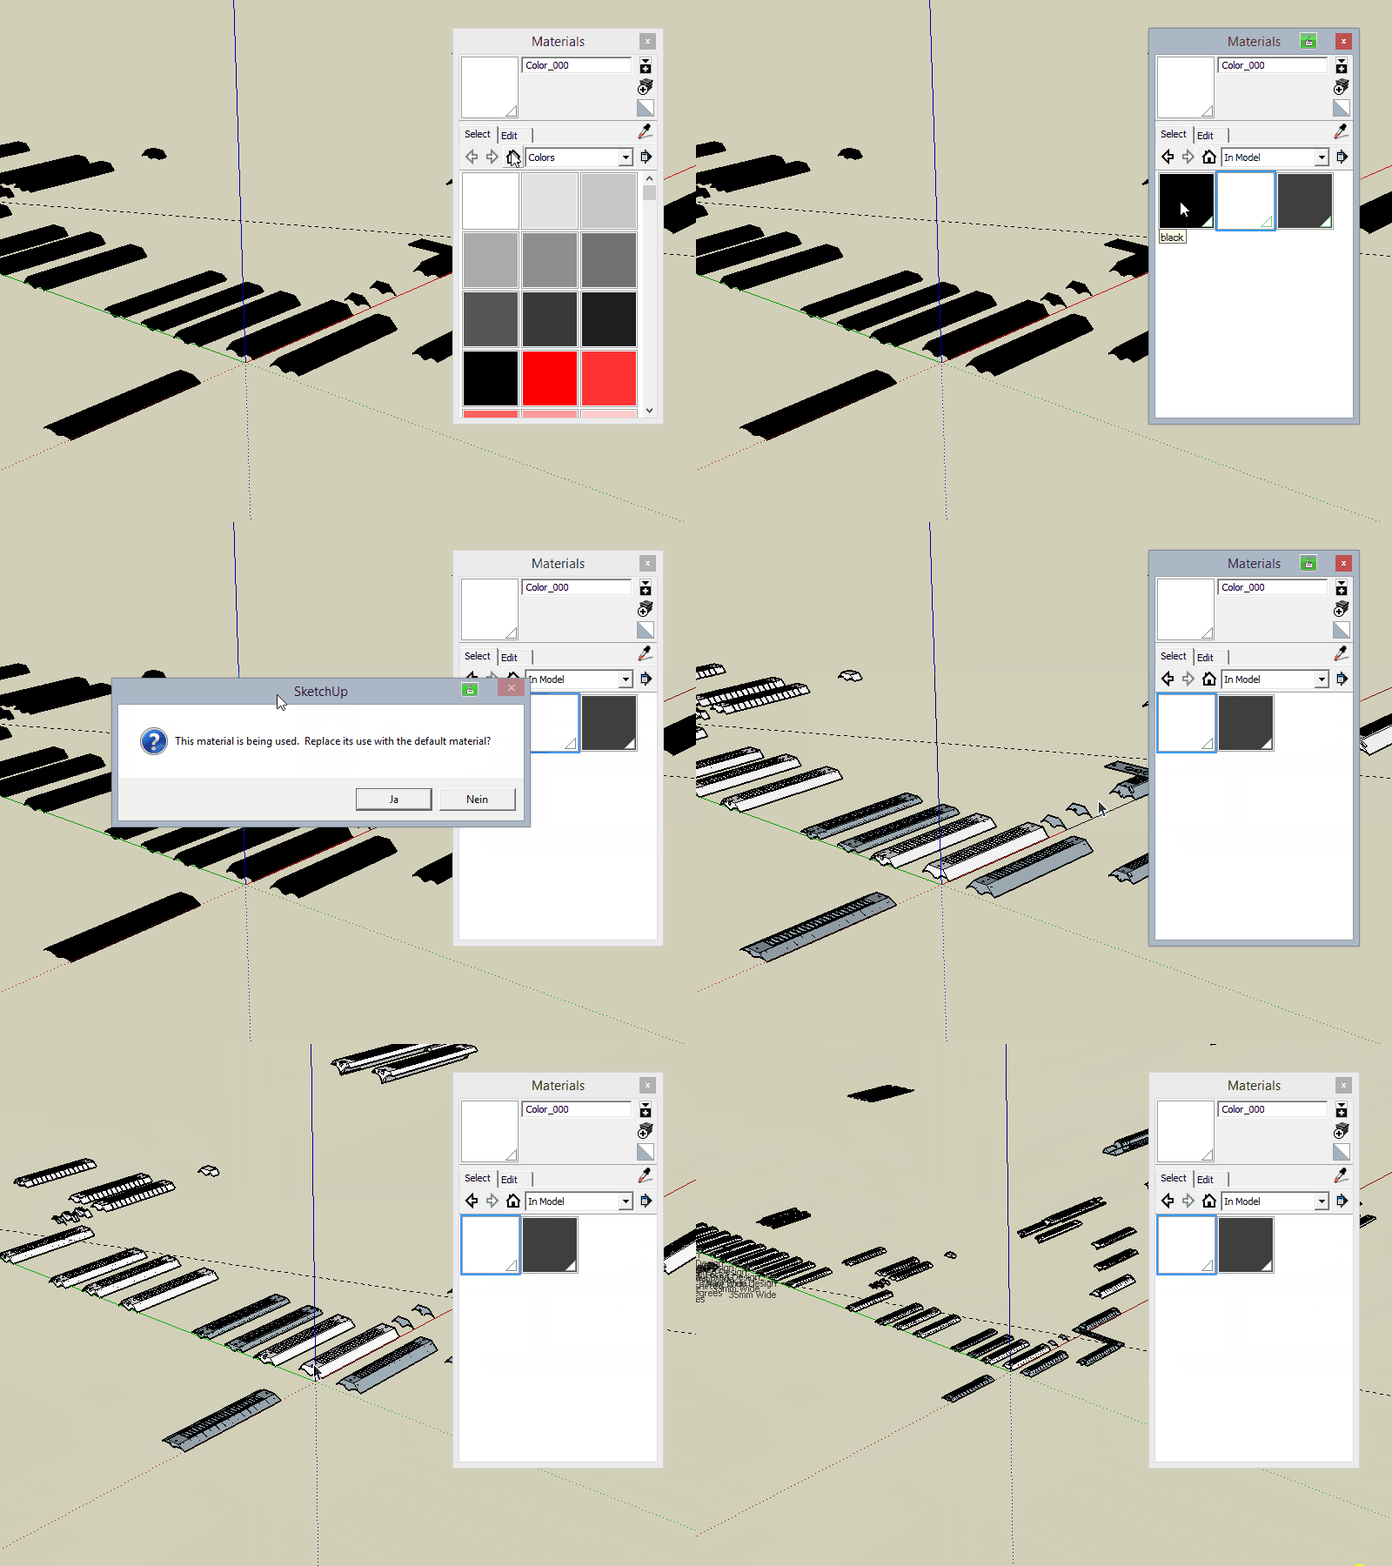
They are colored black. Delete the black color in the material window. You should check the face orientations too.
-
Sorry, I never use Materials, I opened the dialog but not sure what to do. Can you please give a click by click instruction? Thanks for your help
-
Like this...
-
Perhaps you have a plugin that painted the groups black.
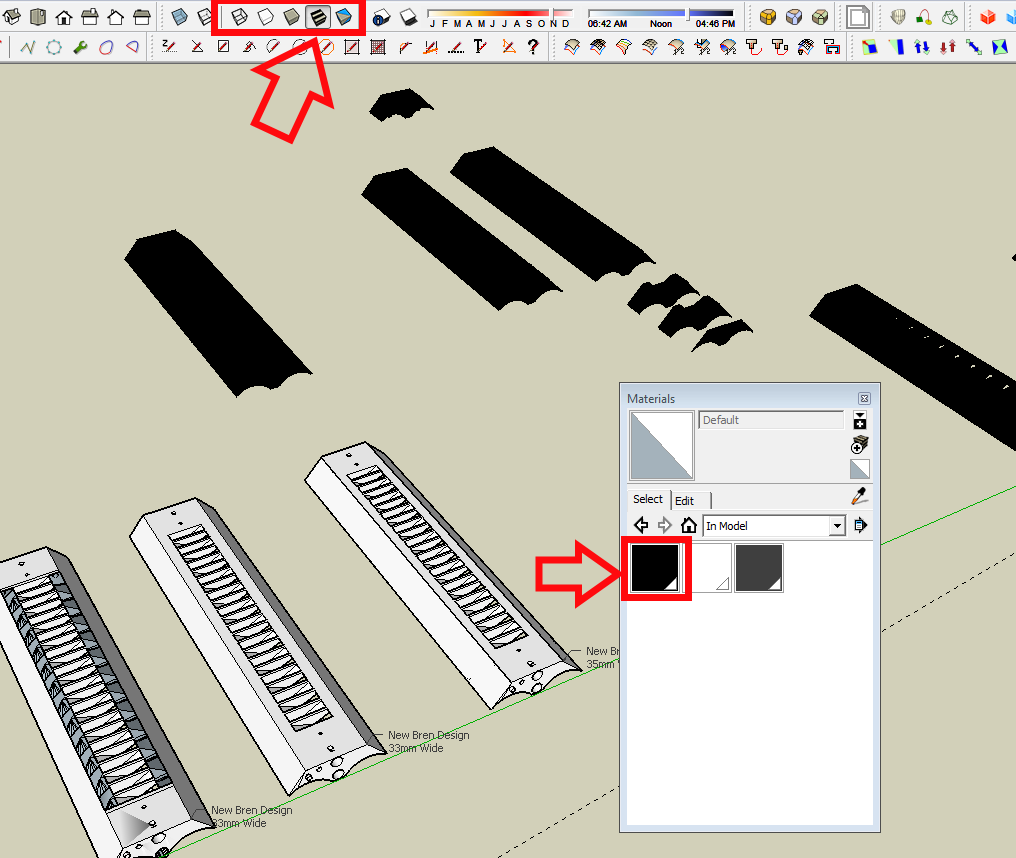
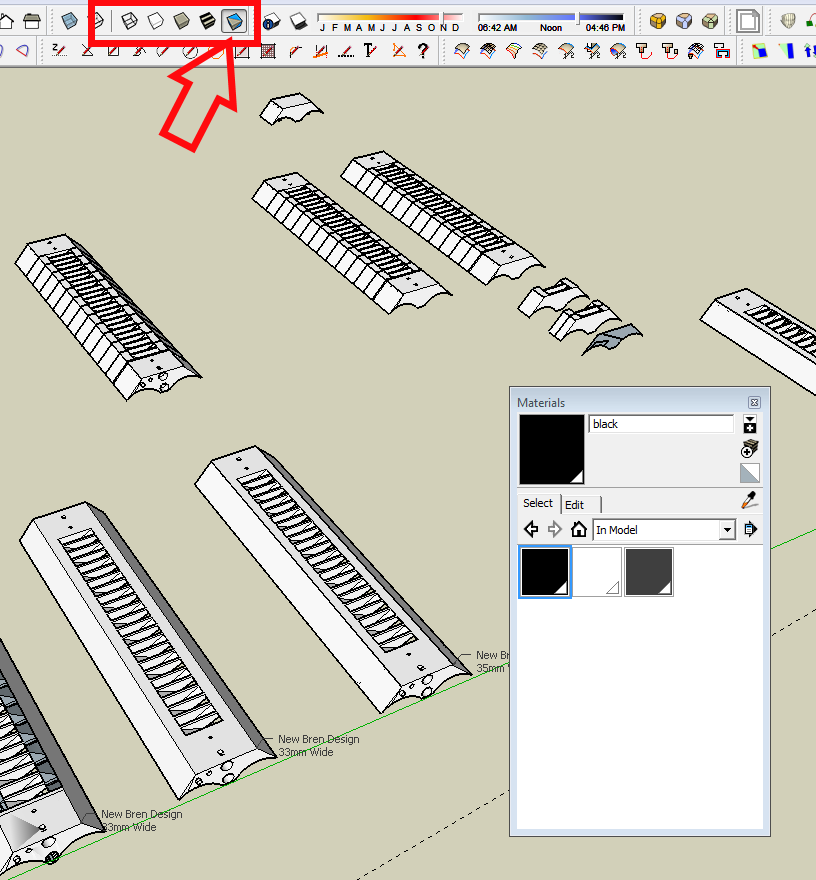
Once you get to the In Model materials library, right click on the black square and choose Delete. The white material could also be deleted. The dark gray is the text color. You could also work in Monochrome. You are currently working with the face style set to Shaded with Textures but working in Monochrome would prevent the materials from showing.
There's a couple of other things I note about your model. First, you are using groups instead of components. These models would be much easier and more efficient to work with if you used and leveraged components. It would also help to keep the file size down.
And, watch out for stray entities. When you hit Zoom Extents you get something like this.
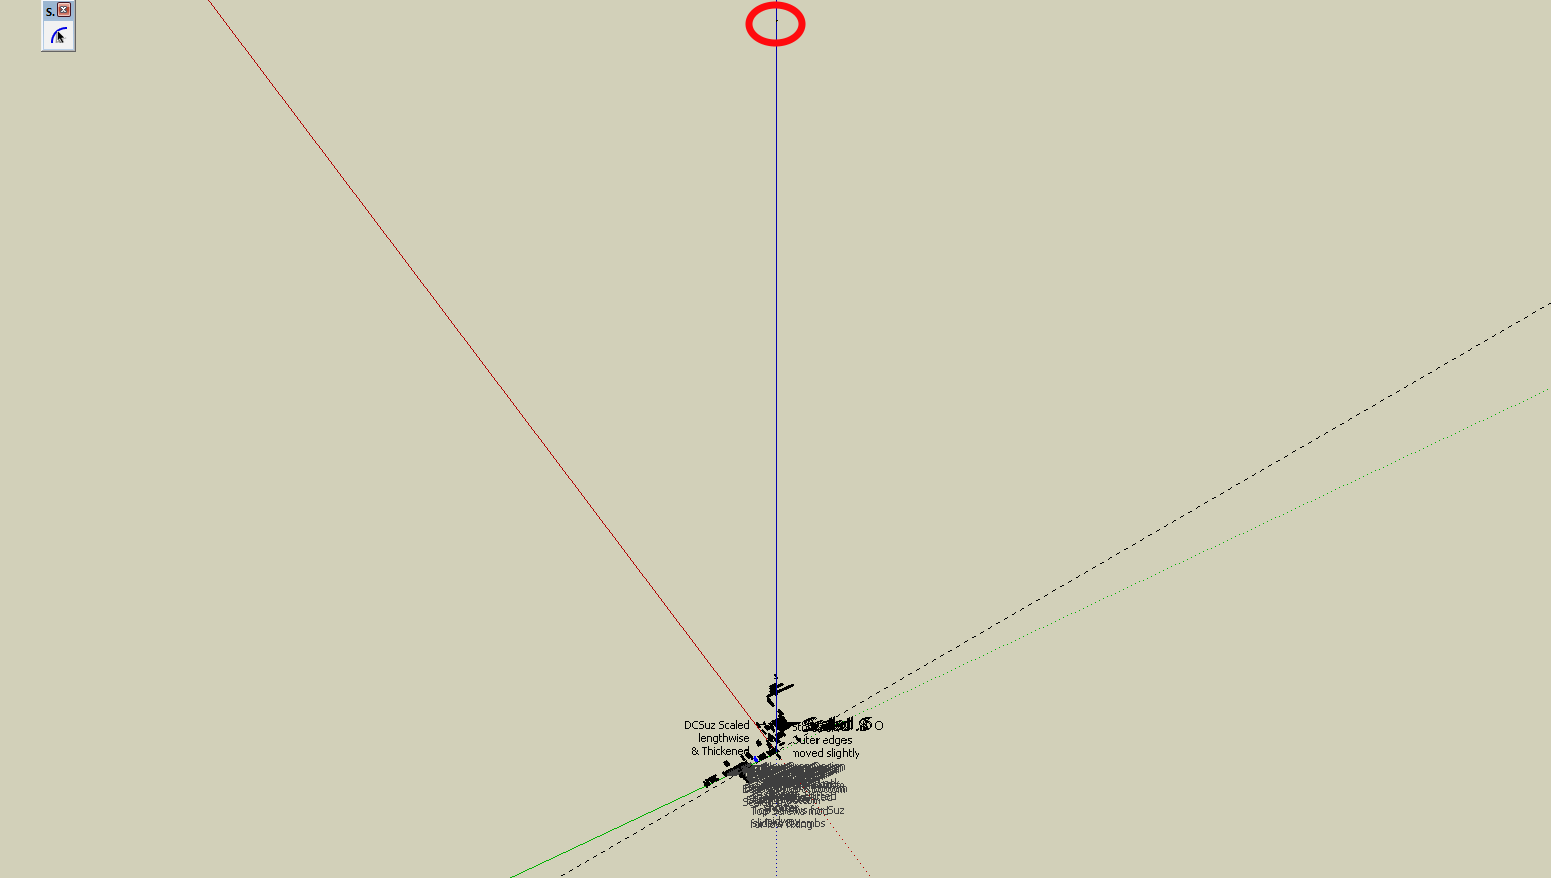
In the circle at the top there is a group that is over 19 meters from the origin.Another thing you'll see when you delete the material or work in Monochrome is that you have a lot of reversed faces. You should only have white faces exposed, no blue-gray. It's much easier to deal with them if you correct them as you go.
-
Thanks Cotty and Dave! I really appreciate you taking the time to help me out. One of those simple things that is obvious to anyone who knows how but totally perplexing if you haven't delved into that area before.
Your animation was especially clever and helpful, Cotty - a very smart way to demonstrate what to do.
Dave, you are right to point out those issues. I'm self-taught and this file represents about 2 years of learning. I'm a lot better now at getting everything clean without stray lines and faces, but many of the designs there go back quite a while.
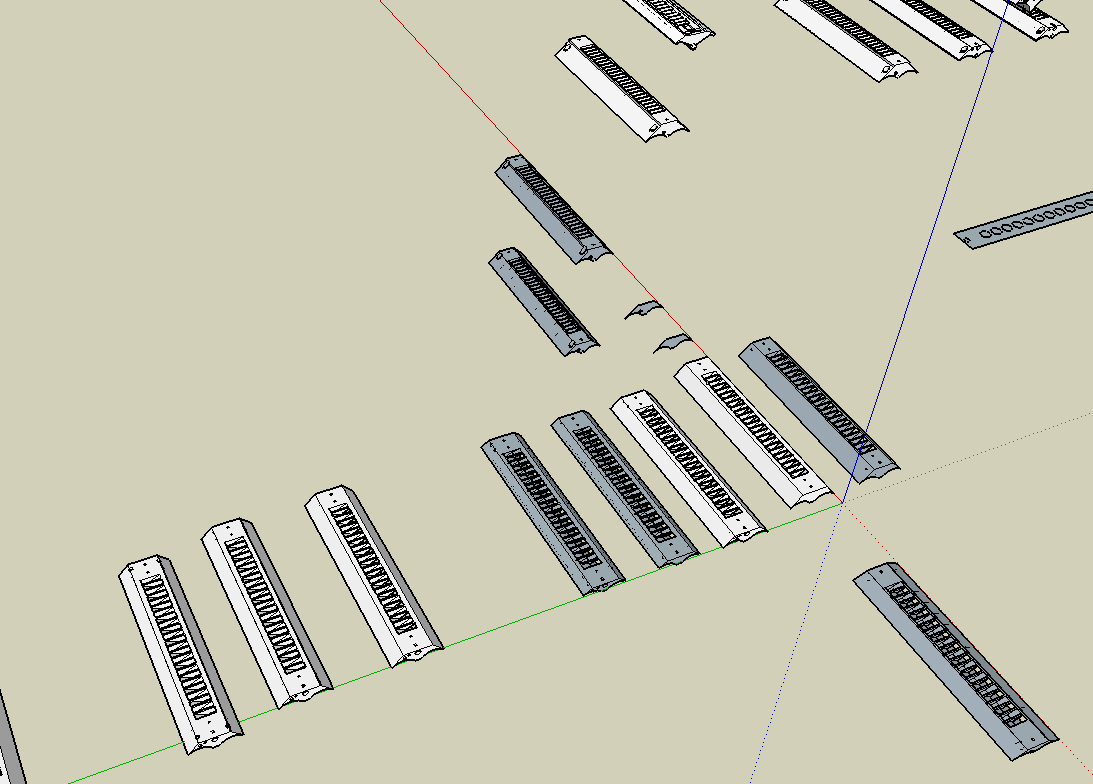
If you're wondering what the parts are, they are upper units for my patented Twin-Harmonica System. They link two chromatic harmonicas behind a master mouthpiece. I make these parts with 3D printing.
Sketchup is a brilliantly intuitive piece of software for untrained people like me, and it's an amazing bonus to have the likes of you experts designing great plugins and responding so quickly to problems.
Cheers! Brendan
-
Thanks for the explanation. I did wonder what it is you are drawing. I'd never have guessed it was for a musical instrument.
Cheers.
Hello! It looks like you're interested in this conversation, but you don't have an account yet.
Getting fed up of having to scroll through the same posts each visit? When you register for an account, you'll always come back to exactly where you were before, and choose to be notified of new replies (either via email, or push notification). You'll also be able to save bookmarks and upvote posts to show your appreciation to other community members.
With your input, this post could be even better 💗
Register LoginAdvertisement


