Crown molding component & wood texture
-
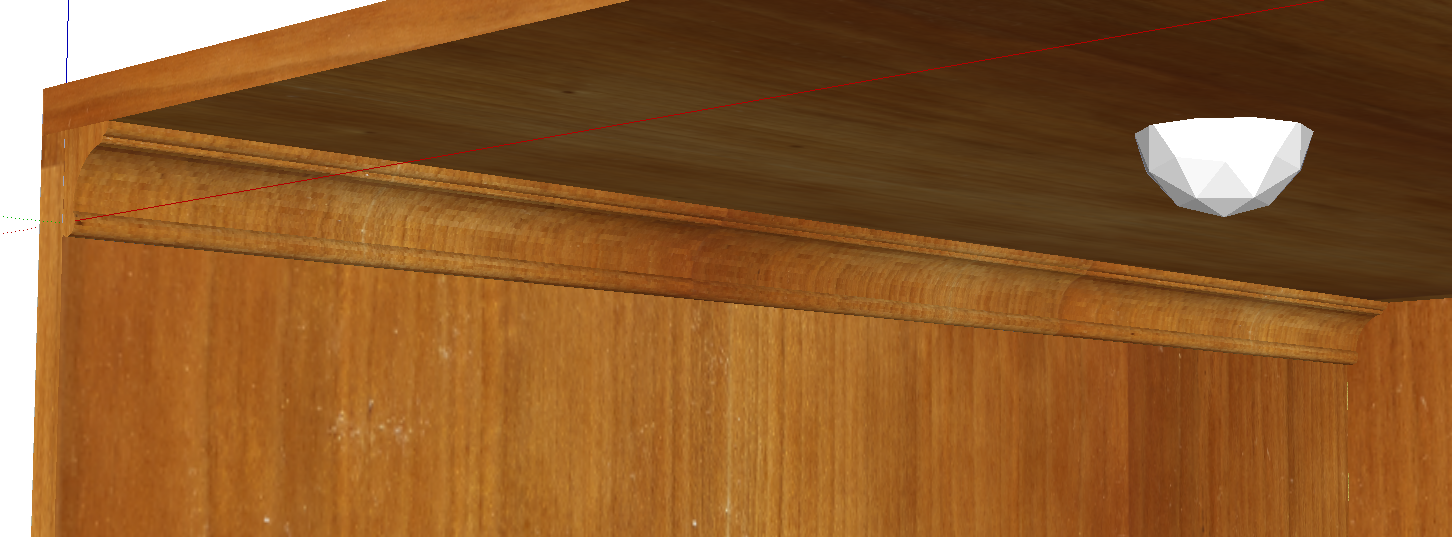
I'm constructing a series of elevator cabs for a client who makes residential elevators. I downloaded a simple crown molding profile from the warehouse, compliments of "bzbuilds" (thanks) and using push pull tool extruded it to my desired length. When I texture it with a custom cherry texture jpeg the texture is running vertically or perpendicular to the molding as opposed to parallel with it (see attached screenshot)

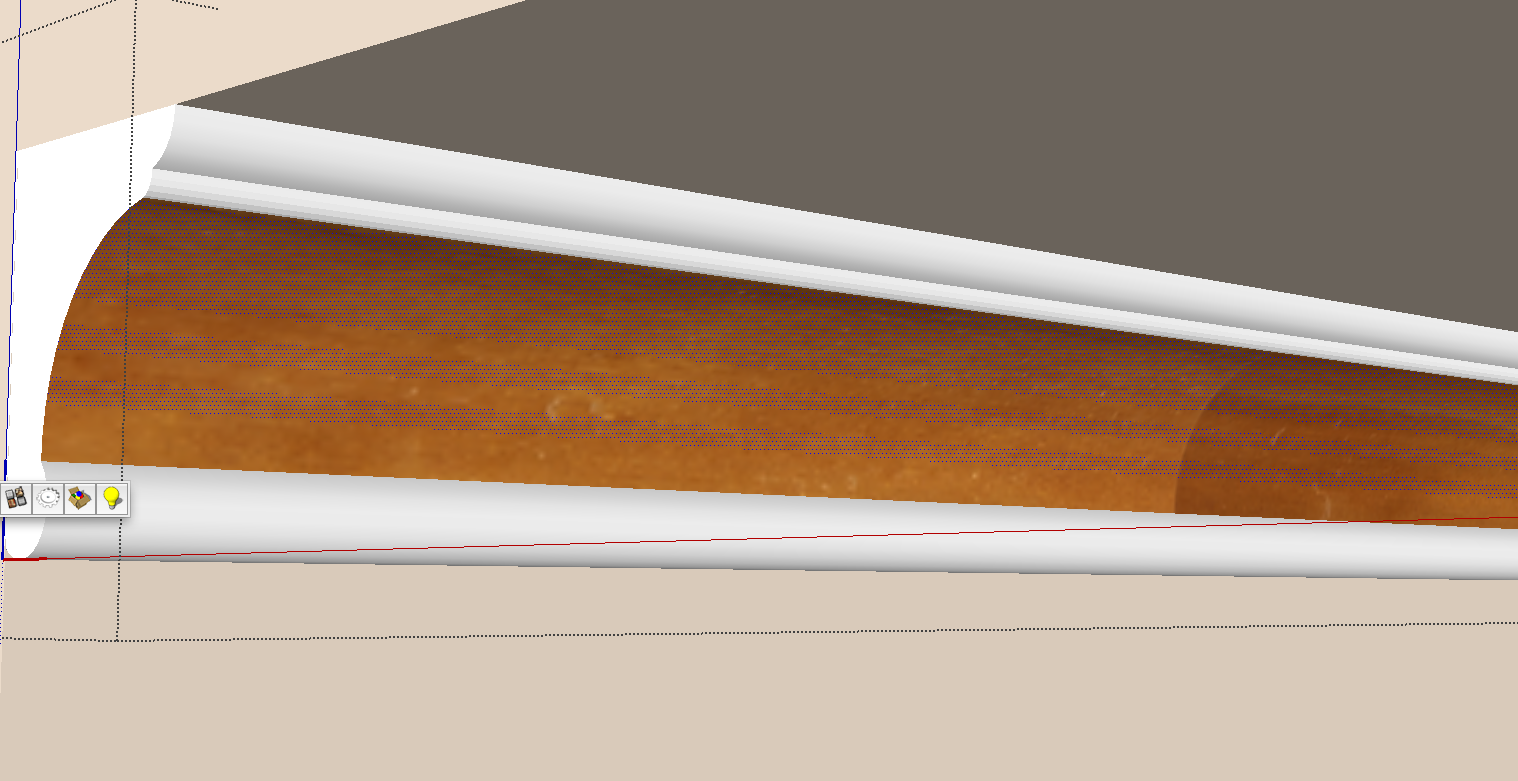
When I right click I do not have the "texture" "position" option available in order to rotate the grain parallel with the molding. Seems like the curved concave face of the molding is comprised of several faces running the length of the molding. Must I position each one of those faces textures individually (See 2nd screenshot)
Any help is greatly appreciated. -
FredoTools - ThruPaint
-
You CAN do this with native SU by changing the texture position of one face, then sample that face. Turn OFF Hidden Geometry and apply the sampled texture to the whole surface.
But obtaining ThruPaint and learning to use it (pretty easy) is better than doing the above process myriad times.
-
Thanks dedmin and pbacot for the quick responses and info! In the process of downloading and installing FredoTools 2.0 and thrupaint is part of all that. I have some of his other plugins and they're great.
-
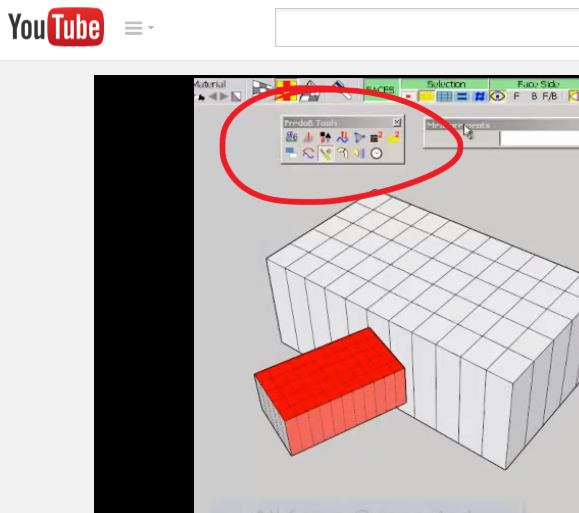
Downloaded and installed Fredo Tools and was wondering how I can get the tool set icons palette to show up. Here's screenshot of what I have showing in SKPro2014 Mac. When I click on that I get a window with a list of the tools to "launch".

I'd like to have the one shown in the YouTube tutorial. Video is from April 2012 so maybe the tool set has changed?

Thanks.
-
Click on the icon and Fredo Tools Launcher window should appear. Click on the wrench icon and a Default Parameters window will appear. Scroll down to "Icons visible in Toolbar". There you can add icons you wish to see. Seems that you have to relaunch SU to see the result of your changes.
-
Thanks again pbacot!
Advertisement


