Setting default dimensions & text in SU Pro 2013
-
Hello All,
Just upgraded from SUPro 7 to 2013. I'm doing a lot of floor plans for a job at the moment. Looking forward to trying pattern fills though slightly disappointed that you have to trace around an imported SU drawing to create the hatching but there you go. I suppose that means that if you update your drawing, you have to change the hatching separately?
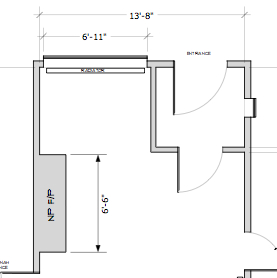
The reason I'm seeking advice is because despite creating a template for simple A4 plans using dimensions with slashes rather than heavy arrows, every time I try to create a new dimension it reverts to the heavy arrows. I've even chosen dimensions, then set the parameters but every time I go to draw the dimension again it reverts to the arrows. This I suppose means you have to change each dimension after putting it in? I've attached a screenshot showing my dimension strings etc set and then you'll see how it reverts to default. Any advice more than welcome.
Cheers

-
To get your subsequent dimension in this LO project to match ones you've already styled as you want, get the Dimension tool, Hit S and sample the styled dimension. Go ahead and place dimensions as needed. They should match the one you sampled.
Here's my process for setting up text, labels and dimensions for a template.
- Place text, label and dimensions on the page. These don't have to be anything special. Just get them on the page.
- Format/Style each one of them as desired.
- Get the Text tool, hit S and sample the text box you just styled.
- Place a new text box just to make sure it looks the way you want.
- Repeat the process for labels and dimensions.
- Select all of these entities and delete them.
- Save as your template.
Of course you would also make whatever settings you want for your template such as drawing borders, inserting your logo and other entities you'll always have in the template.
-
Many thanks Dave. I'll give it a try.
Advertisement


