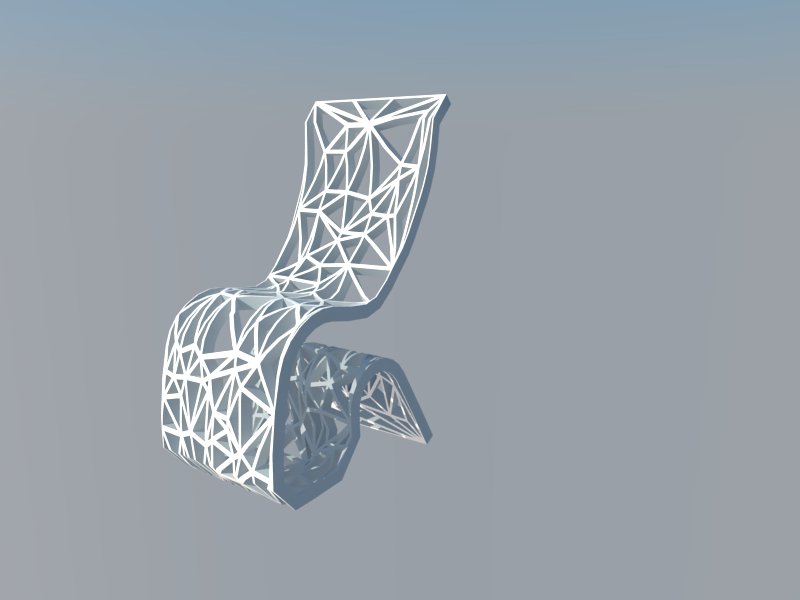
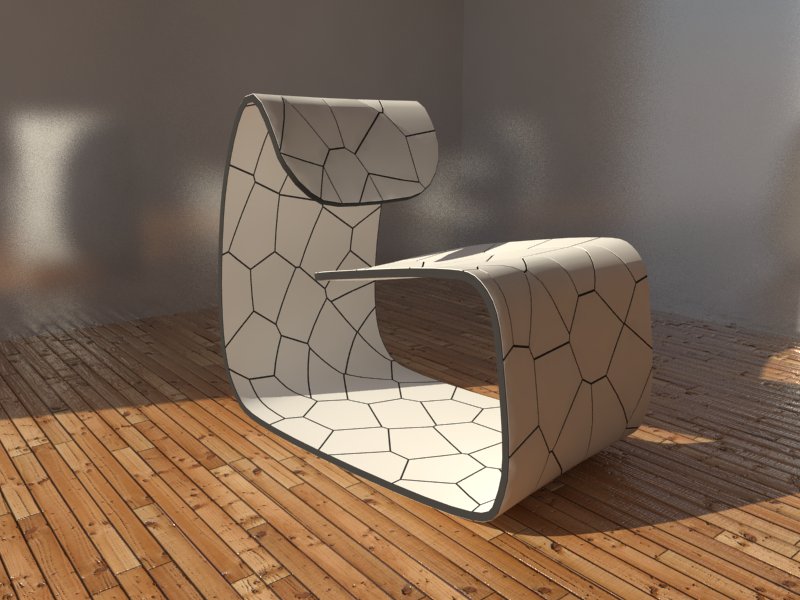
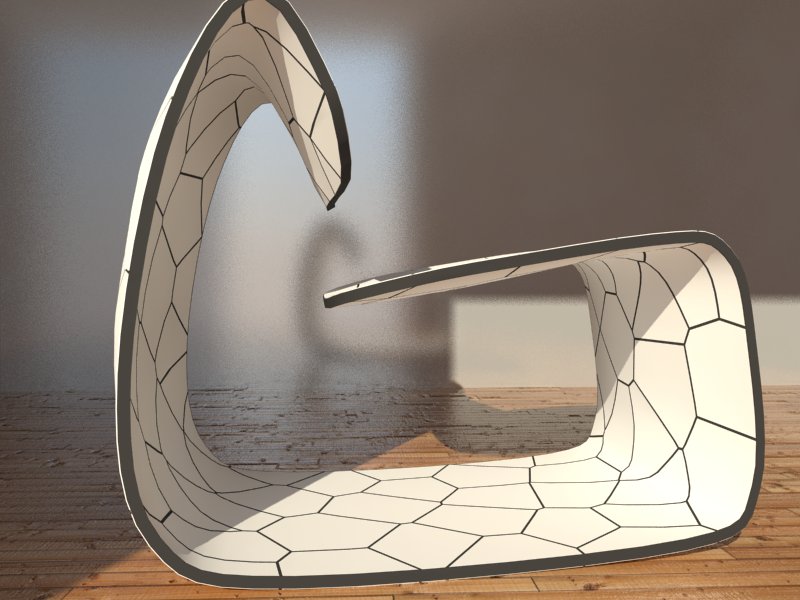
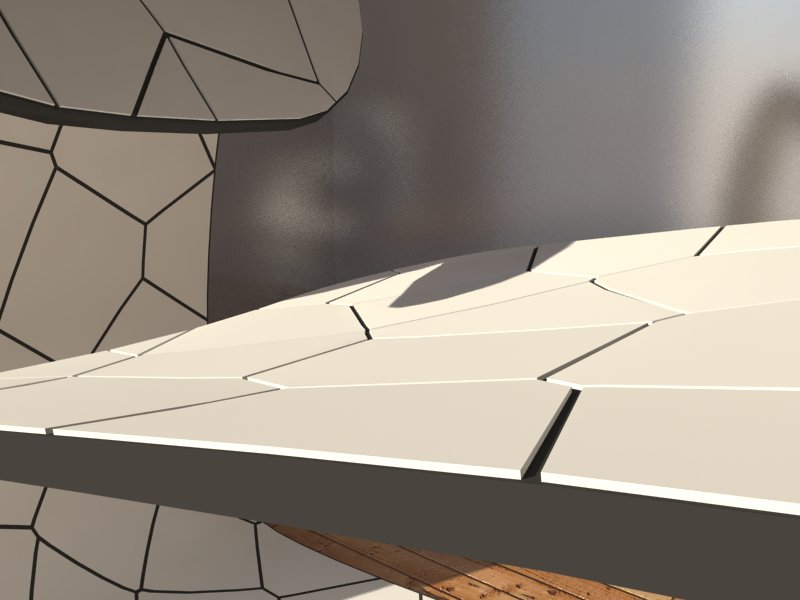
Voronoi Tessellation - is this outside the scope of SU?
-
Thats exciting!
any chance you can give me some insight on how to get a shape like that?
I imagine starting with a plane of some sort, generating geometry on the mesh of the plane, and then giving that geometry dimension.
Any insight would be much appreciated.
Thanks Pilou
-
@unknownuser said:
you can easilly made with the plugin Artisan

see the gallery of artisan here at sketchucationI think Pilou thought of the posts http://sketchucation.com/forums/viewtopic.php?p=417045#p417045 and http://sketchucation.com/forums/viewtopic.php?f=335&t=42938&start=105#p417051
-
And the Plugin voronoï by Mattc

-
Thank you very much guys!
I will see what I can come up with.
It seems that the example shown from artisan by Pilou (though very nice) will not work for this process, as the hexagons are coplanar before they are given dimension, then smoothed, then deformed.
I think for a chair like this I would have to get the shape from a plane (without dimension/depth), then apply the voronoi geometry, then offset, then joint push-pull. Or at least something to that effect.
I think I could be half way there. Its too bad that the voronoi plugin was not developed into 3d, or onto a yxz plane. Unfortunately it only works on a xy plane......
ahhh so close....
I think I could make something similar with a square, or triangular geometry, but not the voronoi. I think......
-
If you have a plane version, you can try to use shape bender and vertex tools to form the chair shape.
-
I cobbled this together very quickly.
It's not a Voronoi-mesh but something I made from hexagons and Latticeiser...
BUT it shows how to make the 'flat' lattice and use Shape Bender to get the S-shape, then I SubDivivded/Smoothed it with Artisan - again very poorly...
BUT you should get the idea... -
TIG
Thank you for your input.
I think between your method, the vonoroi ruby, lattice maker, and vertex tolls I may be on my way!
Amazing, you have time to give us toys and show us how to use them.
thank you, thank you, thank you!
-
Humph,
Now Im having problems with shape bender. It won't fit my lattice to the shape/curve.
The proxy looks like it should work, but all I get is weird perpendicular positioning. Ill attach picks.
I made the curve with the bezier curve plug in. Its a polyline with arc corners.
Any help would be much appreciated.
-
It's important to get the bits in the right places and orientations.
Keep everything in the +ve quadrant of the axes - i.e. to the 'east' of the solid green-axis and 'north' of the solid red-axis.Switch on the axes.
Draw the S curve outline [flat in plan] and weld into one curve.
Move it so that its 'west' end in on the +ve green-axis [+ve side displays solid] and it extends to the 'east' [in the same direction as the +ve red-axis].
Keep it a few meters 'north' of the green-axis, so that it doesn't touch anything else, and so it is easy to see...Get its length from 'Entity Info'.
Write it down !
Draw a line exactly that length [type it in+<enter>], it must start from the origin [where the axes meet] and extend towards the 'east', parallel to and along the +ve red-axis.Take your lattice-mesh group and stand it on its side [if appropriate].
Locate it [move/rotate] so that it is at the origin, and so that its thickness [~3cm?] in into the +ve green-axis [north], and its main length is along the +ve red-axis [east].
Scale it along the red-axis [eastwards] so that it is then the same length as the line that you just drew. Alternatively you could construct your lattice-mesh after making the curve - using that curve's length as the lattice's length, then no scaling is needed.Select the lattice-mesh group.
Activate 'Shape Bender'.
Pick the line you drew along the red-axis.
Pick the curve.
A proxy-form is generated.
Use the arrow keys [if needed] to flip which side of the curve the bent lattice is located...
Enter to confirm... -
Thank you TIG. Worked like a charm !
I used triangulate points (by TIG), to create the geometry. Made a series of c-points on a plane using projections tools, (which are great, but for every c-point you need to hit the button again, make c-point, hit button,make c-point, hit button,would be nice if i could just touch the button once and click away) then used lattice maker, then JPP.
One thing I tried was to give the lattice frame some curve (like a chair would have, for your bum) with radial bender from Fredo. When I used that curved frame with shape bender I got a ton of noise (fragments, lines, garble). Perhaps I was asking too much. Flying to close to the sun on wings of pastrami (Seinfeld, anyone?).
Doesn't look very comfortable does it. But then it was just a dry run to work out the process. Ill refine it and Repost the result. I guess ill also need vertex tools to add the curvature to the shape after using shape bender.
Is vertex tools ($) the only option here?
Again, thanks for taking an interest in the thread TIG, really appreciate all the help.

-
@pjbazel said:
Made a series of c-points on a plane using projections tools, (which are great, but for every c-point you need to hit the button again, make c-point, hit button,make c-point, hit button,would be nice if i could just touch the button once and click away)
There is a plugin for drawing c-points: point
@pjbazel said:
I guess ill also need vertex tools to add the curvature to the shape after using shape bender. Is vertex tools ($) the only option here?
You can have a look at SketchyFDD for this...
-
Just to follow up, in the example above I was trying to orient the lattice with the up and down arrow keys.
I tried to bend the shape to a few SU arcs which i welded together, and it worked. So, I thought maybe the problem was the bezier polyline. I then remade the chair curve from SU arcs and lines, welded it together, and get the same problem as above.
darn

Maybe its just bugging out because of the complexity of the lattice. TIG's was uniform and symmetrical. Mine is a gnarly triangulation of points. not sure if that matters.
-

-
voilà !
Yes, FFD was perfect for adding the curvature to the bent lattice, thanks cotty.
Since this is practically a tutorial at this point, I will include a render of the final product (really the first of many iterations I have planned for this technique!).
Thanks again for all the help, now I have whole new tool set !


Advertisement


