How to make musical instrument strings
-
Hi. I am trying to model my chinese Gu-Zheng....a 21 string instrument I bought on holiday in China earlier this year. I haven't modelled a musical instrument before and am stuck with how to make convincing instrument strings. The 21 strings as with most change in thickness from one side to the other and also in length. Every 6th strings is Green. What is the simplest method?
I just struggled for ages with creating the curved bridge which curved across the board. Embarrassed at how long it took me then saw the speed challenge that sets 30mins to model a whole musical instrument! I have a lot to learn!

Thanks in advance
Jeff
-
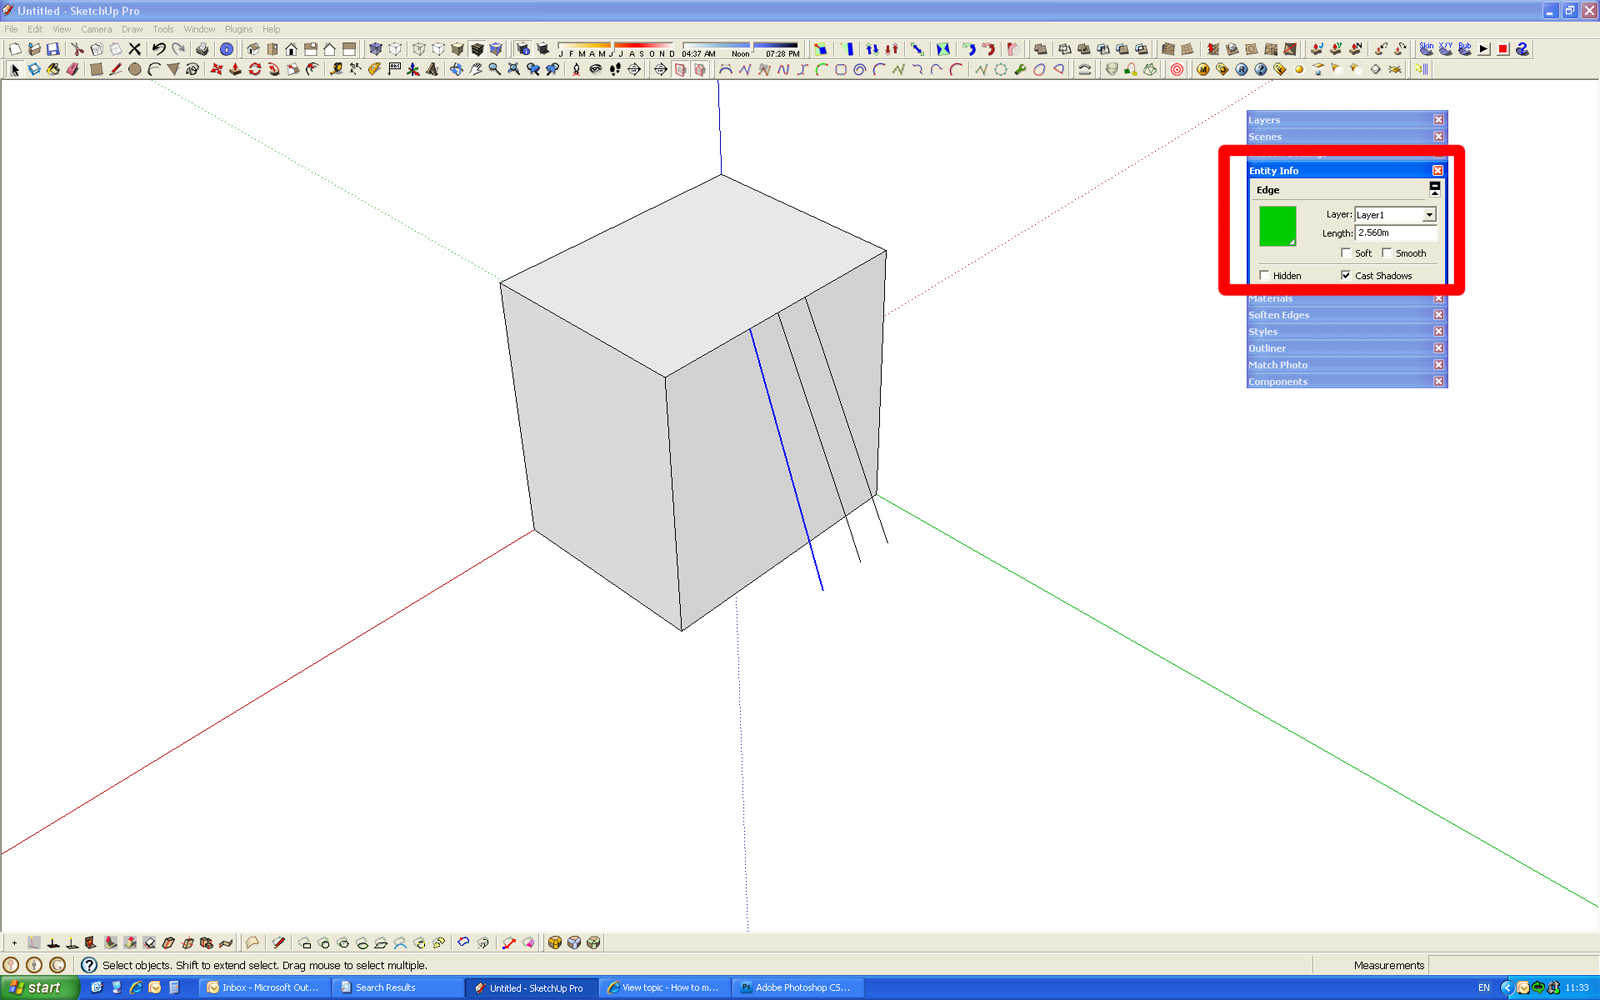
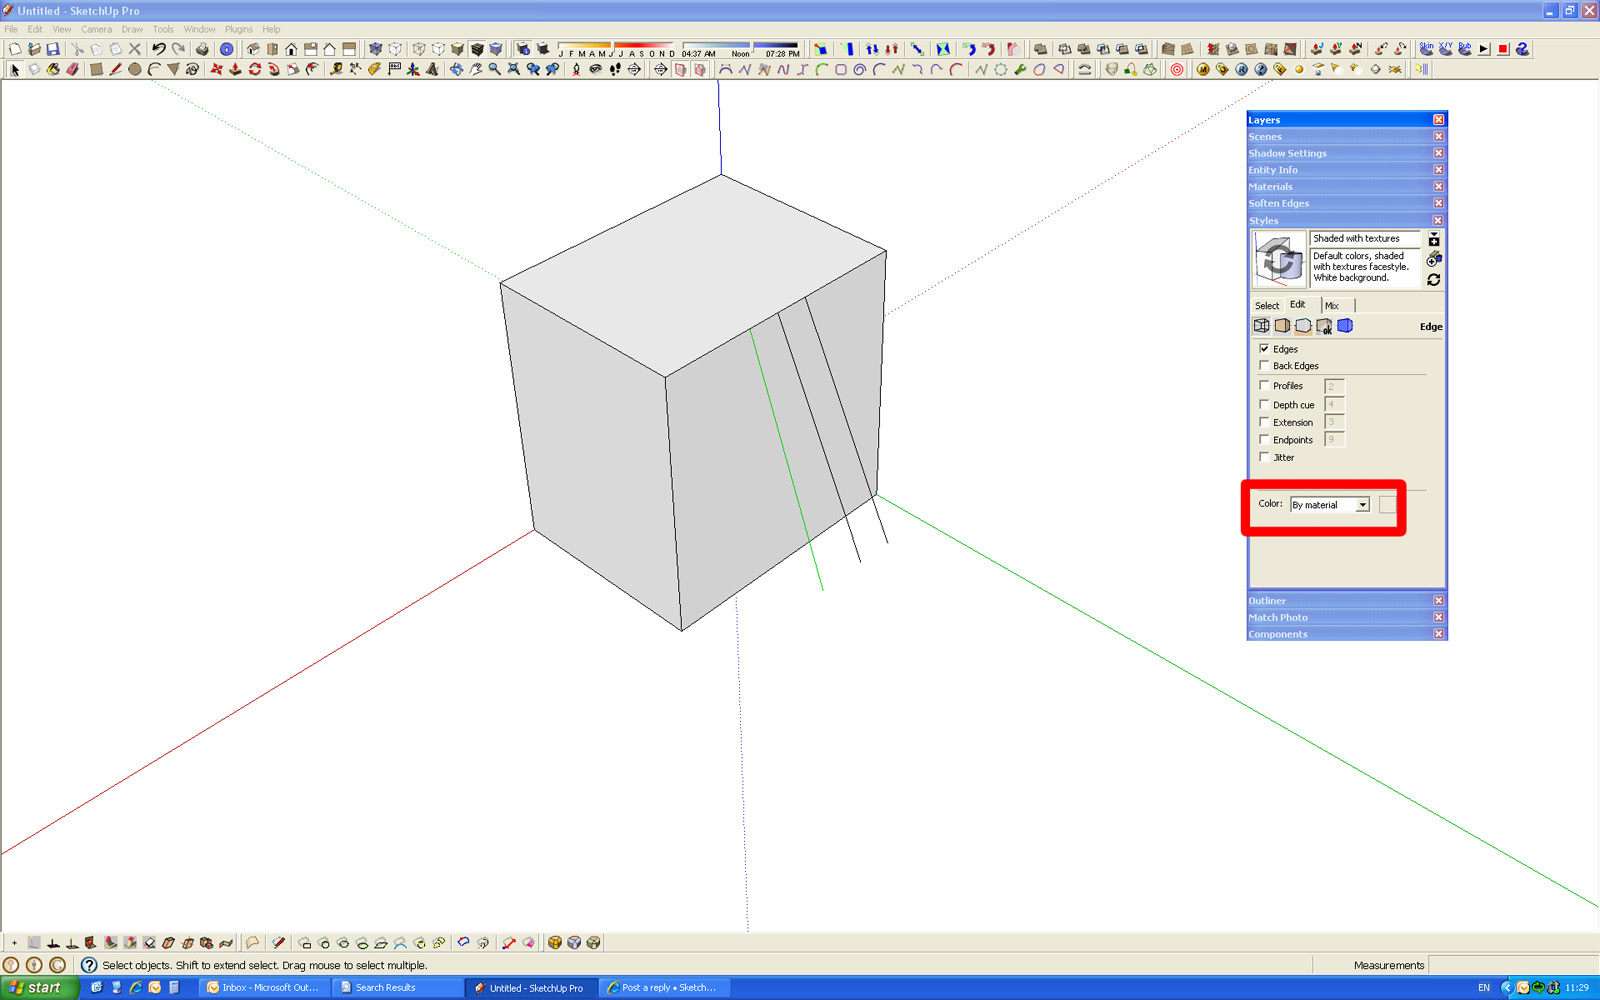
My inital thoughts are to just use a line and put the green ones on a seperate layer. the colour the line green using the entity info box and then select the colour by material option in the styles dialog box.


Sorry its a bit quick and dirty, if i get a chance i'll tidy it up a bit
(EDIT)
Here is the Skip
-
I would draw a line connecting the bridges and draw a circle at one end, perpendicular to the line, with the bottom edge of it intersecting with the line. Only use a few segments for the circle, maybe 5, and then select the line, click on the follow-me tool, and then click on the circle to extrude it the length of the line. This will give you strings with volume and then you can color them as you wish.
-
I think Tobobo's suggestion of just using lines to represent the strings is good but if you want to make the strings 3D, you could draw circles and extrude them. I wouldn't use more that 6 sides for the circle, though. Even then they'll load up your model quickly. If you need only straight lines, the Push/Pull tool should handle converting the circle into a cylinder.
As for the diameter change, I think you could use TIG's Grow plugin to speed up that process. Make sure you read the entirety of at least the first post in that thread.
-
Thank You guys for your speedy replies. I will try later this evening and see how it goes. I just downloaded the grow plugin so can try both methods.
Thanks Again
Jeff
-
Hi:
Not to confuse the issue, but, a string is like a pipe or tube with regards to modeling. So, I would also suggest "Lines to Tubes" by Didier Bur, or "Tube Along Path", by TIG.
If these are metal strings with solid core and outer windings, I do not recommend modeling the windings.
Since you posted in the Newbie Forum, this may be initially daunting. You would be bettter off using a texture applied to the string to represent windings--if you even want to go there.
Hopefully, you are modeling this instrument bigger than life. As has been stated many times in this forum, Sketchup does not handle tiny faces in the </= 1mm range. Scale the whole business up about 10- 100x, construct the model, then scale down .1-.01x.
EDIT: I built an acoustic guitar- but not in 30 minutes and not really doing all the things right, in my learning process. -
It is actually possible to colour lines themselves...assuming you were happy to just use a single line for each string. You can do this in the Styles Browser. Dig your way through the tabs through In Model and Edit, then choose the Edges tab and change the setting from the default 'All same' (ie black) to 'By Material'. You can then colour them with the paint bucket, just like a surface.
My preference would be (especially if you want to vary the thickness) to use either a 2D very long rectangle for each string, or use a triangle rather than a circle for the cross-section. In other words, make each string a very long prism. Paint each string the appropriate colour then smooth and hide its edges...so that the colour doesn't get drowned out by the black outline as you zoom away. You'll never notice that the string isn't round...and you'll save a heck of a lot of faces if you want to do anything fancy with them at the windings.
Advertisement


