Model to image
-
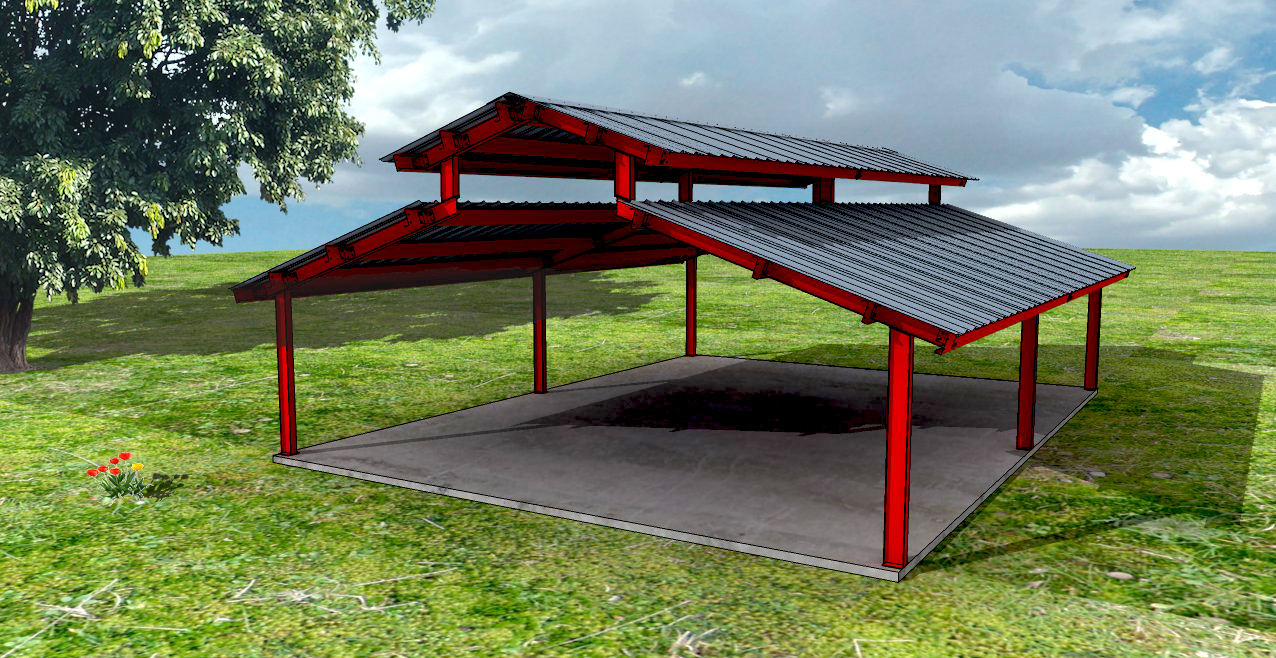
I think this is my best attempt at getting a rendered model into an image so far. I know it's not great but still working to make them better! Any tips or tricks from the masters or welcome!
Thanks Kurt
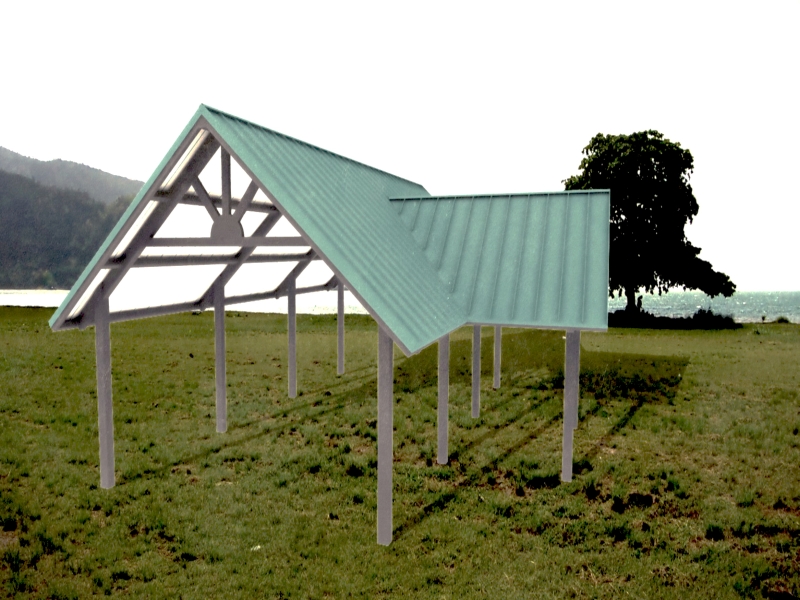
-
Post the model and the image you need it to be in and we all can play.
-
Here they are but I'm in no need for them just playing trying to get better thought I might could get some tips.
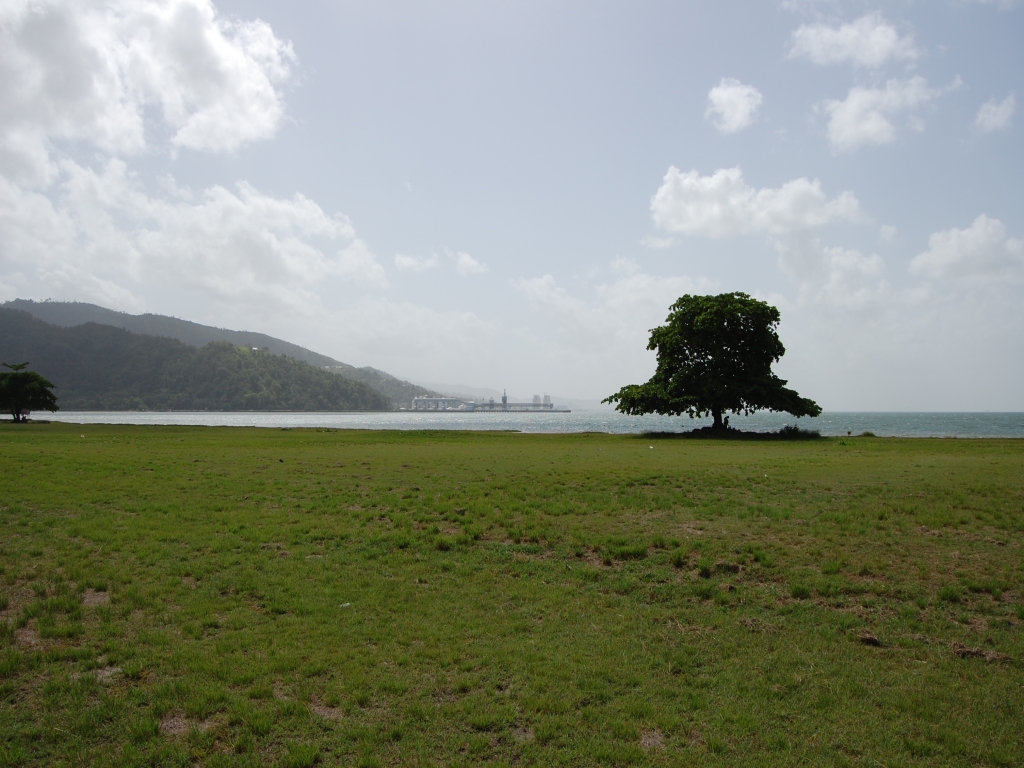
-
I'll take a stab at it tomorrow (busy celebrating a Texas Rangers play-off win right now)
What render app did you use for top image?
edit That's a strange looking image by the way, is it a photo or a photshop result?
-
I'm using V-Ray and about the photo, all I know is I downloaded it from the net. I assume its an photo.
-
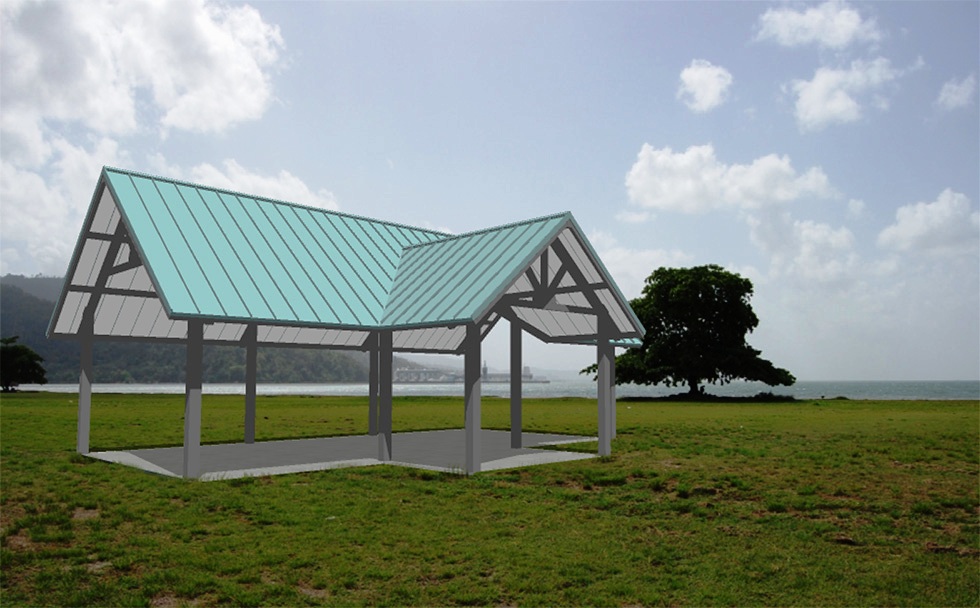
Downloaded the model- change the view a little, changed the field of view to 40ish deg. Then brought the picture in as a new photo match- changed the sun angle a little to highlight the structure (which somehow got changed from how I wanted it...) Added a slab. Exported an image, took it to photoshop where with a few clicks of the clone stamp to add some blades of grass to blend the slab into the ground- cropped the image, done. A little over 10 minutes total.
-
Much better, but 2 things:
Darken the shadows on the model. The background pic has very dark shadows.
Change the direction of the shadows. It looks like the background picture has the shadows just slightly in front of the objects.
-
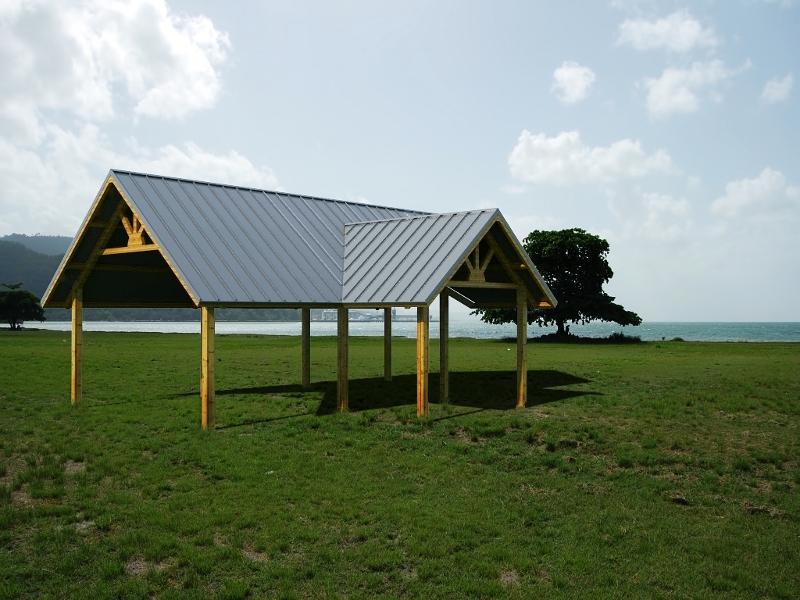
here is my contribution

i used the background image as a map to give the green reflection in the inside

-
The light in the picture seems to be coming from the rear.
-
how did i ?
-
@alvis said:
how did i ?
I like this one, working on trying to make my attempts better! could you make a tut on how you did yours?
Thanks Kurt
-
Though I'm new to SU, I have done a lot of photo comp'ing in the past.
The key thing I learned is to analyse your source photo for perspective, lighting, and scale.
In this respect, I would say that gistman's interpretation is the most convincing.There is a very definite horizon line in the photo where the sky and sea meet - the horizontals of the building should all converge to points along this line (extended beyond the picture edge if needs be). In a picture containing other buildings, you can find an imaginary 'horizon' by following the horizontal edges of a few different faces to find the line on which they would meet.
The fact that the horizon is almost perfectly central in the photo, is usually a good sign that the camera is perfectly level - so your verticals ought to be pretty much straight up and down with no convergence.The detail in the grass in the foreground indicates that the camera is not particularly high up (unless it is very tall grass!) - probably about normal eye-height, so we should be able to see a fair amount of the underside of the roof (Assuming it is big enough to walk inside).
For the lighting, the large tree is a very good guide. A significant amount of the right hand side is in shadow, so the light source is forward of the camera and to the left - If you imagine about 10 or 11 on a clock face, you shouldn't be too far out.
Most of the top of the tree is lit, and the tree's shadow is pretty close underneath - so the sun is pretty high up too, maybe 60deg or more. -
yes, you are absolutely correct, Trogluddite . I made a few changes. I changed the position of the sun(will still not good), and the model.
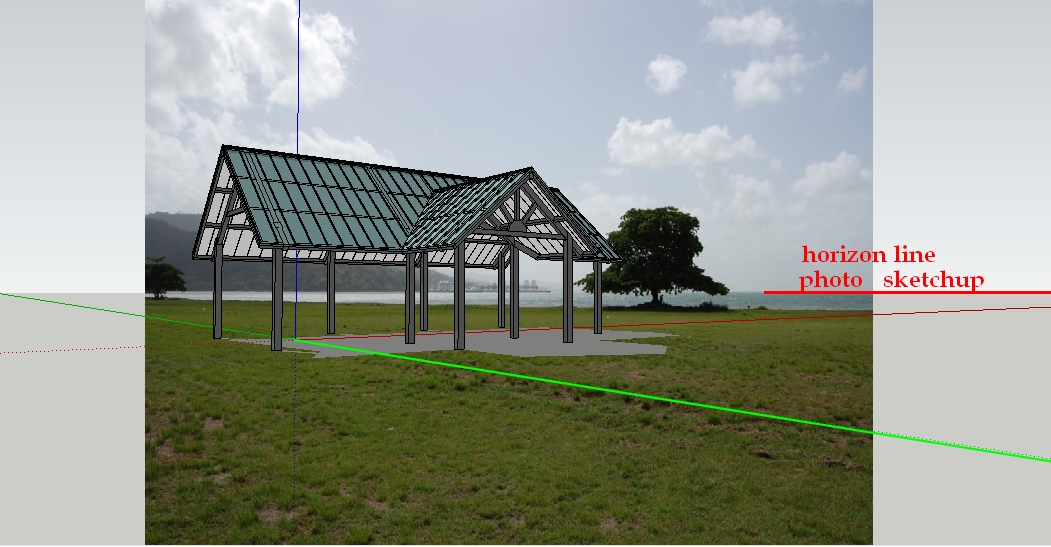

-
Nice
-
My latest attempt, still learning!
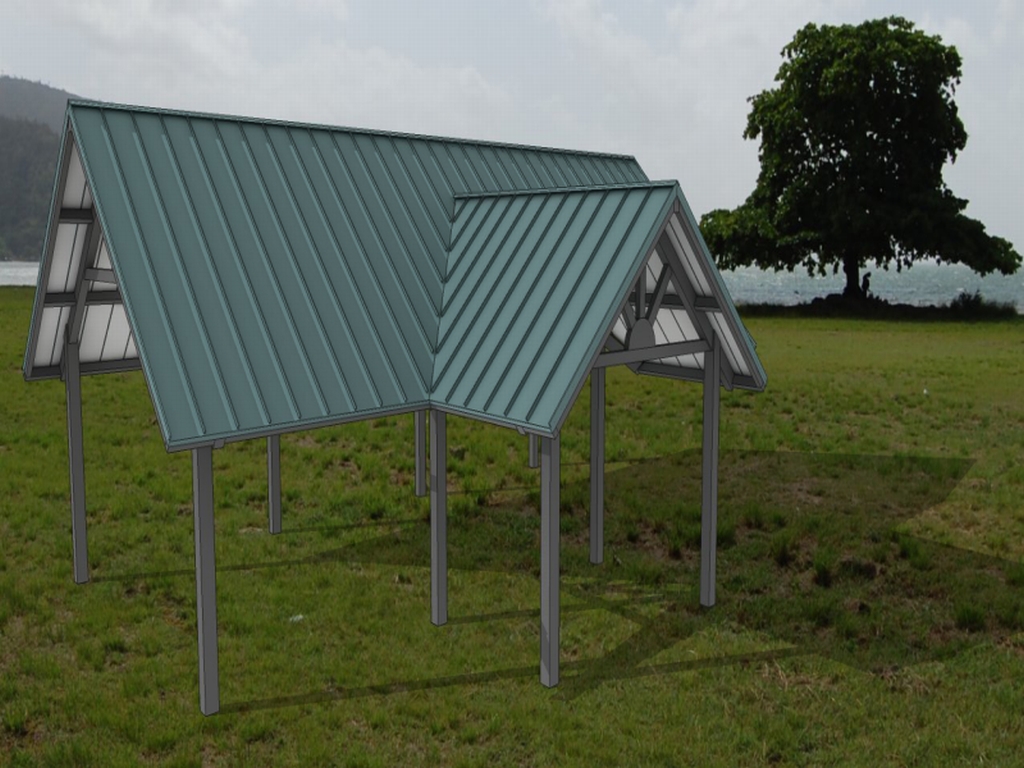
-
Tried a new one.
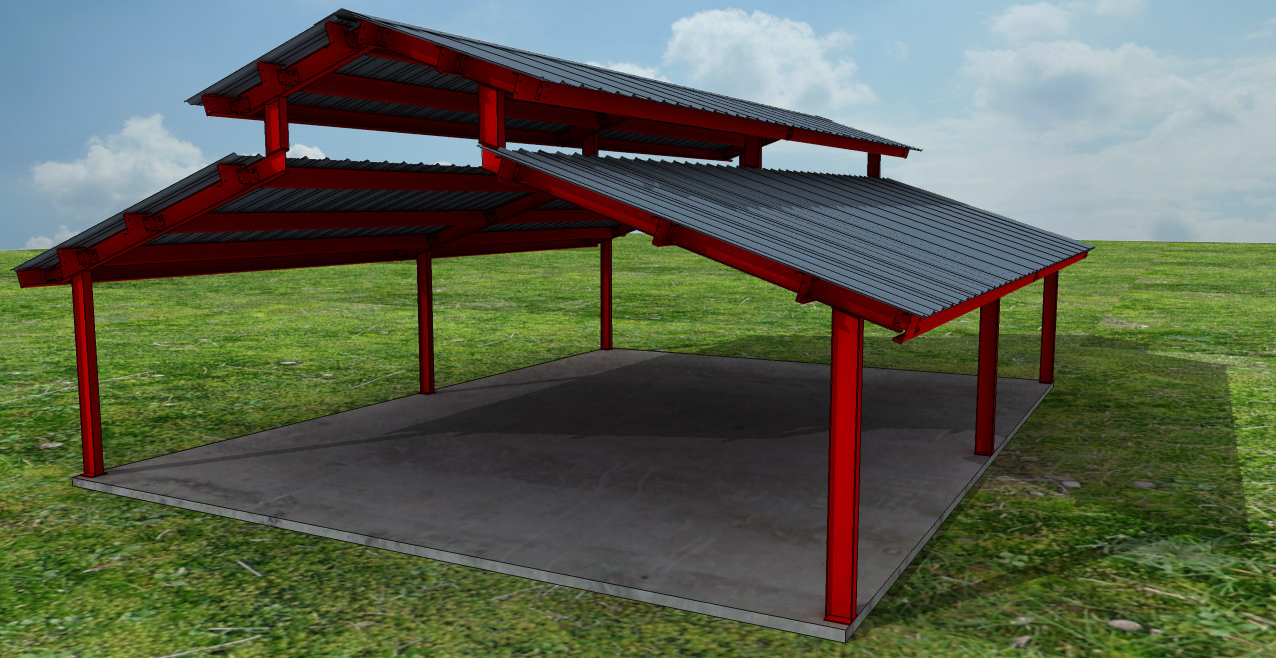
-
^Nice

i made another render with the old one

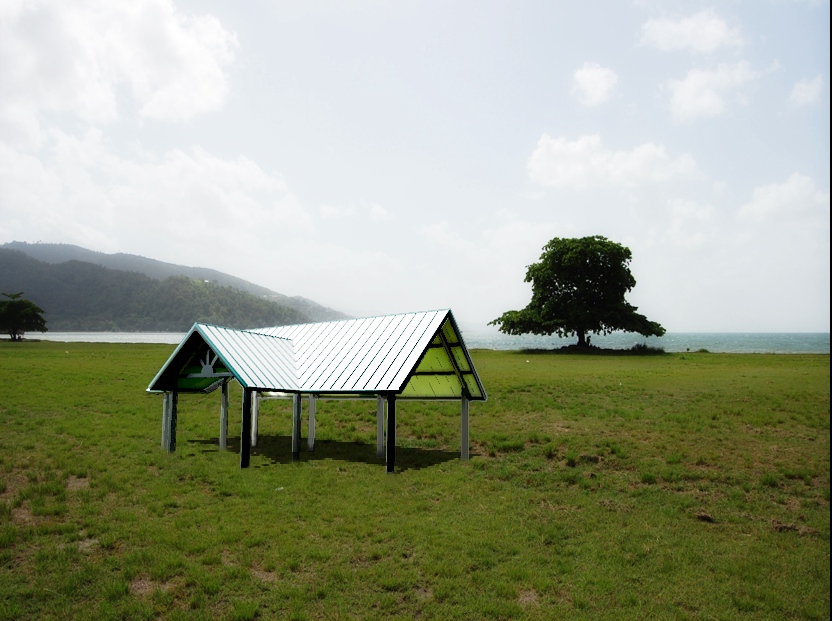
-
Just trying different things here and there.
-
@trogluddite said:
Though I'm new to SU, I have done a lot of photo comp'ing in the past.
The key thing I learned is to analyse your source photo for perspective, lighting, and scale.
In this respect, I would say that gistman's interpretation is the most convincing.There is a very definite horizon line in the photo where the sky and sea meet - the horizontals of the building should all converge to points along this line (extended beyond the picture edge if needs be). In a picture containing other buildings, you can find an imaginary 'horizon' by following the horizontal edges of a few different faces to find the line on which they would meet.
The fact that the horizon is almost perfectly central in the photo, is usually a good sign that the camera is perfectly level - so your verticals ought to be pretty much straight up and down with no convergence.The detail in the grass in the foreground indicates that the camera is not particularly high up (unless it is very tall grass!) - probably about normal eye-height, so we should be able to see a fair amount of the underside of the roof (Assuming it is big enough to walk inside).
For the lighting, the large tree is a very good guide. A significant amount of the right hand side is in shadow, so the light source is forward of the camera and to the left - If you imagine about 10 or 11 on a clock face, you shouldn't be too far out.
Most of the top of the tree is lit, and the tree's shadow is pretty close underneath - so the sun is pretty high up too, maybe 60deg or more.Some very valuable tips there Steve!!!!

It appears you guys are exporting nature SU with a photomatch background?
Just on Photomatch, I hope in the future Photomatch allows the ability to fix the horizon line horizontal rather than try and tweak vanishing lines to get it right; afterall; not to many building are modeled / build on an incline....
Hello! It looks like you're interested in this conversation, but you don't have an account yet.
Getting fed up of having to scroll through the same posts each visit? When you register for an account, you'll always come back to exactly where you were before, and choose to be notified of new replies (either via email, or push notification). You'll also be able to save bookmarks and upvote posts to show your appreciation to other community members.
With your input, this post could be even better 💗
Register LoginAdvertisement


