From SketchUp to Reality
-
Thanks for posting your house plans Dale. The layout works well. The house looks to be designed for two to three residents? BTW, I will be using your semi-circle direction line (on half landing) in my stairs plan in future

-
Yes Mike it is built for Judy and I, and the studios double as guest rooms. The design is very personal combining things we have liked about our previous residences.
I think it is harder in a way to design your own project.
We have also made it so that we can live entirely on the main floor should the time come that we have problems with stairs by doing things like roughing in plumbing in the little pantry area. -
The ground source Geo-exchange system was a big project.
We put in 1800 lineal feet (548 m) which required us to dig trenches about 6'(1.8 m) deep x 10'(3 m)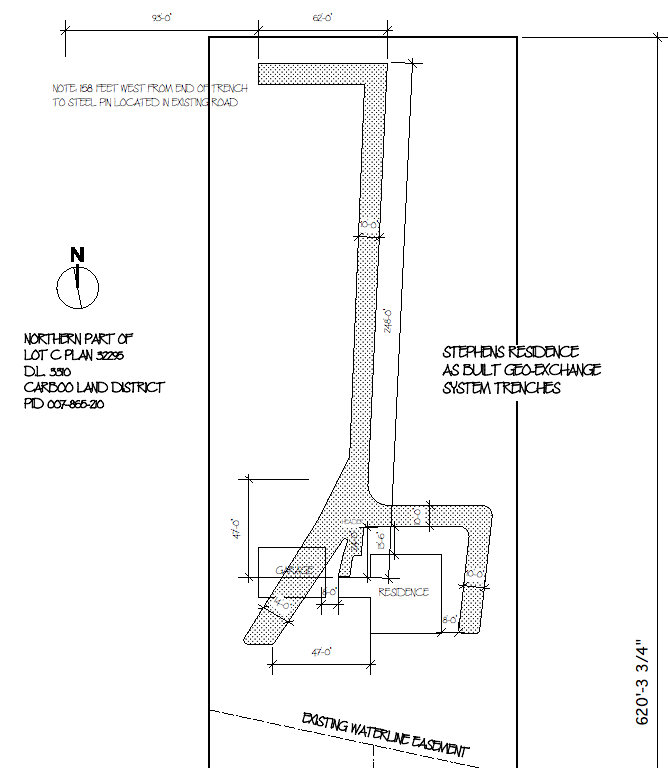
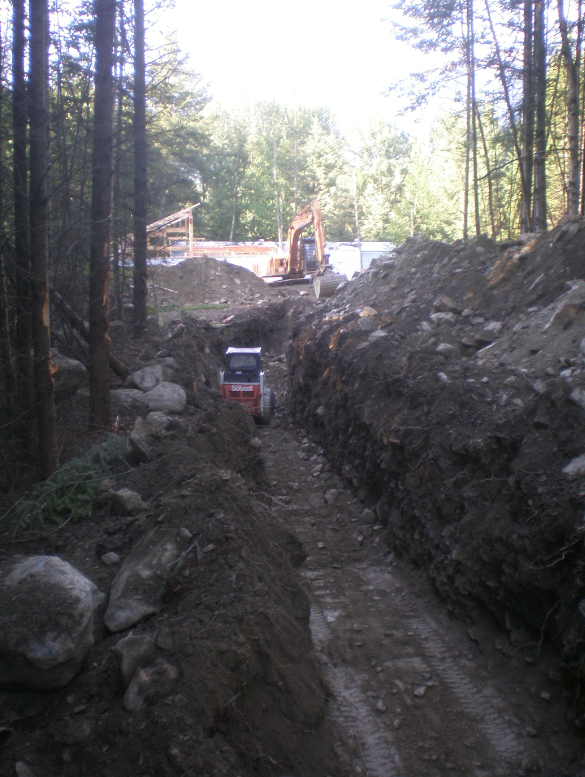
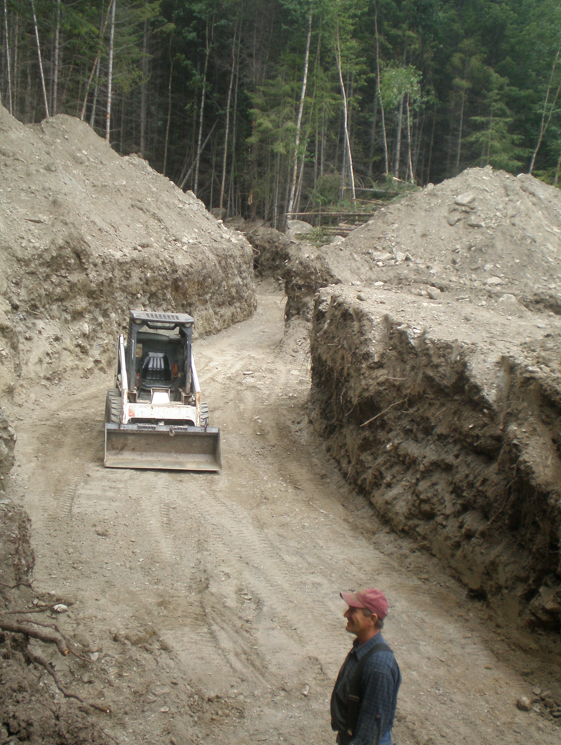
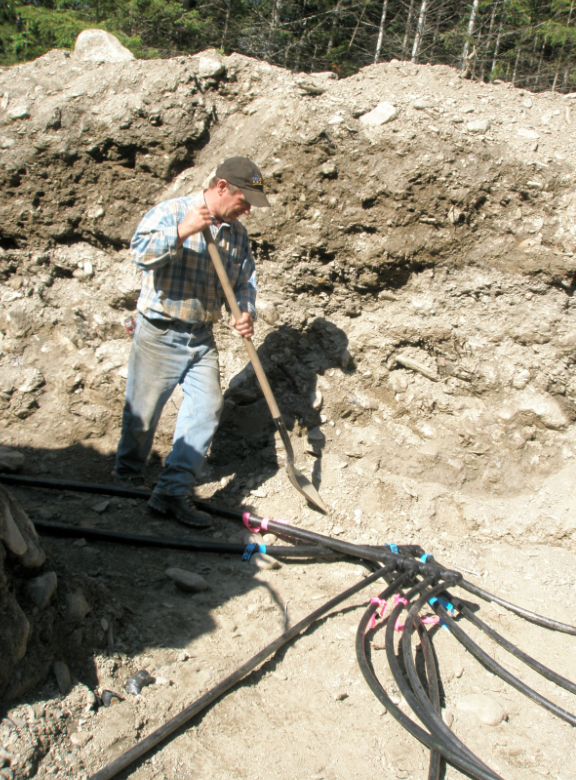
The headers were fused chemically fused to the pipes for the two trenches. When we buried them they were separated by about 2'.
-
Hey Dale, Do you guys sweep the ground before taking the pictures? Everything is so neat and tidy

I'm very interested in learning how the geothermal system works out. I have never (yet) been involved in an install.
I have a similar layout in my humble abode. We (Pauline and I) could live on one floor if the need arose. However I would have to do a major tidy up of all my bits and pieces

Mike
-
Hi Mike
This is the first Geo-exchange system that I have owned, so I am very interested in how it performs.
At work we have had several projects with water based Geo-exchange systems and all of the owners are quite happy with them.
This system is based on a three ton unit, with 4 ton of capacity of buried pipe.
I have had quite a few discussions with their engineer, and he said the main thing in the hydronic system is to go with shorter loops, and return the water at a slightly higher temperature, which in turn raises the efficiency of the system.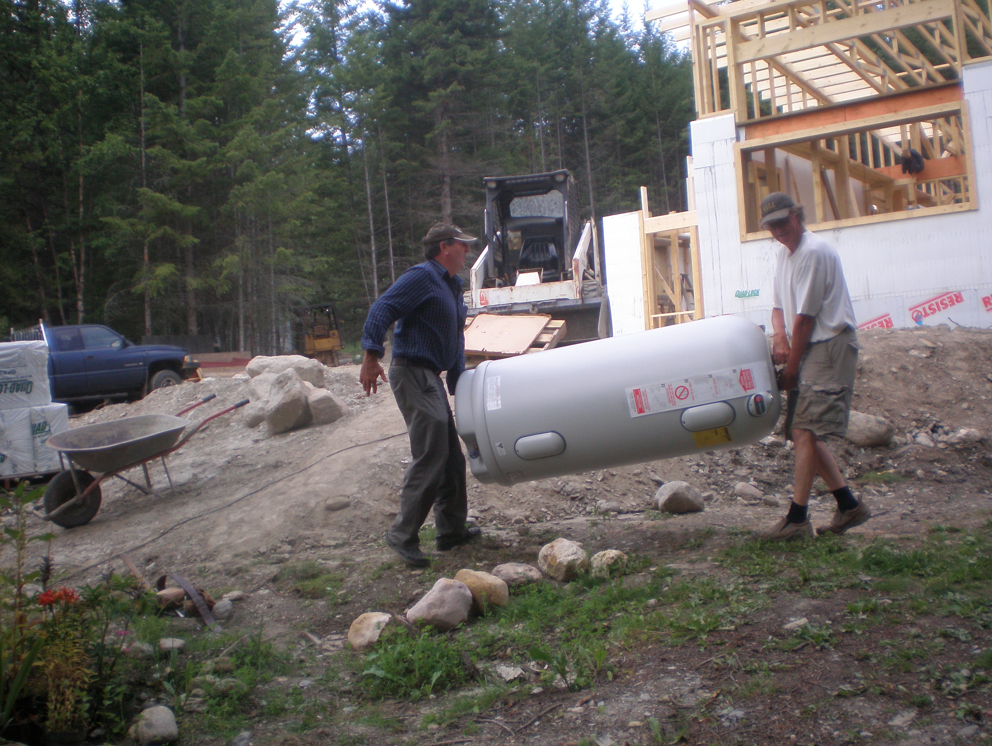
In the above picture we are carrying in the supplementary storage tank which has a 4.5 Kw capacity to assist the system if it is taxed.
We can get down to -40 here, but it usually doesn't last for long, and this house is built around mass, but we are designed to supply both heat and hot water.
As for the cleanliness, it sure doesn't seem like that to us.
It feels like chaos. -
I just across this post. I have been looking at house planning for a while. I thought I did a good job on the house I am currently in. However, I found out I was terribly wrong. About 8 years I awoke to a slight twitch in my right cheek. I eventually found out I have a rare neurological disease. I am now confined to a powerchair. Looking at my house today it would have been easy to make it handicap friendly. I could have added a role in shower for almost no cost difference. I could have put 6' x 6' closets on the first and second floor that line up. This way installing an elevator would be simple. I could have made all internal doors 36". There are lots of other items I could have done to make my life easier. It is not something you want to plan for but it is something to consider.
-
@billbell52 said:
Looking at my house today it would have been easy to make it handicap friendly. I could have added a role in shower for almost no cost difference. I could have put 6' x 6' closets on the first and second floor that line up. This way installing an elevator would be simple. I could have made all internal doors 36". There are lots of other items I could have done to make my life easier. It is not something you want to plan for but it is something to consider.
This is pretty much what we did for our house. But honestly I probably would not consider those things unless I have a friend who uses a wheelchair.
-
@billbell52 said:
I just across this post. I have been looking at house planning for a while. I thought I did a good job on the house I am currently in. However, I found out I was terribly wrong. About 8 years I awoke to a slight twitch in my right cheek. I eventually found out I have a rare neurological disease. I am now confined to a powerchair. Looking at my house today it would have been easy to make it handicap friendly. I could have added a role in shower for almost no cost difference. I could have put 6' x 6' closets on the first and second floor that line up. This way installing an elevator would be simple. I could have made all internal doors 36". There are lots of other items I could have done to make my life easier. It is not something you want to plan for but it is something to consider.
Bill
Thanks I appreciate the input.
What we have tried to do is have the main floor right on grade, and make it so that all amenities can be placed on that floor, so that we will not need the lower floor for basic living.
Of course the service room would need to be attended and that is on the lower floor, so that we would have to hire someone to do.
I have had quite a time convincing the building inspector that I am building a roll in shower as code here requires a 3" curb..
This currently on the plans shows a door, but there will not be one. Just a glass panel that a wheelchair could roll around. The whole bathroom has a protective membrane tied to the drain, and since the floor will be concrete or stone throughout the house, we have paid special attention to this detail.
It is difficult for someone like myself who is currently mobile to anticipate everything that would be an obstruction should we become challenged, so any input you have will be thoughtfully considered.
CheersDale
-
watching...
-
Sounds like you are thinking ahead on this. I am not an expert on this. I don't think you need to go crazy on it. However, there are lots of things that can be done that add almost no cost and don't look unsightly. The main ones I did wrong are:
- Make closet doors 30" or 36". I have 24" doors that could easily be larger at no real cost difference.
- Make hallways wider to make turning around easier. I can turn around today but just barely.
- Make switches/controls accessible. I have some pool controls that are hard to reach. I moved water heater from tank in attic to tankless in garage.
- Biggest mistake was toilet access. I could easily have added more room and changed layout.
Other possible items
- Plan for grab bar attachment.
- Role under bathroom sink
Things I accidentally did right.
- Easy ramp access to front and rear door.
- Bedroom is large enough to easily navigate.
- Pavestone walkways around house are flat and wide enough.
I was able to put in a vertical platform lift to get between floors. It is a tight fit but it does work.
I use to think I would move to a new house when my needs changed. In this market selling a house is difficult. So I am leaning more towards planning ahead. My mother broke her hip a few years ago and came to live with us a few months while she recuperated. My mother-in-law has problems with stairs and she visits from time to time.
Wishing you the best on your project.
-
Coming along nicely Dale

As regards disabled access goes over here, we have to provide quite a number of considerations as standard. While these items may not make a lot of sense to able body house holders, I remind them that they may appreciate the extra access provisions in time AND that some day they may grow old and be glad of them
-
Some of those ideas just make sense even for the able bodied. Wider doors and straight runs into rooms make sense for moving furniture around. I've been in some newer homes that look great but you can't move a couch or a bed in without damaging the walls. What kind of sense does that make? The house we had designed a few years ago (but have yet to build) was, at our request, designed with 36" wide doors and other features that would make the house accessible to wheelchair users but it was more to make the house easier to live in for anyone.
-
Just wondering how progress in going?

-
Mike, I apologize for the delay in updates, but it has been dawn to dusk, then fall into bed hectic around here for the past month.
Just a couple more days of madness, and I will do a big update.
Winter strikes hard and fast here, and I am really pushing to not get caught.
Thanks so much for your interest. -
@dale said:
Mike, I apologize for the delay in updates, but it has been dawn to dusk, then fall into bed hectic around here for the past month.
Just a couple more days of madness, and I will do a big update.
Winter strikes hard and fast here, and I am really pushing to not get caught.
Thanks so much for your interest.Well that's plenty of an update. How blessed to be thus engaged. Looking forward to hearing the details.
-
The past month has been so hectic, that as I noted previously, I just haven't had the time for proper posting.
Aside from managing to get my fascia and roof on, I have been acting as the gopher for the stone mason.
Introducing, "he who cannot be named" himself, in "The Chronicles of a full masonry fireplace".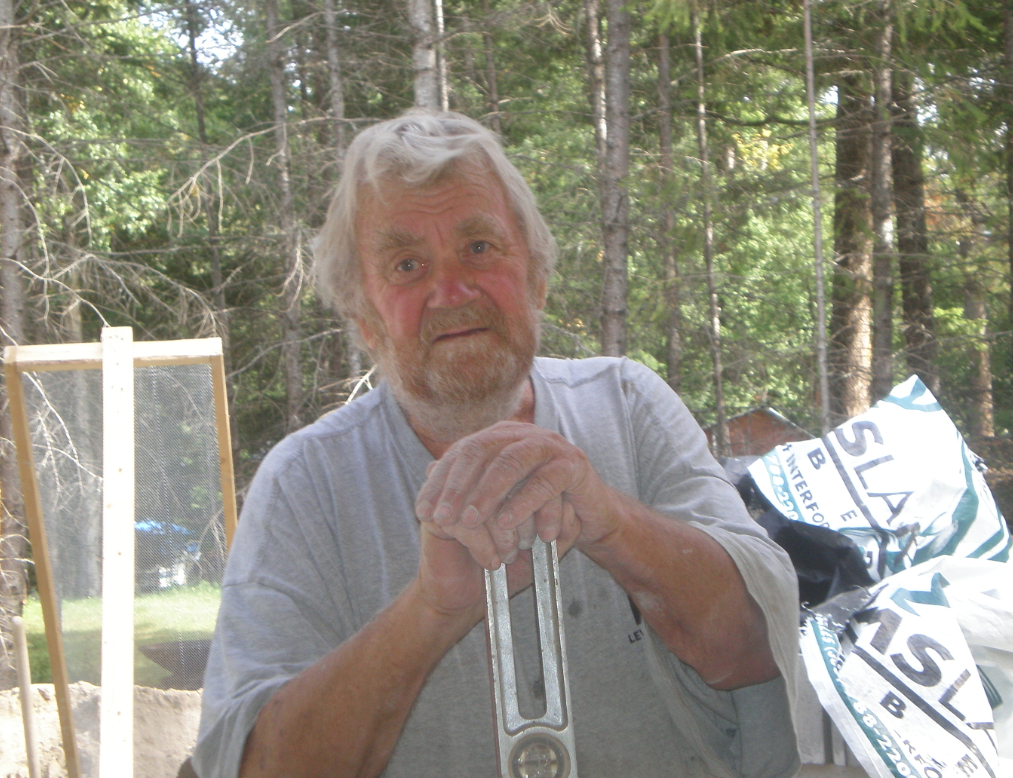
Don't let those sad eyes fool you, this 73 year old German trained mason is a taskmaster, but master is the operative part of this statement as well.
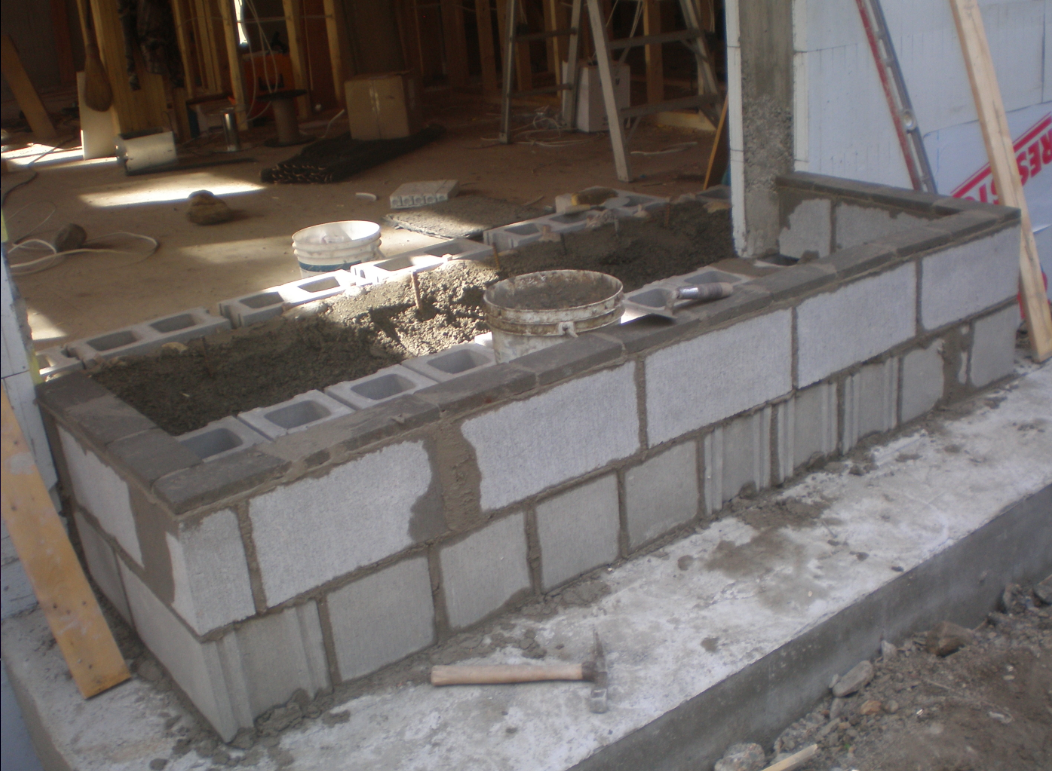
This is the 3rd fireplace he has built for us, and if you have ever had one, they are hard to live without. In the end the 40,000 lb (18,200 kg) monster will keep the entire house warm in the case of power failures.
But it has to start somewhere: Judy shoveling in one of the 15 or so truckloads of sand.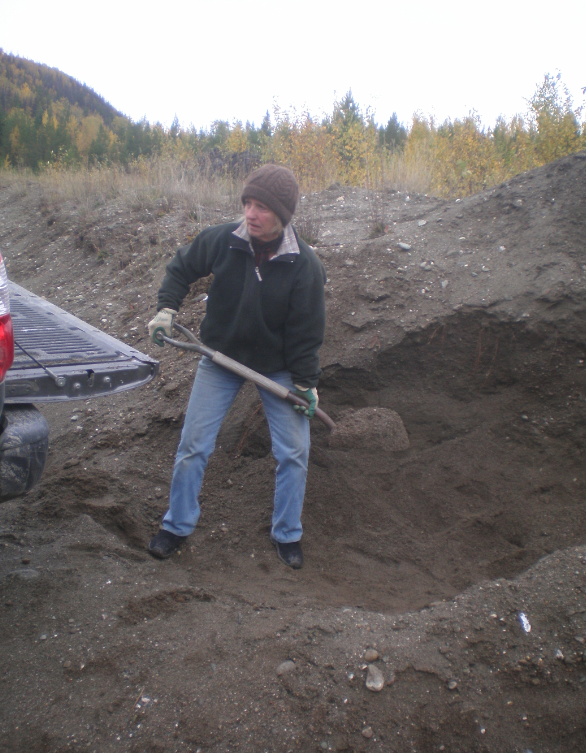
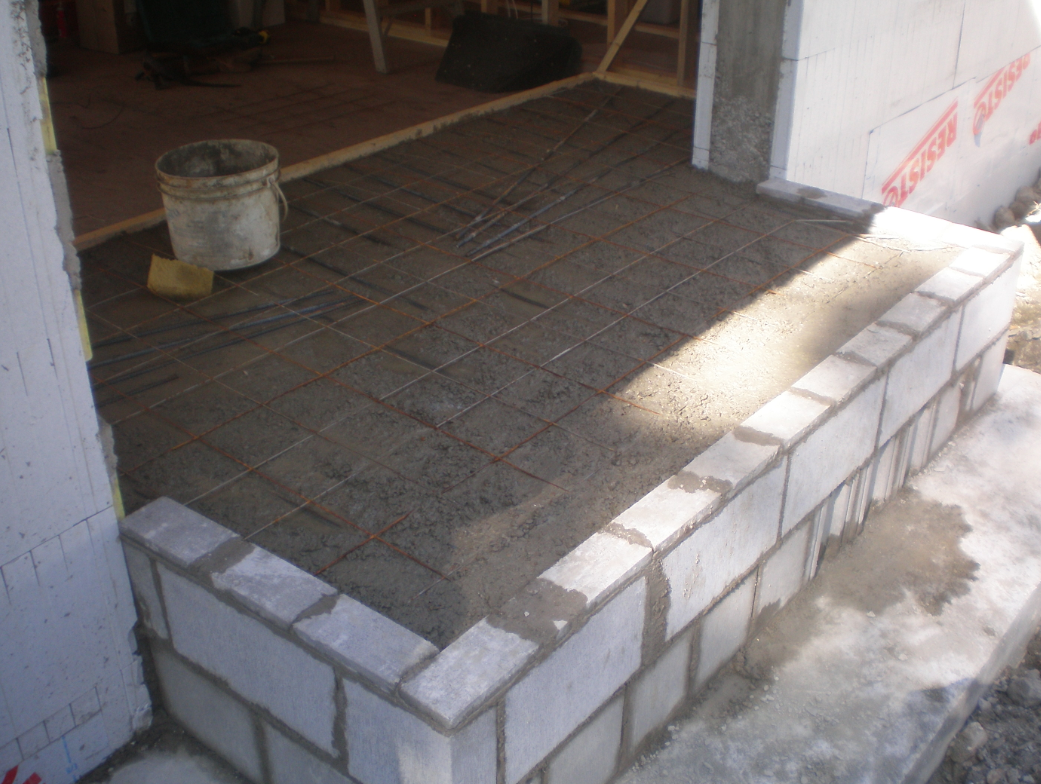
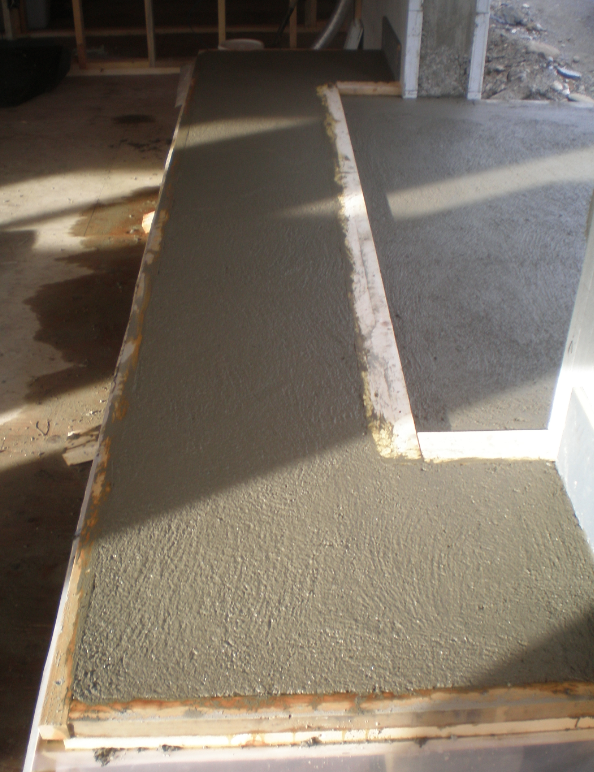
Starting at the base of the rough in, and following through with the Hearth, which cantilevers into the building.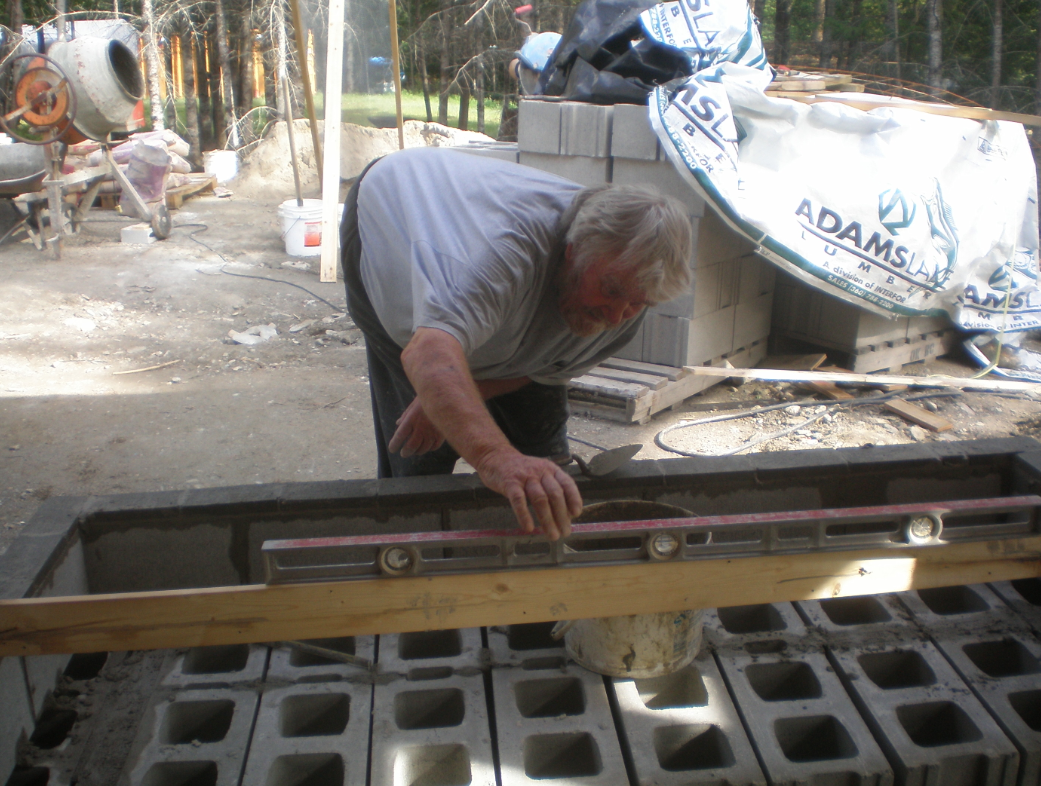
-
Continuing on to the fire box, which, if you are familiar with fireplaces, is similar to a Rumford with it's sloping back and sides, but much deeper. This is done to make the smoke shelf more effective. In the real world it means the front of the fireplace doesn't get blackened, as it virtually never smokes unless there is extreme downdraft conditions.
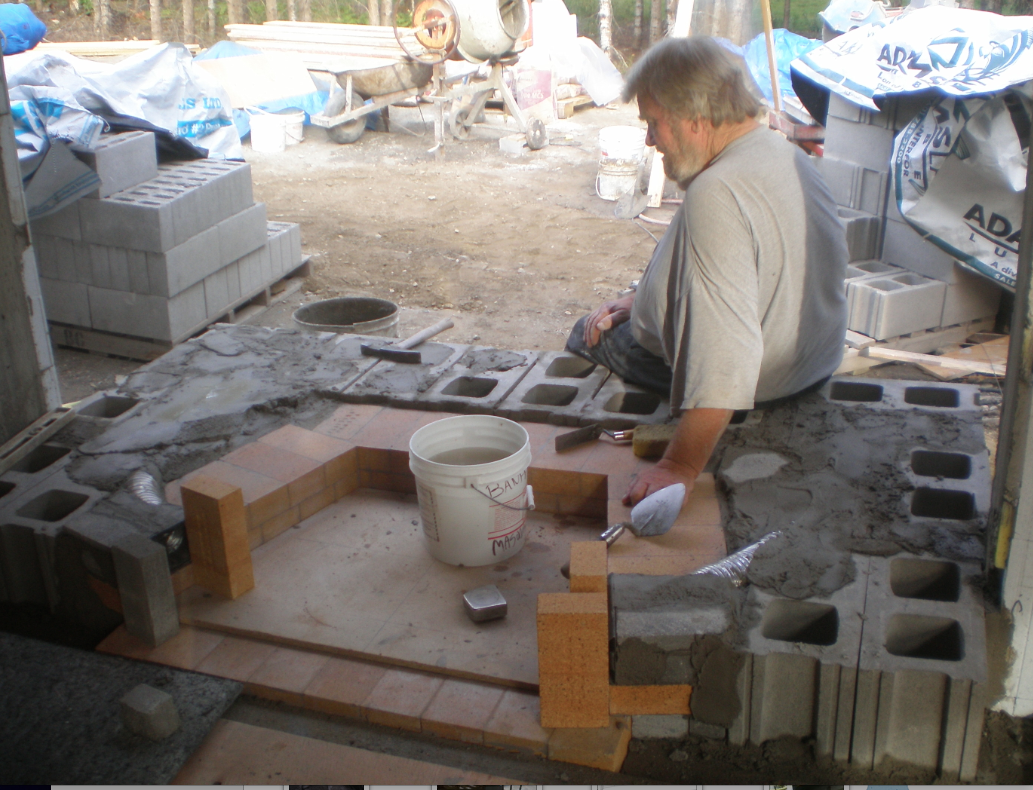
Notice the firebricks are set with there 9" depth perpendicular to the fire box. It takes more firebricks this way, but is less likely to crack, and way more efficient at maintaining heat.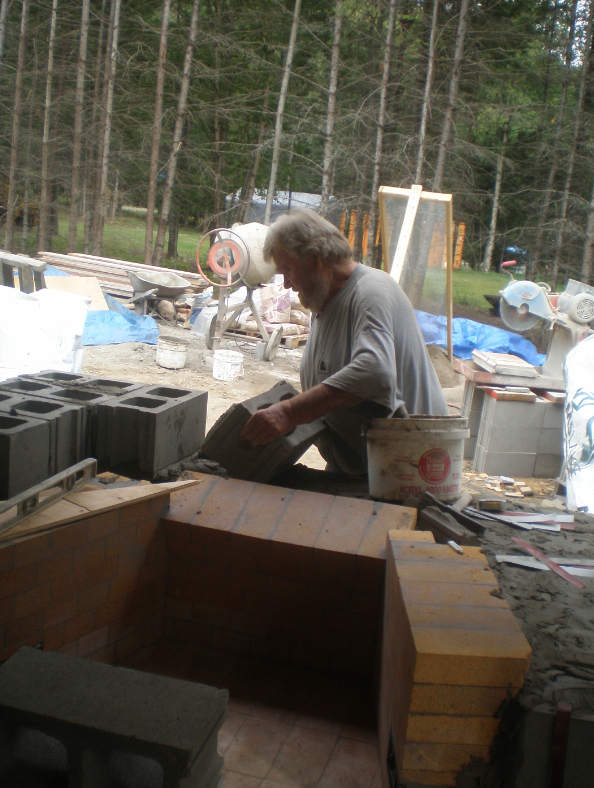
Apologies over the quality of some photos, as they were quick iphone shots.
Next is the firebox with the steel damper in place.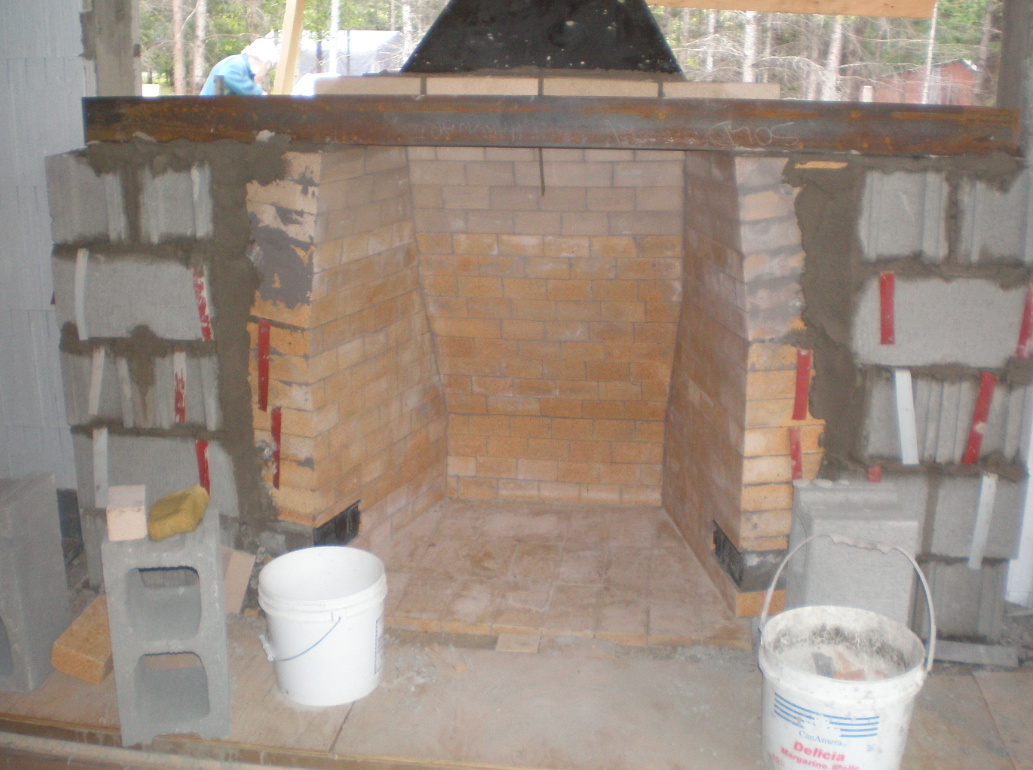
Interior rough in complete.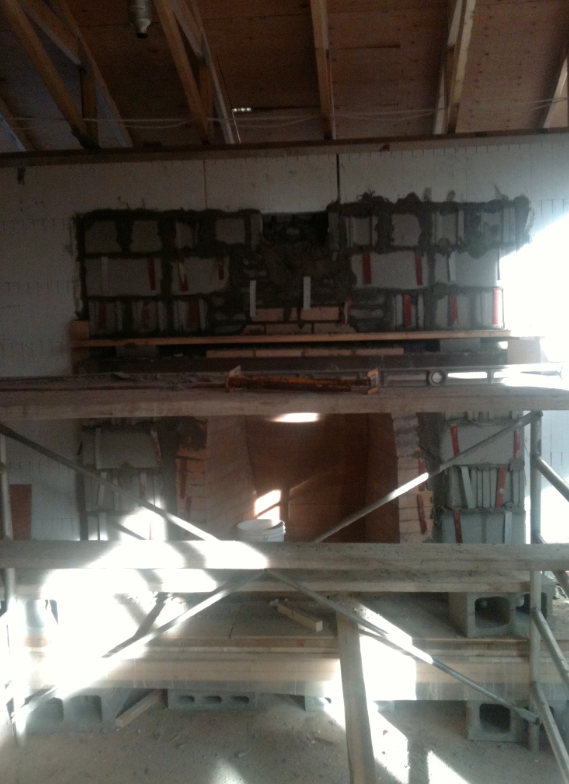
Then it was putting the flagstone onto the hearth. The hearth is about 18"(45 cm) off the floor. This is so when you sit in front of the fire, you are looking right at it, and the heat is reflecting off those sloped sides and back, right at your body.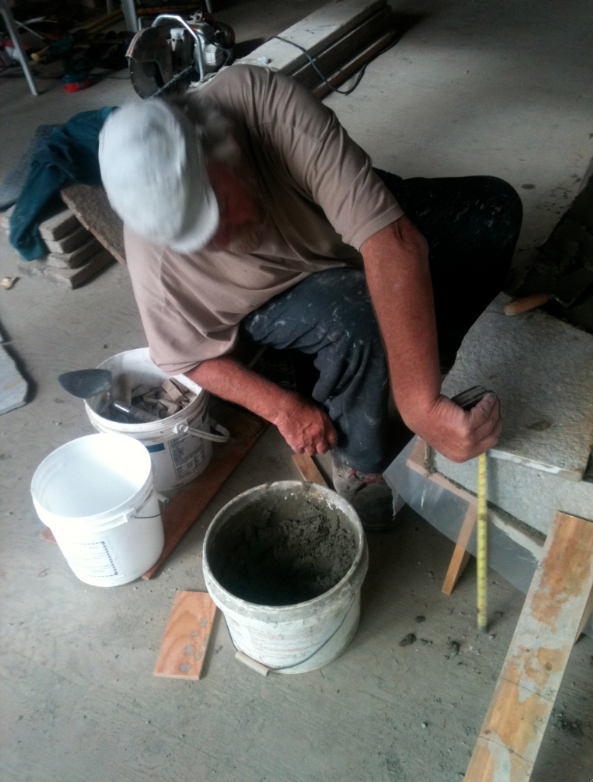
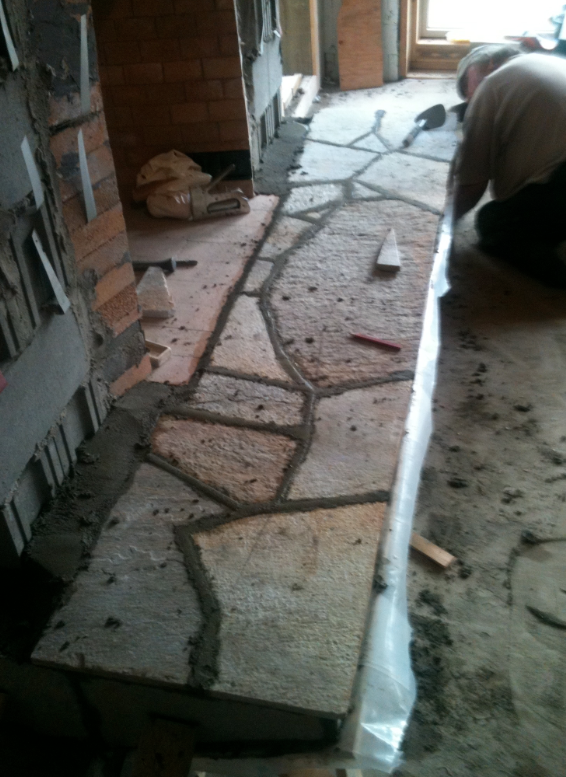
-
With the weather holding, we moved outside to take advantage of this.
Chimney flue through the roof.
He angles the first part of his flues, as he says it causes the smoke to be pulled faster up the chimney.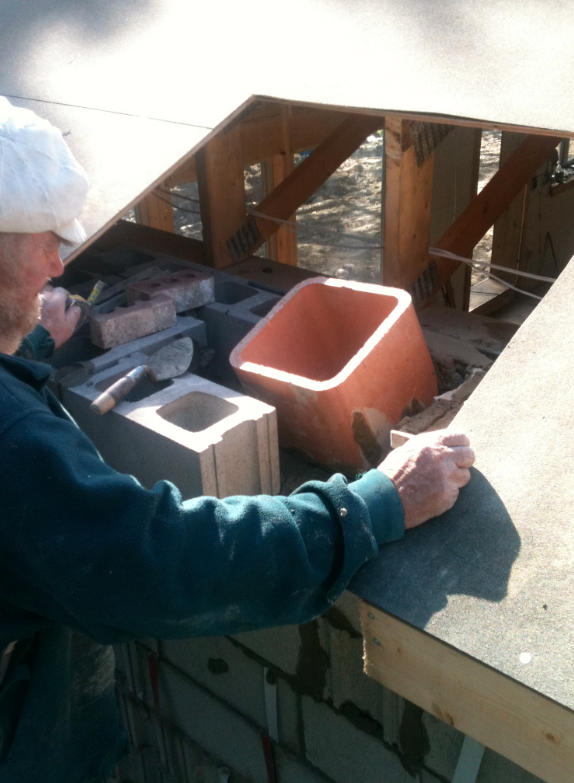 and reaching above the roof.
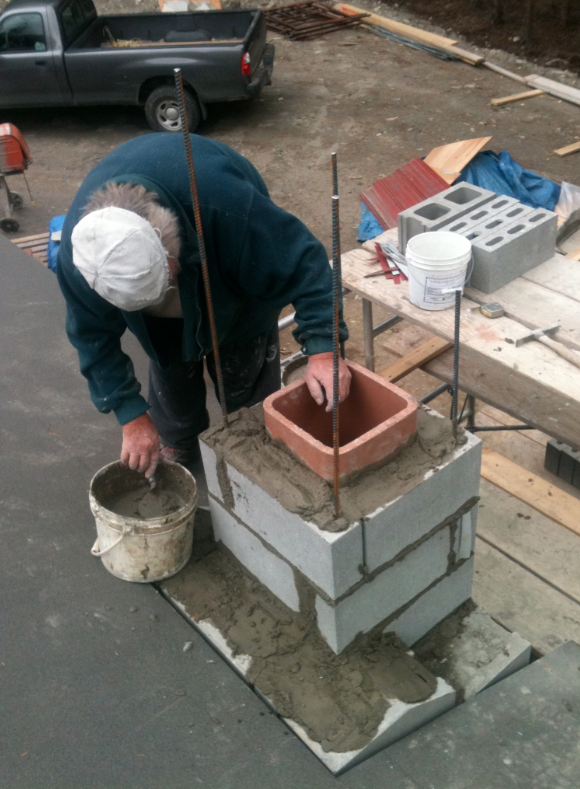
To be continued.
Cheers
Dale -
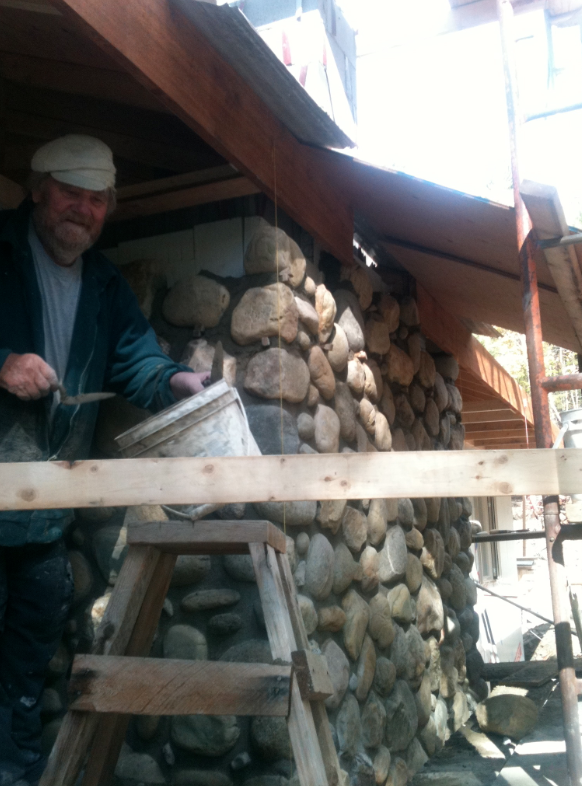
Next we started the actual stone work with river stone that we had gathered.
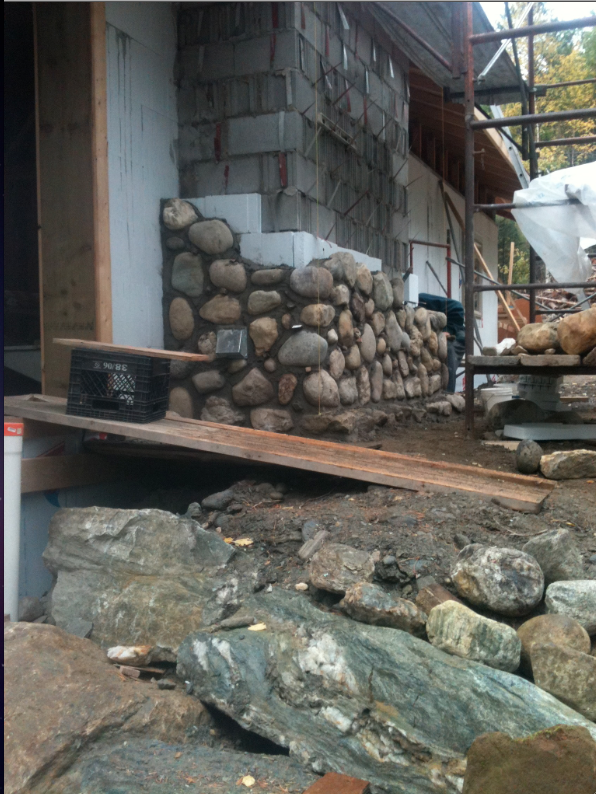
And continued to the soffit.[attachment=3:2ipzng5w]<!-- ia3 -->ExTerior stone to soffit.png<!-- ia3 -->[/attachment:2ipzng5w]
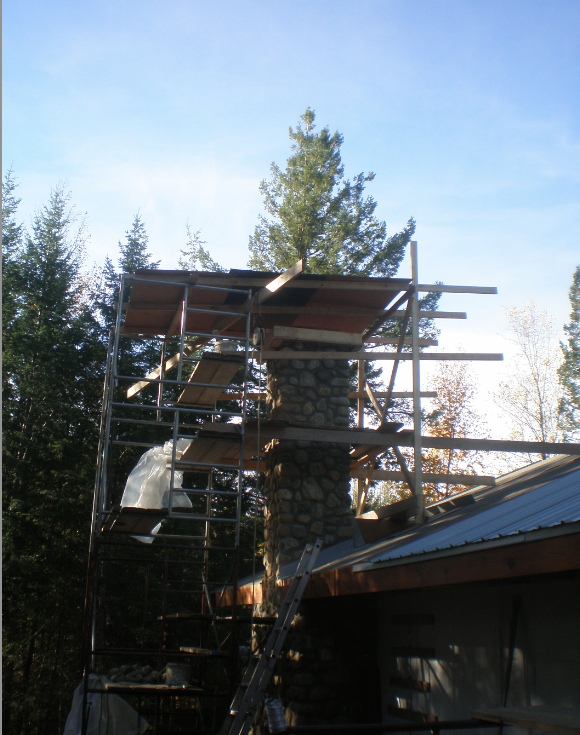
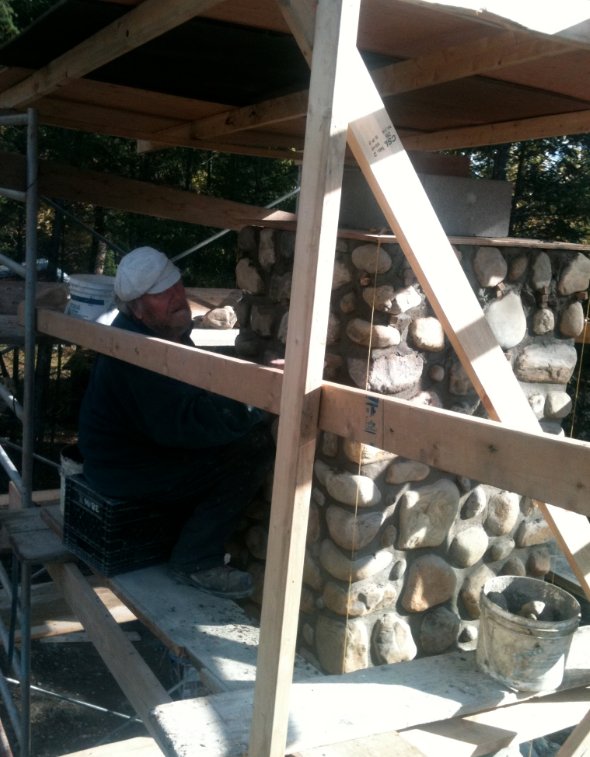
Stone above roof.[attachment=1:2ipzng5w]<!-- ia1 -->Screen shot 2011-10-16 at 7.36.11 AM.png<!-- ia1 -->[/attachment:2ipzng5w][attachment=2:2ipzng5w]<!-- ia2 -->stone above roof.png<!-- ia2 -->[/attachment:2ipzng5w]
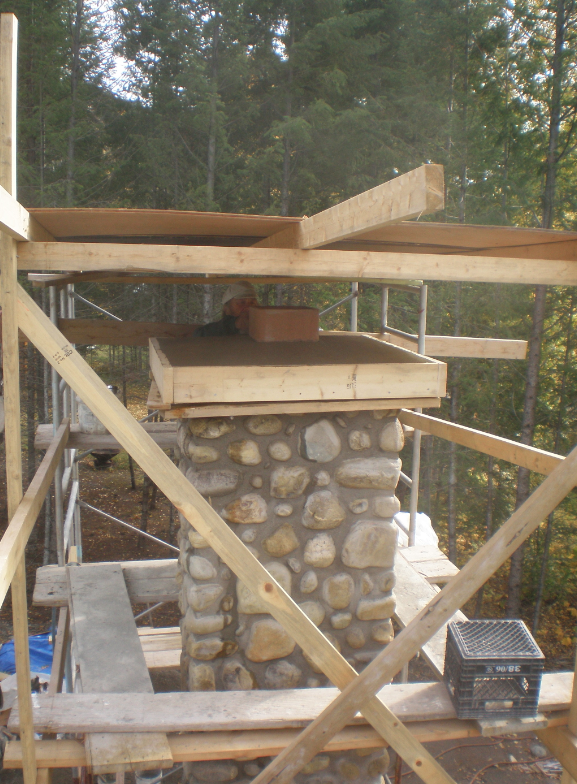
And pouring the cap.[attachment=0:2ipzng5w]<!-- ia0 -->Screen shot 2011-10-16 at 7.38.12 AM.png<!-- ia0 -->[/attachment:2ipzng5w]
-
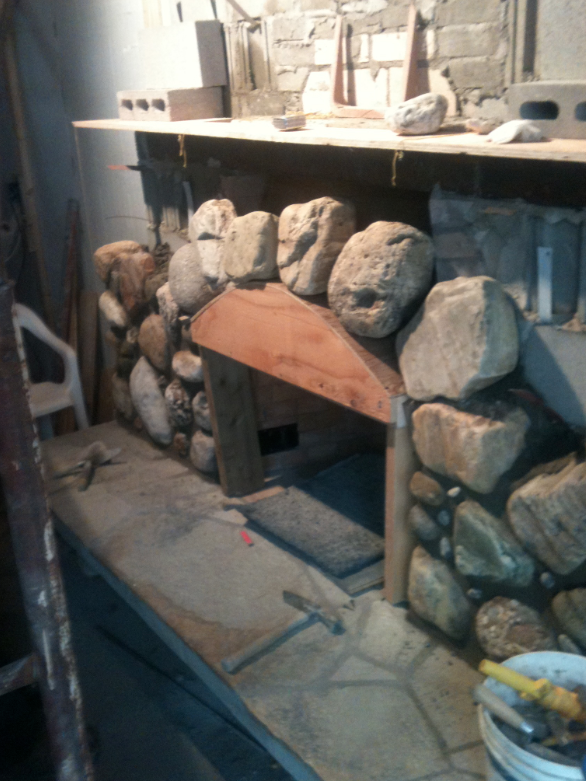
Then the interior stone work. This shows the arch form with beginning of stone placement for the arch.
I laminated 4" Douglas fir for the mantle.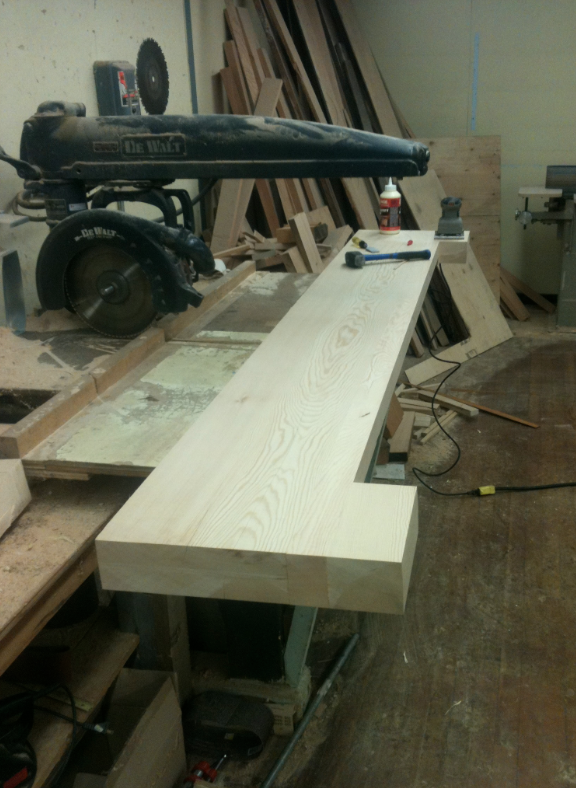
A shot showing the quarter sawn grain of the Fir.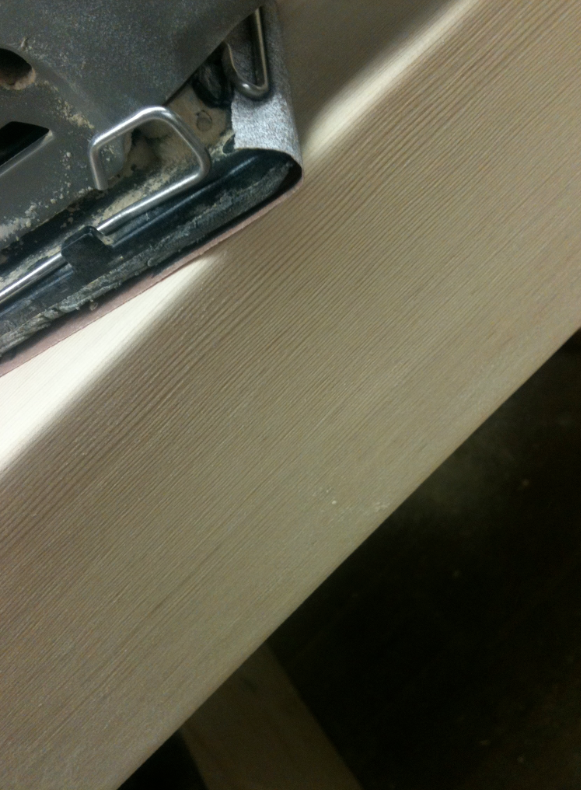
Mounting the mantle.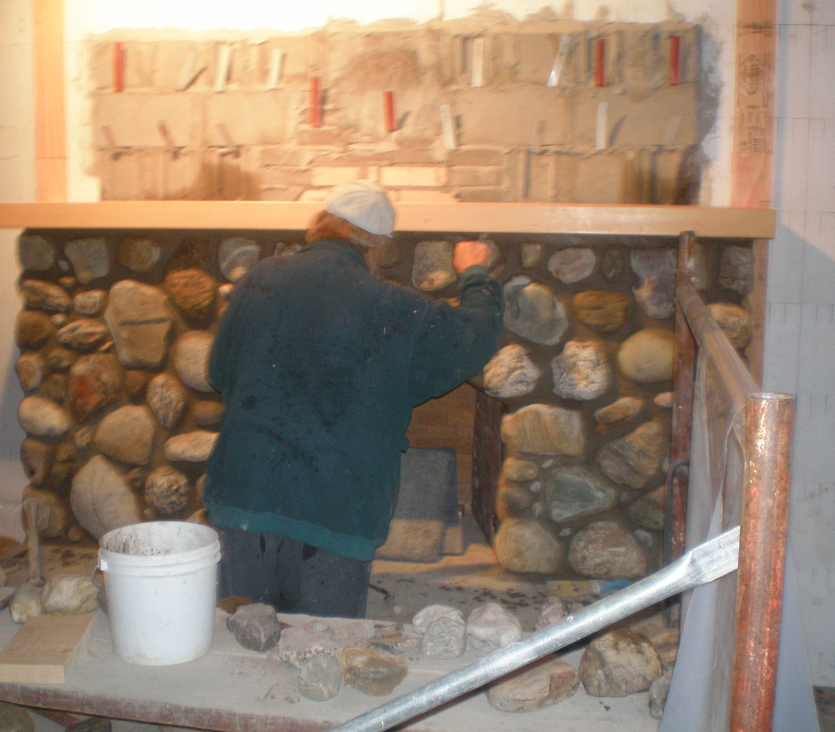
Advertisement


