Any advice on this complicated shape?
-
Hi Everyone,
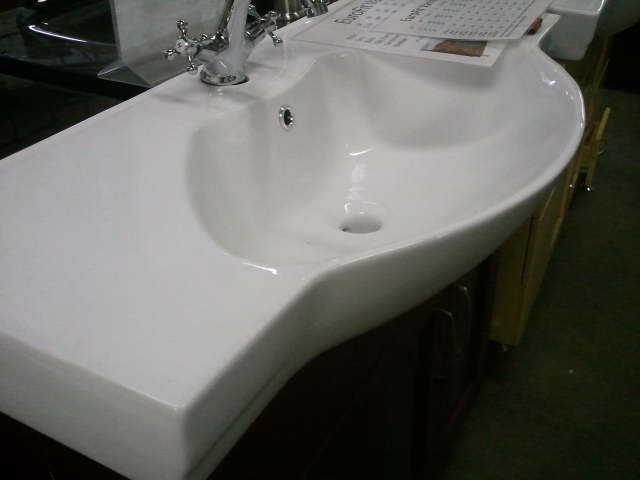
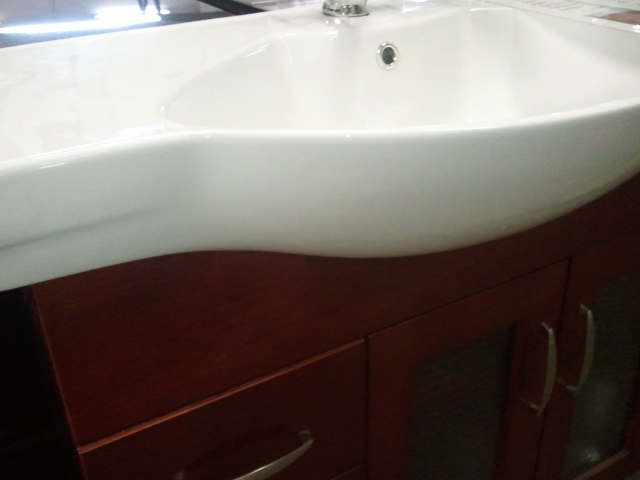
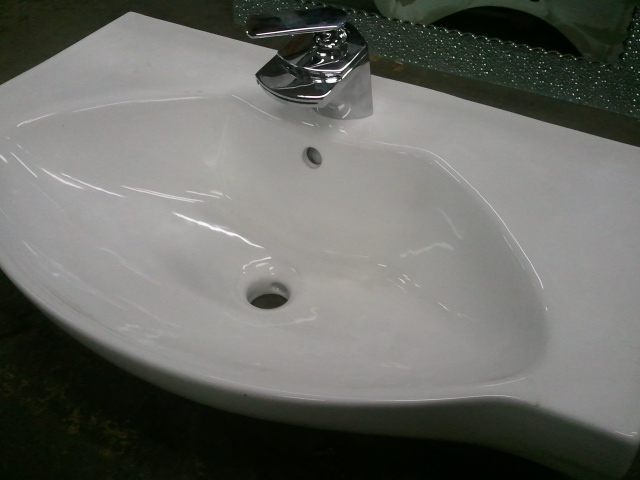
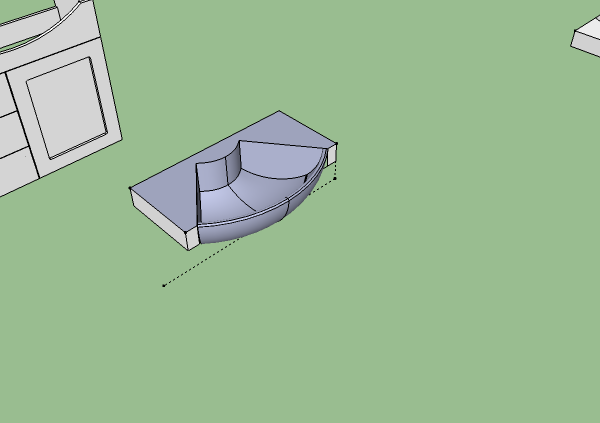
I'm new here. Looking to see if I can get any advice on how to make this shape. I've included some pictures of the real thing as well as where I am with my approach. Any advice would be appreciated.
Thanks
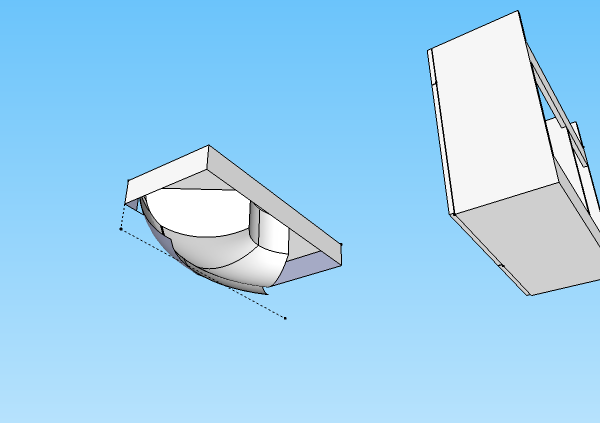
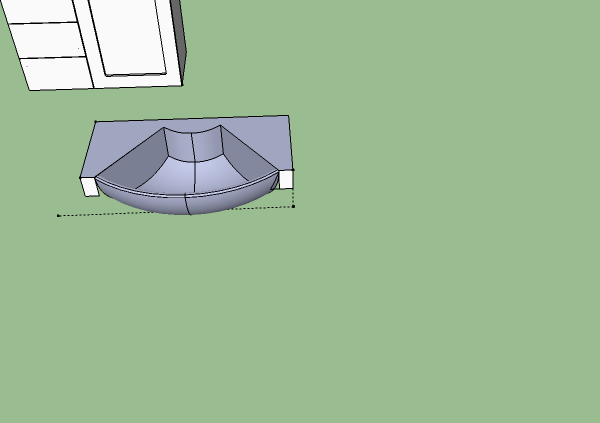
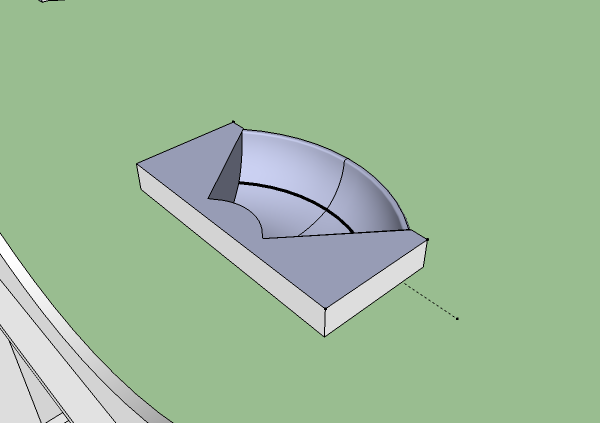
-
Have not tried but some suggestions:
Add radii at the corners of your top profile;
It looks like from photos the basin profiles are non symmetrical. Try drawing a cross section, you only need to model 1/2 then when done use the scale tool to mirror.
Check out TIG's extrude zip set and see if extrude by rails well give the result you want. http://forums.sketchucation.com/viewtopic.php?t=25362 -
hi,
why don't you post a .skp [just the basin] and people might try some different approaches...
I think you could get the basic shape with scaling and dissecting spheres or there's a lots of plugins...
john
-
myshtern
The jpgs do not provide enough info to model, at least for me.Have you checked the sink supplier? Some manufactures will have cad ,or even skp if you are lucky, files of their design which you can use. If not ,do you have other jgs that give more info.? I am looking for a better plan view and / or some thing with more 90 deg edges for ref.
-
Have you take a look here? There are more 3 350 models

Else Artisan is the perfect tool for that

[flash=425,349:1p5it933]http://www.youtube.com/v/HrjWHZw__3g[/flash:1p5it933] -
Attempted to find edges without much joy
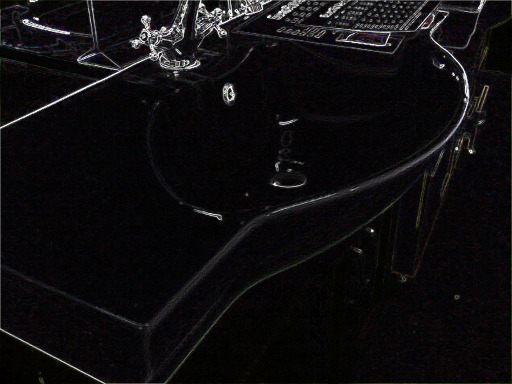
So when all else fails guess
As noted there is not enough info in your picts I can model maybe someone else can.
This feeblle attempt
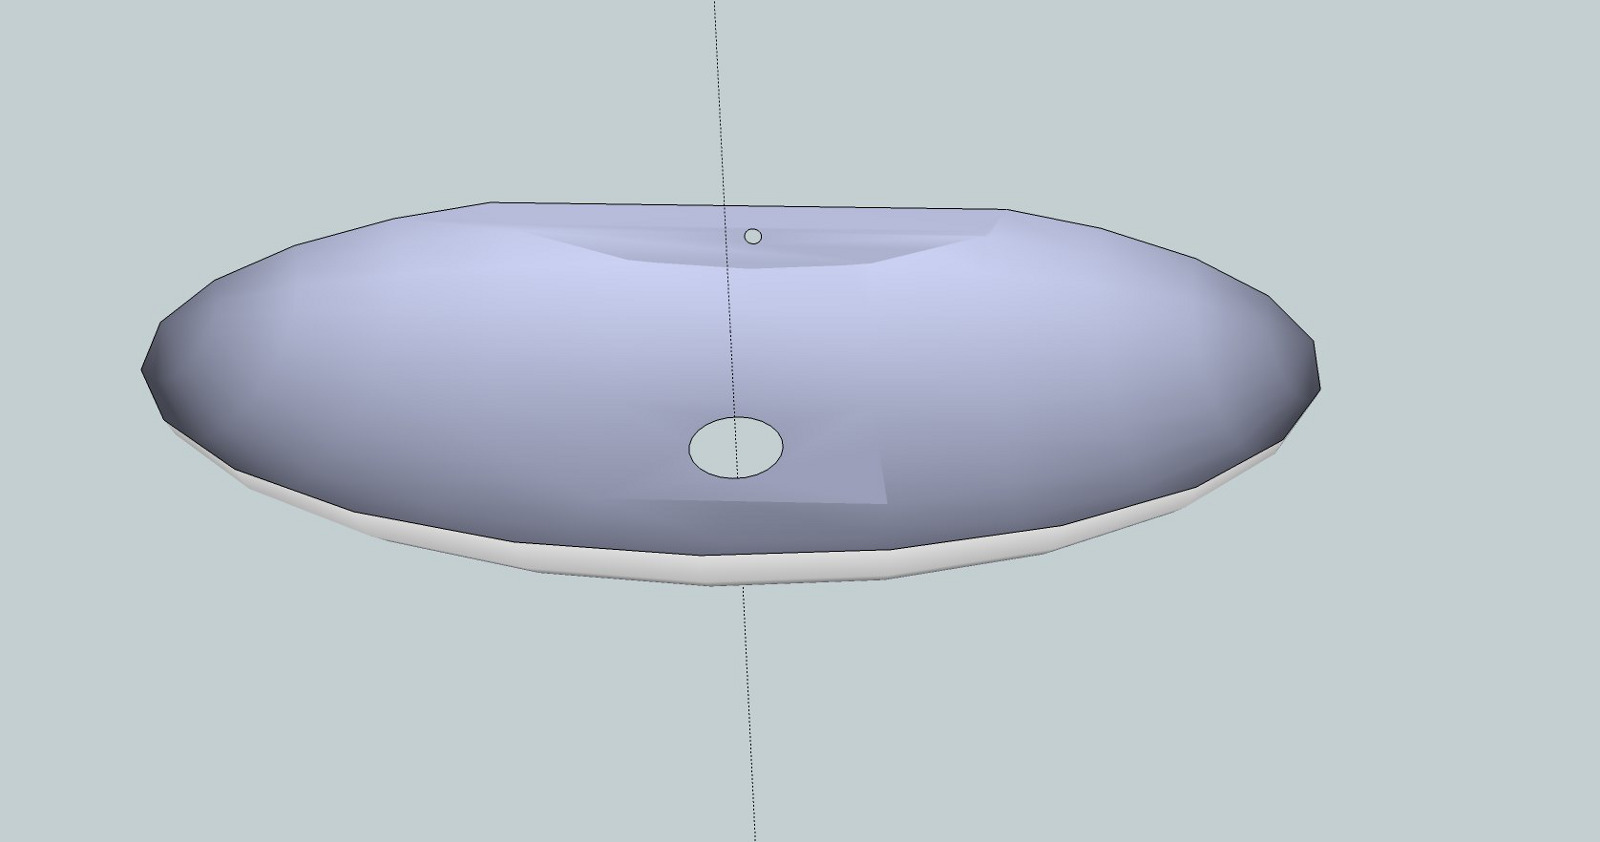
was made by creating an ellipse and then using Tig's extrude by rail plugin twice for the bowl. There are many questions about the bowls actual profile so you need to get more info. I was lazy with the drain and over flows and just used a cutting plane to get the flat surface. Maybe it gives you some ideas -
I'm surprised that nobody have pointed at your bacwards faces yet

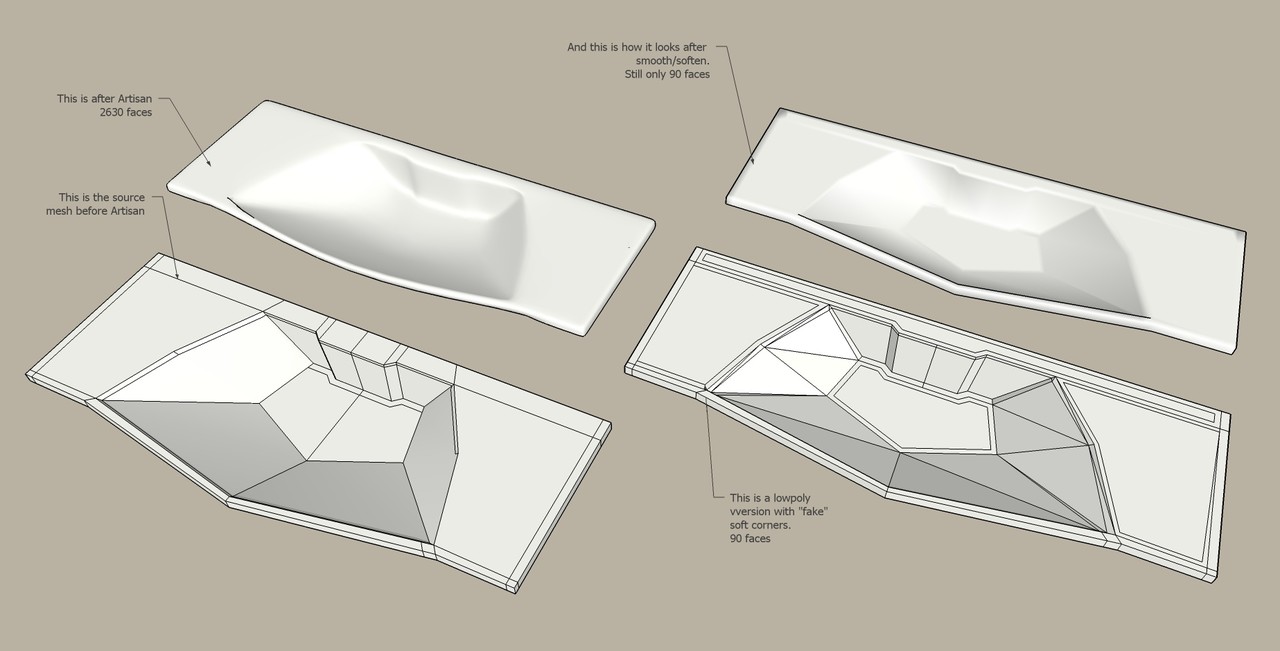
You should try to kkep all those blue faces (back sides) facing backwards (Reverse face(s) in context menu)Here are two possible ways to model such wash basins, one highpoly with Artisan, and one lowpoly (only 90 faces here).
In both cases you model a coarse, blocky version.
For the low poly version I'm using an old trick to get soft edges. Instead of smoothing the edge with a bevel or rounded edge I just add a coplanar edge on both sides of the edge, using COntour (if possible). The corner may still be 90 degrees, but with heavy smoothing (more than 90 degrees) it still may look very soft at a distance.
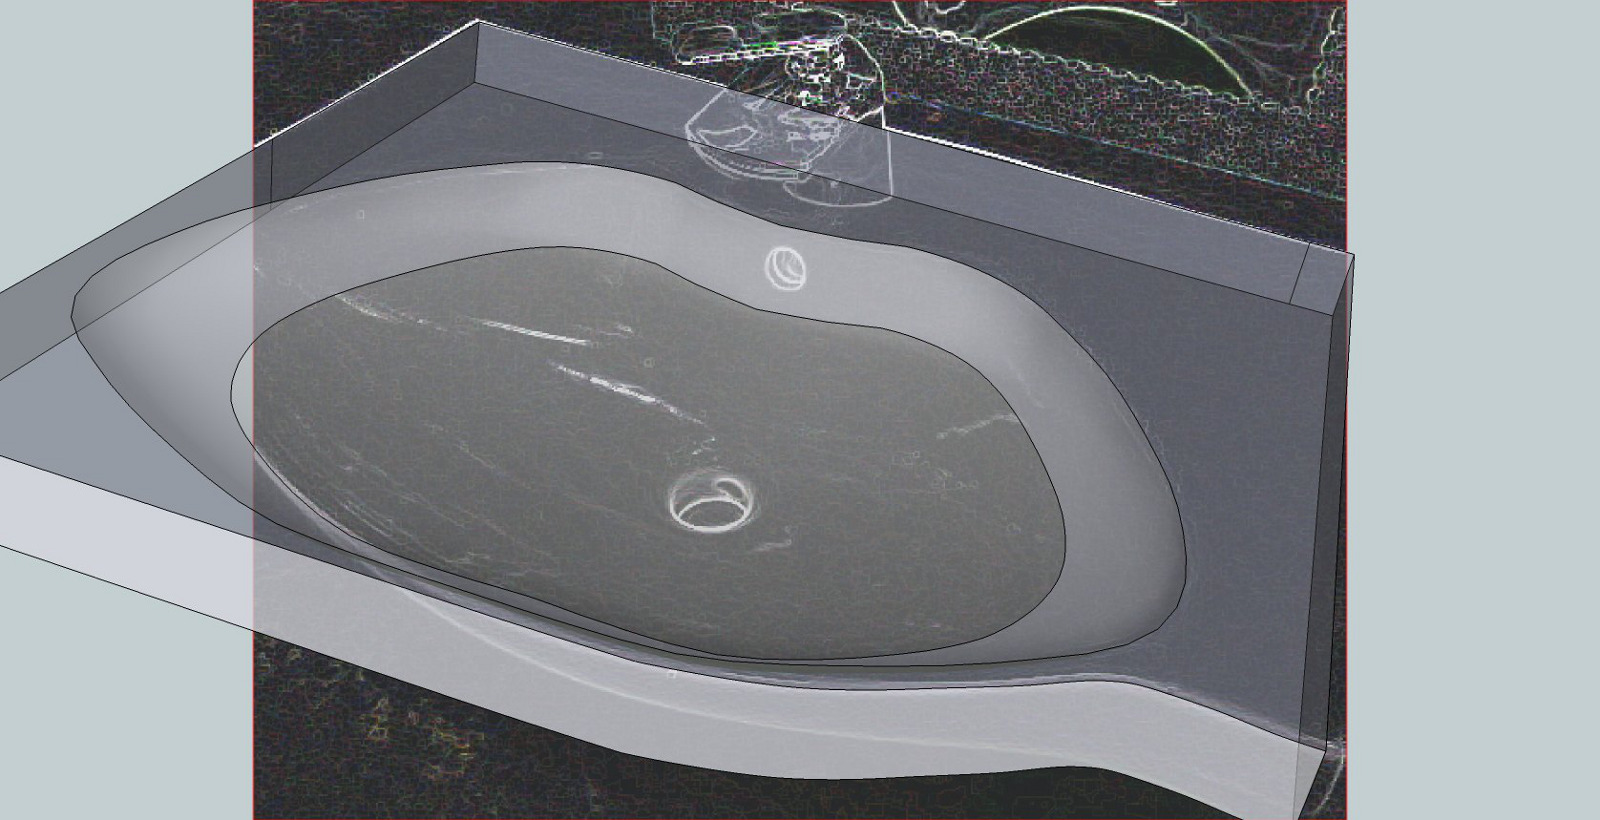
The bottom of the basin has an inset contour that is too close, which makes it look more flat than it should?Curviloft from Fredo and TIGs Extrude Edges tools would also be good tools for this wash basin. And so would Amorph from Tgi3D.
-
I worry important problems fist

Myshtern
Here is the skp model warts and all http://sketchup.google.com/3dwarehouse/details?mid=2b987ce710e4b89fbae97082232979f
As I noted above there are many unknowns you will have to determine such as sink bowl profile, its size and the exact location of drain and over flows. Note in many sinks the drain is near the back edge and the hole profile is some what conical vs circular to allow sealing when it is drawn down from the bottom and on bottom there is a cylindrical protion for the drain tail pipe seals and nuts to seat against. TIG's extrude tool was used to create the bowl on my guess of the profile. Several things you should do: 1) Draw a portion of the top profile and use the mirror tool so you make errors in marking the edges points from the PIC the same so mirroring in subsequent steps does not cause " mismatches"; 2) Try and keep the segs counts in the curves non prime numbers or you will get a lots of faces to deal with; 3) Model only a portion and then mirror. Check Fredo's tool rounded edges to put radius on bowl.
Good Luck all the suggestions I have -
That does seem to be quite a complex shape. I'm not sure that simply blocking-out the general shape then throwing some plugin at it is going to work.
I think my approach would be to mark out the top of the basin, then use the offset tool to mark out the next level downwards. Then select the central offset and move it downwards, forcing autofolding.
Once you've established this lower level...maybe 4 or 5 cm down...you can then adjust the position and scaling. Obviously, it will need to be moved backwards, as the rear of the sink drops nearly vertically, whilst the front slopes quite a bit.
Repeat this another 3 or 4 times, adjusting the different 'contours' each time, using Move and Scale, until you're happy with the slope.
If you have Subdivide and Smooth, you could now use this to get a higher poly, smoother effect. Finally finish off the base and plughole, which ought to be fairly easy in comparison.Actually, the first offset/move ought to be just a couple of mm....so that you get a rounded effect at the top of the sink.
-
See what Alan means by this offset/scaling technique below. Here there is no offset but Ctrl+PushPull but the basic idea is the same; you create a series of connected contour lines which you can easily adjust with the Scale tool.
[flash=640,460:2evsvnvv]http://www.youtube.com/v/QO_D3ltOilk[/flash:2evsvnvv]
Advertisement


