Help creating a texture map - Resolved, but could be better
-
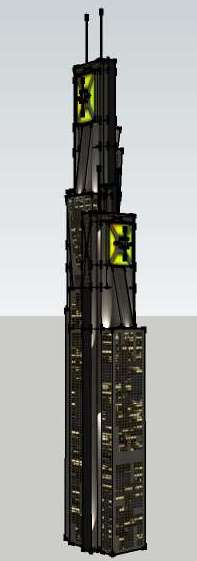
Ok, I'm kinda new at this, but I'll do my best to explain what I'm trying to do...is it possible to create a texture map from a Sketchup model? Here is an example of what I'm trying to do...

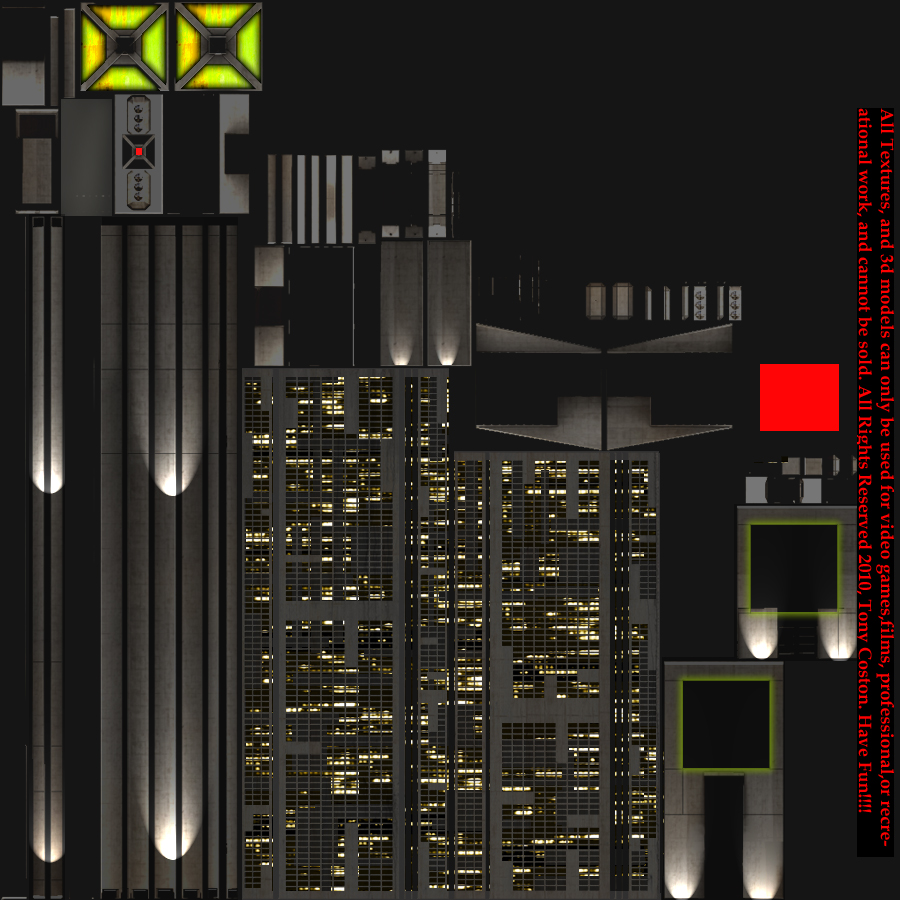
Here is the Texture map like I want to make...

So, if I made a building in SU and used 10 or 20 different image textures, is there a way to create one texture map from all of them?
-
If you "unfold" the building so that it's faces are placed on a coplanar plane, yes.
-
...for which I believe there's a ruby script. Never used it but I'd guess it's called "unfold"

-Brodie
-
Thanks fellas...Jim Foltz did make an "Unfold" plugin - its here: http://sketchuptips.blogspot.com/2007/08/plugin-unfoldrb.html
-
And can you unfold the model (preserving texture coordinates) with it? If you can unfold (i.e. all the faces are coplanar) and the texture is still on the faces properly mapped you can use this method to combine all textures into one image.
Of course, SU will "add" some white spaces where it needs to be added to make the texture rectangular (image files are rectangular no matter what shape they are mapped on)
-
You're a smart fellow, Gai
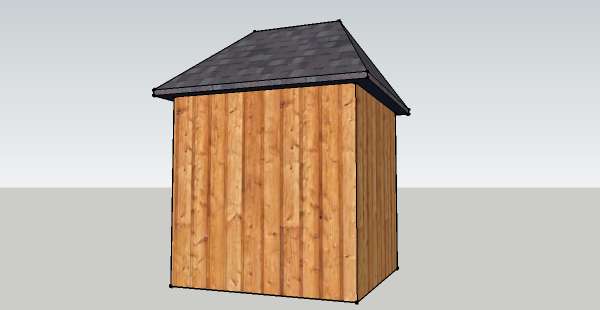
 It worked like a charm! I just used a small model I had made for testing a Collada export. The process would be harder with a more complicated model where the unfolded parts would overlap, but it could still be done in separate pieces.
Here are the steps to make a UV/texture map(they are the same thing, right?):
- Copy the model(so you don't have to fold the original back up or in case you make a mistake)
- Unfold the model using the "Unfold" plugin listed above - starting from the top and working down worked best for me
- Select all > right click > "combine textures" > click yes to "Do you want to erase interior edges?"
- Right click > Texture > Edit Texture Image... (if you need to take it to your image editor)
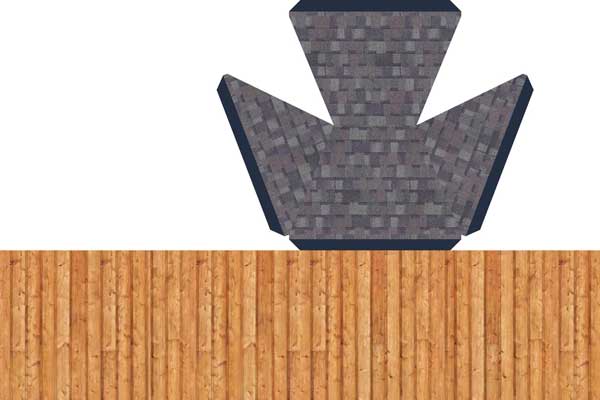
Some images:


Thanks, Gai! -
If only we got Ruby access to the methods that combines the maps - we could have a UVunwarp plugin....
dreams -
That would be the cat's meow, Thom

I found a related tutorial by "Colonel Klink", where he made each face of the model a group, then a component, made a copy of the model, unfolded the copy, made a UV map template from the unfolded model, then applied textures to the template in an image editor. From there, he took it back to SU, projected the textures onto the unfolded model, and they automatically were applied to the original unopened model. Without further ado, here is the tutorial: http://www.resentmentpublications.com/downloads/SUUVMAP.pdf
-
My current (already filed) "feature request" is that "make unique" and "combine textures" should be available on non-planar faces as well. Imagine then you should not even unfold the whole thing but select all > make unique > right click again > combine textures and be amazed by what a mess you did.

(Of course I was rather thinking about curved surfaces such as the apse of a church or something but imagination is endless)
-
In d12dozr's example above, when unfolding and combining the hut to create the UV sheet, you create a copy. This becomes a separate object and doesn't link to the materials on the original. So, the missing step is taking the new UV sheet and re-mapping it to each face of the original hut, correct?
(seems kinda obvious, but I wanted to call out this missing bit)
-


I also had this idea some weeks ago. And it proves that this is an important problem/feature request.Would it be possible with a ruby plugin instead of creating components from each face (maybe hundreds faces)?
-
@alz said:
In d12dozr's example above, when unfolding and combining the hut to create the UV sheet, you create a copy. This becomes a separate object and doesn't link to the materials on the original. So, the missing step is taking the new UV sheet and re-mapping it to each face of the original hut, correct?
(seems kinda obvious, but I wanted to call out this missing bit)
In my last post above, I give a link to a tutorial by Colonel Klink where he describes how to link materials to the original component. It works but is labor-intensive and not something you could do on a hi-poly model. Here is the link: http://www.resentmentpublications.com/downloads/SUUVMAP.pdf
Advertisement


