Timber types
-
Does anyone know where to obtain some timber samples to "colour" my Furniture Sketchups. I have only been able to find one which is full of more unusual types. When I try copying pictures of actual wood trying to get the scale right is very difficult,I seem to always get lots of tiles.
Thanks
-
The tiling thing is a problem with wood. Unless the grain is very straight, you'll get that tiling effect which looks unnatural. I have a lot of woodgrain materials but very few of them are useful for larger faces. I've found most of them by Googling the various wood types. If you Google "Wood Textures" you'll get a number of sources. You'll have to pick out the ones you can use.
Most of the woodgrain materials that I have that are any good are hand drawn. The face grain boards are drawn 8" wide by 8 feet long so I can pick out different parts for the pieces I'm painting.

-
@dave r said:
Most of the woodgrain materials that I have that are any good are hand drawn. The face grain boards are drawn 8" wide by 8 feet long so I can pick out different parts for the pieces I'm painting.
Dave,
It would be really good to have a blog entry/tutorial from you on this subject. Alternatively, perhaps you could point to something that may exist already?If you were to take decent photo of plank 8 inches by 8 feet, how would this differ from a hand drawn version (in SU terms)?
Chris
-
Hi Chris,
Thanks for the suggestion. I'll see what I can do.
You could shoot photos of planks and use those for your materials. The images don't need to be incredibly high res and it's probably better if they aren't. The challenge comes in lighting them evenly although I'm sure some of that can be corrected in an image editing application.
Unfortunately, there are a lot of existing images out there that don't work well at all. Here's an example of a photo of a piece of wood to illustrate the problem of lighting as well as wood grain. I didn't make the photo but the fellow who made it did it specifically to use as a material in SketchUp. He wrote, "Works well inside of sketchup...."

It probably would be alright for something small like the lid of a jewelry box but here's what you get if you import it into SketchUp and use it on a face that is longer than the material.

The more highly figured the grain, the worse the tiling will be. Burled and other highly figured grains are difficult unless you can get an image of a very large piece. Of course if you are drawing something that would be veneered with small book matched or slip matched pieces, it's not so bad to have the repeating details.
-
There is a video tutorial on the go-2-school.com website in which Mike Tadros gives a demo on how to create materials such as wood flooring, sorry cant remeber the episode number but it is one of the last ones (50 something)which may help - it does require photoshop from memory. Hope this helps
-
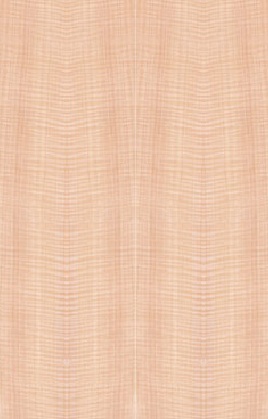
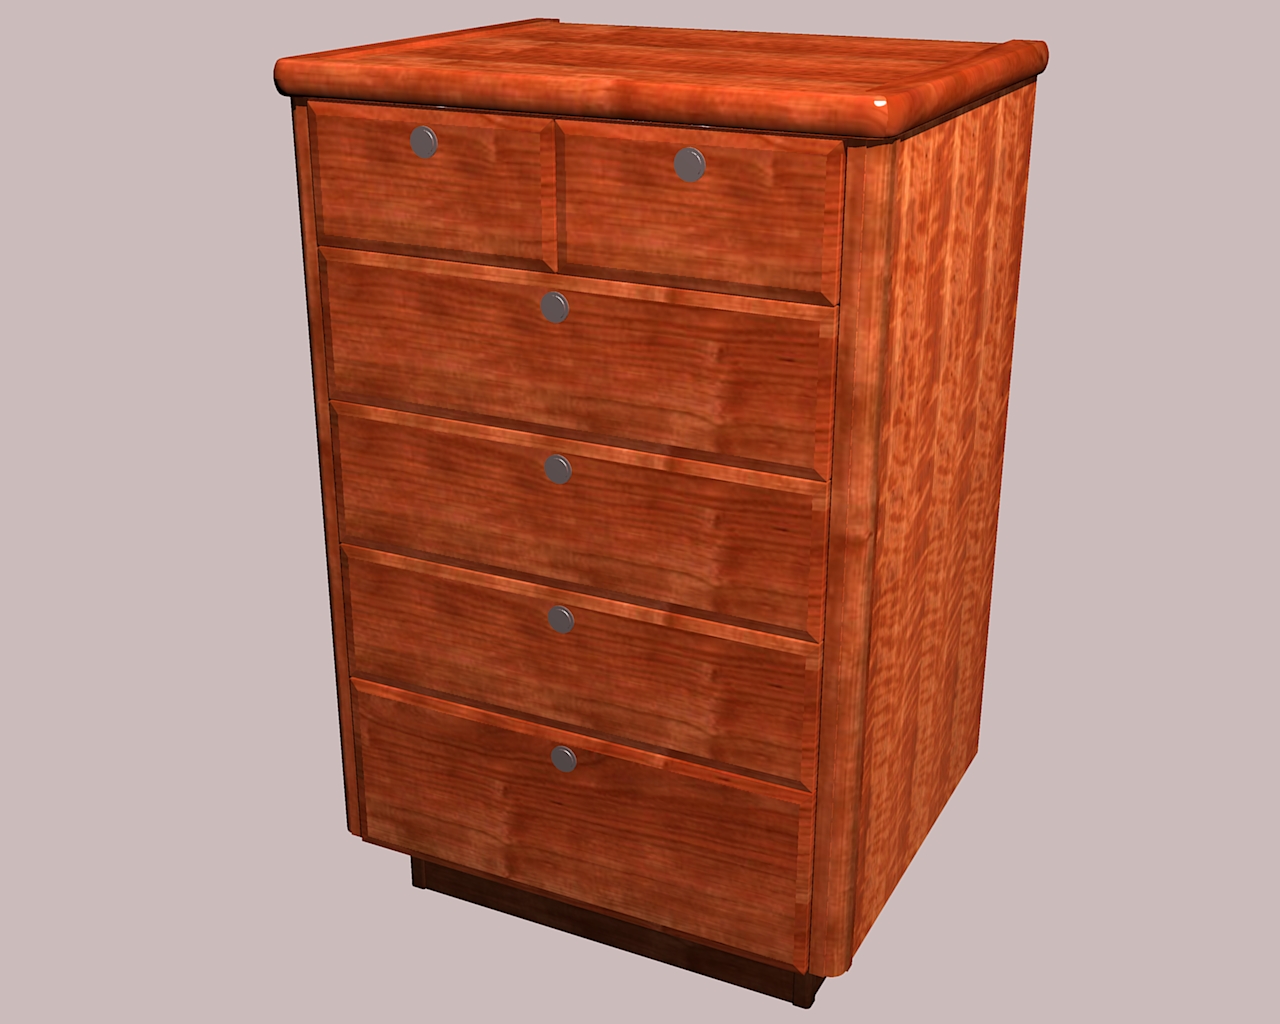
Finding wood textures that are big enough to be convincing is hard, most that you see are sample size at best. Here is my best source, and it takes some work but if you love fine wood it is fun. Go to http://www.veneeronline.com/ they are a large veneer supplier. You can look through the stock that they have on hand. It may take some poking around to find what you want. Click on "longwoods", click on a wood type. Now you should be looking at thumbnails of veneer bundles. Click on one, you should see the long pieces of veneer, click on one you like. This should bring up "the panel wizard" pick how you want the panel matched, book, slip etc. Move the green rectangle around until you are happy, on the right there are options, panel size and component width. Click build panel. If you are happy take a screen shot. You can take that into a simple image editor and adjust contrast, color, etc. Attached is a cherry cabinet render done with wood samples from here, Also there is a small Anigre panel it's about 36"
Dan


-
Dan, that looks like a great link. thank you for sharing.
-
Ditto! Thanks!

-
Again, thanks for the link to those textures.
-
Dan,
That is a terrific link - thank you for sharing it. I had been using the hobbithouse site for wood pics but the samples are small and so scaling/tiling issues abound - although it is an outstanding site for most other purposes requiring wood pictures. -
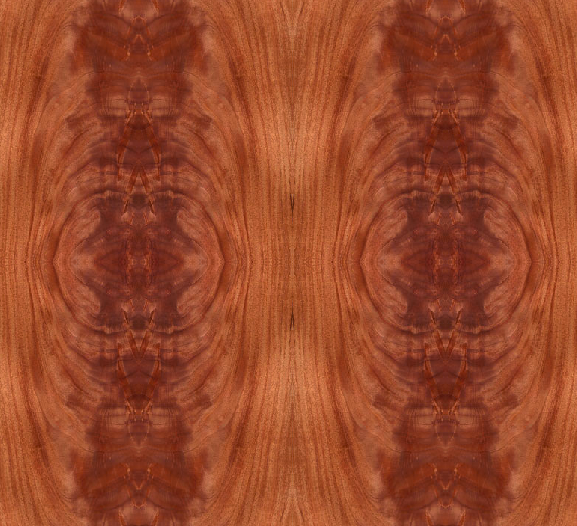
You are welcome, glad I could share this. The attached image is a book and butt matched Mahogany crotch. These, if cropped at the right places, will tile seamlessly. Just like if you have a stack of consecutive veneers to cut for a table top. If you are just book matching (most common for long pieces) you only need to crop out a book matched pair. With book and butt you need two wide and two long.
Dan

-
All I've been able to manage is this, which uses a jpeg of some burr elm veneer which I used on a credenza I made. I did use a plugin by Chris Fuller via this site to fill in every area at one stroke wich is very handy
 but as you can see to loose the tile effect made the burr really big! but I'll keep looking and experimenting.
The finished items alway look better than the sketchup's IMHO

Thanks for taking the time to help

-
A link for some more unusual veneers, go though all the available pages at the left!
-
@bloonose said:
...but as you can see to loose the tile effect made the burr really big!
Unfortunately, even with the material scaled up, the effect is still there. As I said before, highly figured grains don't work so well because at some point the image will repeat. You need to find images of larger pieces of wood. It would be nice to be able to get good images of both faces of all the boards in a tree along with the ends and edges. That would really give you a great deal of flexibility.
The link you posted is interesting. It's too bad the samples aren't lit better and aren't longer.
-
Dave I agree with you on the problem of repeating grain patterns, for most wood you need long samples for them to look natural. And for them to look good each texture needs to be carefully mapped to the component. Unless you are using veneer they need to be from different boards or at least different parts of a board. If you look at the drawer faces on the Cherry cabinet in my previous post you will see what a quick and dirty job I did on that. If they were veneer they should match and if solid should not, they do neither really. The exceptions would be burls and crotches. These are normally not very big to start with and are commonly booked and butted. On the top of the credenza, if I was building it, I would use 2 wide book matched and at least 6 long, and more likely 4 wide by 8 long. This makes for small pieces, but with much burl you would be lucky to get 10" x 14" usable pieces anyway. When done it should look fairly convincing.
Here is another site that has some decent samples of panels that are about 4' long, the actual images are about 700 pixels long. http://www.oakwoodveneer.com/index.html
Look under samples. They are big enough to be useful but not perfect.
Dan -
Incredible woodtextures can be found at Arroway textures
http://www.arroway-textures.com/en/products/wood-1/contentsI use these myself and I would not like anything larger for a texture really. Have a look at the other wood textures as well and the user gallery. I think this is the best and worth it.
yesterday I made this table with it
http://homepage.mac.com/fillieverhoeven/leaves/large-3.htmlI am not advertising I hope, I am just a customer who loves to share his joy about something great,
Francois -
The free versions of the Arroway textures are good for a lot of furniture sized items.
-
I agree, especially if the textures are just used within Sketchup. If you want to render in close up you might need the bigger ones.
Francois -
-
If you're doing fancy veneering, good luck!
This article will show you how to turn "Wood_Cherry_Original" into a variety of lighter and darker woods that work for models. http://www.MartinRinehart.com/models/tutorial/tutorial_ww_tip_01.html
If your goal is a beautiful model, this isn't enough. If your goal is a beautiful finished piece, the model doesn't have to have perfect grains.
Advertisement


