Help with how to cut multiple openings
-
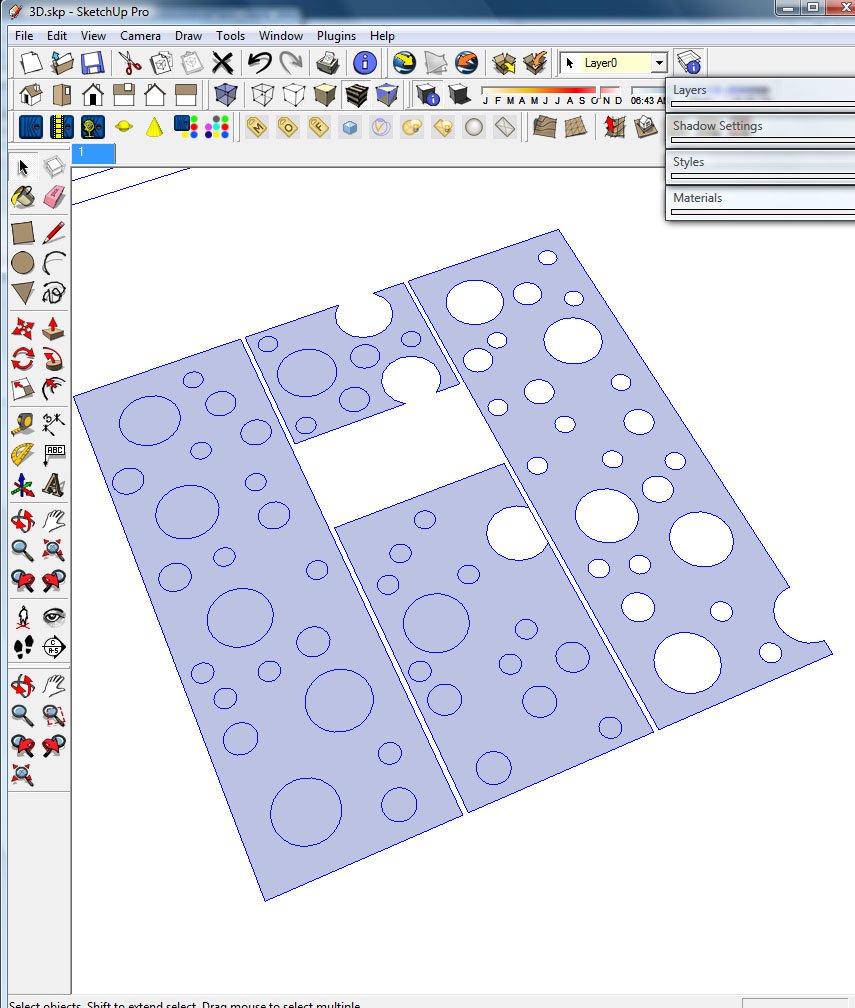
Hello forum, I'm looking for a simple way to do this. See attached picture.
I have many planes that show these random circles that I need to delete so I can extrude the plane with the openings. It's very tedious to go to each circle and draw a line to separate it from the plane to be deleted.
Is there an easier and faster solution? Is there a plug in out there that allows me to delete each circle without cutting them individually?
Thanks

-
I don't very well understand (wanted example of image result) but exist a plug who select "only" circles
Maybe Selection_manager.rb by Matt666 -
In Version 7, the circles should be automatically intersecting with the face, in which case you should be able to just select and delete the circles, and then pushpull the remaining face.
If you are using version 6, you can use Intersect with Selected by fist selecting everything, and use right-click Intersect > Selected. Then you should be able to delete the circles and Pushpull.
Edit - I just checked V6 and it also separates the circle faces from the rectangle face. Now I'm curious under what circumstances the circles to do intersect?
I guess if the rectangle was not planar?
-
Use a multiple select (Select tool, holding shift down, click each circle). Then tap the Delete key.
-
I'm using version 6. Thanks, for the multiple select comments. That works... never thought of it. Thanks.
-
Click on the surrounding plane, select bounding edges and make a group. Then erase the rest and explode the group again.
-
Hi CurryPork, hi folks.
Try this procedure:
1 - Choose the Select Tool.
2 - Select all.
3 - Press the SHIFT key to be able to Add/Delete to the selection.
4 - While still keeping the SHIFT key down, double click on the surface between the shapes that will become holes. All this surface and its bounding perimeter and, of course, the perimeters of the shapes defining the holes will be deselected, leaving only the inside of the shapes in the selection.
5 - Press the Delete key to delete the selection. This will open all the holes giving you the required perforated plate.
6 - You may then pull or push as required to give thickness to this perforated plate.
Just ideas.
-
Sorry I might be late on catching the thread, but how about this two-step process?
- with the Select tool, double-click on the 'field-area' - the portion of surface outside of the circles.
- with the Move/Copy tool, displace a copy of the field to another location.
Hope this helps.
Cheers,
. Diego .
Advertisement


