Cutting angles into the edges of a complex curved shape
-
Hello everyone, I've been teaching myself sketchup for a couple of months now. Have been snapping up every tutorial and video I can to help get myself on my "sketchyfeet".
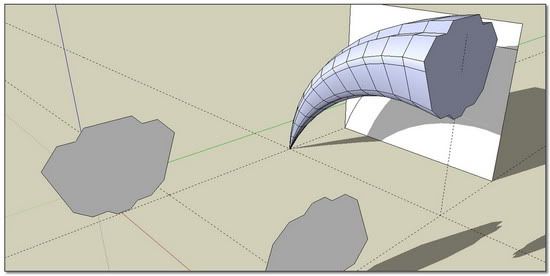
I've been trying to create a complex curved shape somewhat similar to a horn perhaps, but this is a machined shape instead of the natural curves of the horn. I want to carve angled egdes out of the corners and havn't been able to figure this out.
Both my first and second attempts were created by cutting arcs into a block. Then using the push-pull tool to get the desired stepped edges I wanted. Then I used the move tool to pull the tail section together into a near point. Now, I want to cut an angle across the sharp corner edge at the large beginning and draw that angle through the shape to the pointed end...as tho I were slicing it off with a knife.
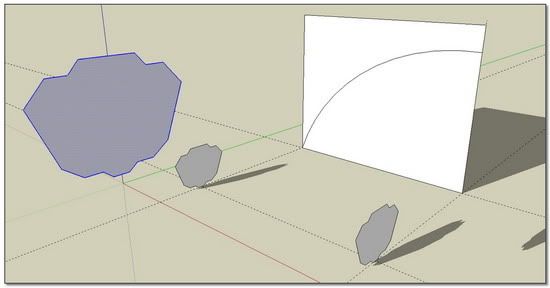
I've drawn a flat shape near the front of the object with the desired profile that I'm looking for.
I've also tried the follow me tool.... but, that doesn't allow me to go from a large, complex shape down to a small, simple rectangle shape.
Or... can it...?
Outersketcher
-
There's probably a much more elegant solution than the one i'm going to suggest, bu here goes.
If you use the folow me tool along an arc with the profile you showed us in the pic, then turn on hidden geometry (view->hidden geometry), then use the scale tool to scale the individual cross sections of the shape.
sorry if thats not very clear, just ask if you want em to explain anything.
-
Hi Outersketcher, hi folks.
Draw your cross section, as shown in your picture.
Pull it to required length (the developped length along the curve).
Scale one end down symmetrically about the center using any of the corner handles.
Cut the model along its length with equaly spaced cuting planes.
Delete the planes.
Bend the result along the curve.
See my tutorial on "How to make a horn" in the Modeling section.
Just ideas.
-
For this kind of shape I have a variant on Jean's approach that works simply and well.
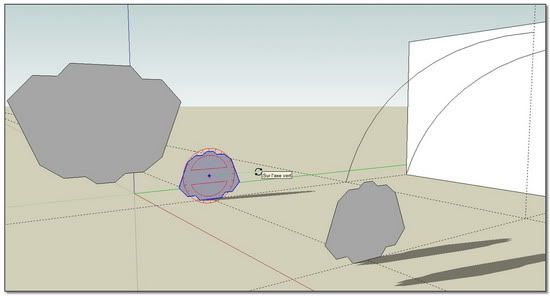
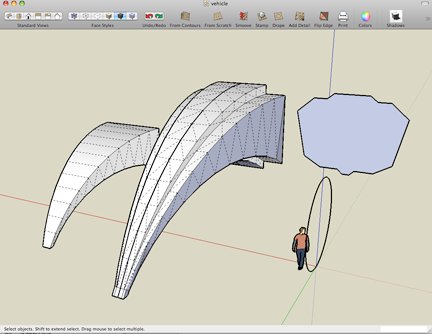
Create your profile shape, and group it with a mirror image. This double profile can then easily be centred on the spine shape and center scaled to size (you could also rotate if needed). See the first image. Then it's simple to remove the duplicates and the area to leave a skeleton that can be skinned either by hand or with the skin ruby script.
Bob
PS I was trying to make a tut but SketchUp locked up so all I've got left tonight is one frame.
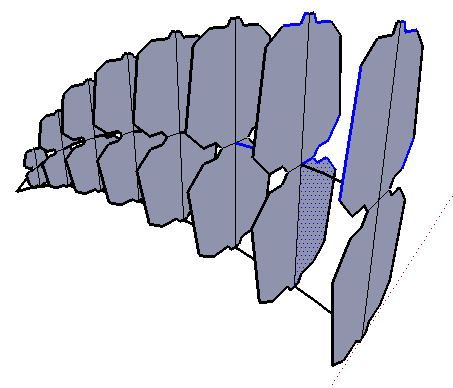
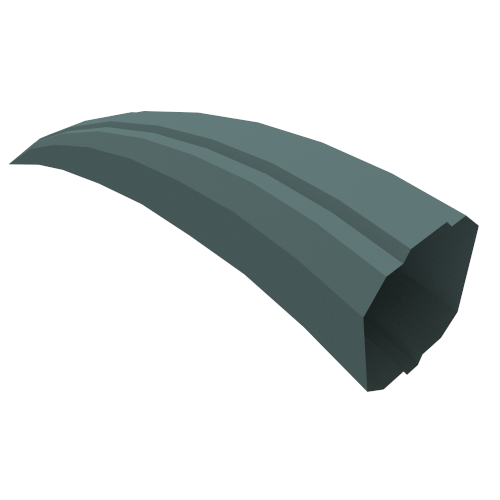
-
wow.... this is great! I already have more questions, but I want to make sure that I can ask smart ones. So I'm going to take a couple of days to do my homework and explore your suggestions. The tutorial was great! Tho I don't really understand why you would need to double the shape. I'm off to learn some about skinning and ruby scripts. I am using the unfold tool. So, I have some understanding of how to get the ruby's running at least.

Well, okay I have to ask this one little question... If I wanted to start with one shape on one end of the follow me line and end with a completely different shape... lets say a circle to a square, or a triangle to a an oval... can sketchup do that? (in my case, I plan to take that large shape that I already have down into a simple rectangle) It looks like it could be done manually by literally grabbing the vector points of the shapes and pulling them to position. But, boy that could get tedious.. I guess, I'm wondering out loud if there is a piece of ruby script that can do that? This isn't for a project or anything. I'm just curious as to how it would be done.
I'll post the results of my efforts in a couple days after studying your suggestions.
Thanks for your generousity.
David
-
Hi David,
You can experiment with Skin.rb to stitch non uniform shapes (planes) together.
Niote that the plugin is somewhat still in a WIP stage though.
-
@unknownuser said:
Tho I don't really understand why you would need to double the shape.
The only reason for doubling the shape is that it gives you a 'center point' to scale around. The scale tool lets you do a uniform scale (the same in both x & y directions) about the 'center' - using the control button; or one of the corner points of the bounding box.
When you want to copy and scale along a path then it's important to have some kind of constant relationship between the shapes and the path. For example, with circles you can mark and put the center of each circle on the path, with a square you can use the center, or one of the corners.
However if your shape isn't a circle or a regular polygon then it isn't easy to find the center; and if the corners of the shape aren't at the corners of the bounding box then you can't use those easily for scaling because the relationship between the shape and the path changes as you scale.
This is really hard to describe . . . see if the tutorial does it better.
Bob
-
-
That's a neat approach
 I hadn't seen that before.
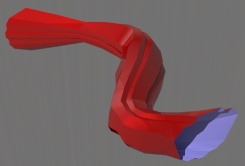
I keep playing with the doubling approach because it seems to work when the shapes and curves are irregular. Like scaling plus rotation along a bezier curve - just weird.
Bob
-
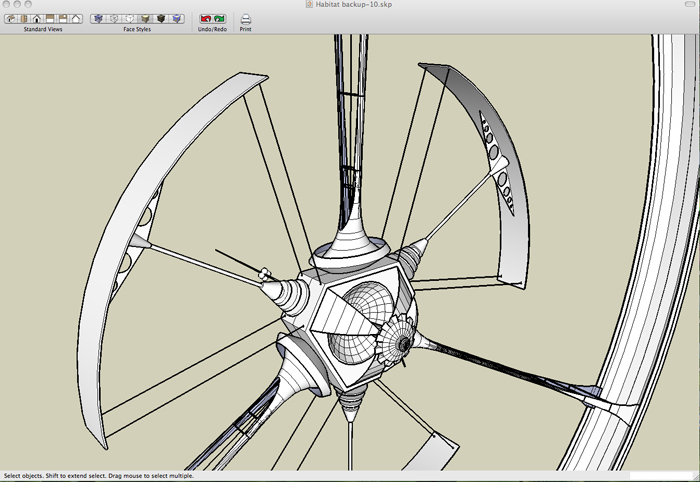
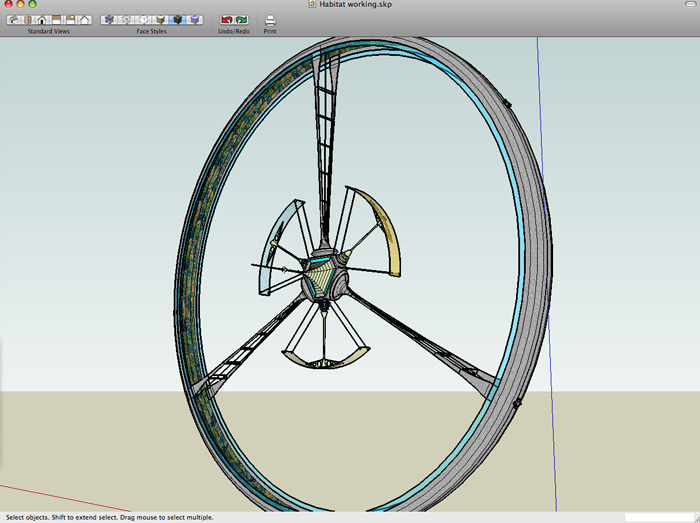
Well, I tried out the skin ruby and was able to join the surfaces of this fairly complex pillar. I can do this now thanks to your patient advice and help. Thank you.
By the way this is a model of a space habitat. Have yet to figure out how to create a space background for it yet. And it's obvious that I need to study up on how to apply textures correctly. But I'm still pleased with the model.David
-
Hi Outersketcher,
You can create a new style with a simple, black background to imitate space (make sure you set your line colour to a bit lighter than black in this case) and/or add an image as a watermark background.
Of course it is hard to work with an image background but never mind - you can have multiple styles in a model and can even set up different scenes for these different stlyes. Please, ahev a look at the attached file. There is a "Work" scene in it that you can use for - well - working in it (with the "traditional" or "close to default" style settings) and there is a "Space" scene with an image abckground and different style settings. You can easily switch between the two so you can work on your model any time and see the results in "outer space". Also, you can change (or add) the watermark image in the stlyes dialogue any time (it's just an example). Maybe the image isn't really good because teh sun is shining into our eyes...

Also note that the image size(s) will add up to your file size eventually.
Looking forward to seeing some nice results of your space habitat!

-
Oooooooh Gaieus.. that .skp file is.... well, really cool! I had no idea we could do that in sketchup. Much better then the old beige background.
Here's me off running to the manuel to learn about setting up styles...
-
hi everyone.
I have been trying to learn sketch up for a couple of months now. but I am still struggling to build a 'horn shape'. I have the extruded arc, but want a tapered end like a horn. I cant select the cross sections to reduce them by 90% etc.... help please. I need it done by monday.

-
COuld you post a pic/skp of what youve done so far?
-
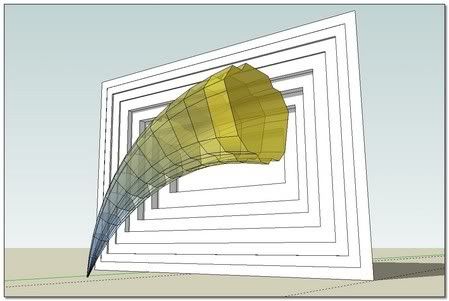
I am surprised that this type of question does not come up more often on the forums. Yet we often need these kind of shapes whose section is in arithmetic progression along a path.
And the least we can say is that SketchUp is quite disarming to address this problem! Take a look at the excellent solutions from GreyHead and VoderVocoder to be convinced.
GreyHead:
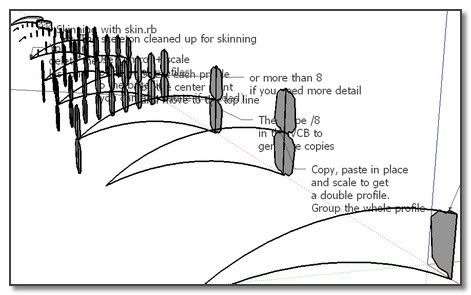
(see above for his skp(s)
VoderVocoder:
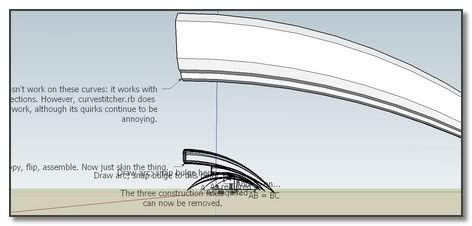
(his skp link is dead. Here is a copy: horny_VoderVocoder.skp
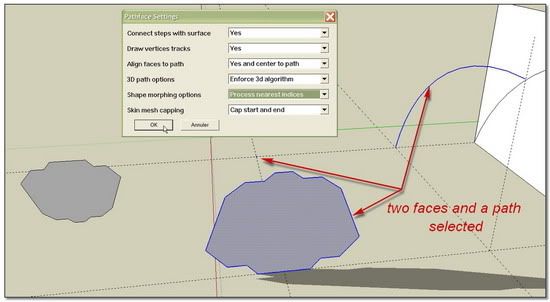
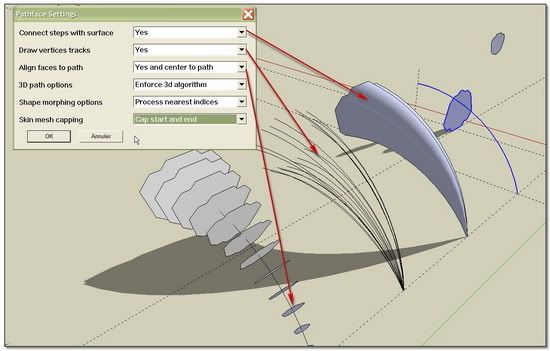
I come back on this now outdated thread to reactivate its interest, and because there is now a ruby solution. I want to speak of [Plugin] 2 Faces + Path ver. 1.4. from kirill.
A fantastic tool which needs to be studied and tamed..
I am using here just a small aspect of its power.
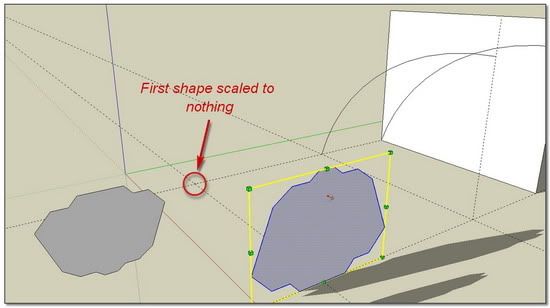
I just begin to study 2Faces+Path and I am far to understand everything. I don't know why I have to rotate my two faces to reach the goal ???
 simon
simon -
It seems somehow this excellent dialogue should be linked BOTH ways to kirill's plugin post. This being another specific use for the plugin in addition to his videos.
Just an idea. -
Hi mitcorb,
Thank you for the nice comment!
I follow your idea:
@unknownuser said:this dialogue should be linked BOTH ways to kirill's plugin post.
it is now done [Plugin] 2 Faces + Path ver. 1.4. by Kirill
Hello! It looks like you're interested in this conversation, but you don't have an account yet.
Getting fed up of having to scroll through the same posts each visit? When you register for an account, you'll always come back to exactly where you were before, and choose to be notified of new replies (either via email, or push notification). You'll also be able to save bookmarks and upvote posts to show your appreciation to other community members.
With your input, this post could be even better 💗
Register LoginAdvertisement

