sketchucation logo sketchucation
    • Login
    1. Home
    2. sonjachr
    ℹ️ Licensed Extensions | FredoBatch, ElevationProfile, FredoSketch, LayOps, MatSim and Pic2Shape will require license from Sept 1st More Info
    S
    Offline
    • Profile
    • Following 0
    • Followers 0
    • Topics 7
    • Posts 20
    • Groups 1

    sonjachr

    @sonjachr

    10
    Reputation
    1
    Profile views
    20
    Posts
    0
    Followers
    0
    Following
    Joined
    Last Online

    sonjachr Unfollow Follow
    registered-users

    Latest posts made by sonjachr

    • Extension creation code

      I have the following problem with the extension installation in Sketchup 2016:

      I use the following code to load my plugin:
      ` # Load the normal support files.
      require 'sketchup.rb'
      require 'extensions.rb'

      Create the extension.

      ext = SketchupExtension.new('pluginName', File.join('pluginFolder', 'pluginLoader.rb'))

      Attach some nice info.

      ext.creator = 'xxxxx'
      ext.version = '1.0.0'
      ext.copyright = '2016, xxxxxxxx'
      ext.description = 'xxxxxxxxxxxxxxxxxxx'

      ext.extension_path=File.join(File.dirname(FILE), "pluginFolder" )

      Register and load the extension on startup.

      Sketchup.register_extension(ext, true)`

      The Preferences/Extension Window then shows 2 entries for my plugin, one with the name of the pluginFolder and one with the pluginName. Only the entry with the pluginName shows also the plugin details.
      When I delete the ext.extension_path entry in the above code, everything seems to be OK.
      As I use the ext.extension_path in my loader file I need to fix this problem, which did not occur in previous Sketchup Versions.

      Help is very much appreciated

      posted in Developers' Forum
      S
      sonjachr
    • RE: Move group to left corner of screen

      Wow! This is awesome! It works!

      Thanks a lot.
      I almost gave up!
      Good to know, that there are real experts in this forum who are willing to help.

      Thanks again.

      posted in Developers' Forum
      S
      sonjachr
    • RE: Move group to left corner of screen

      I can ' t ask the user to triim the image by himself, before my code is going to put it as a texture onto a terrain.

      Any further ideas?

      It seems to be the last open issue in my routine, so I am very eager to get this solved.

      Thanks for your help

      posted in Developers' Forum
      S
      sonjachr
    • RE: Move group to left corner of screen

      Thanks for your help,

      • I draw a simple rectangle
        Then I tried:
      Sketchup.send_action(10519)  #Change to a non-perspective Camera.
      Sketchup.send_action("viewTop;")  #Change to a Plan view.
      Sketchup.send_action("viewZoomToSelection;") #Zoom extents of the Selection.


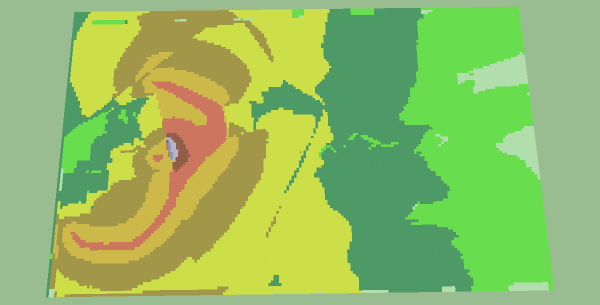
      Unfortunately I still have the annoying green borders as shown in the below Image. Can anybody try it and come back with his/her Image.

      I have no clue what is wrong.

      Help is very much appreciated


      Unbenannt.png

      posted in Developers' Forum
      S
      sonjachr
    • RE: Move group to left corner of screen

      Thanks Dan for the quick reply.
      I tried it before, but what I get is the below Image. I need an Image without the green borders at the left and at the top..


      Mer_Bie_01_interpol.png

      posted in Developers' Forum
      S
      sonjachr
    • Move group to left corner of screen

      Hallo, I need your help on above issue.

      I want to perform a view.write_image of a selected Group with coloured faces and use this Image as texture for a Terrain.

      The only way I found to apply the Image to the Terrain in a proper way, is by
      aligning the group to the left/upper side of the screen before writing the Image.

      Otherwise the Image contains uncolored portions to the left and the top of the Image.

      I tried to move the Group to the upper left Corner using the following code:

      model = Sketchup.active_model 
      @view = model.active_view 
      
      keys = { 
      	;filename => @chosen_file,
      	;width => @view.vpwidth, 
      	;height => @view.vpheight,
      	;antialias => false, 
      	;compression => 0.9, 
      	;transparent => true 
      } 
      	
      ip0=@view.inputpoint(0,0)
      ip1=@view.inputpoint(@view.vpwidth,0)
      p0=ip0.position
      p1=ip1.position
      sel= model.selection
      bbox = sel[0].bounds
      sel[0].move! [p0.x+bbox.width/2,p0.y-bbox.height/2,0]		
      view.write_image keys	
      view.invalidate


      Unfortunately this does not work reliable.

      Any better ideas? Maybe there is even a more simple solution.

      Very much appreciate your help!

      posted in Developers' Forum
      S
      sonjachr
    • RE: Apply images to terrain using ruby code

      Many Thanks,
      this works, I really appreciate your help!
      I feel ashamed as I should have found the solution by myself. I will try to work harder on my Sketchup/Ruby knowledge, but I will never become an expert as you are.

      posted in Developers' Forum
      S
      sonjachr
    • RE: Apply images to terrain using ruby code

      Thanks a lot for the quick response.

      Your code is working perfectly.

      However I've got a further problem and thus a new question. I am sure it is easy for you, but it is hard for me to get the right solution. I searched a lot in the Forum but did not find an answer to my problem.

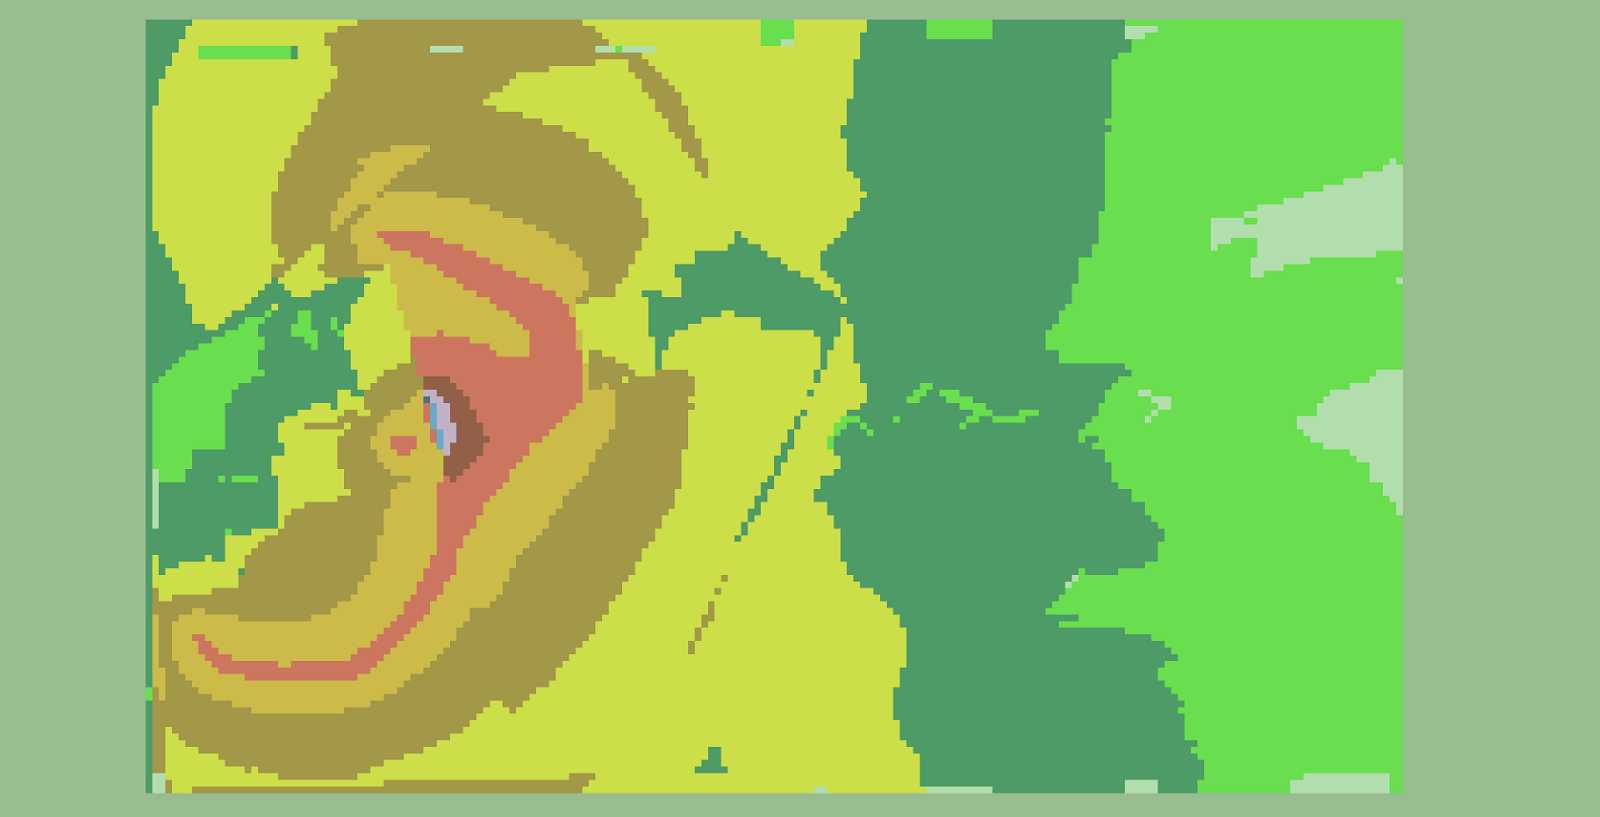
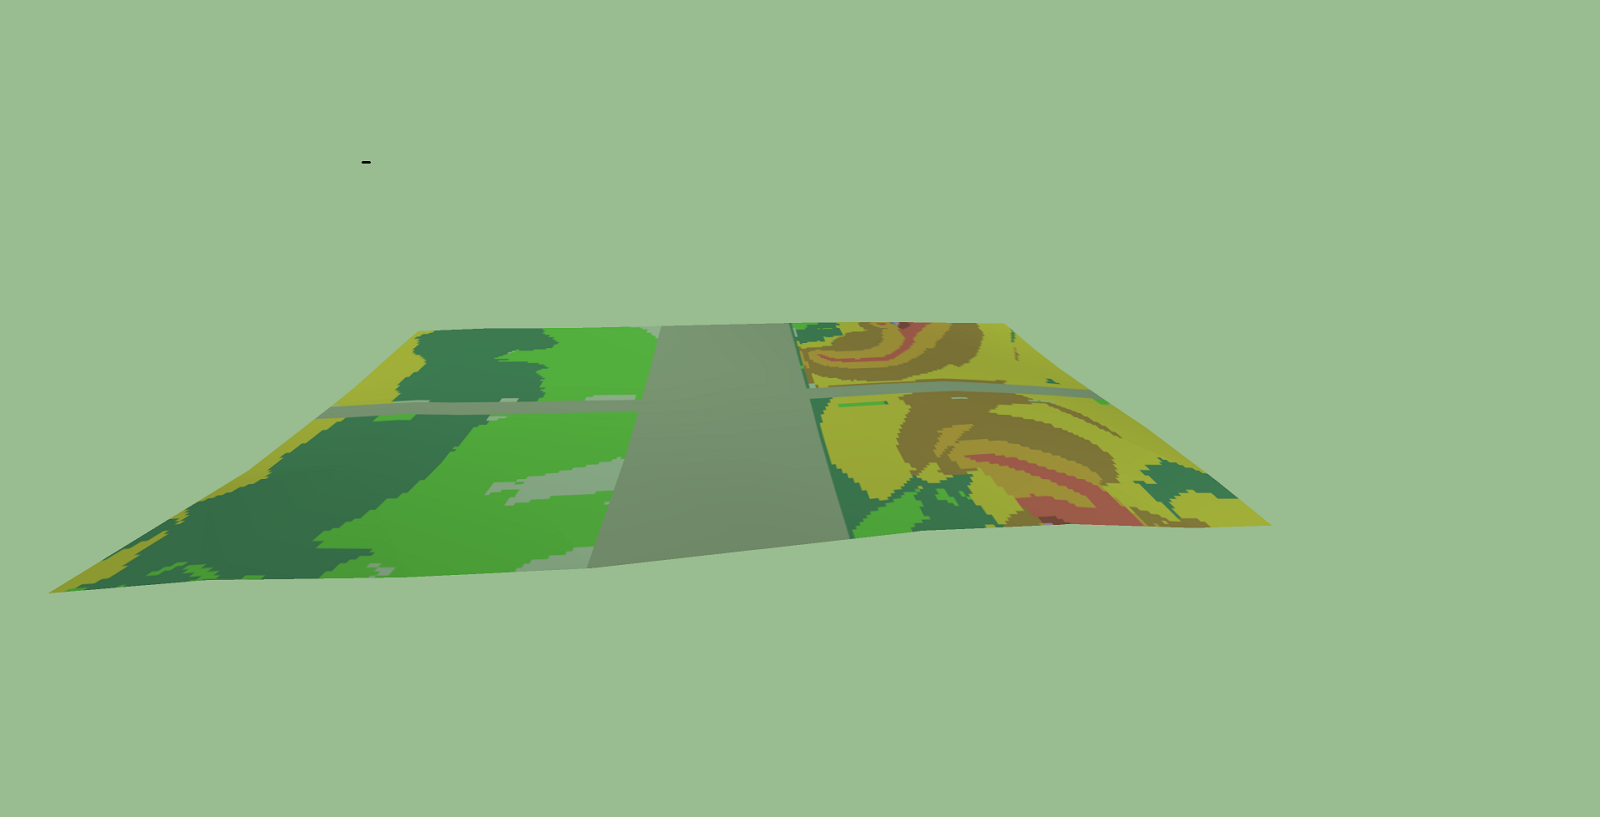
      When I load the below image and run your code to apply the image to the terrain I get what you see in the second image.
      image to be loadedTerrain with texture

      Using a different image works fine, so I guess my image export was not done correctly.
      Do you have any ideas?

      Many Thanks in advance

      posted in Developers' Forum
      S
      sonjachr
    • Apply images to terrain using ruby code

      I found the following instruction in SU documentation:

      Apply images to terrain models:

      Import an image as an object by going to file > import and leave the "use as texture" box unchecked.

      Scale and position the image over the site plan so it is properly aligned. Right click on the image and choose Explode. Using the Paint Bucket, Alt-click on the image to pick up the material, then click on any part of the terrain to project the image down onto the terrain surface.

      I almost managed to code it in ruby, but I am stuck when it comes to the Alt-click.
      My question: how can I send the Alt-click using ruby or how can I sample the image using ruby

      Help is very much appreciated

      posted in Developers' Forum
      S
      sonjachr
    • RE: Start_operation/commit_operation with sandboxTools

      Thanks Tom for your advice to contact Fredo.
      I have contacted him and he told me that he could provide an API, which could solve my problem, hopefully.

      posted in Developers' Forum
      S
      sonjachr