Really nice! If my memory is correct there are some nice examples of that high boy at the MFA in Boston. Maybe time for a road trip. If you go let me know, would love to buy you a beer or 2.
Posts
-
RE: It's a beginning
-
RE: A Pine Bench ca. 1940
Dave
At that thickness I think you will be fine. Consider thermally modified wood for exterior use. We are starting to use it and so far we are happy. Need more experience with it. There are many people selling it if you google it. Here is one vendor.
Jeffhttps://cambiawood.com/about-our-wood/thermally-modified-wood/
-
RE: A Pine Bench ca. 1940
Time less design and a fantastic model! Thanks for sharing.
What length bench and what wood are you thinking of using? I am thinking thin pine for the seat might be a bit springy to sit on. -
RE: Serpentine-front chest WIP
Great model. Are you detailing all of the internal construction elements?
-
RE: Adding and showing scribe to a component
As all my scribes are into walls or floors they do not really impact my model (they are really never seen) and I also try never to model anything out of context. I think my stuff should be drawn the way it is built. The section cut will tell the story and words are not needed. Really do not even need dashed lines.
Your example is very different. All through tenons need scribe added. Having that information in the materials list is a good place and then the model will look as it should when finished. A detail of the joint may be all that is needed.
Thanks for helping me think this through. -
Adding and showing scribe to a component
We add scribe to many things we make. Baseboard will typically have a 1/2" of scribe added, so 4" baseboard goes out at 4 1/2". counters add 1" to unfinished ends and so on. Sometime we even add feet to the length of a counter if our information for a room is incomplete. Cheaper to send it long then to remake!
Fillers are many times 6" or 12" wide to be ripped in the field as needed. These are many times just sent out even if they are not on the drawings.
My current call out on drawings is using words to denote when and where scribe is required.
I was wondering when people model is scribe considered and modeled and if so how do they model scribe?
If not in the model then layout or both?
Thanks
Jeff -
RE: Is it just me?
Working in architectural millwork we work with a lot of architect firms, some of the largest in the country. They all seem to have SketchUp, which is great as I can send them files, but almost all have no clue as to how to use the software and no desire. So that world seems to have no use for plugins. Personally I have almost all the plugins I think I need, but have new need.
I have purchased a toy CNC and I am try to decide on a workflow to get G code. Fusion 360 is free and might be an answer. So far not enjoying learning a new CAD software. Fabber seems to be a very interesting plugin and they easily integrate with VCarve.
For a hobby SKetchUp is costly. Fabber is subscription (oh joy) and VCarve is costly. Software costs alone for makers starting out can be an issue.
How about a robust and simple tool pathing plugin for G code and the or maybe built in to SketchUp like Fusion 360. -
RE: A Moxon-Style Vise
Fantastic vise!! So many useful and cool details. Oh, really nice presentation too.
Now I just changed my bike chain and cassette and still have the old chain and gears, Going to save them. -
RE: A Moxon-Style Vise
I have used "corian" for many things other than counter tops but not as a nut! Your texture should have told me what the material was. Is there a metal insert in the nut or are the threads to be cut into the "corian"? I need a small metal lathe to cut threads and turn some parts. Now to convince the wife...........
-
RE: A Moxon-Style Vise
Great drawing thanks for sharing! That is an ambitious project (drawing and fabrication) for sure. What is the inspiration for this vice or is it a copy?
-
RE: A Moxon-Style Vise
That would be a handy vice, thanks for sharing. Used some elm on a project and never again. That stuff moves way too much!
-
RE: CNC time
Right now I am starting to play with Fusion 360 as it it free and seems to like I might not out grow it to fast. I will also look closer at VCarve. Trying to keep the costs down to make sure this is a road I want to go down. We have a large commercial CNC at work and use AlphaCam (might be getting a 5 axis soon!) but putting small stuff on it is a bit of a pain and getting time on the it is lately impossible.
-
RE: CNC time
Joe
Your CNC shop takes your files and most likely modifies them then, then creates the tool paths needed to cut the parts. I was hoping to stay in sketch up to do that work and still might try some plugins
Jeff -
CNC time
I purchased a small CNC, a little desk top kit form Sain Smart. Easy to assemble, easy to upgrade, inexpensive and there is a very active and helpful on line community.
I would really like to use sketchup to model, but my quick review of the software that is compatible with sketchup to generate g code seems very limiting.
Right now I am thinking the best work flow seems to be thru fusion 360. Maybe draw in sketchup, import to fusion 360, clean up in fusion 360(?) generate g code.
Anyone gone down this path with some thoughts?My goal is to machine small parts wood and aluminum.
Thanks
Jeff -
RE: A Moxon-Style Vise
Adding a square can really speeds things up when setting up to transferring marks. That is an idea I had thought about incorporating into the vice, but I had not done it yet. The hold downs are even a better idea! Thanks to both of you for sharing the tips.
-
RE: 4 Beam Marking Gauge
Thanks Dave! Now thanks to you I need to make another Moxon vice. Thinking I might convert an acme nut into a die and Acme threaded rod into a tap for the wooden threads. Always wanted to try that and see how well it works. Also thinking about adding a register/stop in the vice cheek so the board when clamped is 90 deg to the top of the cheek.
-
RE: 4 Beam Marking Gauge
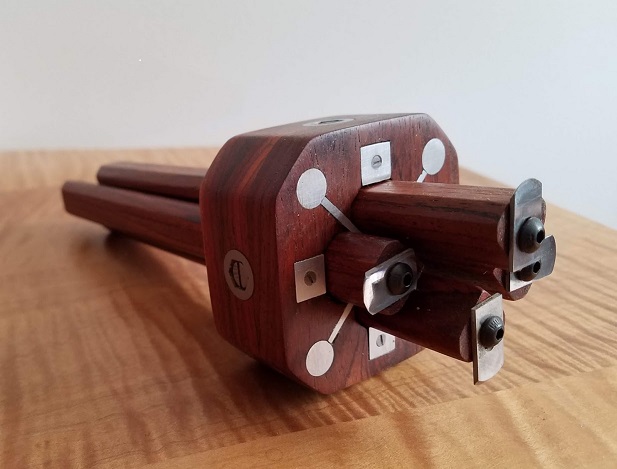
I needed to make another gauge and fix a few things. Had some cocobolo and learned the dust bothers me, so it took a bit to get it done, but I am happy with the gauge.

-
RE: 4 Beam Marking Gauge
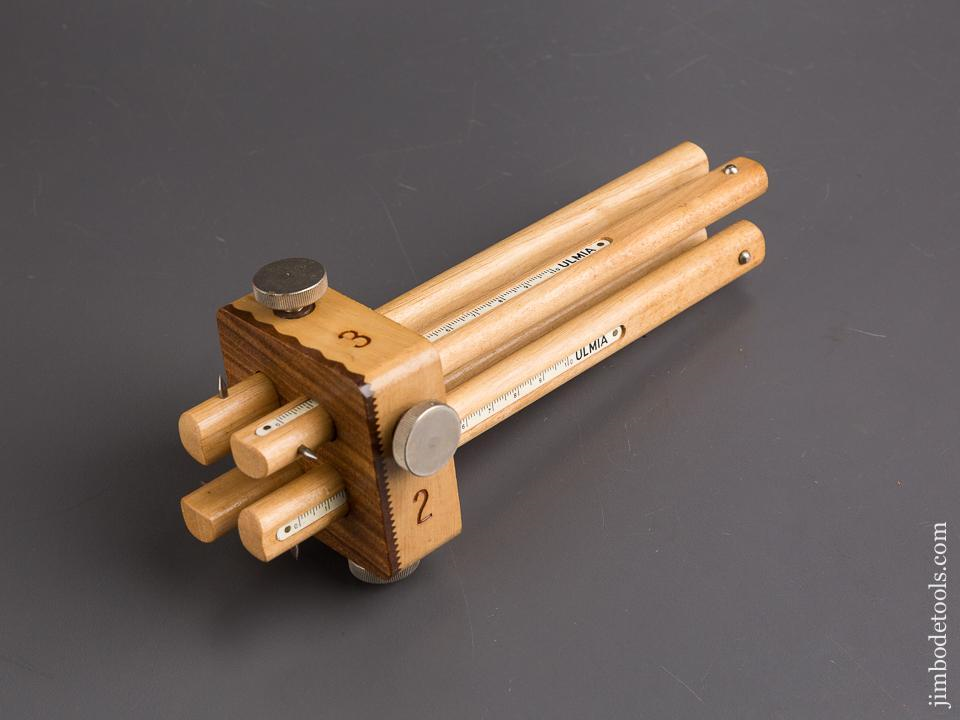
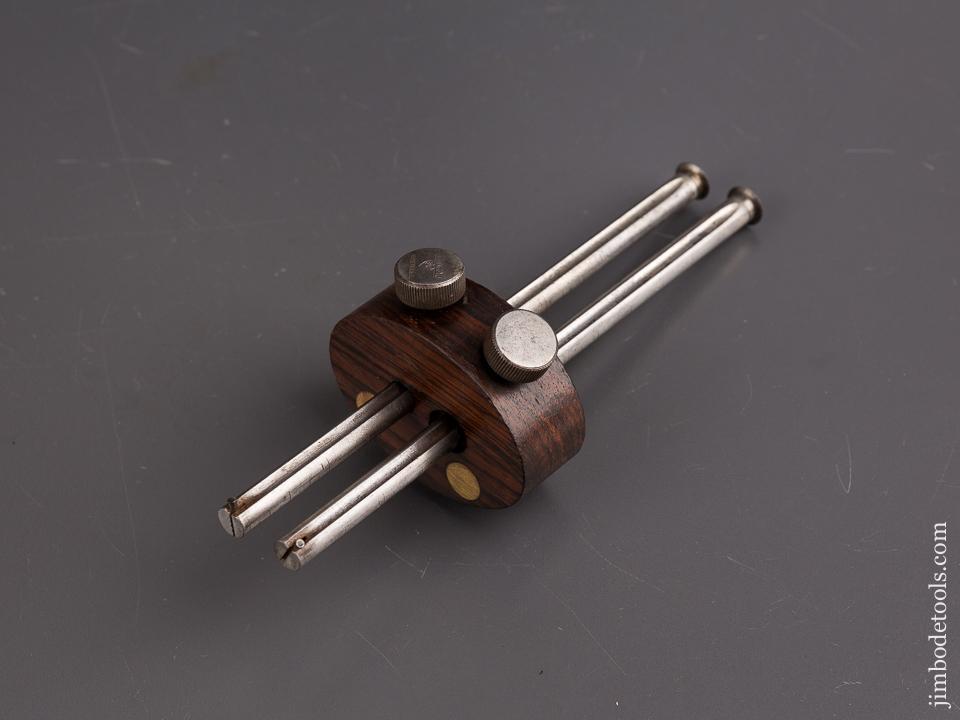
Thanks Chordwizard I hope you make one. My design is a bit time consuming so here are a couple of other options I found on the web that you might consider One by Ulmia and an old Stanley that is very nice


-
RE: 4 Beam Marking Gauge
Dave - for metal dowels in the corners I reamed the holes for a press fit with some adhesive. To form the X of the metal in the middle I joined 2 pieces of 1/16" stock to form the X and it is a loose press fit into grooves in the wood. That fit needs to be just so. I split the wood on my 1st attempt as it was too tight, 2nd attempt also!
David - I considered the inlay in the beam for the bearing surface but decided to use an "L" shaped piece for metal to spread the load and keep the beam clean. That piece of metal is held into place with the slotted screws on the bearing surface of the gauge.
Your thoughts on adding a scale or ruler to the beams?
Thanks for the complements, the only innovation I added was each beam is independently secured. It was a lot of fun to make.
Jeff