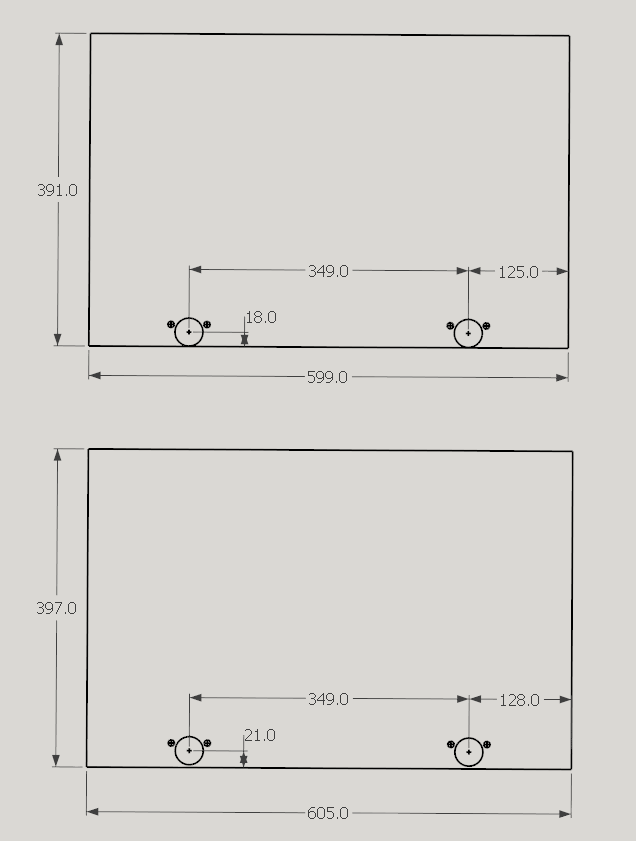
Version 3.0.107 is now available from my web site.
I have added a Bottom Overlay style. You can now sandwich the sides between bottom and top
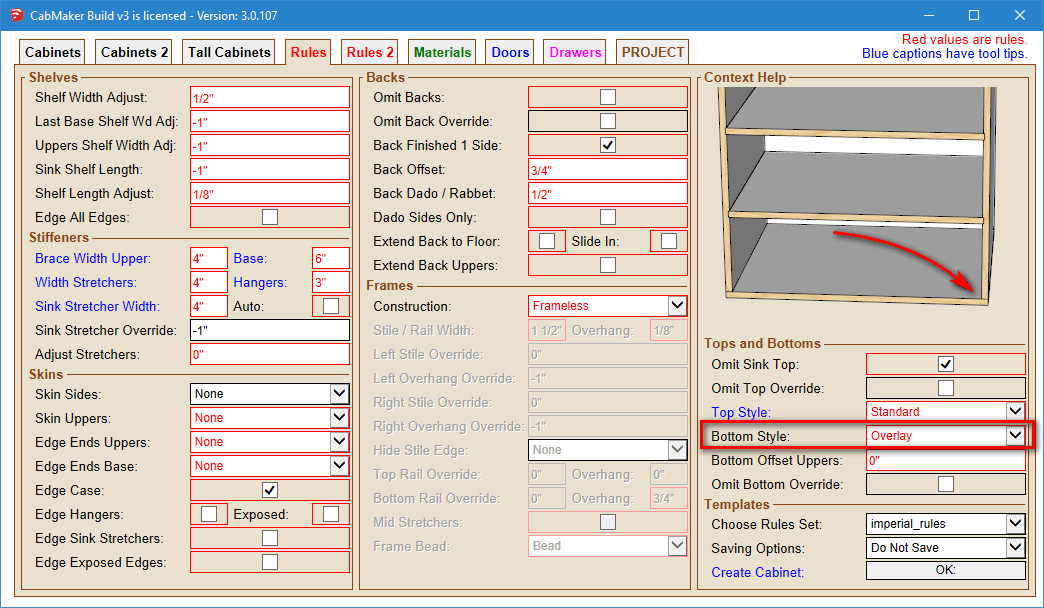
Version 3.0.107 is now available from my web site.
I have added a Bottom Overlay style. You can now sandwich the sides between bottom and top

When there is enough interest I often add feature requests.
I will add that to the list of requests.
Another request that I've had that would help you out is to provide a mechanism to add a cutout and or routed groove into any part. For instance, make a cutout in the back panel for plumbing, or make a cutout for a grommet for wiring in a side panel etc. You could then use this type of a mechanism and make a notch for the vertical rail.
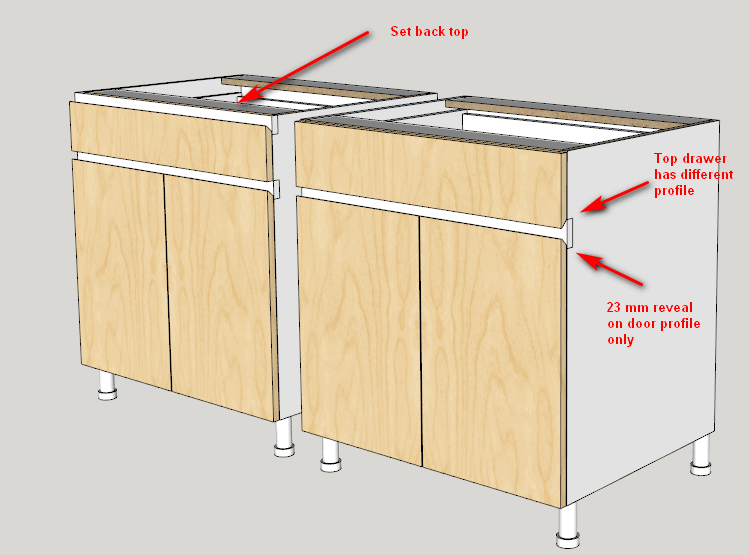
This does get complicated fast. Often you just extend the door for upper cabinets.
Base cabinets can have different handle less designs. There is also what to do with a bank of drawers. Also what to do with finished end panels (skinned). Some handle less solutions provide clips to fasten the rail for the outermost visible side and notch the rest of the cabinet sides.
Current I don't have an easy way to do all this - however I have been thinking about it.
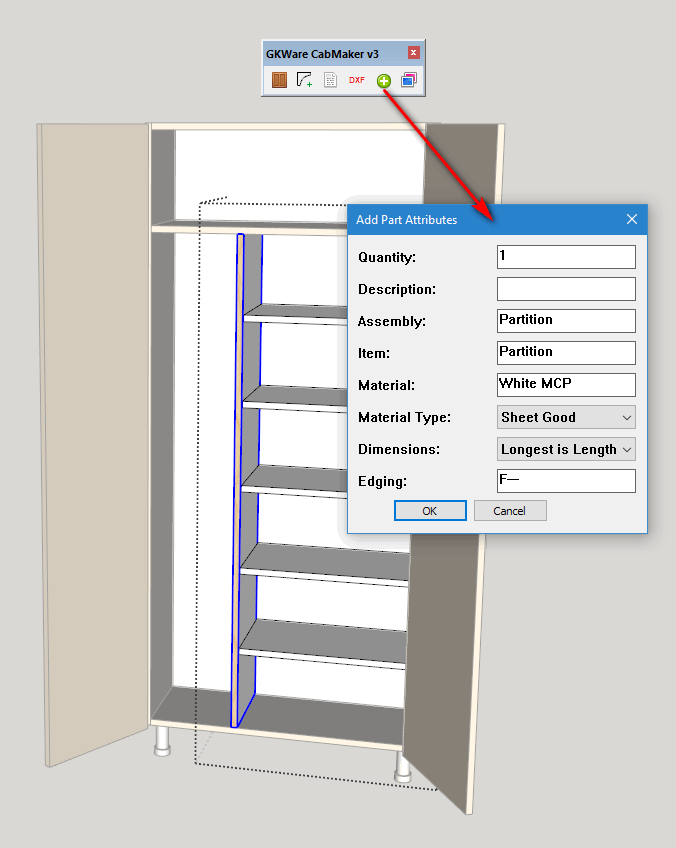
I should also mention that if you require a cutting list then you can add these parts using cabmaker's add attributes.
In this case after I paste the first shelf I would explode it and then turn it into a component prior to making 4 copies.
Edit the cabinet and change the number of adjustable shelves for the middle section to 0. Then move the sub assembly over. It is 250 mm from the inside left (the exact amount of the change to the shelf width).
Since the sub assembly is outside of the cabinet it won't be deleted when you edit the cabinet. This is just a work around but the plugin can get you close.
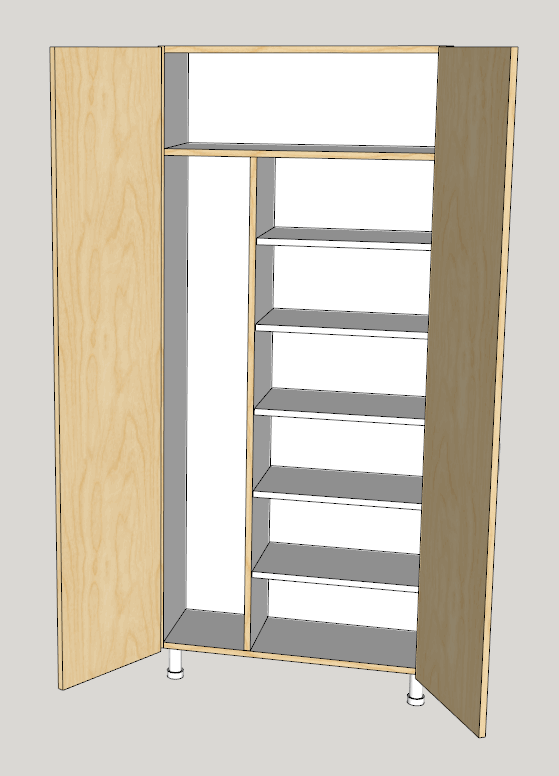
Next select 1 of the adjustable shelves and copy it. Then click outside of the cabinet and get all the way out of all components. Paste the shelf somewhere so you can work with it.
Now edit the shelf and change it's width by 250. Then choose move and press Control key (so we are making a copy). move upwards a bit and type 249 (230 + 19) and press enter key then immediately press *4 and then the enter key. This simply makes 4 copies with equal spacing.
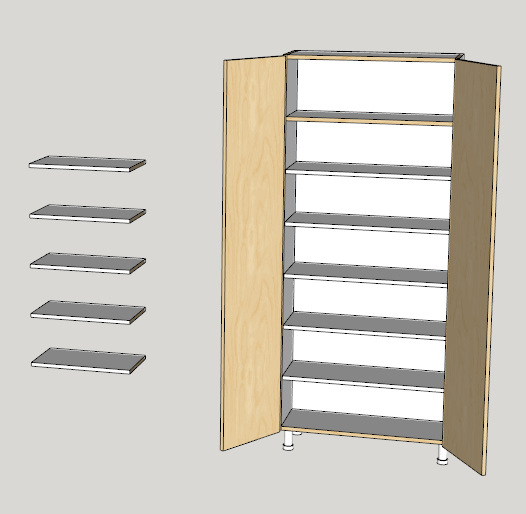
Next create the fixed partition. We know that the partition is 1475 high and 288 deep (300 - 12) and 19 wide. Starting at the bottom back left corner of the bottom shelf make a rectangle.
Type in 1475,288 to get the measurements correct. Then push pull it 19 and paint the front edge. Turn it into a group or component.
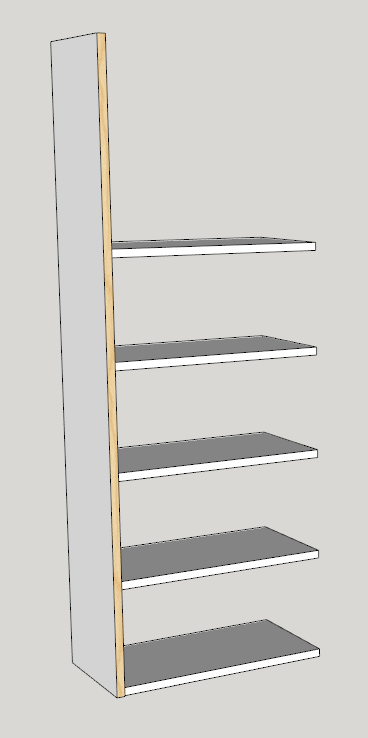
Next select and move the partition downwards by 230 and then move it away from the shelves by 1/2 the shelf gap which is 1.5 in my case.
Select the partition and all 5 shelves and make a group.
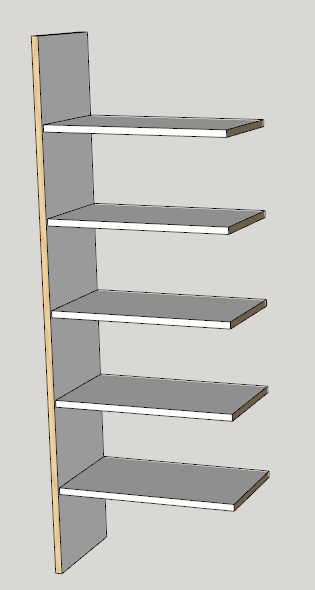
Next let's set up the overall dimensions for my example.
I want a cabinet 1800 tall, 300 deep and 800 wide with 2 doors and I want to raise the handles 750 from the bottom edge of the door.
Choose Tall, Base cabinet and set the overall dimensions.
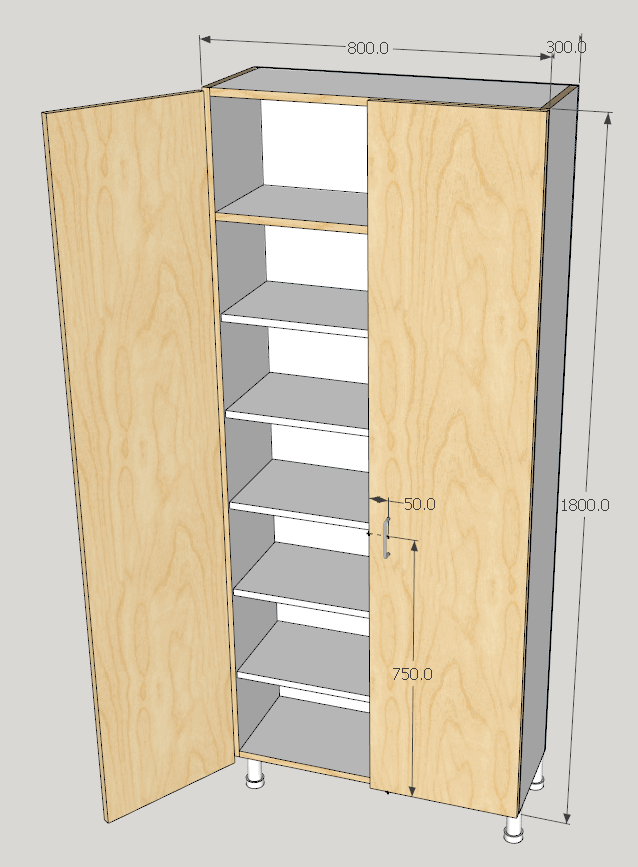
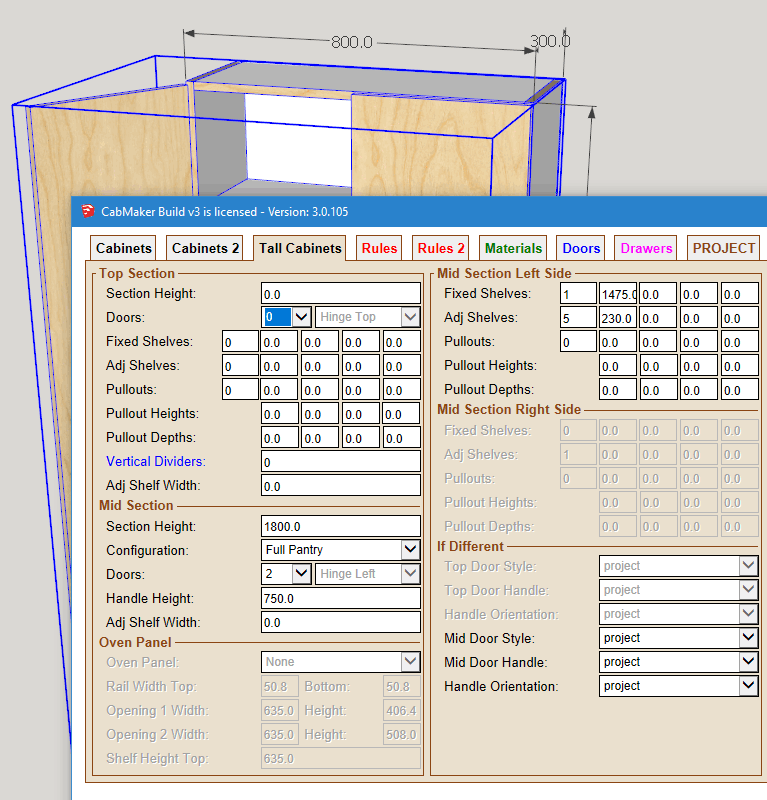
In the tall section I will use the Middle section because you can adjust the handle height and add shelves.
Set the Top section height to 0 and set the mid section height to the full 1800.
I want 5 adjustable shelves spaced 230 apart and a top fixed shelf with a 1475 spacing.
6 openings of 230 + 5 shelves @ 19 thick
(6 * 230) + (5 * 19) = 1475
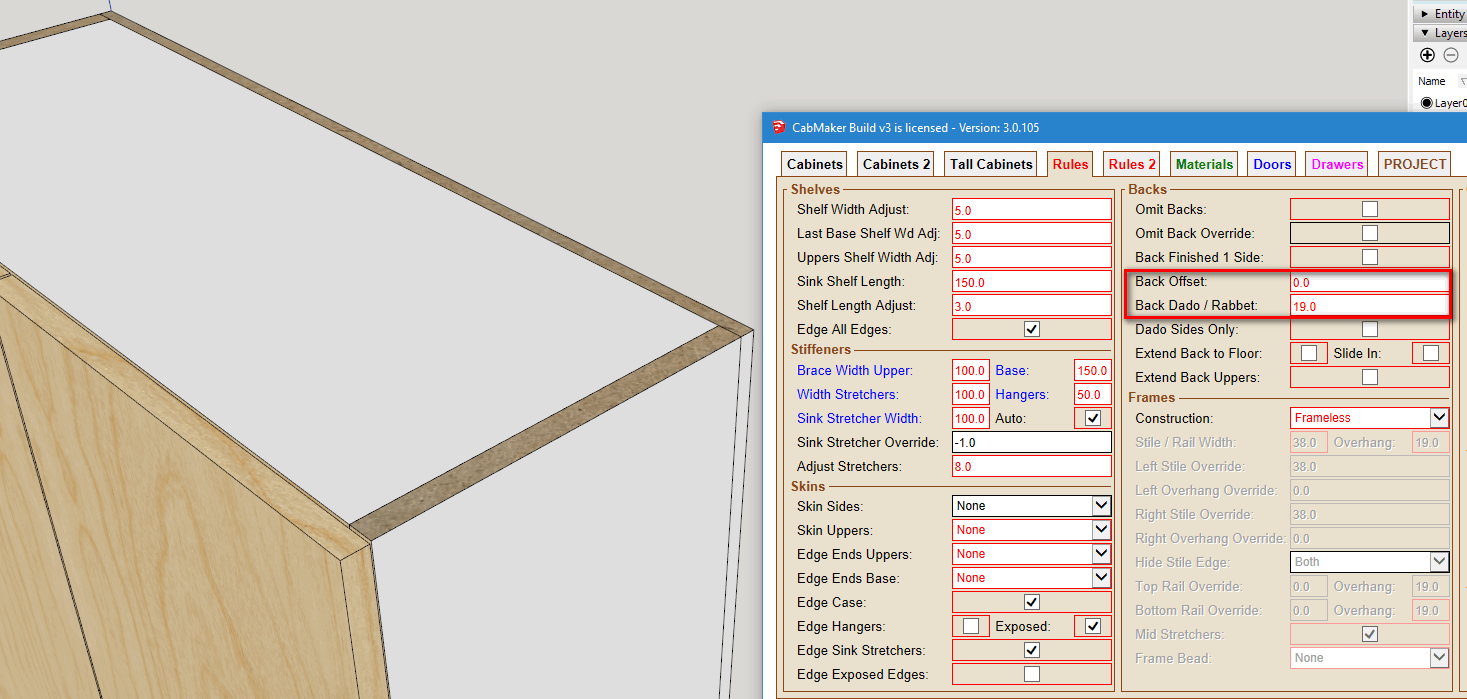
Let's first set up a plant on back. The solution is to set the back offset to 0 and to set the dado depth to the same value as the thickness of the sides.
Here I have 19 mm sides and a 12 mm back.
I have a contracted plugin which works fine on Windows but has a problem with Mac and SU 2017 and SU 2018.
It has to do with materials but only when setting opacity.
Has anyone heard or seen anything like this?
When A new material is created (from my web dialog) I do go through the model and adjust the appropriate face and or back face material.
If necessary I can try to create a small test plugin that only deals with just this issue.
Essentially some panel is ending up with 0 width or 0 height. Please rub Ruby Console before trying to create a cabinet and then email me directly with the information that is in the Ruby Console. It will give us an indication to where the problem is.
Sorry I wasn't completely clear. I am simply offering the Dongle as a second OPTION. Users that choose not to have the Dongle will continue with once a week license authentication over the internet.
However there are users in parts of the world who have very poor internet connections. It is this group of users that the Dongle is targeting.
I am also considering creating an install package (Windows only) that will correctly install CabMaker without the bad side effects of the Extension Manager.
Download cabmaker 3 installation package
Right Click and choose "Run as Administrator"
Choose which version of Sketchup that you want it installed in SU 2016, SU 2017 or SU 2018 and it installs and preserves your previous templates.
I am looking into an alternative licensing strategy which will include a hardware dongle. Please provide me with feedback on what you think of this option.
It will allow you to run CabMaker on as many computers as you want - providing that the dongle is connected to the computer.
This strategy means you will never have to connect to the internet.
Prior to CabMaker 3 CabMaker was going to googleapis for the JQuery library. Earlier Windows would just cache it and wouldn't have to make an internet call - just once - the very first time. With many Windows security updates Windows no longer caches the library. This meant the CabMaker would make a call out to the internet EVERY time the dialog box opened.
With CabMaker 3 the Jquery is shipped with the install and now NEVER needs to grab the library over the internet.
I haven't had anyone requesting updates to dxfconfig. I think it has outlived its usefulness. Since Cutmaster is now showing immediate changes to drilling and grooving options it is now in the work flow.
Create 1 cabinet. Click reports. CutMaster Pops up, import and optimize. Then go into CNC options and play around. You can now save your choice and see the results immediately on screen.
You can also now click on a part and everything is synchronized. Right click on part and choose CAD and view the DXF (after you have clicked DXF button)
CabMaker 3.0.102 is now available in 2 flavors. CabMaker Design (formally Pro) and CabMaker Build (formally Gold)
Version 3.0.102 – Dec 9, 2017
CutMaster 3.0.1.60 is now available in 2 flavors. CutMaster Plan (formally Pro) and CutMaster CNC (formally Gold)
Version 3.0.1.60 Dec 9, 2017
CutMaster reads in all the parts including edging information and adjusts the part dimensions based on the thickness of the edging. All drilling and grooving details automatically compensate.
The top door has 3mm edging on all 4 edges.
The bottom door is full size (edging thickness set to 0)
