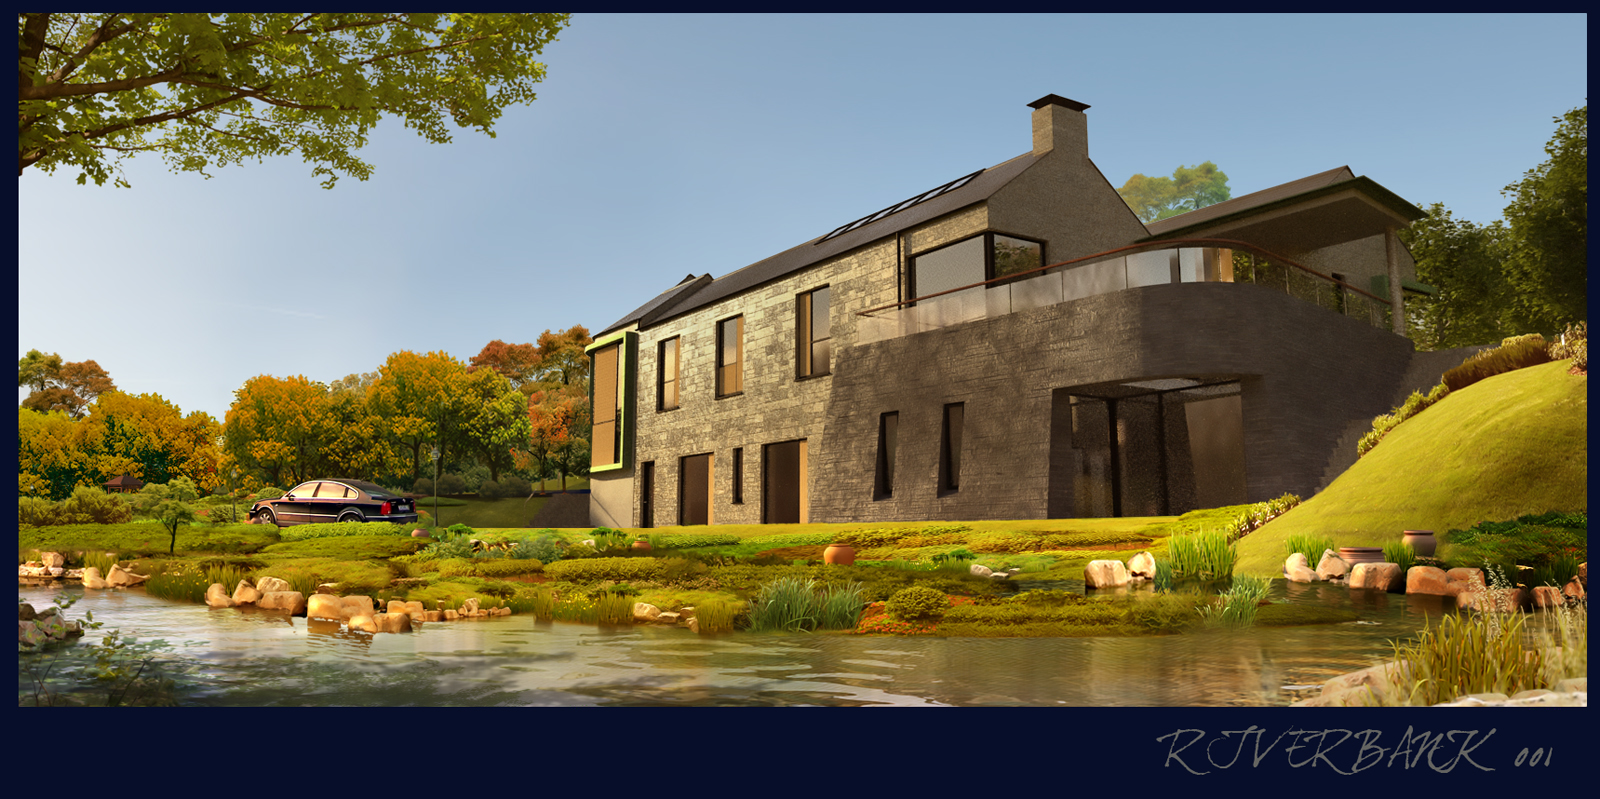
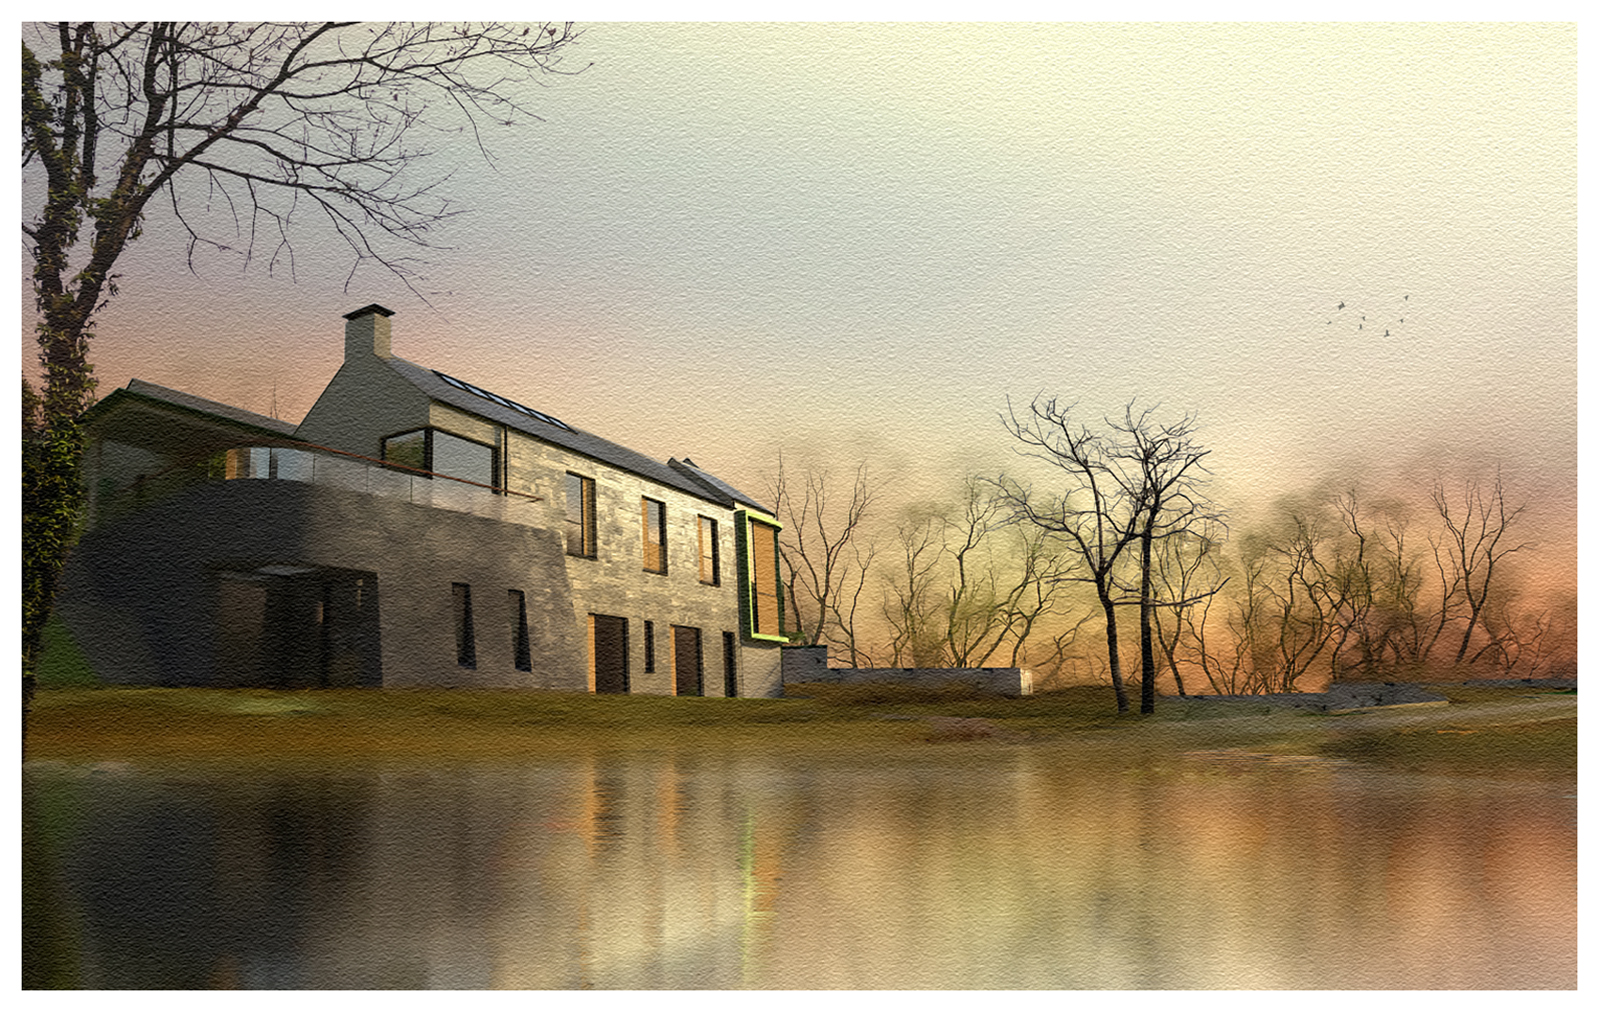
a lakeside version,playing with soft texture effect
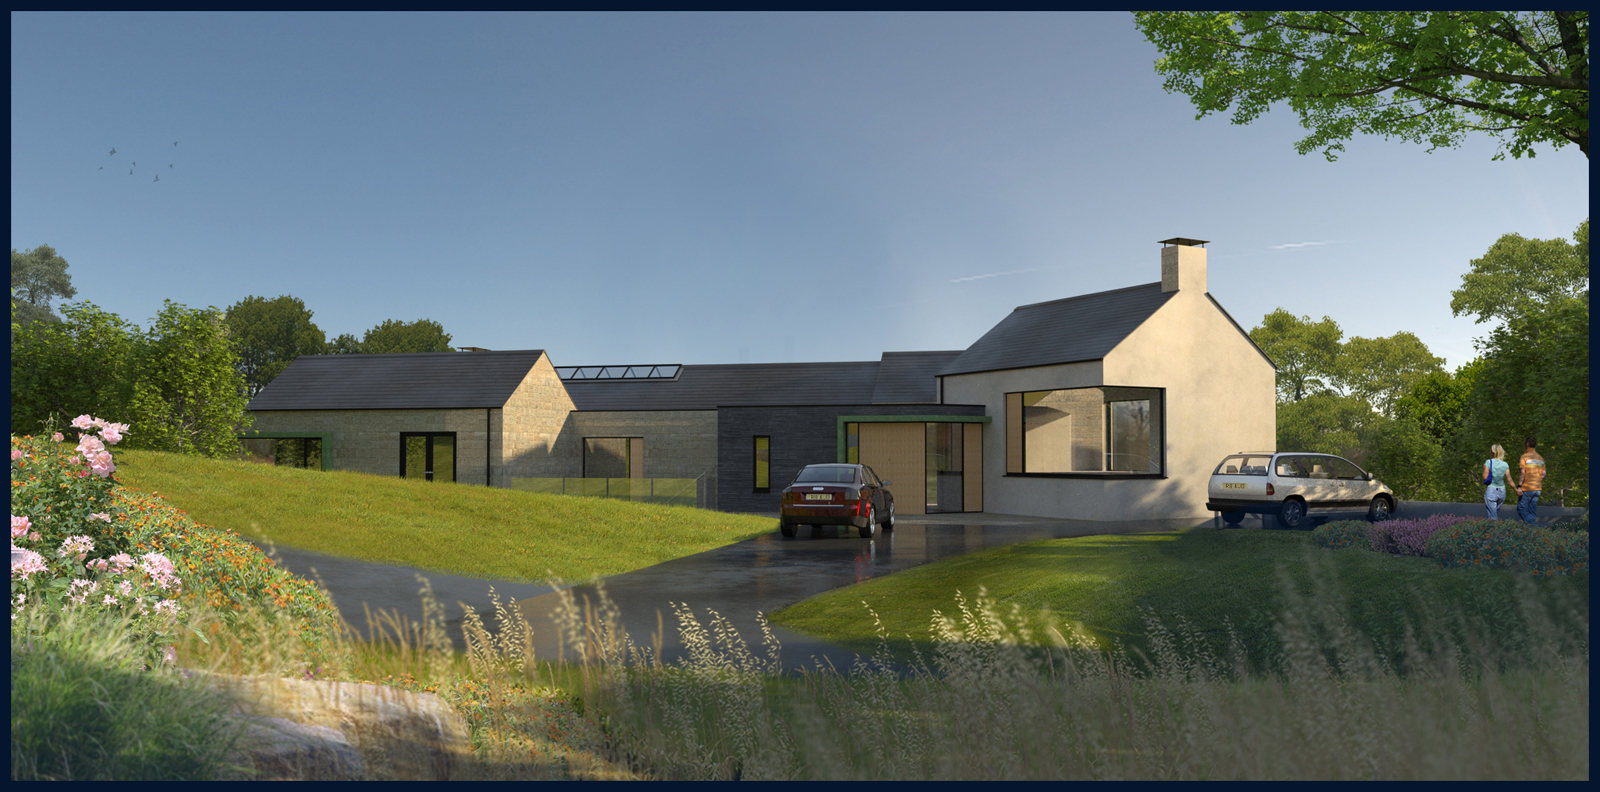
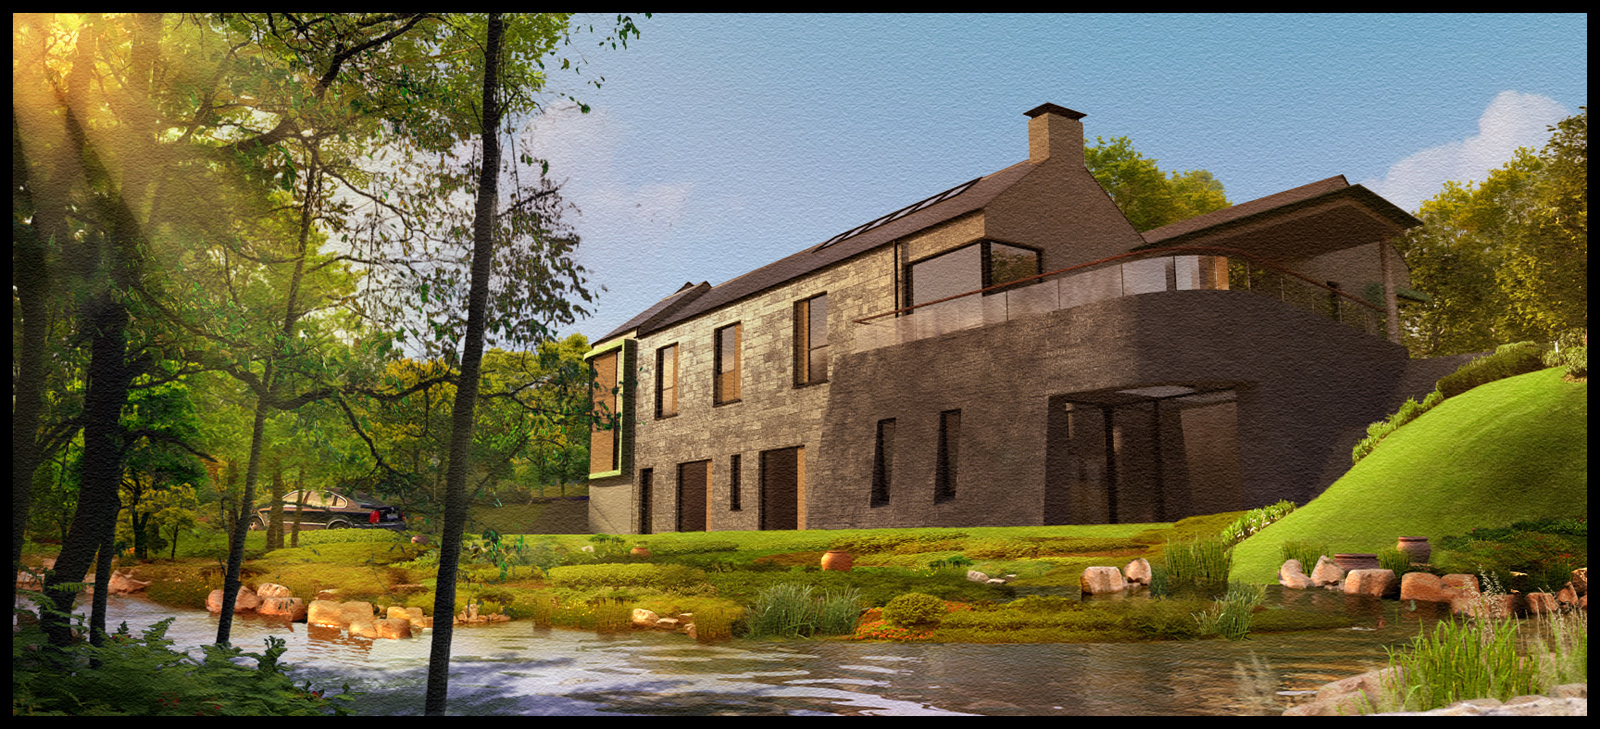
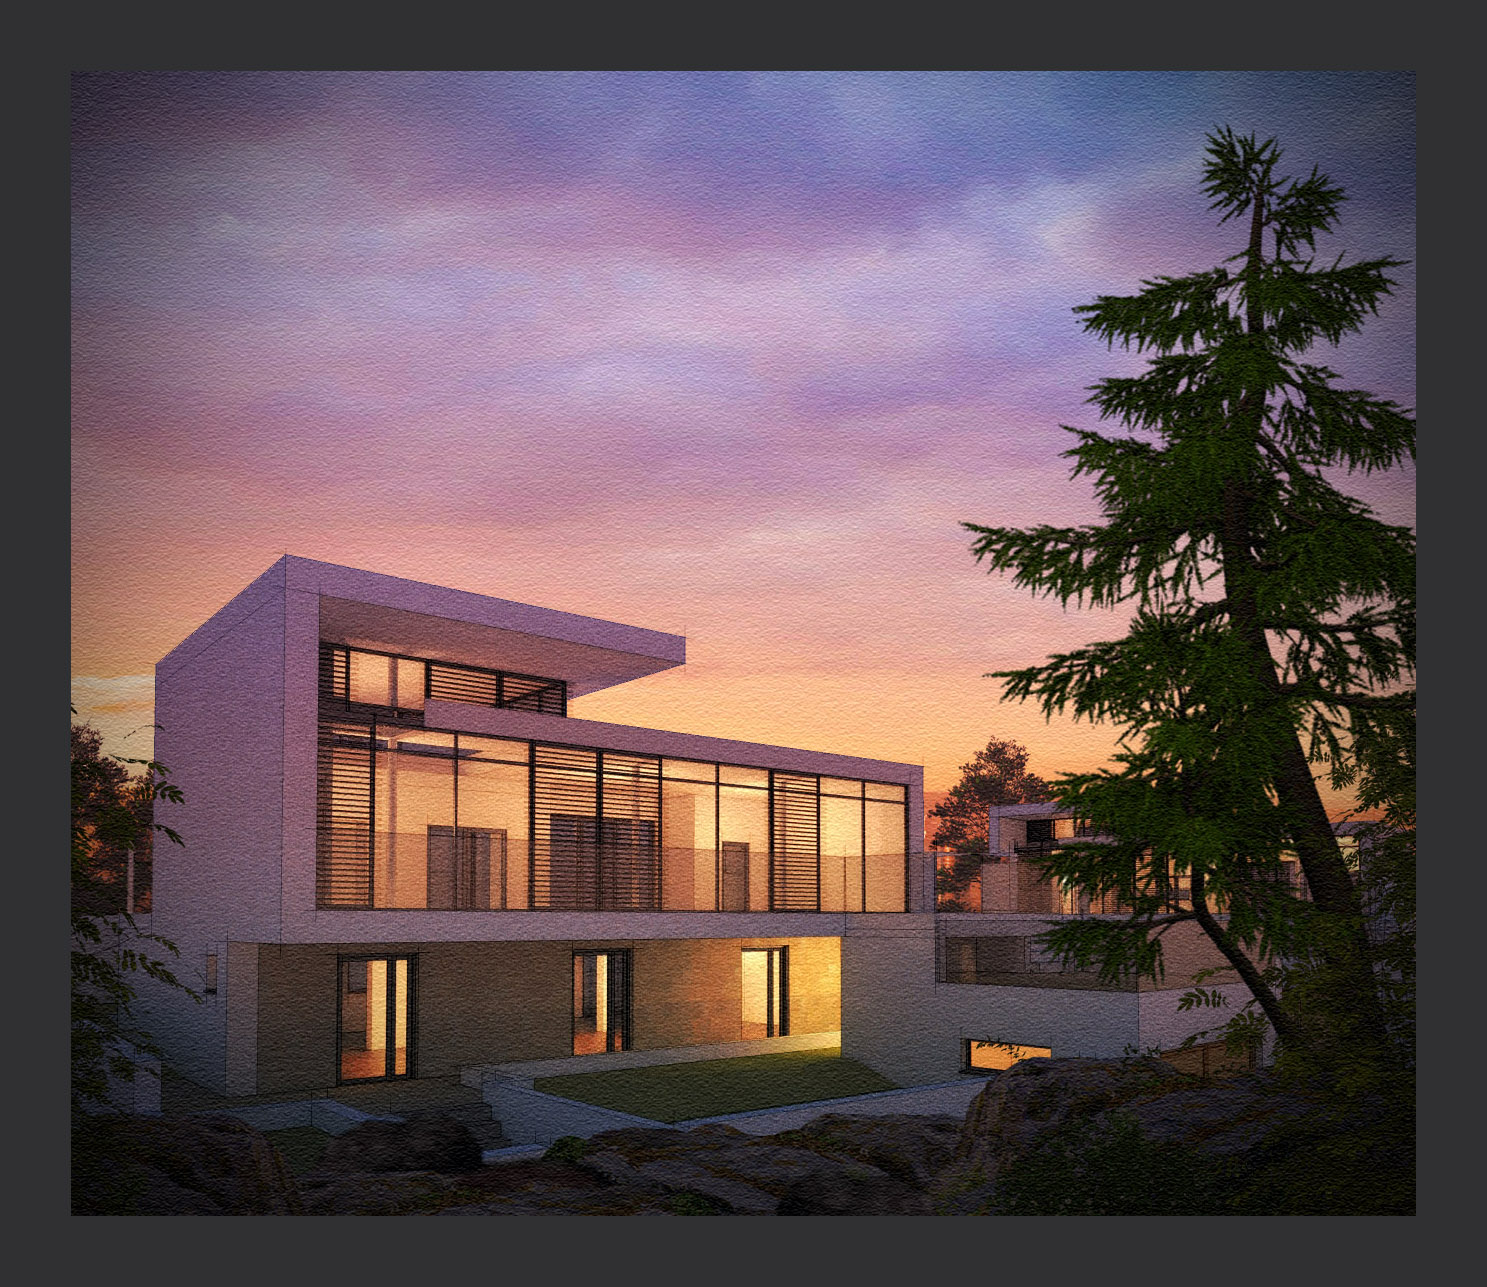
A final tweak to this image- a new sky and foreground trees on the left-hand side added.The foreground trees are low res but it dosent matter for this style.
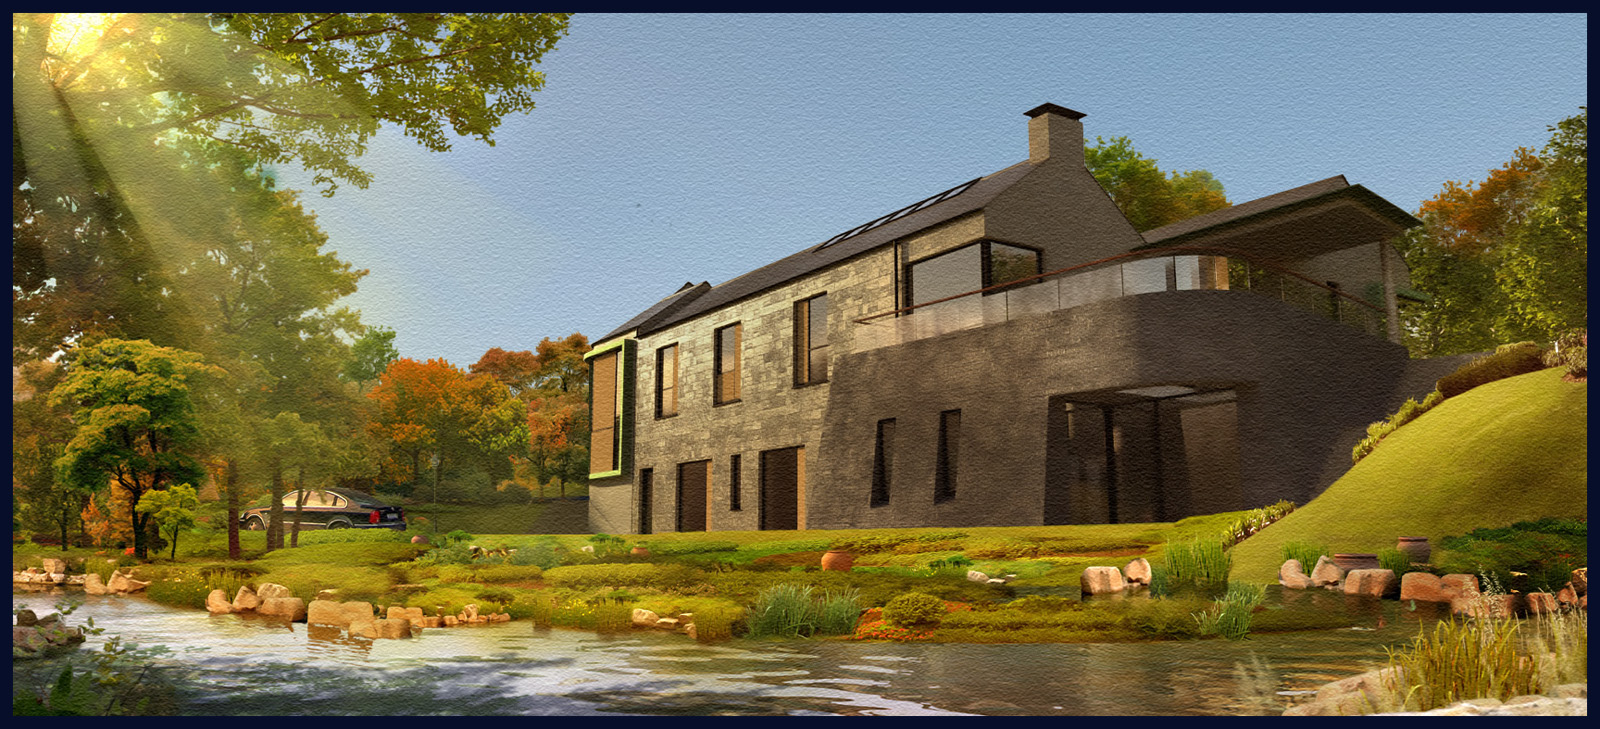
A couple of small tweaks,additional trees added and an attempt to suggest sun breaking thru the foreground tree.
The corner glazing is actually butt-jointed with a silicone joint,and the 2 pieces of glass are secured at the top and bottom and at the window reveals .What is missing from this render is an internal stainless steel circular corner post which would be taking the loading from the walls above.
A collection of the images for this project so far.

Hi Renderless,
I noticed the lack of reflection just after I uploaded the revised image.I will add it in later.I have previously uploaded a few dirt maps and an explanation as to how I use them in photoshop(http://forums.sketchucation.com/viewtopic.php?f=81&t=38091)
These images were rendered in Maxwell.
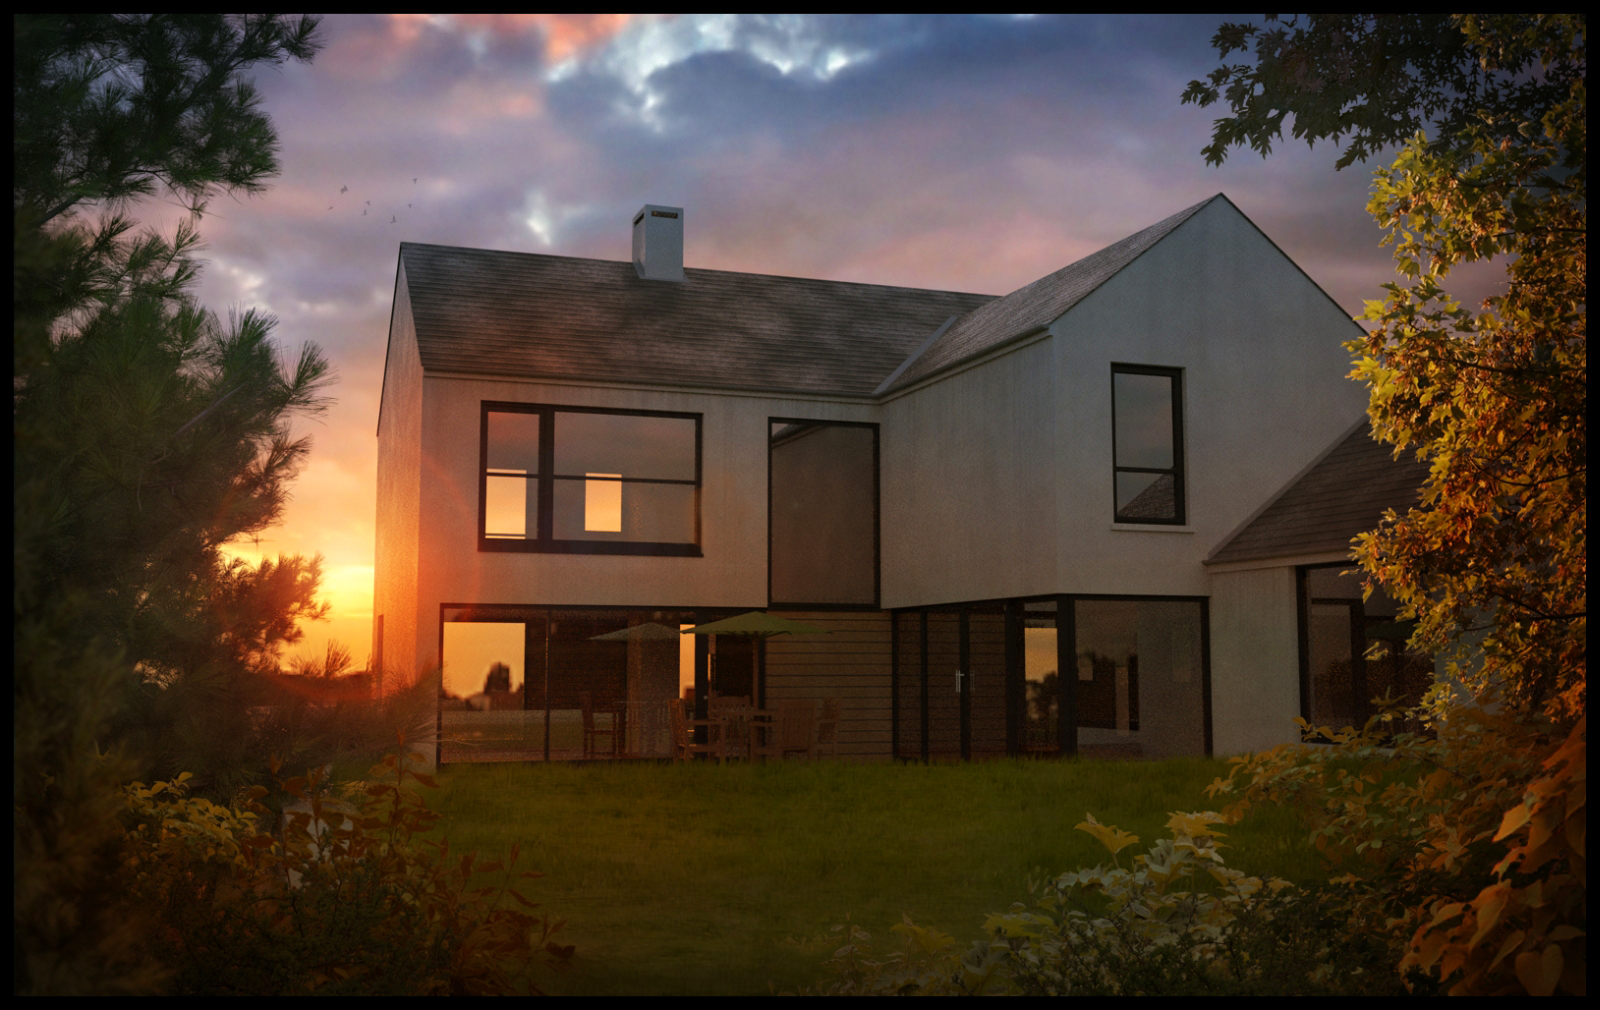
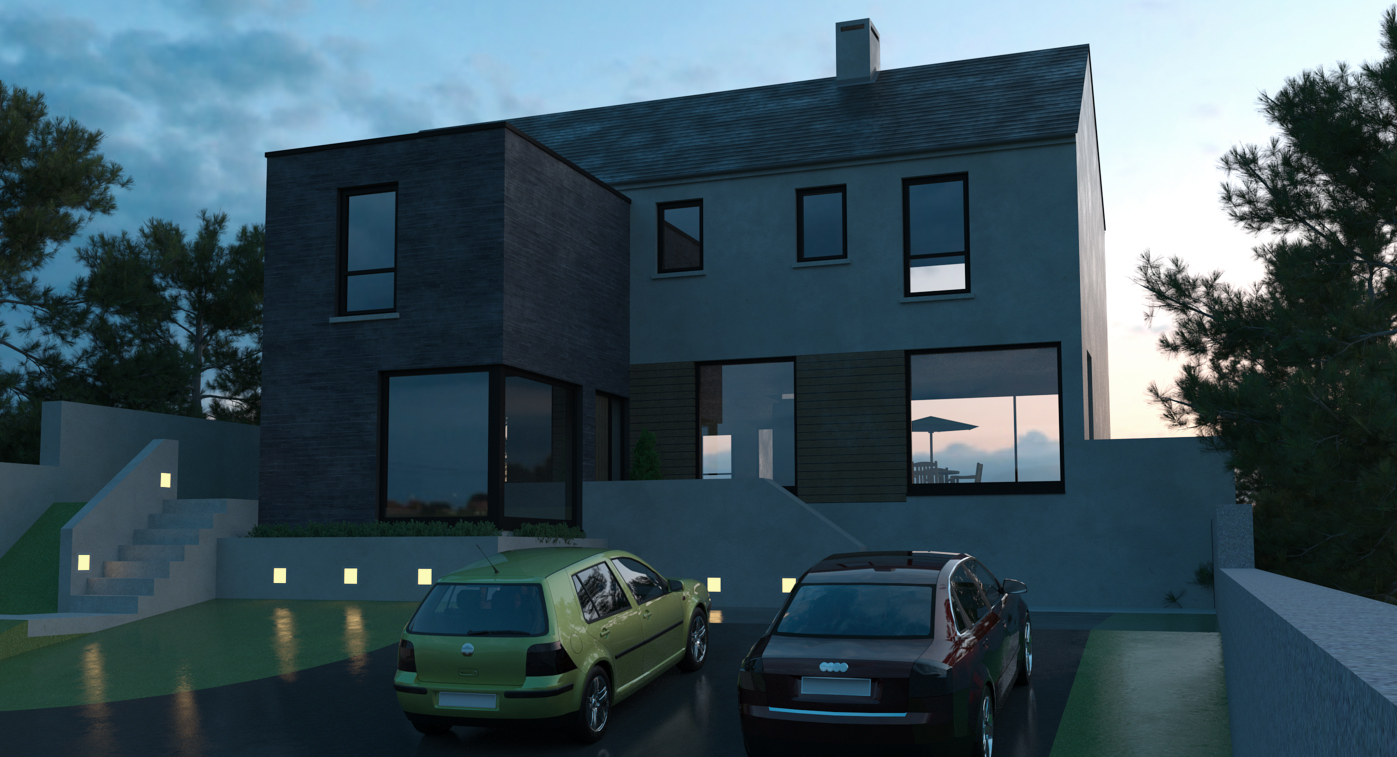
Attched are 2 more images,an original raw render and a post processed view of the rear of the house.I will have to revise the roof as the reflection map is too small and looks too patchy.
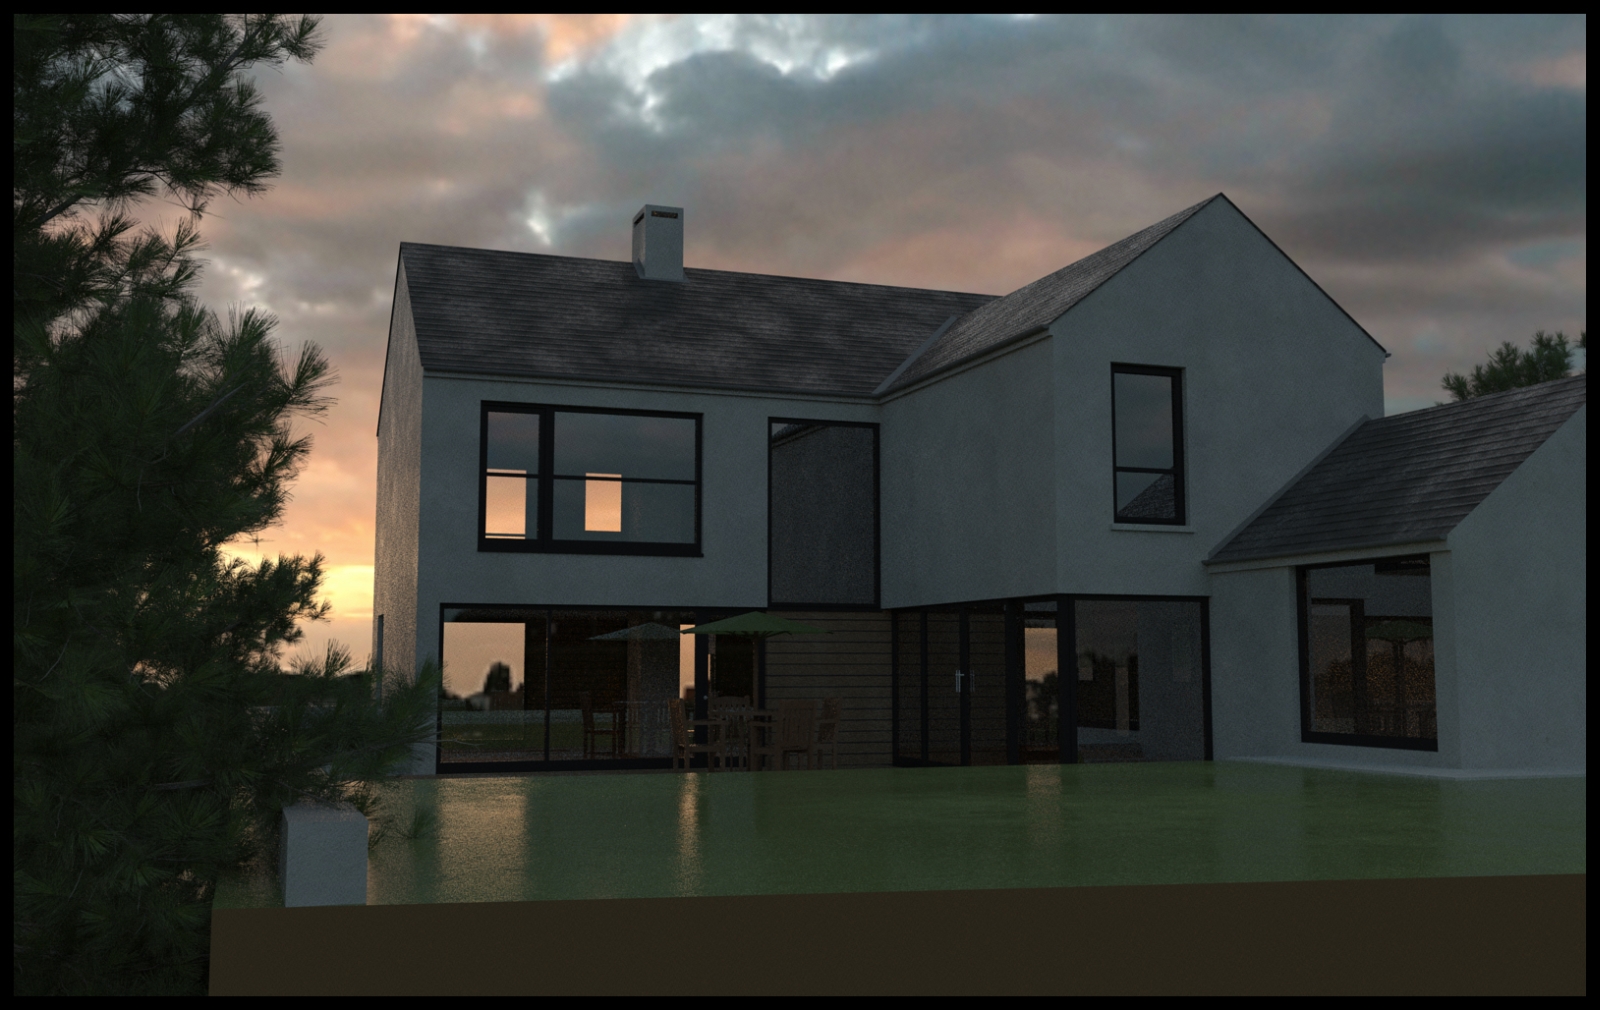
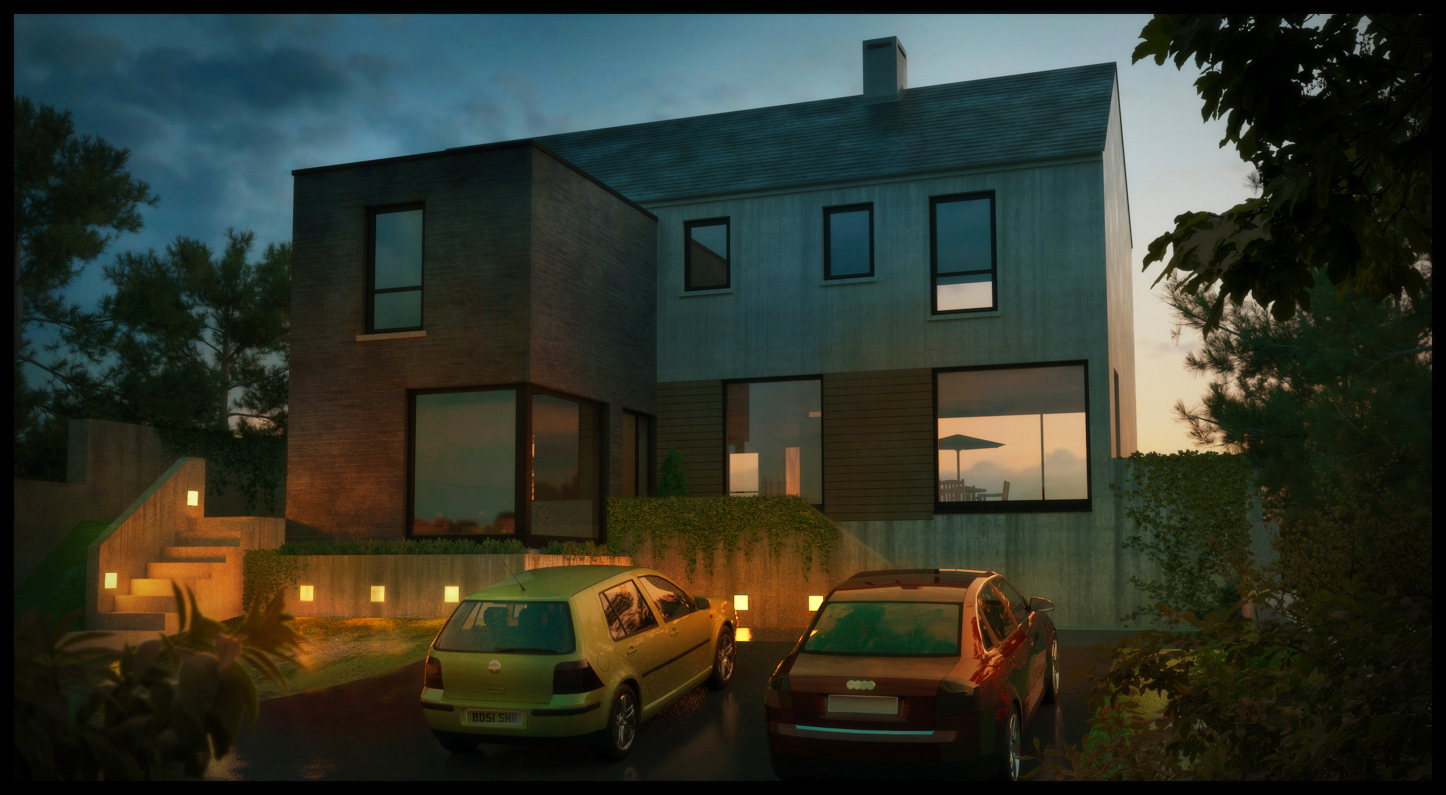
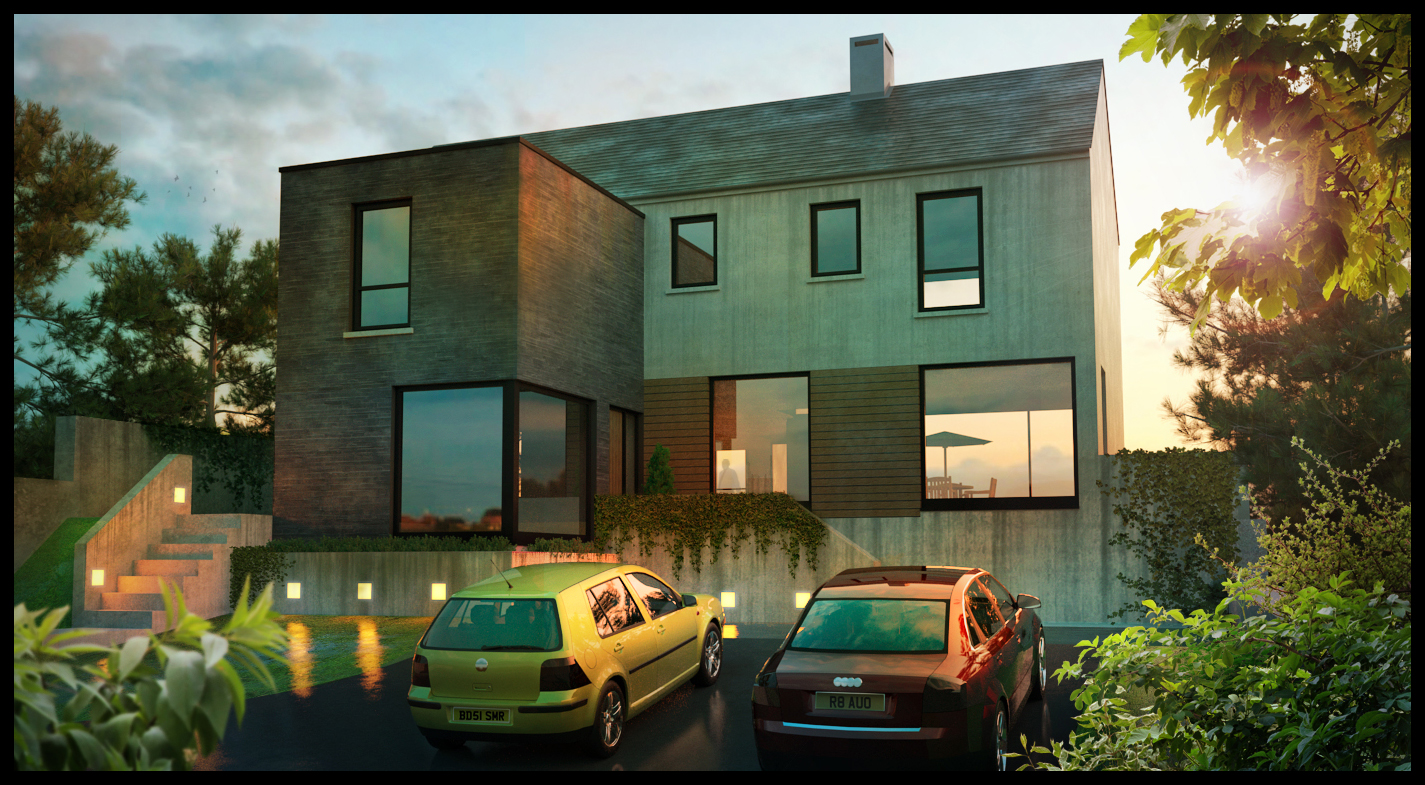
Thanks for the comments guys.I have reuploaded the sunset image with the wall light intensity reduced.the second image is what the post-pro image looks like with dirt maps but without colour correction.The third image is an attempt to use the same render and create a darker,later evening feel.
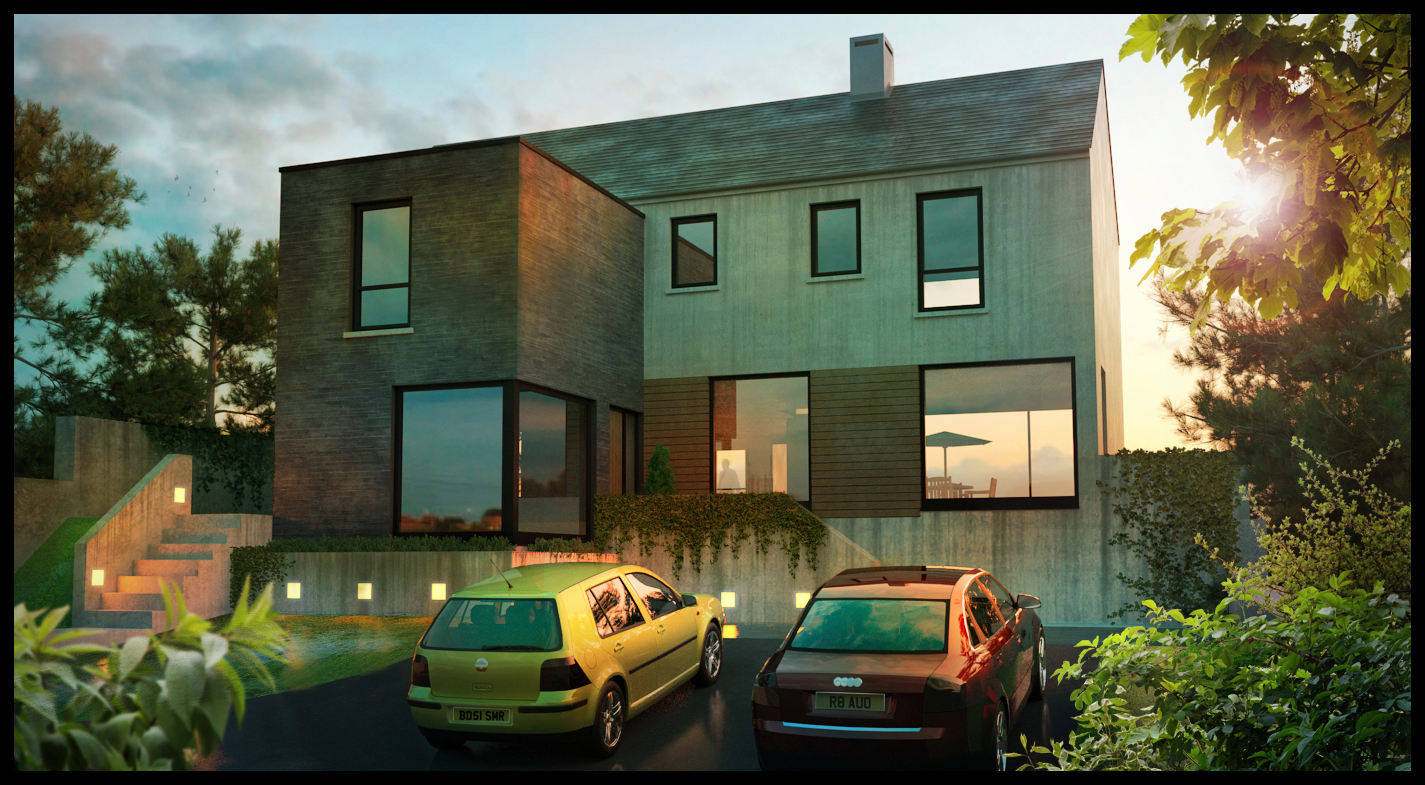
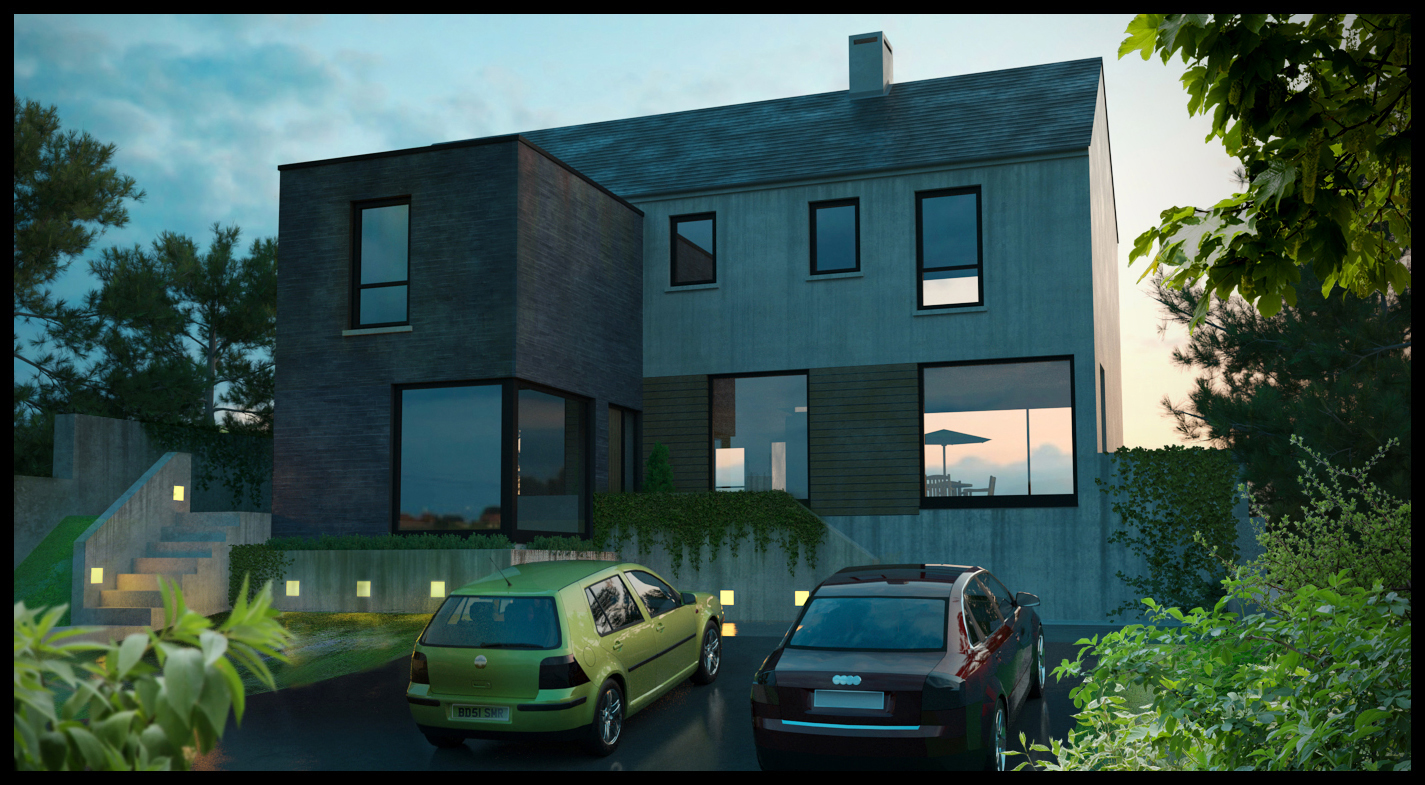
Attached are 2 images,a post produced one and the original render.I added some dirt maps and staining along with some planting to the garden.Finally I revised the colour tones and just brightened up the overall image.I think the wall lights are a bit too strong in the final image,I will probably go back and reduce their intensity a small bit.
Its actually about neither.As I have said before I am primarily interested in mood and am more than willing to sacrifice detail for the effect I am looking for.For a lot of the 3d images I do for clients,there preference is always for high sun,bright blue sky and sharp shadows.And thats ok, I understand why they want it like that, but I also like to play around with the lighting,textures etc for some images.If it was just a case of hit render and the image is finished,I would have absolutely zero interest in doing it.
another view showing more of the scheme and more of the saturated grass.
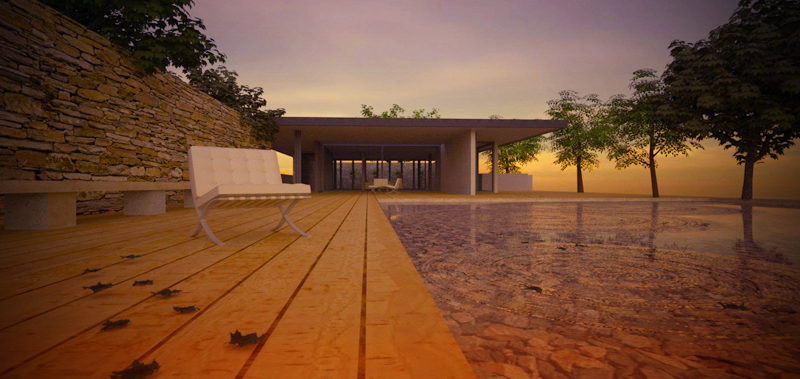
I think these are definitely more successful but if you have photoshop,you should increase the Curves in order to brighten up the images.Often I place a colour band layer in photoshop on my original render,blended using "soft light".
This has the effect of really pulling out the colours.This colour band can be also be used for indoor shots,particularly where you may have blank,white walls.It can make a big difference.
I have attached the colour band jpeg that I usually use,along with your barcelona image post processed.
The steps I used in post processing were:
1.Increased curves
2.Added the colour banding jpg,layer blended "softlight" 50%
3.Merged layers
4.Duplicated the image and used the pull down IMAGE/ADJUST/AUTO COLOUR).Then layer blended "Normal" 40%.
By the way,the compostion of the barcelona image works really,really well.
I hope this helps

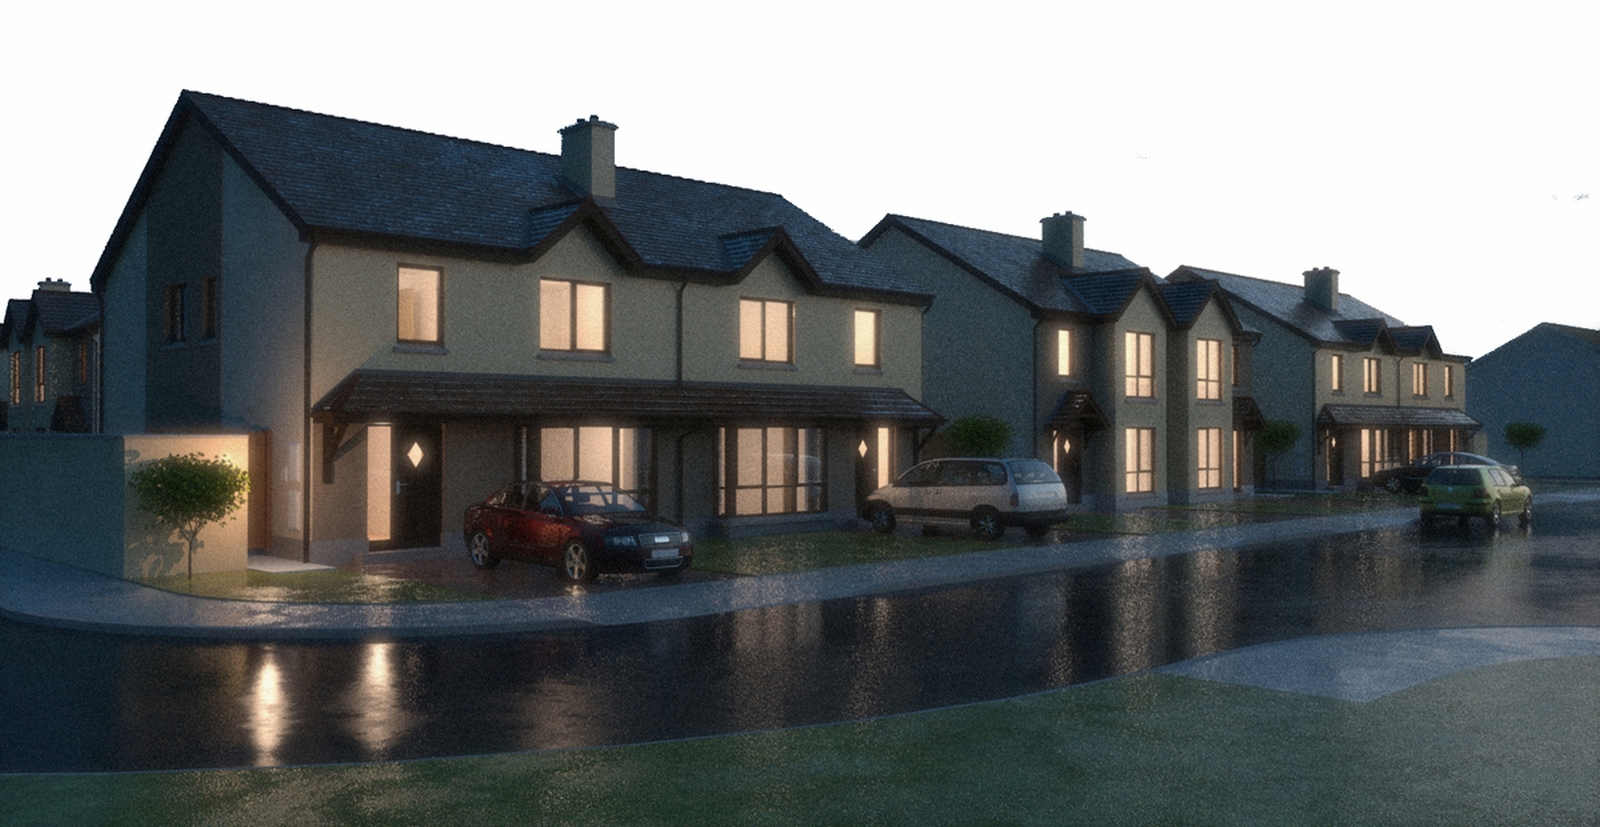
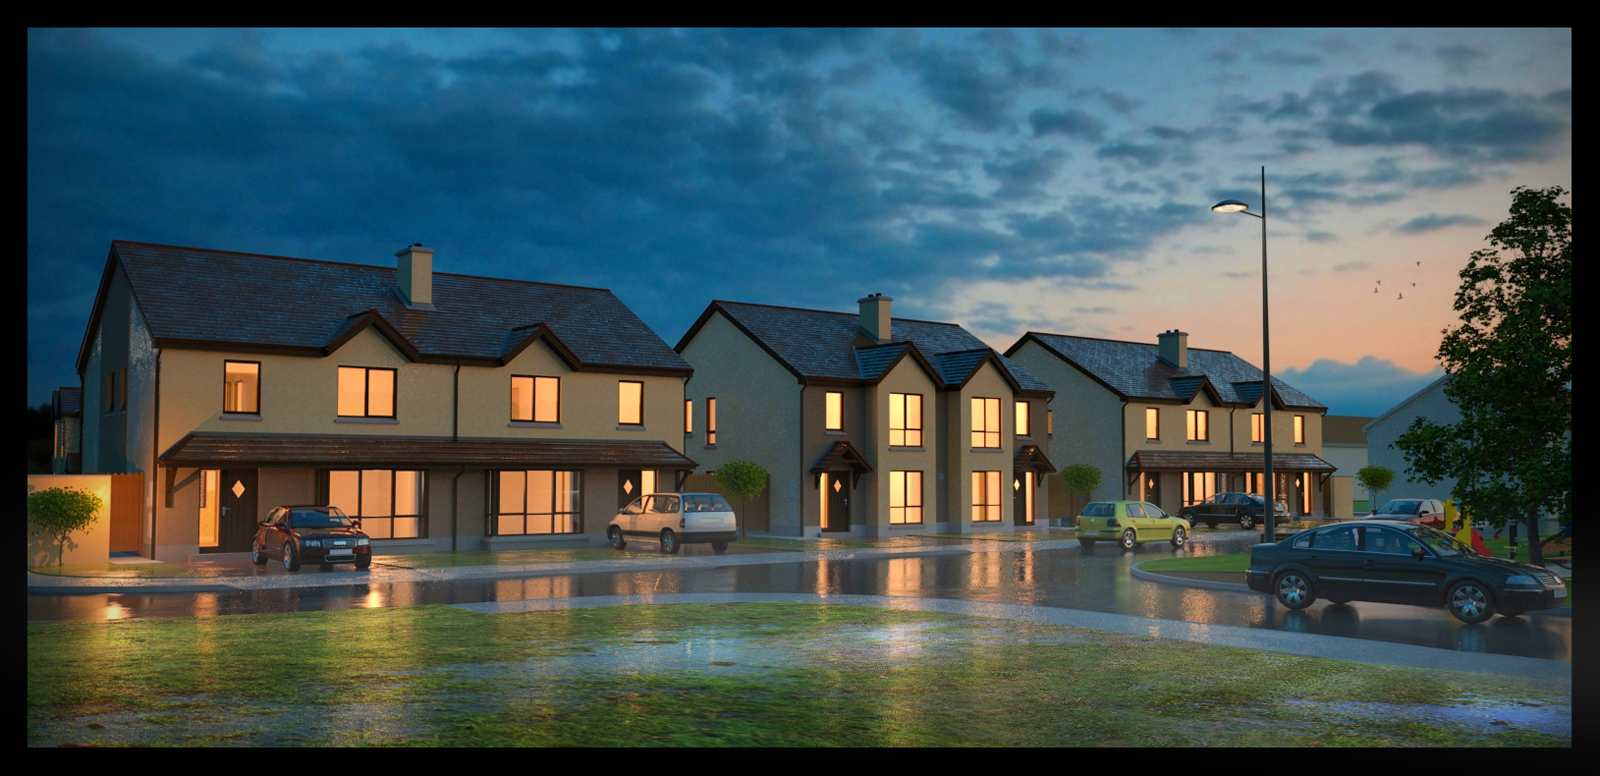
Sketchup,maxwell and photoshop used for this image.I used a lot of the same techniques in post processing here as I did with the STORM image recently uploaded,in fact the foreground wet grass is the same layer just copied over.A light bloom was added to the bright windows and a small amount of fog/mist was added to the road.

A tutorial for the sunset is forthcoming,although this is probably one of the least post processed images I have uploaded.There will be a tutorial for the "Storm" and "Moonlight" images also uploaded.
Its really all about composition and light,particularly light, where you can use shadows to really accentuate and alter an image.
From my own experience,the best images are not harshly lit,i.e noon light, but low evening/early morning.The light is diffused,the building is warmer and the colours are accentuated.
Maybe there is room for a subsection on tutorials where we concentrate on light .
On a side note,I have seen some amazing images but my idol is Alex Roman(http://www.thirdseventh.com/)This man is so far ahead,so able to create atmosphere and basically makes you feel so,so inadequate.
here's a website that you can download some grass brushes for paintshop pro:
http://www.brushouse.com/plant-brushes/download-greeny-grass-brushes-for-psp/
A revision of an image previously uploaded in February this year,with a different sky,foreground and more watercolour tpye effect,along with a vignette. It wasn't re-Rendered,just edited in photoshop using the original photoshop file.
I find myself gravitating more and more to less photo-real and more artistic impressions.They are definitely also much more fun to do.
The foreground tree is an X-frog billboard which wasn't photo-real to begin with so was easier to blend with the main image.I also added a slight texture to the entire image which helps to tie all the individual components together.
I would suggest you use a HDRI for the environment lighting,particularly for any late evening/early morning shots that include lights.The difference in lighting between using a HDRI and the standard environmental set up can be very dramatic.Also ,depending on the colour tones in the HDRI,you can get additional colours reflecting in the pool.The HDRI dosent have to be that large in file size to get a decent effect.
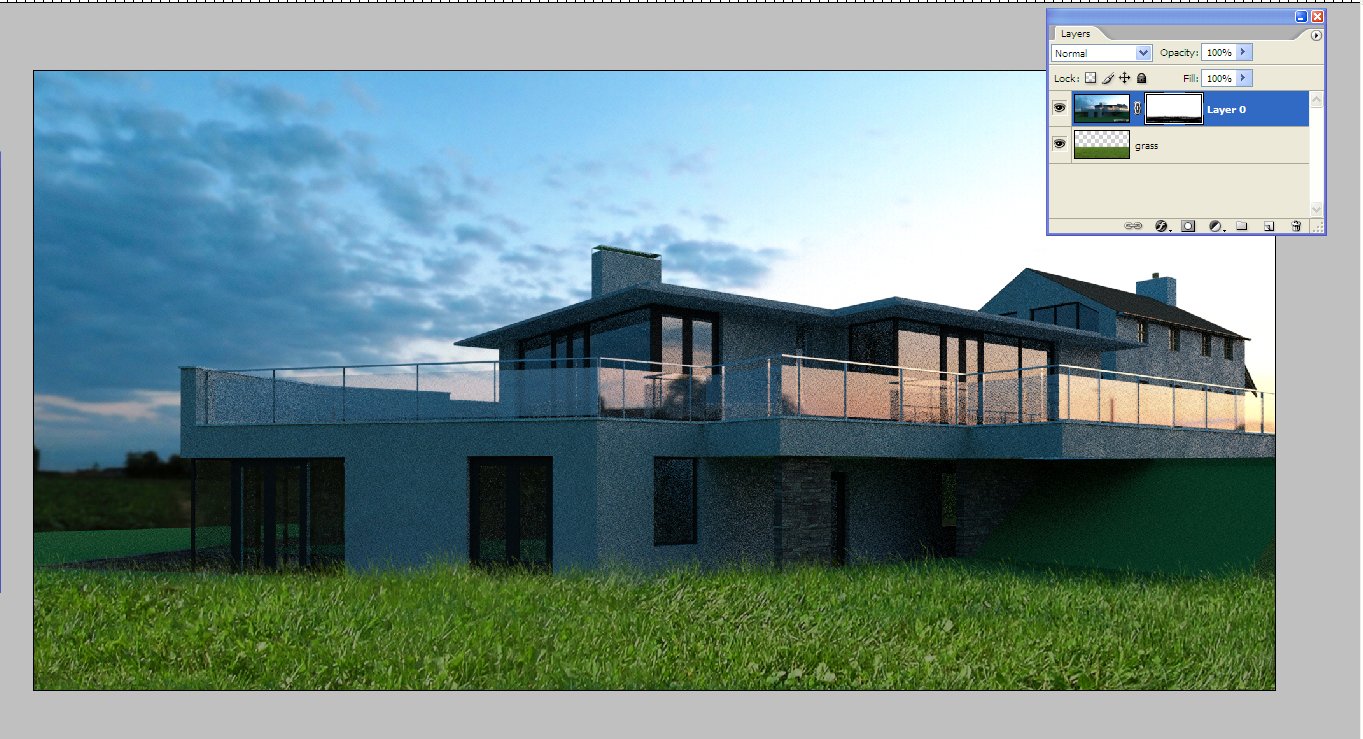
The grass is really easily done.I saw a tutorial on here showing how to do it a while back but all you do is load a selection of grass under the main image,add a layer mask to the main image and paint in the grass on the layer mask using the grass brush(available here, http://qbrushes.net/plants/photoshop-grass-brushes/),changing the size of the brush as you go.Usually I would then add a few additional plants over the grass with gaussian blur,just to add depth of field.Ive attached a screensnap showing quickly what it looks like in photoshop.