Sections
-
@box said:
Perhaps you just need to select, View and untick section planes and then save the file.
Or export the result as a 2d image.
It is unclear what you want.That is just the issue I am having... I cannot just select the active side of the plane cut... and save the file... the file still has the reverse side... still part of the model.
What I want is to be able to export (what is visible) to an .stl file and print it on my 3D printer. If I Export to STL, the resulting file will have the ring all the way around the core... when loading to my printer software, it will be red, meaning that, because the ring is siting on the table and the core is 'floating' without support it cannot be printed (unless I rotate it on core end). Printing it will still print the whole ring.
@dave r said:
I can see the same thing you show in your screen shot so evidently you saved the file just fine. If you want the section cut without the section plane, you can turn off the plane in the Styles edit window or the sections toolbar. You should update the style with the changes, too.
As soon as you turn off the plane you get the whole circle - not what I want.
In effect I want a model that has the same shape as the picture (in first post)... and have it print like that.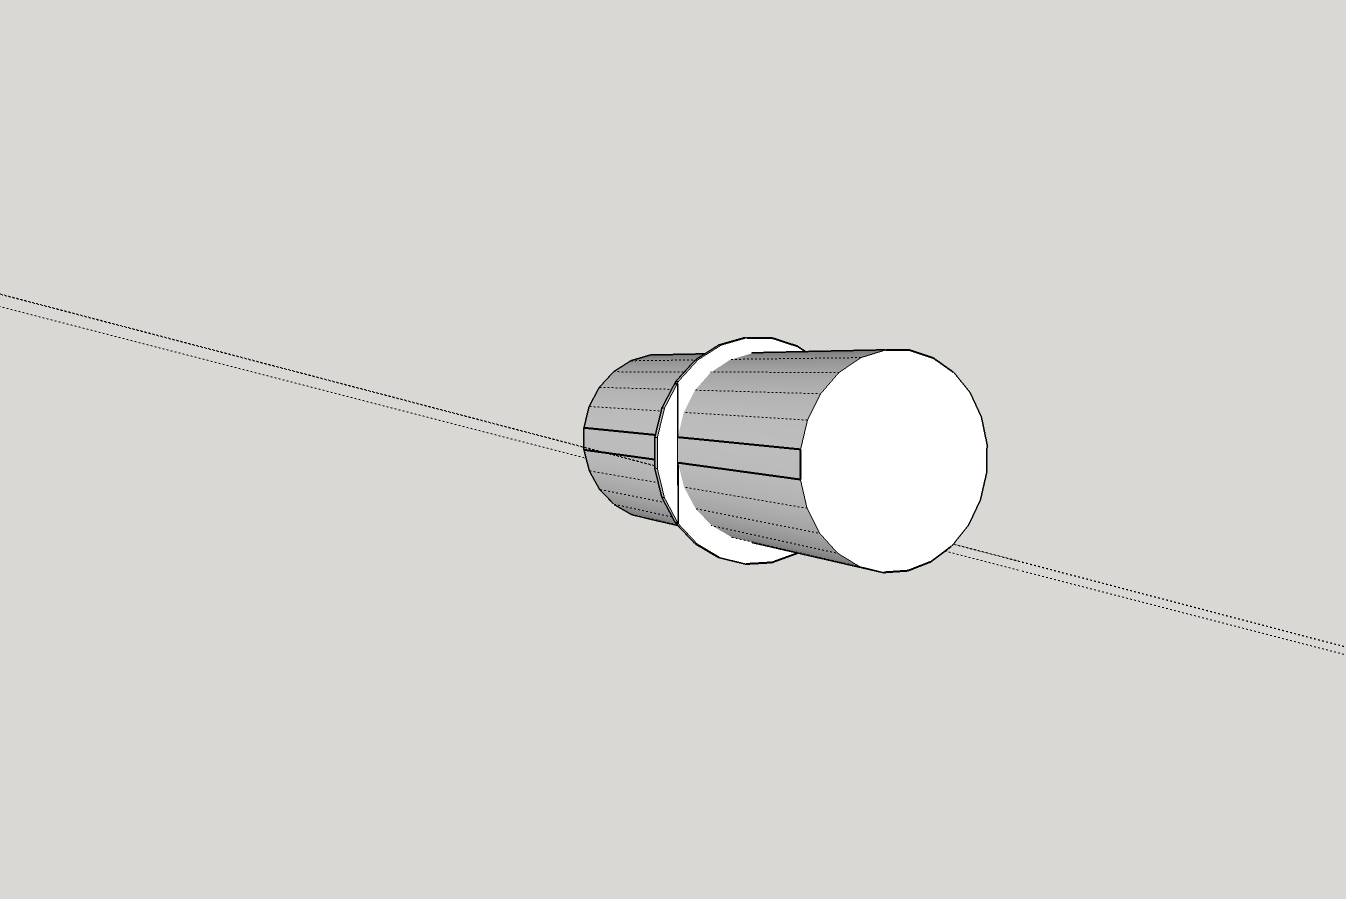
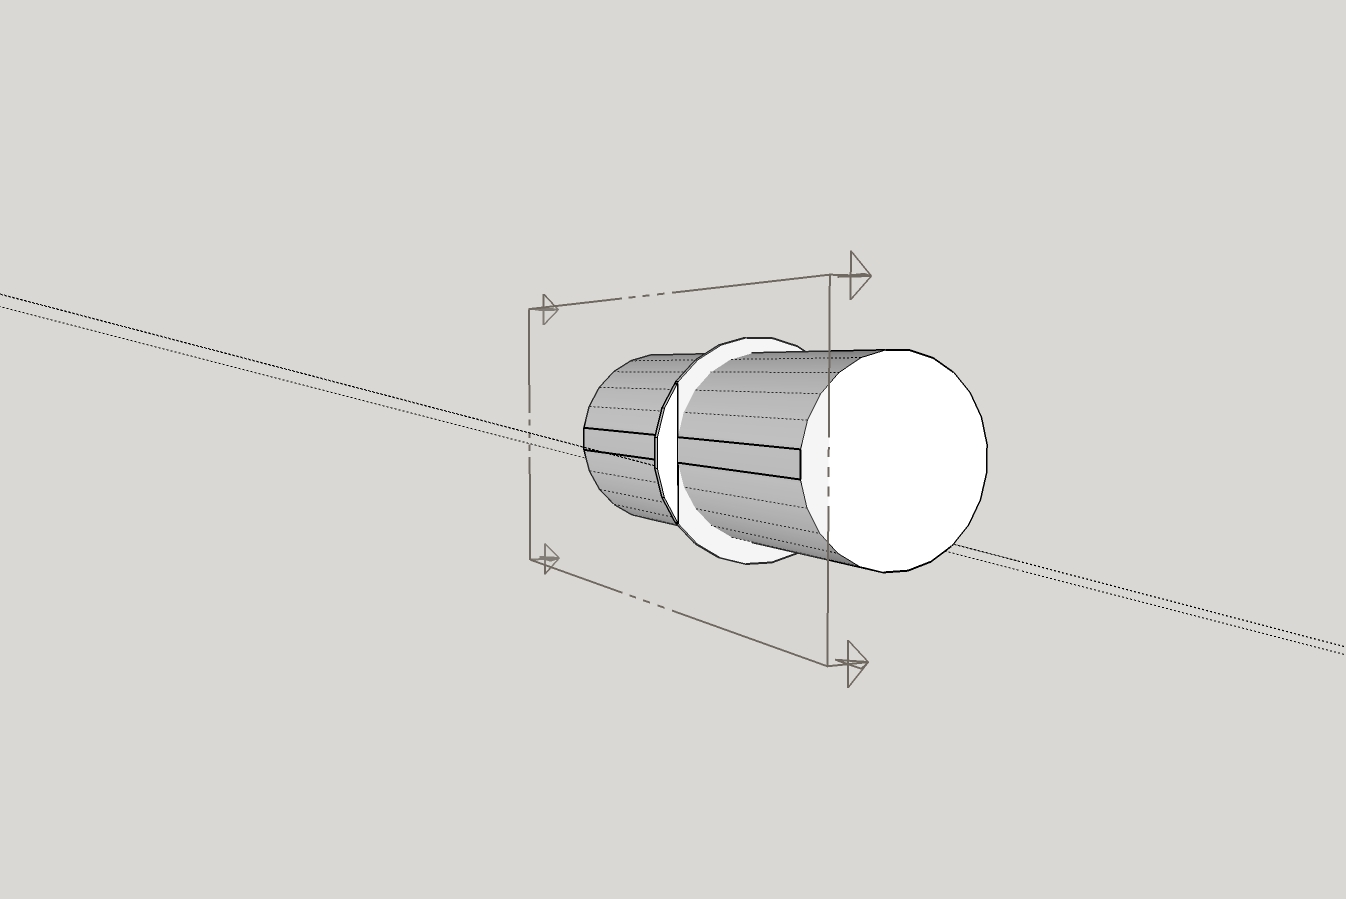
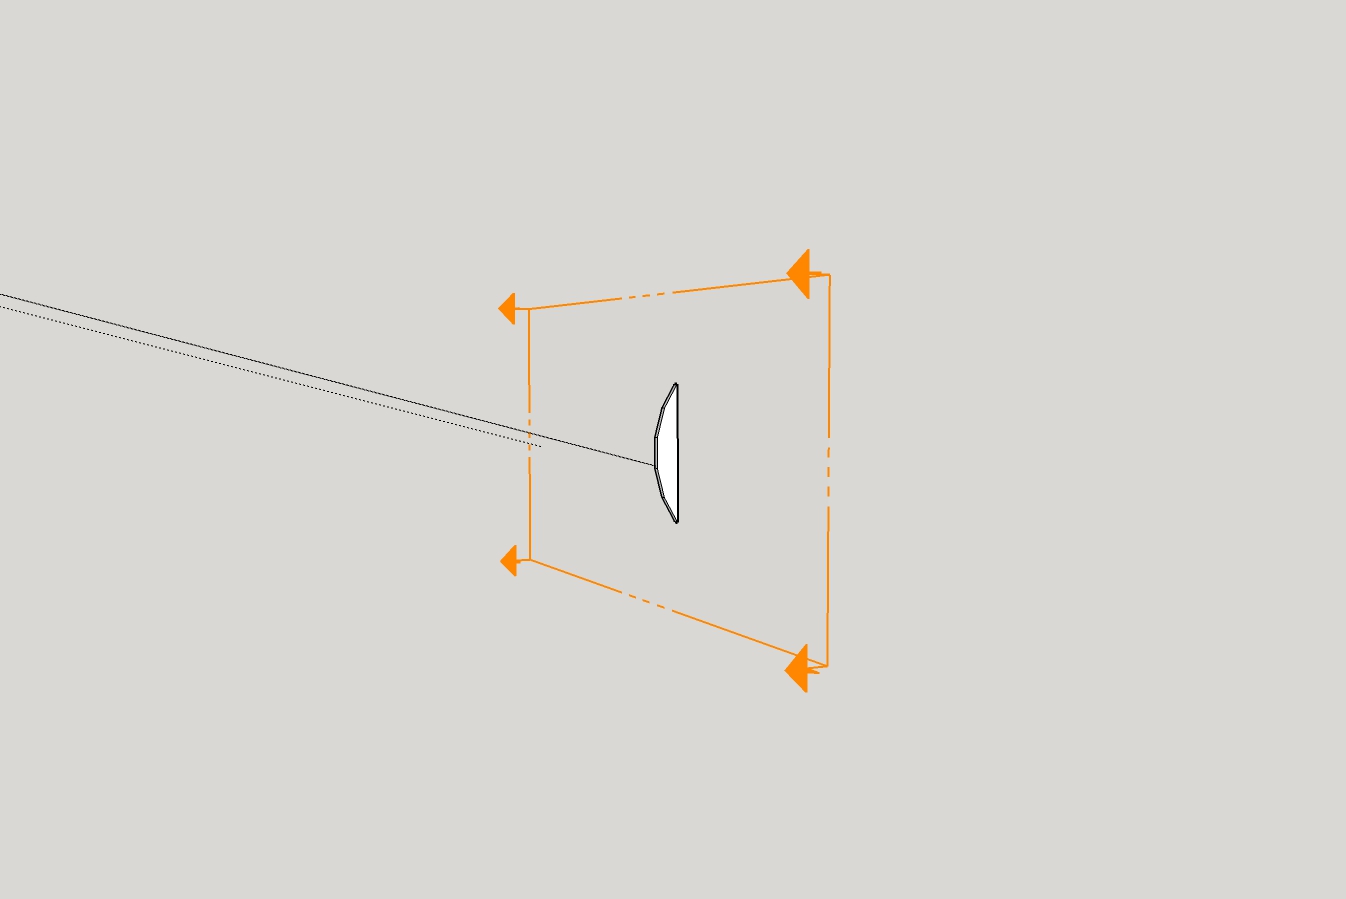
Trying to make it clear... I want to slice off the reverse plane and erase it. -
It looks like you're turning off the section cut not the section plane.
-
Turned off both... same result... model ring is all the way around... not what I want.
I've been trying to figure out 123D Design. There is a 'slicing' tool but I have not had any luck in getting that to work... yet... 123D Design is not very user friendly, for me anyway
-
@pilou said:
If you want Print 3D your object you must make some thickness to all faces who have not!

I realize that. Closing the open faces is the next step I will tackle... but first I have to get rid of that reverse plane portion...
-
is it meant to be completely out of square?
john
-
A section plane does not cut geometry. It only gives the appearance of it being cut away. If you are actually trying to cut a flat on the side of your shape, you need to use something else. You can use a face intersected with the geometry or you could use an extension like Zorro2.
-
If you want Print 3D your object you must make some thickness to all faces who have not!

-
@driven said:
is it meant to be completely out of square?
john
Not quite sure what you mean? The core is round, the ring is round, at least as far as I can tell. It appears to me that the plane is cut right along a face of the core and thru the ring where it sits on the core's face... could be wrong

-
@dave r said:
A section plane does not cut geometry. It only gives the appearance of it being cut away. If you are actually trying to cut a flat on the side of your shape, you need to use something else. You can use a face intersected with the geometry or you could use an extension like Zorro2.
Ok... I'll get that plugin/extension... I'll check the PluginStore...
-
@moot said:
@dave r said:
A section plane does not cut geometry. It only gives the appearance of it being cut away. If you are actually trying to cut a flat on the side of your shape, you need to use something else. You can use a face intersected with the geometry or you could use an extension like Zorro2.
Ok... I'll get that plugin/extension... I'll check the PluginStore...
You should also learn to do it with native tools.
-
Really, that is what I am trying to do... maybe I'm getting to old... or just dumb...

-
What exactly is it that you need out of this thing? What is the desired diameter of the cylinder? And the ring portion? How thick is the ring supposed to be and how long is the cylinder? AndHow are you locating the flat section?
It would be easiest if you start this over. I'll show you but I'd like some actual dimensions so it can be drawn properly.
-
@dave r said:
@moot said:
@dave r said:
A section plane does not cut geometry. It only gives the appearance of it being cut away. If you are actually trying to cut a flat on the side of your shape, you need to use something else. You can use a face intersected with the geometry or you could use an extension like Zorro2.
Ok... I'll get that plugin/extension... I'll check the PluginStore...
You should also learn to do it with native tools.
2-cts.: Not just the thing about native tools, but it seems more easily done without the making-and-then-chopping approach. The thickness may be more easily achieved from the start by extruding a "C" shaped surface etc.---approaching from another perspective.
-
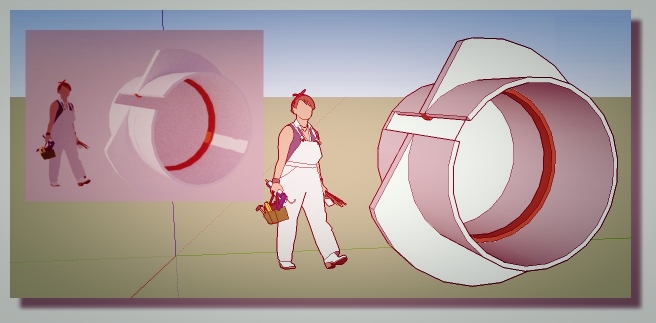
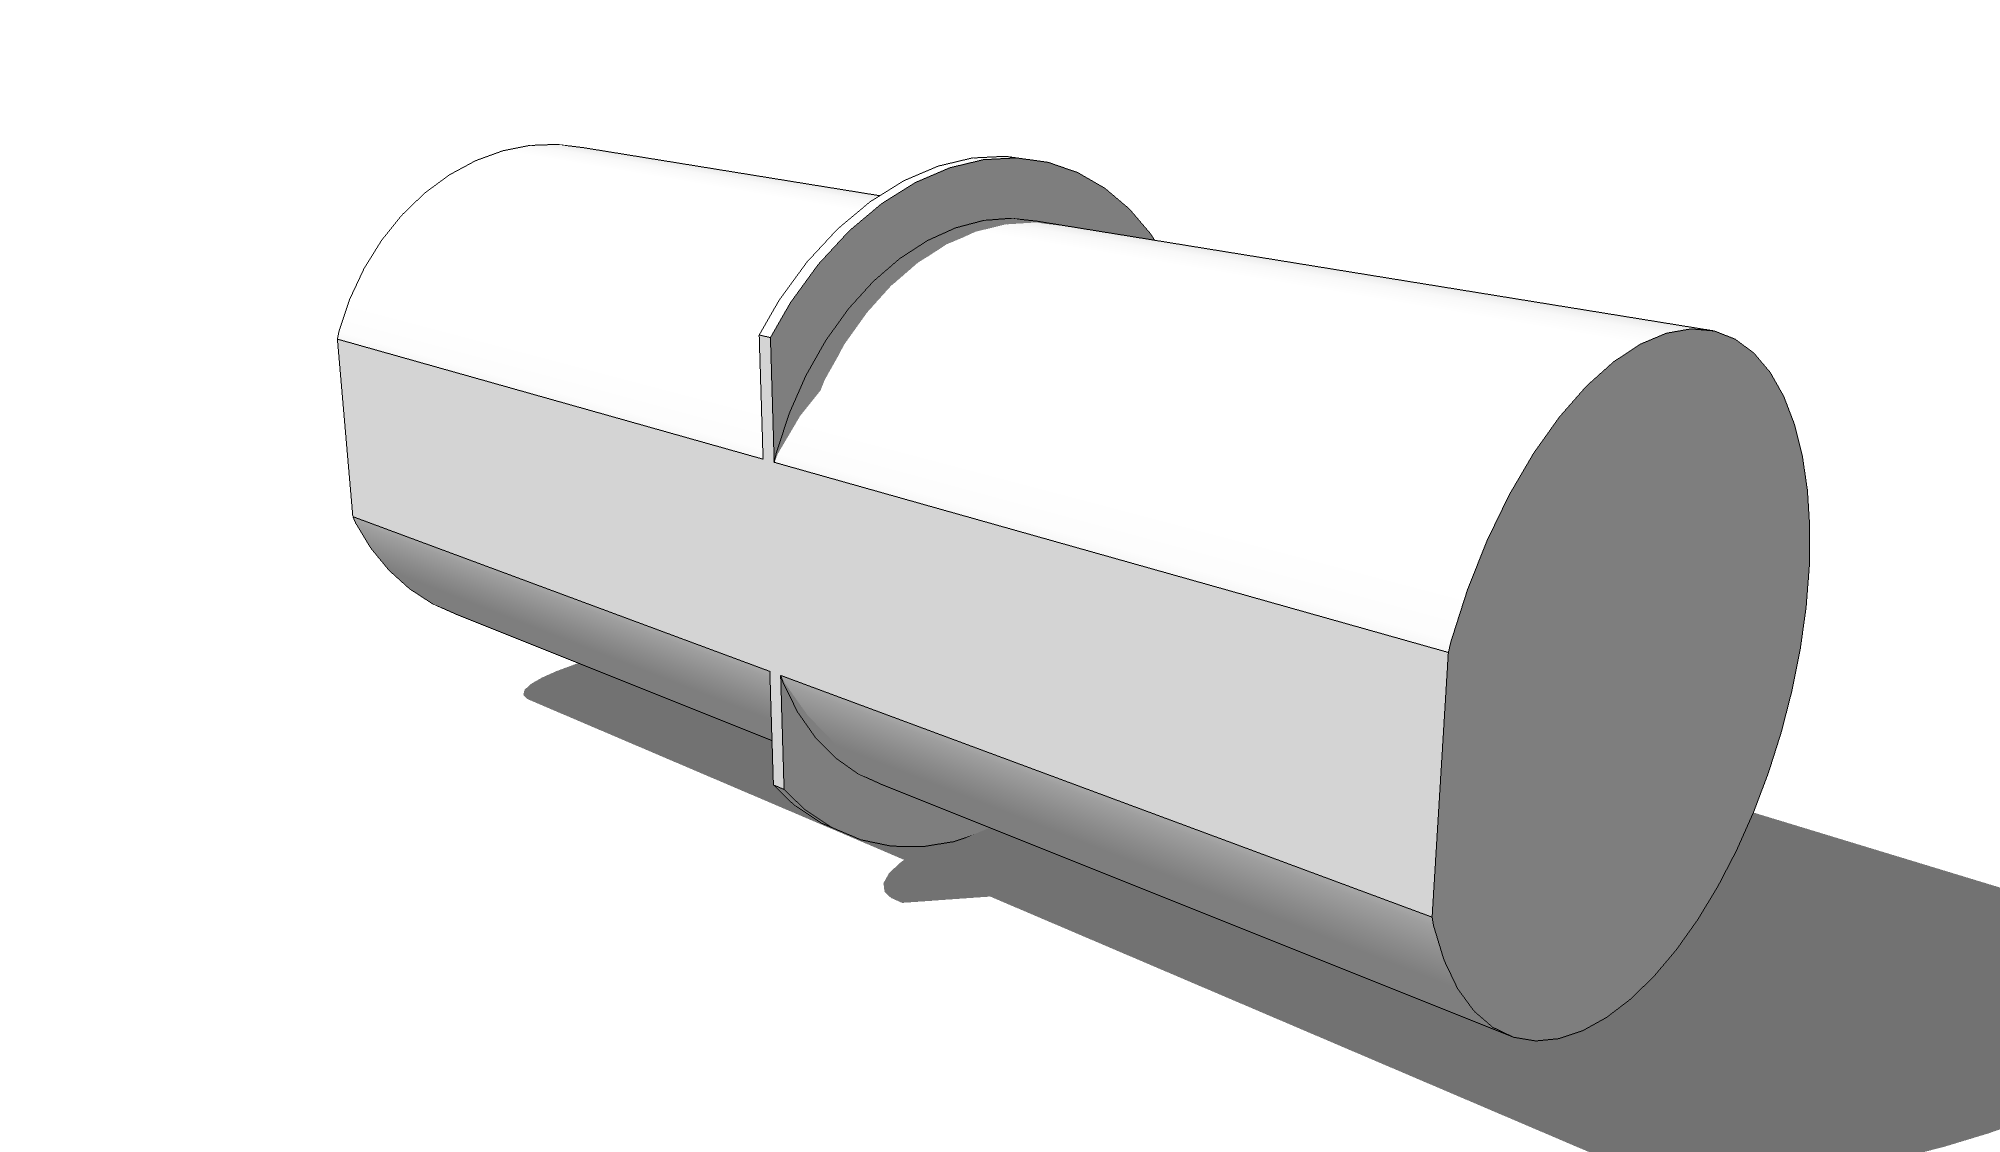
Does this come close to what you want?
-
That would be it, a lot cleaner than what I came up with. Flat on core is nice, I was thinking of doing that because I plan on putting a stamp, 12.7mm deep in bottom of core.
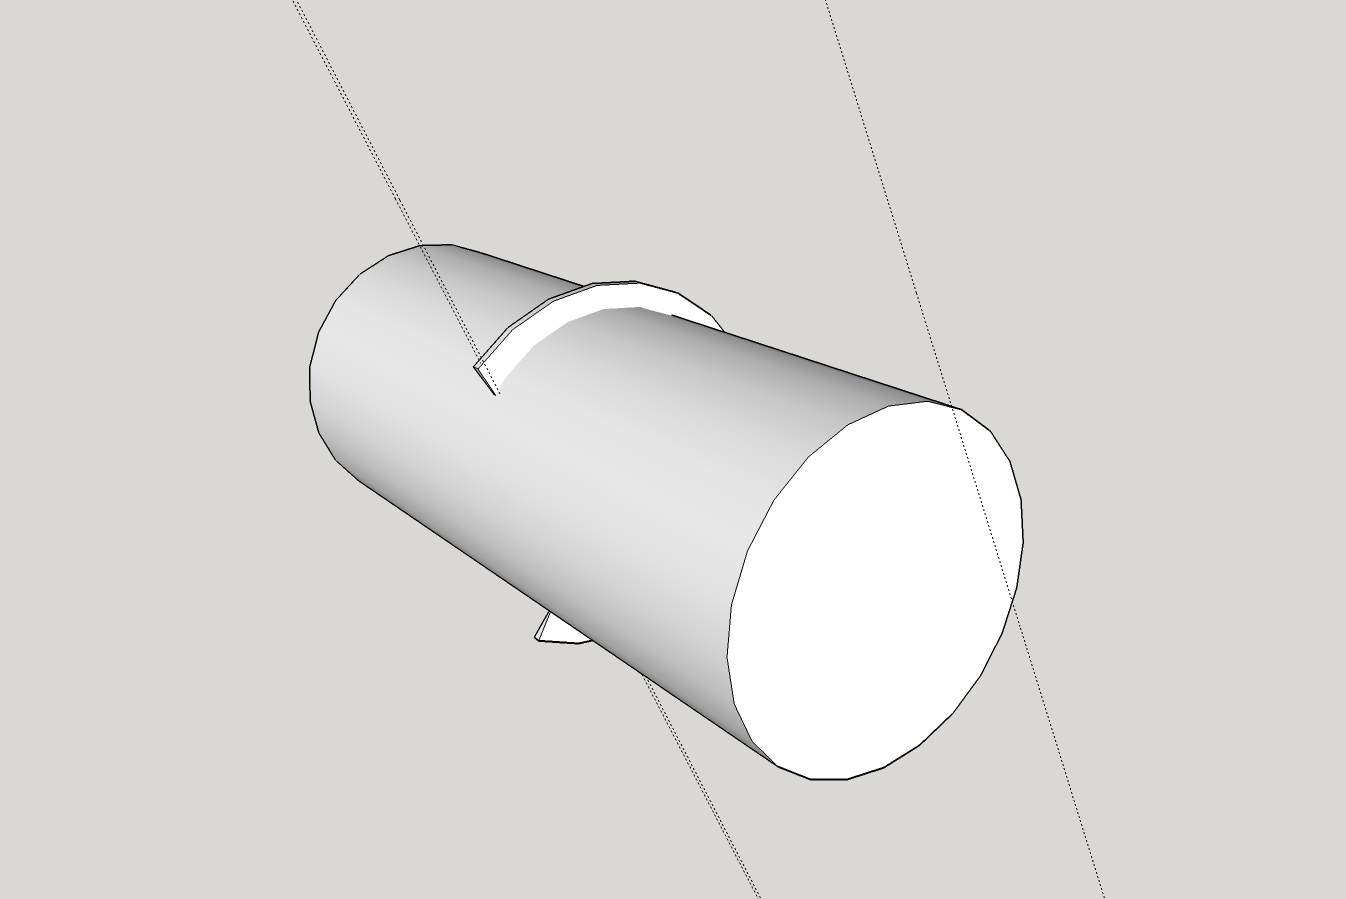
Thank you for taking the time.
I used the Zorro2 plugin, but had a little difficulty... left open face(s). I did finally get things closed up and SolidSolver verified that it was a Solid
Printing it now.
PS, I would be interested in seeing your .skp

-
If you want the flat, you shouldn't print the one from your screen shot. It's easy enough to make it with the flat. Hang on and I'll make some screenshots. In the meantime, here's the model.
-
Thank you very much... All dimensions/measurements are as in the .skp in my first post.
Very tight tolerance required for fit... am still making .00x mm adjustments and do have questions about ability of SU to 'modify' objects, i.e., radius, segments,etc. I'll start another post/thread.123D Design has a 'Smart Scale' that works pretty good, but (can't say it to often) it is just plain hard to use, in my humble opinion

I testing a Dremel3D20, got 60 days to torture it... I'm on the cusp as whether to return it or not...
-
Maybe this will help.
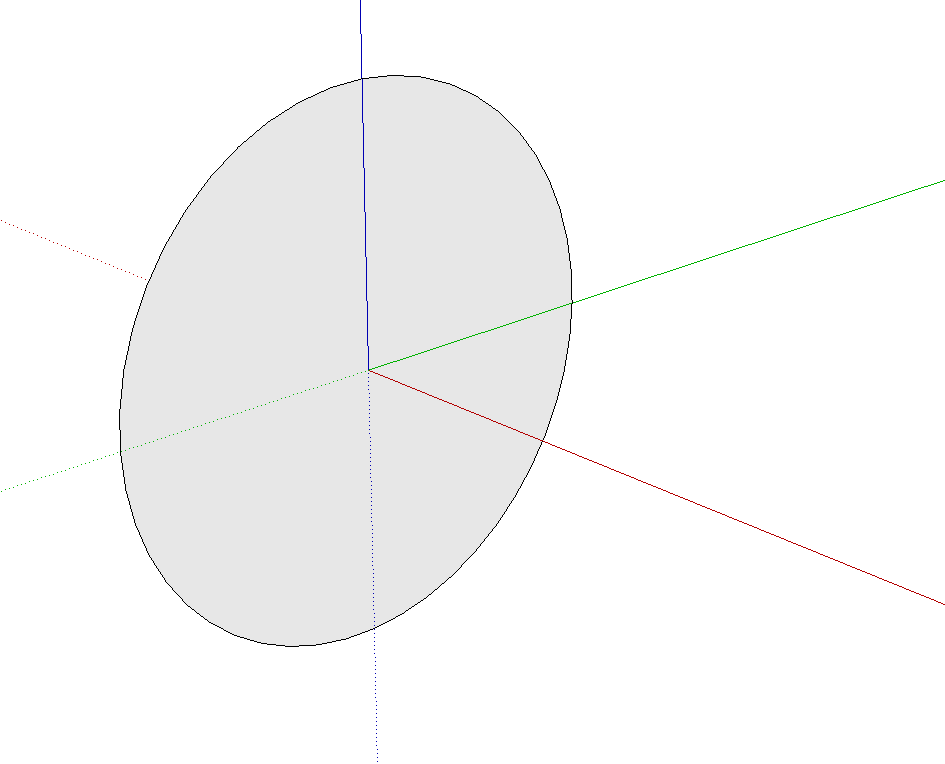
A circle with a radius of the ring.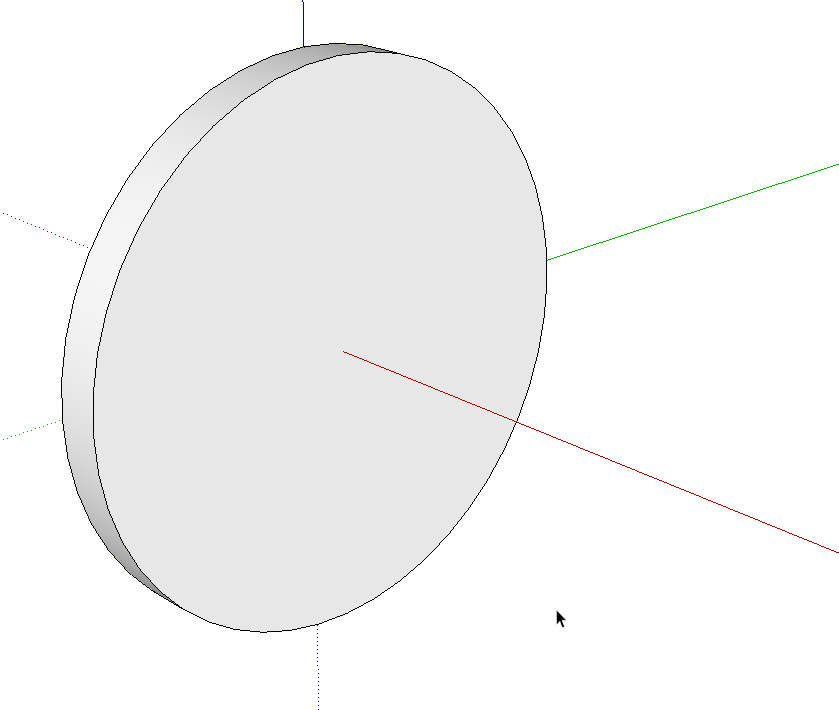
Extrude with Push/Pull to the required thickness.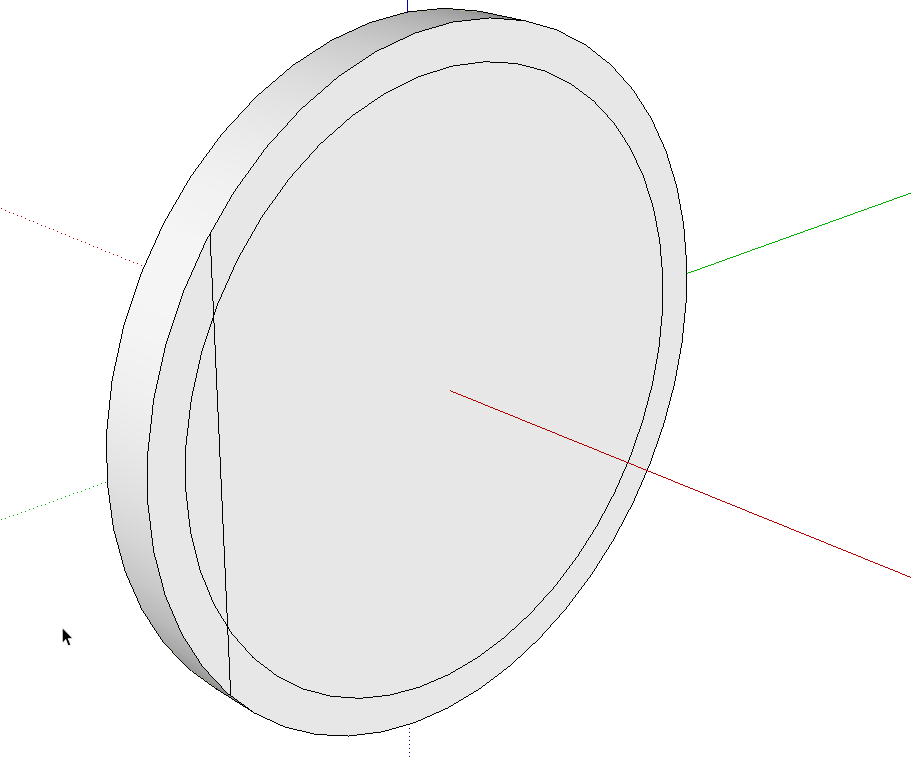
Use Offset first to delineate the radius of the post. Then draw a line for the flat.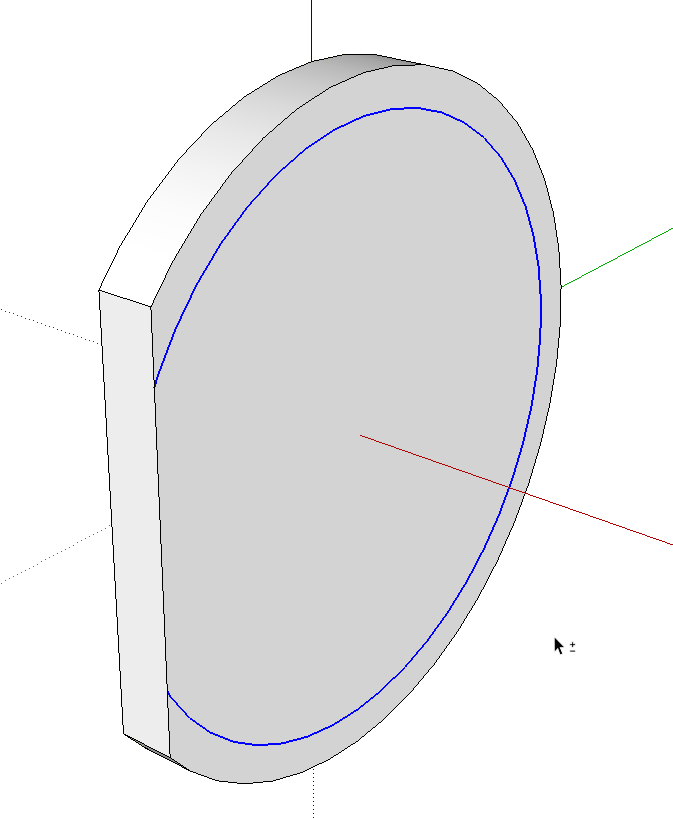
Push/Pull to get rid of the waste.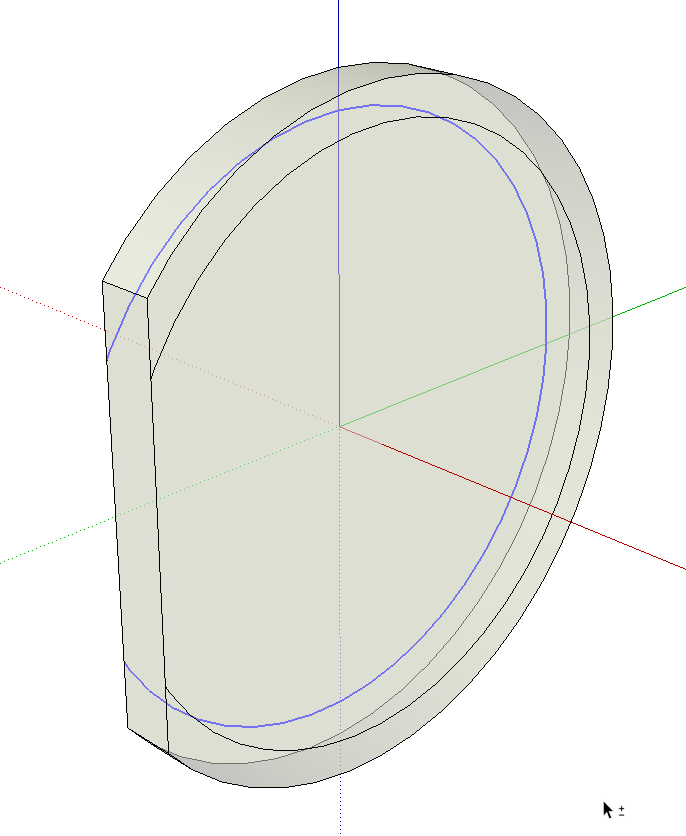
Select the remainder of the offset edge and use Move/Copy to copy it to the opposite side. You could have used Offset on the other side as before but this is quick and easy, too.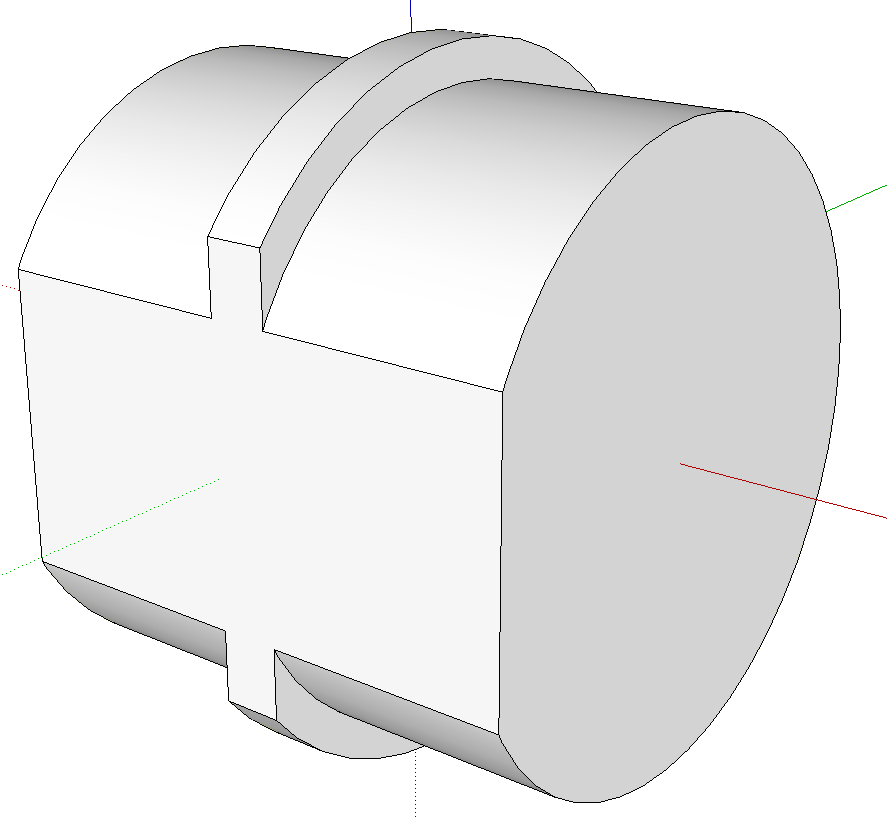
Push/Pull the inner faces on both sides to make the post.
Advertisement


