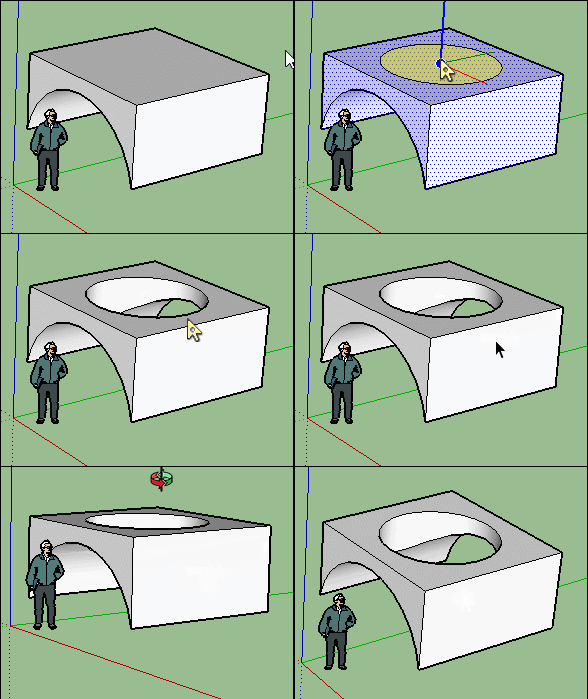
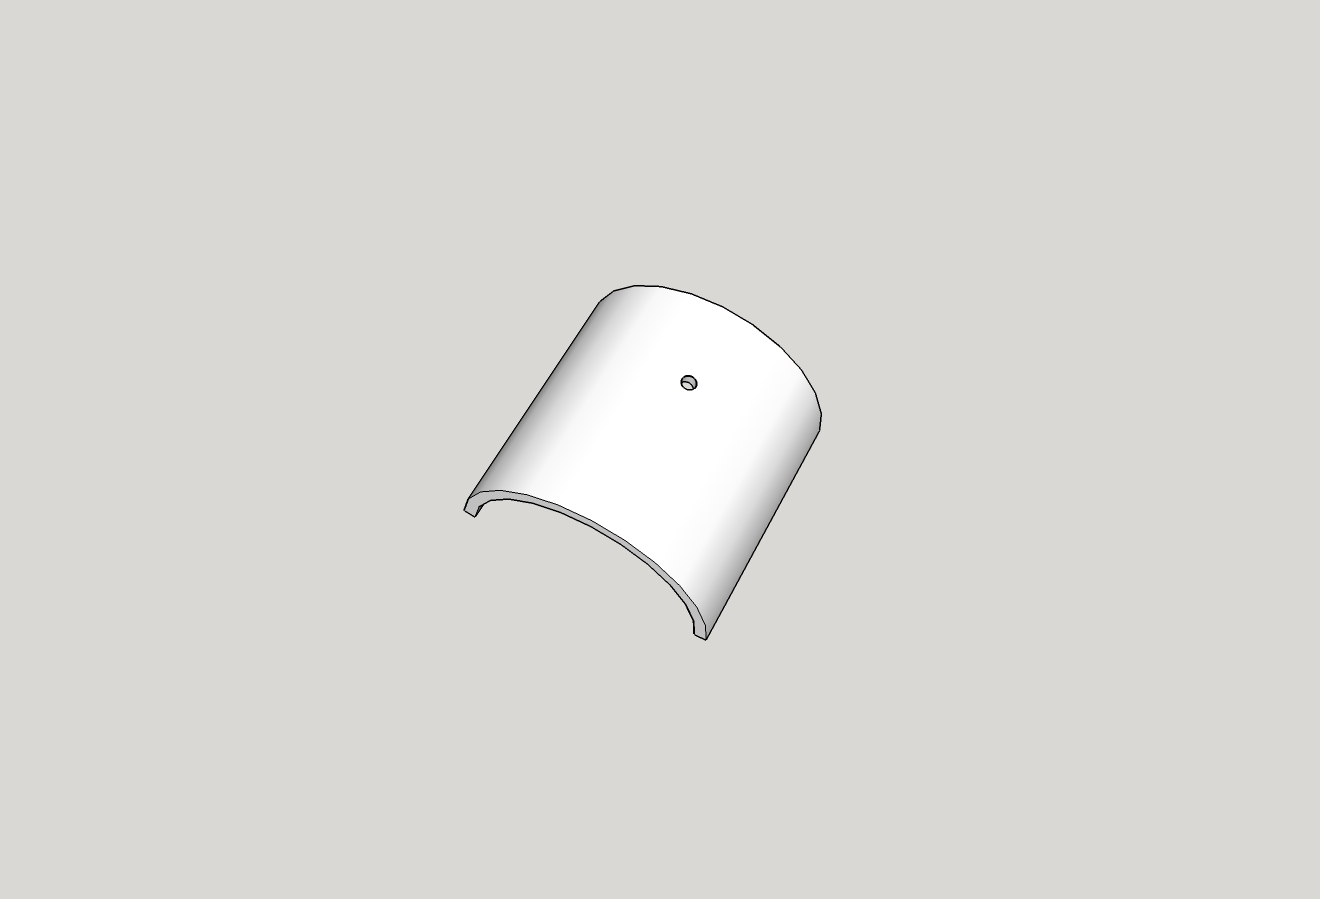
Punching hole(s)
-
I've got this far... but now I'm stuck.
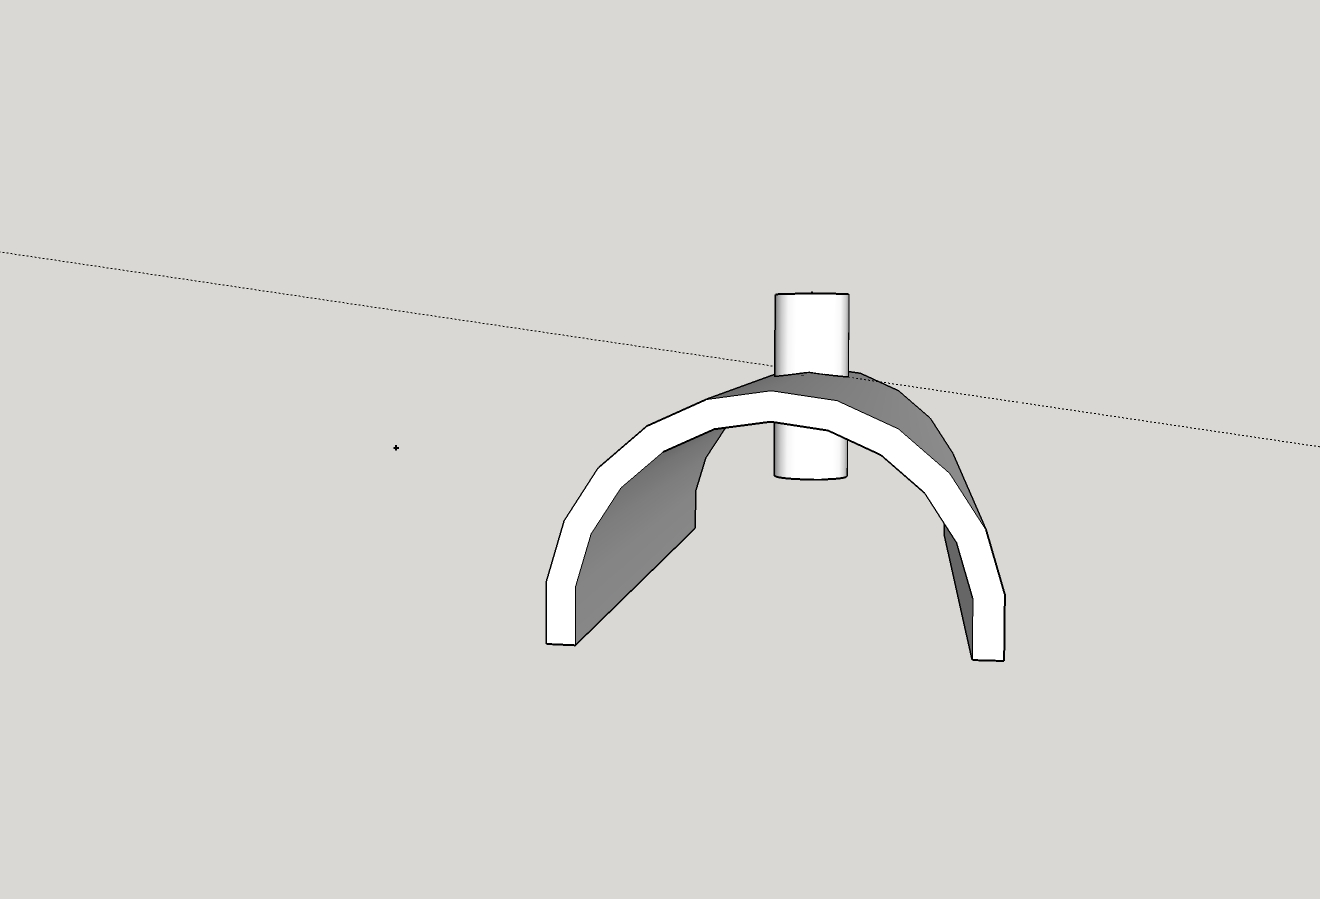
What can I do next to 'brake apart' the to objects and leave a hole?
-
Hi moot, hi folks.
Select all then right click on any item of the selection to open a contextual menu.
In that menu, choose Intersect Faces --> With Selection.
Delete unwanted geometry.
Just ideas.
-
-
Looks great...but, being a real Newbie... how do I manually install the plugin?
VisuHole isn't in the Extension Warehouse (know how that works), and I can't find anything in the SketchUp menus...
You can lead a horse to water, but you can't make 'em think!
-
You should download and install the Plugin Store from this forum, you'll find all of Fredos great plugins there...
http://sketchucation.com/resources/plugin-store-download -
Being a real newbie, first learn the intersect faces procedure which is informative in itself. That plugin is fast and powerful though.
-
Maybe you can take a wink at this Post

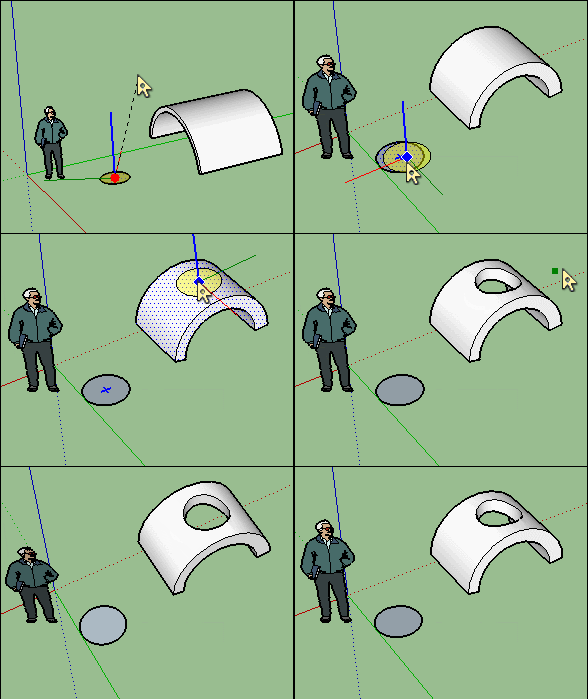
But in short : first draw a flat plane form that you want to use as a "Knife" (above a disc)
(can be any closed flat surface(s) )
Call Visuhole then Click this
select your knife (the disc) drawn previouslyand Move Oriente click it on your face's volume for make any holes you want!
That all!

-
@cotty said:
You should download and install the Plugin Store from this forum, you'll find all of Fredos great plugins there...
http://sketchucation.com/resources/plugin-store-downloadOk... did that... and installed the LibFredo6 and VisuHole... and I don't know what is wrong with me but I cannot get it to punch a simple circle (as shown in pilou's post).
When I click the Stencil button and Tab, only the rectangle or hex shape are available.
Sooooo.... what am I doing wrong?

Also, are there other Stencils to add? or can new ones be created and added?
Wow... think I figured it out... I made a circle the size I wanted the hole to be a selected the 'Use Model' option... now it is in the Stencil History...

I still wrestling with getting the model flat on the grid and aligned with the plans... guess that will be another post... unless my old 68 year old mind can get the hang of this, eventually

-
-
Look at (all) this video and particulary at minute 8.35!
I can't do better make!
-
With a same form than yours! Seems all is working fine!

-
Well, after watching that section a number of times, and finally at .25 speed, I was able to make out what was being selected. Did have to search the Knowledge Base to figure out where the 'Display model with globally transparent faces' was coming from... Styles, Default Styles, X-ray.
I don't mean to be too critical of the video - but - wish it was broken into 'chapters' and going a little slower through the steps (mouse clicks, etc.) would make it easier for us old farts to follow
 or just don't get old!
Anyway, another hurdle jumped... Thanks to the help in this great forum and the very helpful members

Thanks again pilou and others...
PS, I was using Solid Inspector on this model
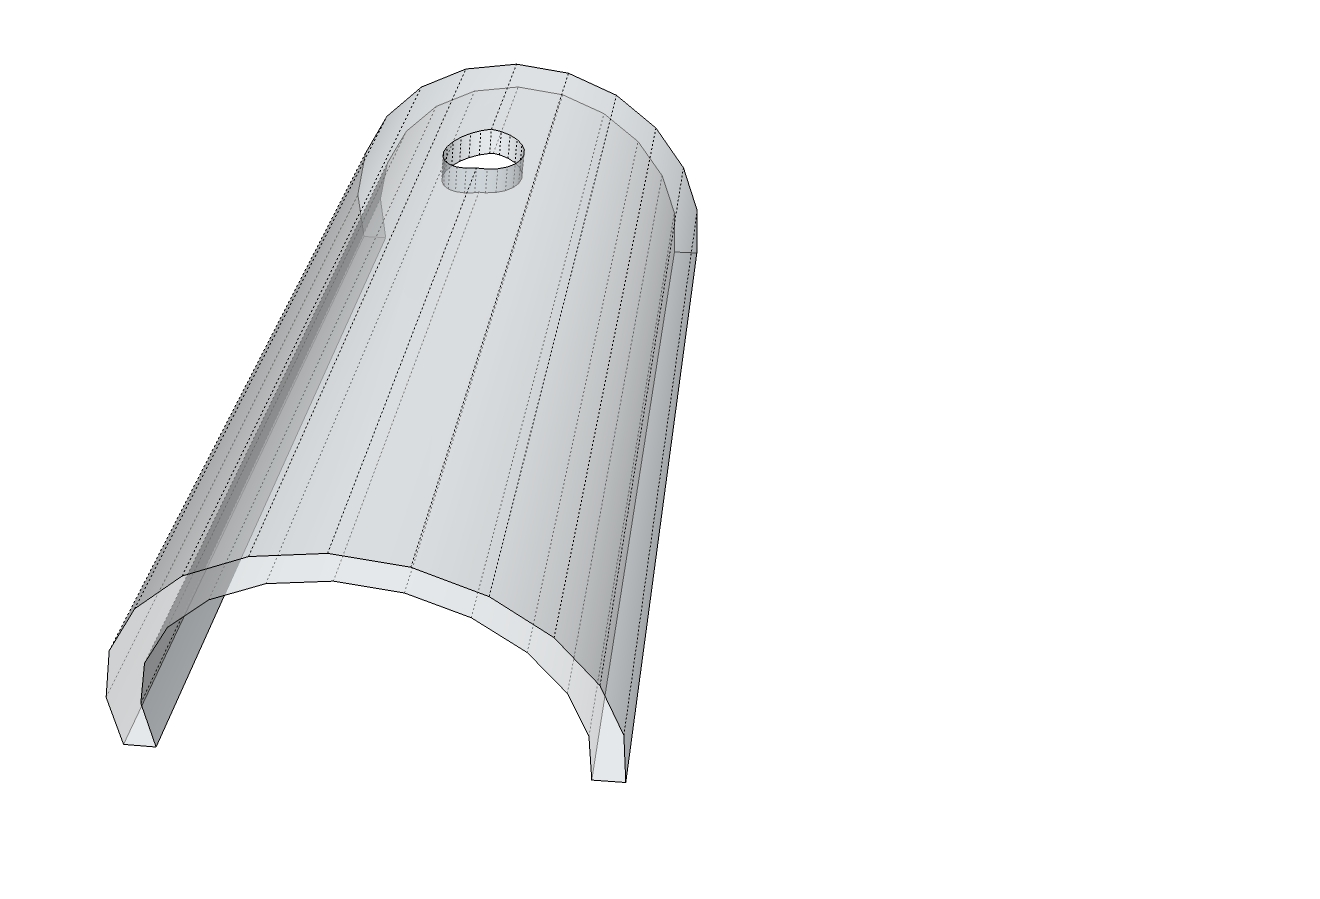
referencing the hole and the hole grouping (as a nested instance). -
@unknownuser said:
referencing the hole and the hole grouping (as a nested instance).
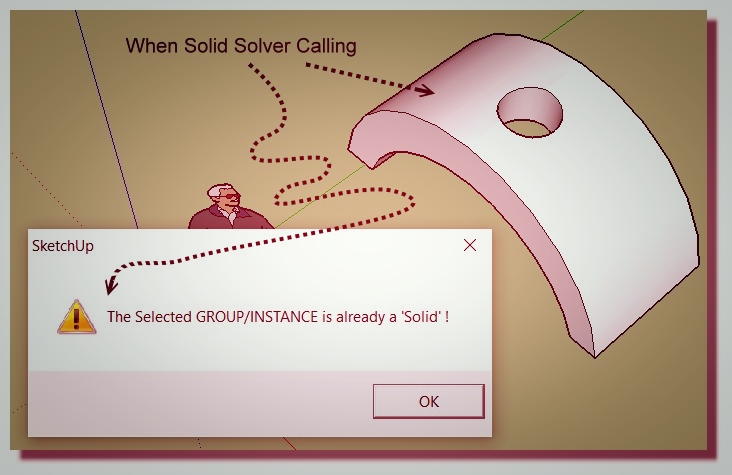
Better use SolidSolver by Tig
If SolidSolver don't success alone...
... Explode all and "Group" again in a single group!
(see image following)Don't hesitate to ask any quesion!

But Golden Rule: post always your file "skp"

(save as V6) for a more large audience!
It's time saver for anyone, for you...and me!

Not obliged to re-modelize something!
So all is fine on this volume...solid!

-
Excellent Plugin Tig! Thanks pilou for the direction... will follow.
Now on to my next problem... Is it possible to move and resize a hole once created?
I see in my top view that the front hole is ~1/64+- off the 3/8 on center that I want it (like the back hole). Or do I just have to redraw/punch new set?
Strt-Solid-With Holes-TS position holes.skp
I see a slight skew (from perpendicular to curved face) between front & back holes. Something I can, reluctantly, live with-but being a Virgo...
Advertisement
