3D Truss Models
-
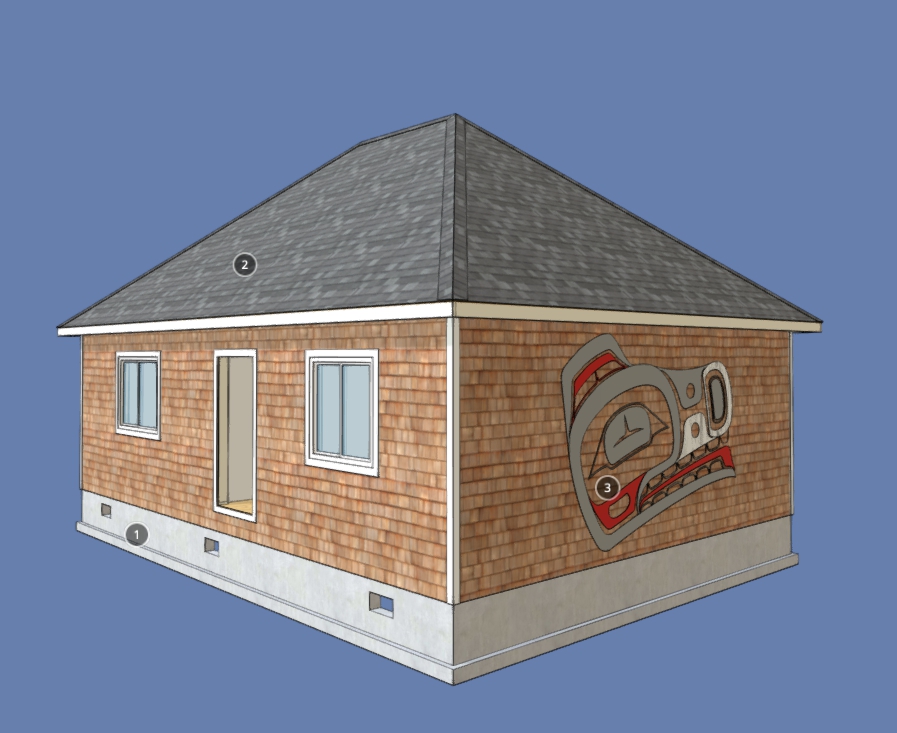
Tonight I was thinking it might be kind of cool to enable an option for hip and ridge (cap) on hip roofs.
After about an hour of coding I generated this:
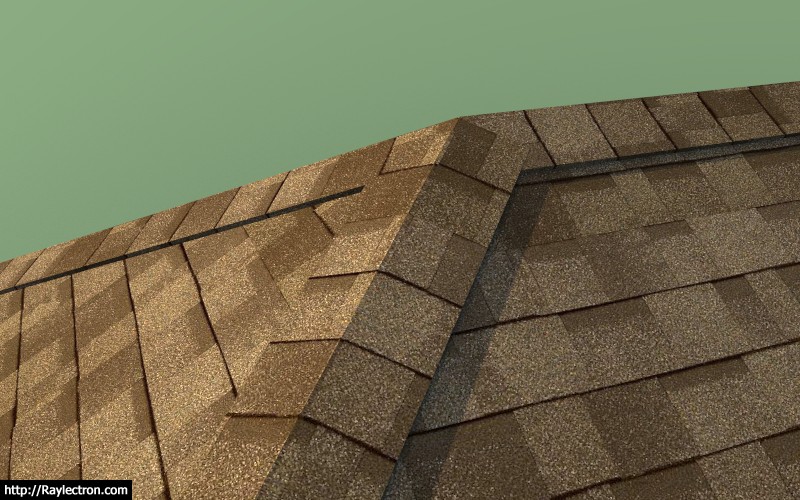
I've got the hip cap figured out at the eaves but I'm a little unsure how to terminate everything where the hips meet the ridge:
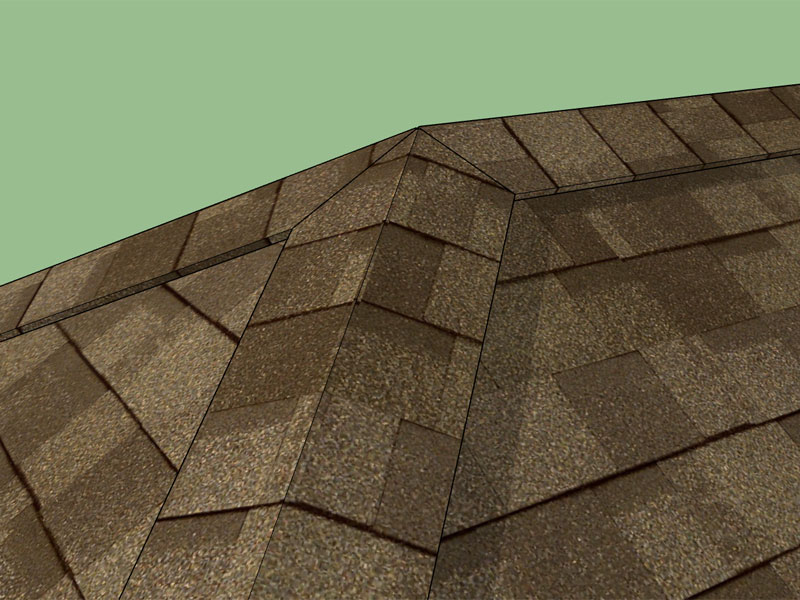
View model here:
3D Warehouse
3D Warehouse is a website of searchable, pre-made 3D models that works seamlessly with SketchUp.
(3dwarehouse.sketchup.com)
-
I also see a lot of this locally:
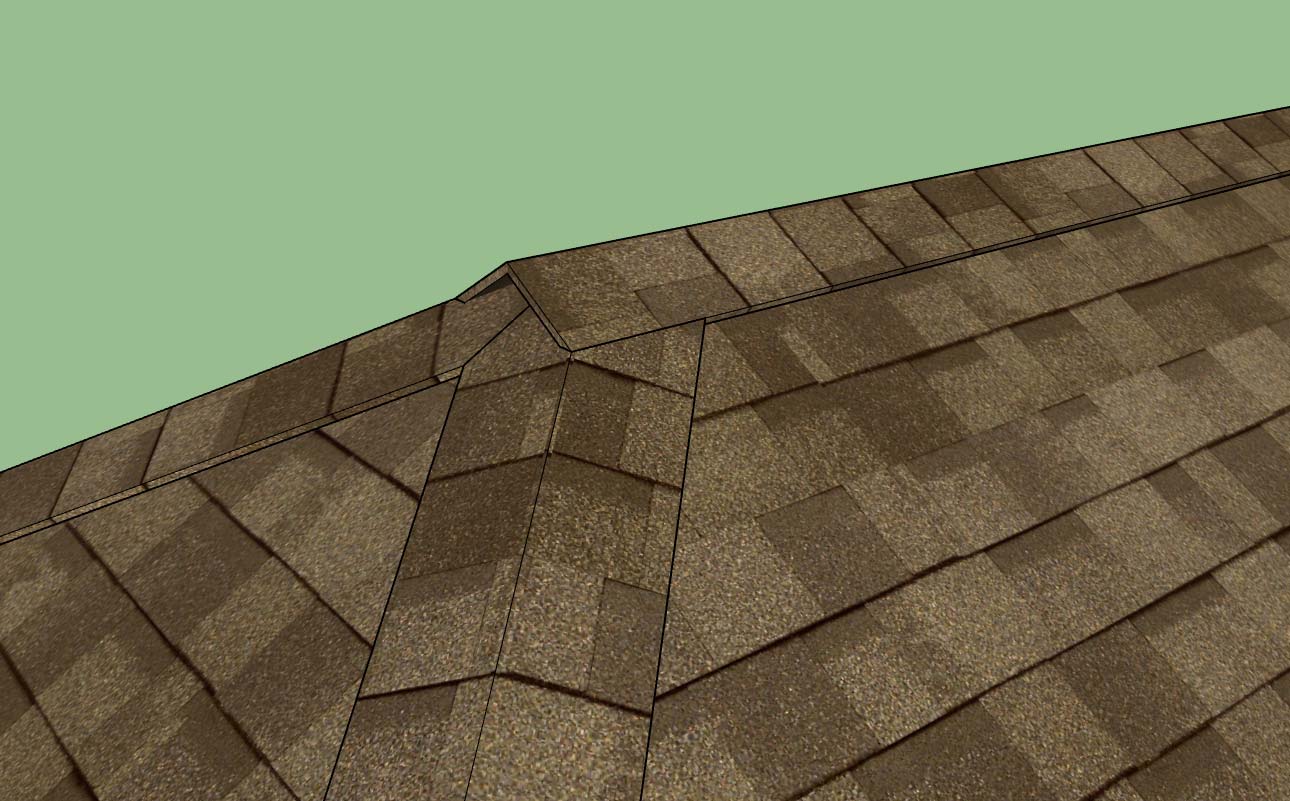
Either way the modeling at this junction is going to get complicated, I'm trying to find an easy way out, that still looks good.
-
Nice work on that. Looks clean!
-
View Medeek's Model in Sketchfab:
Note option to view in Virtual Reality (VR)
Refer to Sketchfab instructions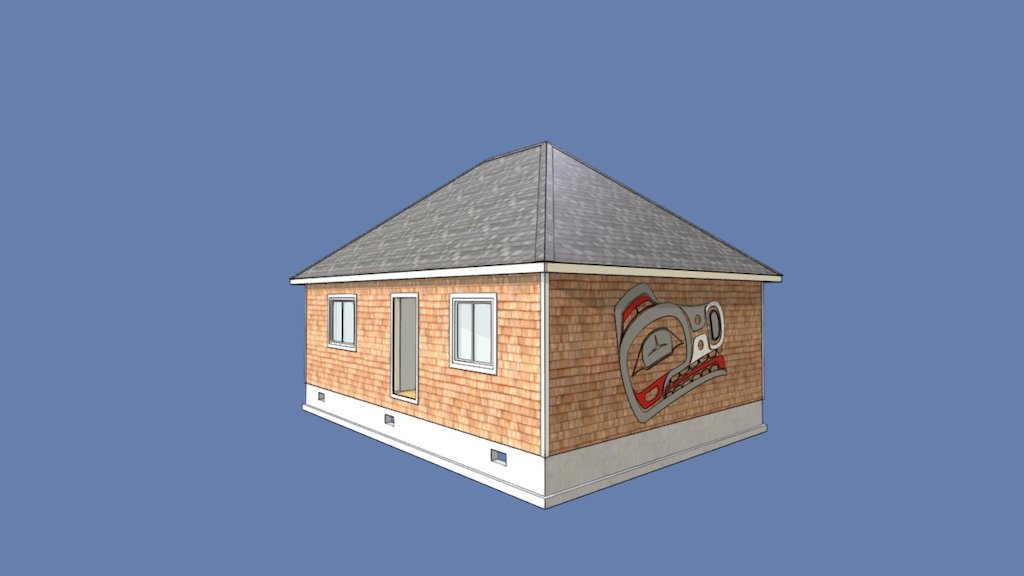
MEDEEK_OFFICE_HIP3 - Download Free 3D model by facer0001
MEDEEK OFFICE Shows example of the use of Medeek Sketchup plugins. Meedek foundation plugin for Sketchup http://design.medeek.com/resources/medeekfoundationplugin.html Medeek Truss plugin for Sketchup http://design.medeek.com/resources/medeektrussplugin.html - MEDEEK_OFFICE_HIP3 - Download Free 3D model by facer0001

Sketchfab (sketchfab.com)
-
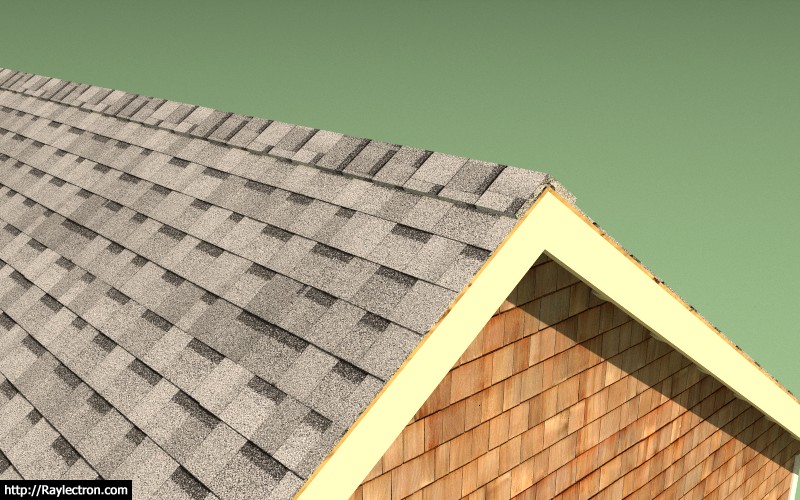
The hip and ridge is now fully implemented for hip roofs as shown.
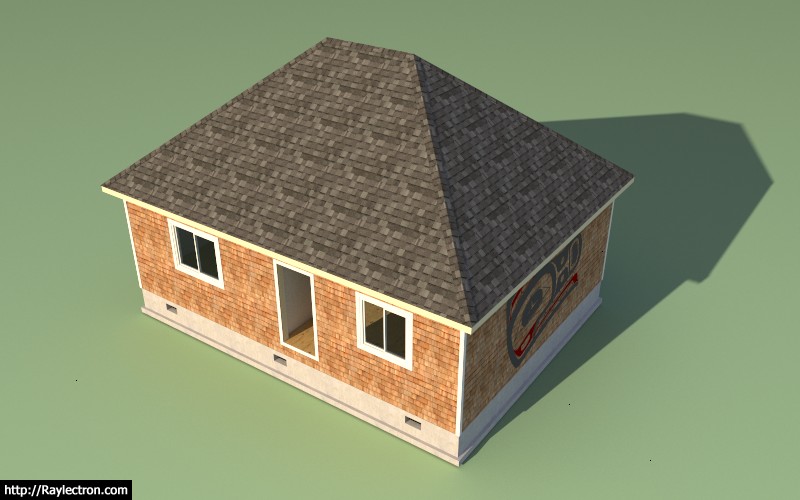
It can also handle pyramid roofs where there is no ridge cap.
In the global settings I will setup and option to enable this feature and also an option to set the (ridge/hip) cap width and thickness.
Its too late tonight but I will see what I can do tomorrow about rolling out a new version.
View model here:
3D Warehouse
3D Warehouse is a website of searchable, pre-made 3D models that works seamlessly with SketchUp.
(3dwarehouse.sketchup.com)
The trigonometry required to calculate the beveled cuts on those hip caps is something else, but it never fails to amaze me how it all works out once the math is right.
-
%(#000000)[View Medeek's Model in Kubity:
Note option to view in Virtual Reality (VR)
Refer to Kubity instructionsModel LINK:
https://www.kubity.com/p/v8uRve] -
Medeek Const Library - Kickstarter Status at: 29 Jul
https://www.kickstarter.com/projects/128644708/medeek-construction-plugin-library -
Version 1.9.6 - 07.29.2017
- Added a hip & ridge option for all hip type roofs.
I will now need to setup hip & ridge for all other roof variants (gable, dutch gable etc...)
I'm quite pleased with the way this has come out. Within the global settings under the "Sheathing" tab you can adjust the width and thickness of the hip/ridge cap.
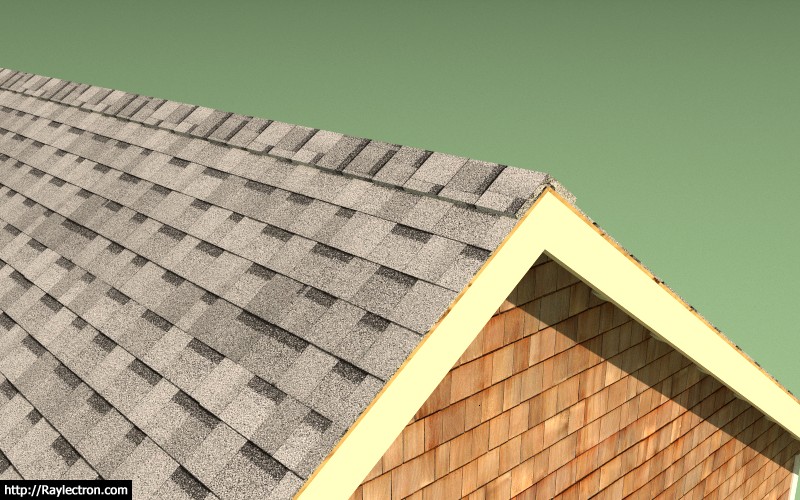
This option definitely adds a finished look to the roof.
-
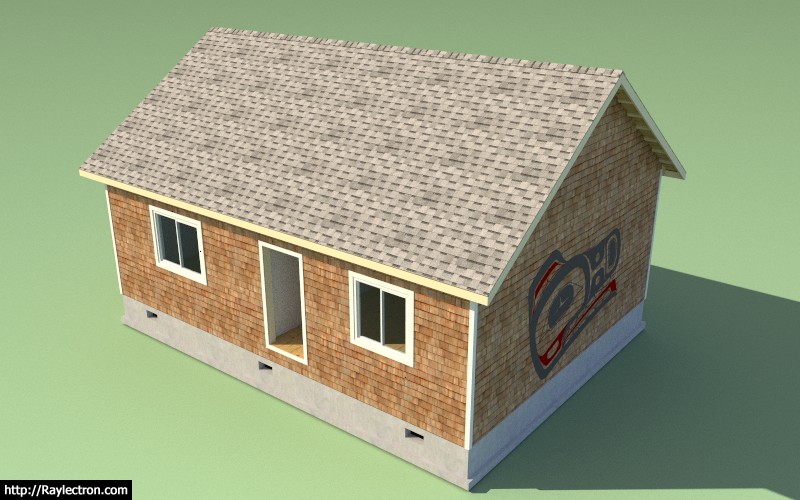
Added a hip & ridge option for all gable truss roofs (sub. rev. 1.9.6b):
View model here:
3D Warehouse
3D Warehouse is a website of searchable, pre-made 3D models that works seamlessly with SketchUp.
(3dwarehouse.sketchup.com)
-
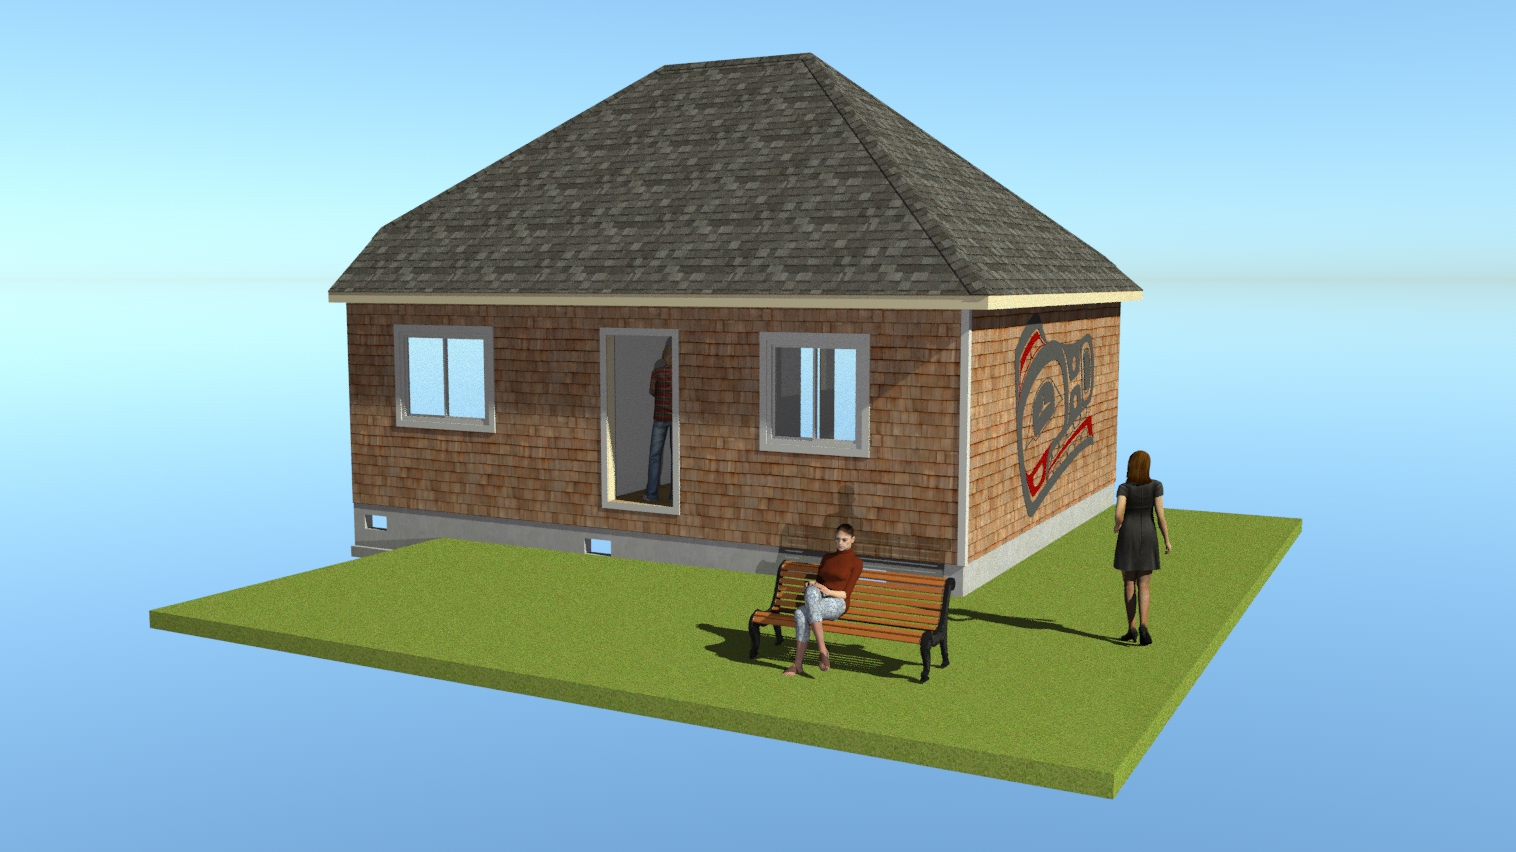
Medeek Office - sliced open to show structure
using Zorro2 pluginSketchfab LINK:
https://sketchfab.com/models/7dd005d09e6040e181ac2319b6dc4cfa
-
Medeek Office - Rendering in Thea for Sketchup
-
This afternoon I began to put together the HTML for the timber truss GUI (what I have so far):
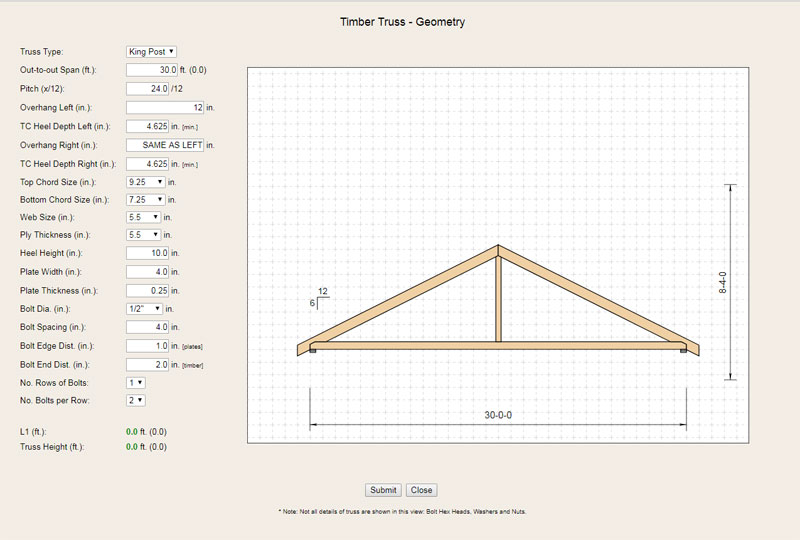
I think I've reduced a metal plated (bolts) timber truss down to twenty (20) parameters.
Hopefully the preview panel will help simplify the entry of these parameters and give the user instant feedback on what each one does. With these sort of trusses the look and feel of the truss is every bit as important as the structural aspect so a preview is very important.
The preview panel will not only show the timbers but also the metal plates and exact position of each bolt.
Once the user submits "go", the timber truss module will draw one (1) timber truss with all of the timbers, metal plates, bolts, nuts and washers.
In the global options the user will be able to specify the bolt standard and the washer standard as well as set the material (color) for the plate and hardware.
As usual the design and programming is a little more involved than I originally anticipated but in the end it should be quite dramatic to be able to create a fully bolted and plated timber truss.
-
I like seeing the 2d display! Looks great! What a productive afternoon!
-
Visually, not a lot of progress:
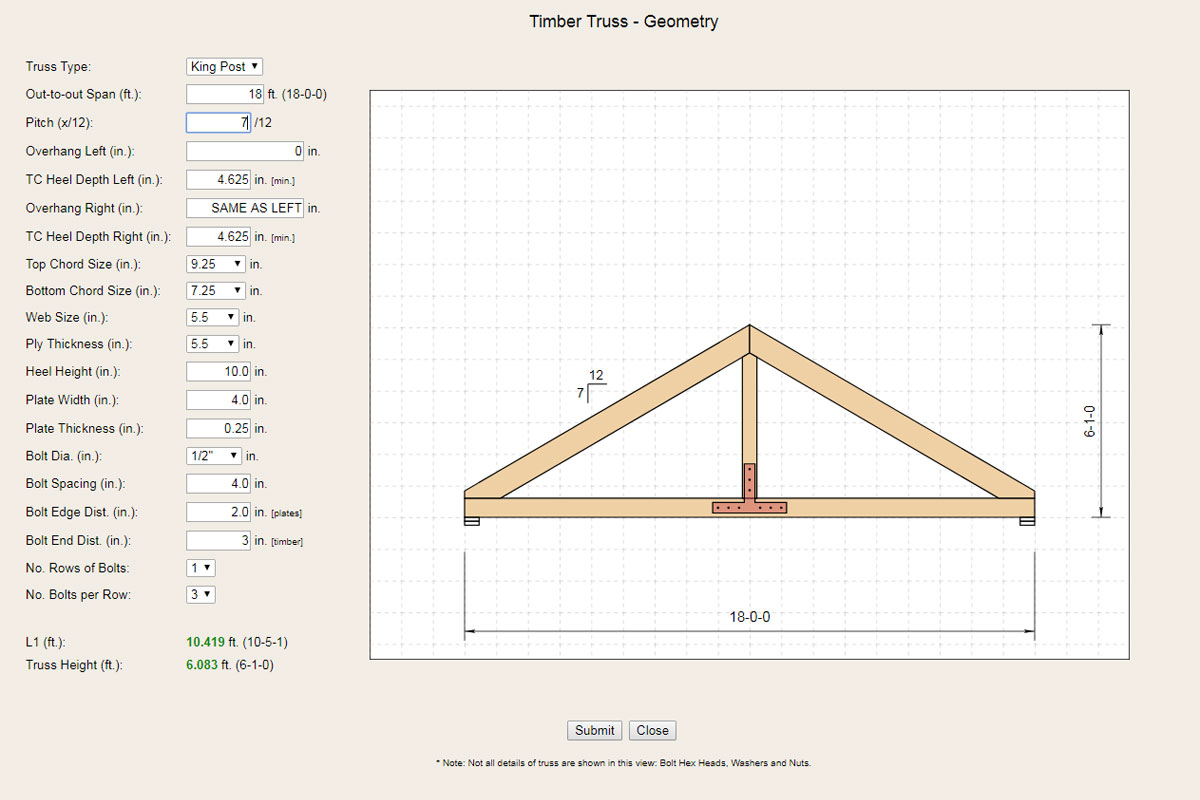
But what you can't see is the algorithm to efficiently position and display the bolts.
For larger trusses I'm a little worried that the display is too small to show the bolt details, but I'm not sure what else to do about it.
-
Looking good! Maybe have the view automatically scale down to fit the larger trusses, equipping the window with a zoom tool / widget / whatever is probably asking too much...
-
There seems to be some confusion regarding the licensing for the plugins. Just to be clear when you purchase a license it is permanent, it will work forever. There is no need to renew your license for continuous functionality.
Renewing your license gives you access to the latest version of the plugin(s) within the Medeek Account Manager. The primary reason to renew your license is so that you can upgrade the plugin(s) to the latest version and take advantage of any new features and bug fixes.
I may update the plugin(s) pages to better explain what I have written above.
Hopefully this clarifies the Medeek licensing policy. Please feel free to contact me directly with any questions.
-
Thanks for the clarification Nathan, maybe download access to the last version a licence qualifies for is needed? I've only seen upgrade options (when licence has come to expiration date) and no alternate link to last qualifying version.
Having said that, upgrades are quite affordable, thank you.
-
I agree that I should probably have a page with the ability to download any of the previous versions. I have resisted this slightly though since earlier versions did not implement any licensing system and in my mind some of the earlier versions are such crude and flawed attempts that no one in their right mind would want to use them over the current versions.
-
It is a pleasure to watch the remarkable development of this plugin (and the others).
A question: might it be possible to control the overhang of the roofing layer only so we can add as much
detailed fascia work as we require (say using PB) to complete the roof details?
Thanks.
-
MEDEEK PLUGINS - PRICING POLICY ($)
Posting by Medeek at:
by medeek » Wed Aug 02, 2017 12:30 am
https://sketchucation.com/forums/viewtopic.php?f=323%26amp;t=63133%26amp;p=623551#p623551There seems to be some confusion regarding the licensing for the plugins. Just to be clear when you purchase a license it is permanent, it will work forever. There is no need to renew your license for continuous functionality.
Sample Model - view on any web device and in VR using iphone with cardboard viewer or headset
Sketchfab LINK:
https://sketchfab.com/models/7dd005d09e ... 19b6dc4cfa
Advertisement


