MXM Mode in SketchUp
-
Hey everyone,
I have an extremely basic question about MXM mode inside SketchUp. I've managed to avoid the use of MXM materials and applying them in SketchUp (I know, I'm ashamed) but recently I've been investigating this a little more considering I have the full Render Suite. I'm having a very simple problem - how on earth do you actually APPLY an MXM material?? I have clicked on 'MXM' and it has swivelled around to show the material, if you click on 'copy colour to SketchUp Material', it only copes the colour and again the 'copy texture to SketchUp Material' only copies the texture. How do I apply all the various layers/elements contained with an MXM material to a SketchUp face??? I'm able to do it in Studio by dragging the MXM material to the face/component in question but for the life of me, I can't work out how to do it from within SketchUp.
Someone please put me out of my misery!
Neets
-
Hi. I do not use Maxwell rendering application. However, it occurred to me that maybe there is a setting, or a right click option to preserve all attributes, or something like that?
(I had to look up MXM mode to see what application this might refer to)
Just trying to help
-
when the mxm is shown in the maxwell scene editor you just go into the sketchup model, select the face you want to apply the mxm to, then go back to the maxwell scene manager and click on the "assign to selected entities" button (the small cube with the red side). inside sketchup you will only get a colour (or when you click on "copy texture" the diffuse texture) on the selected face, but when you render it it should display the mxm material with all its properties on that face.
hope that is understandable with my poor english skills

-
@Carloh: Your reply was quite understandable, even by me who has quite poor mxm skills.

-
@unknownuser said:
How do I apply all the various layers/elements contained with an MXM material to a SketchUp face??? I'm able to do it in Studio by dragging the MXM material to the face/component in question but for the life of me, I can't work out how to do it from within SketchUp.
Working with MXMs in sketchup means that you link an external Maxwell material to a sketchup material. So all setting for the material will be done in the external material editor. The texture you apply in sketchup is only needed as reference to set up the UVs for your objects. So you CAN import the texture of the material but you can also use any other texture with the same aspect ratio as reference. I normally store a low res version of the main texture for each material and load this into the sketchup material because it will be stored into the skp file and loaded into memory.
-
Thanks everyone! I managed to work it out in the end. I'm wondering if any of you could advise me re: material settings for a chandelier? When I say chandelier, I mean the crystal droplets that you would normally see attached to them. When I use glass, or reduce the opacity of glass they still appear dark grey. There are emitters in my scene that I thought would have been effective at shining enough light on them to help with bouncing the light off but it's not working. Any ideas?
Thanks
Anita -
It's ok, figured it out!

-
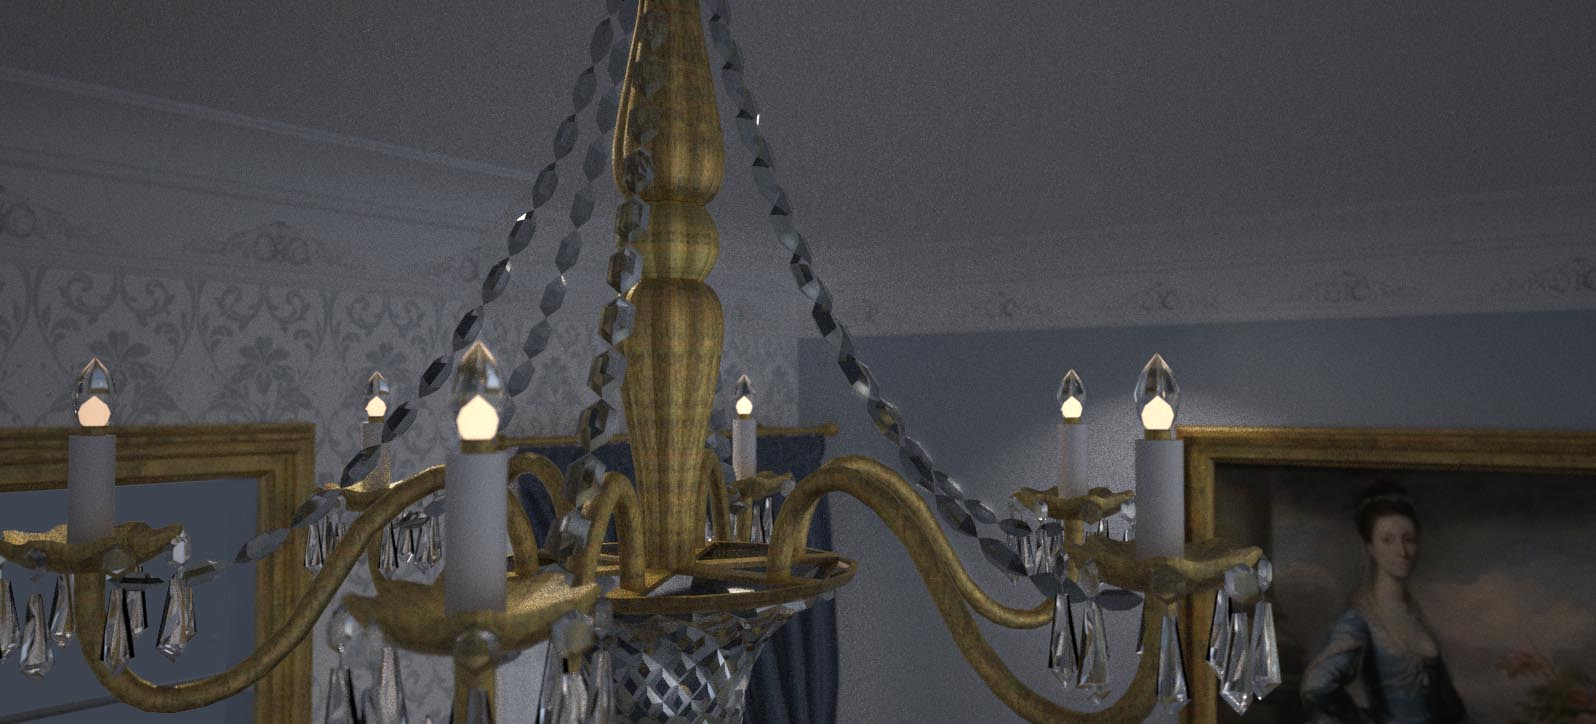
Neets how does the chandelier look?
-
I want to see too

-
Hey there PB and Carloh! I've attached an initial render. The ceiling is still ever so slightly noisy but I'm really happy with it. I used the Focal Distance tool to make the main body of the chandelier in focus and everything in the background slightly blurred (actually the nearest 'candle' holder is slightly blurred too). I did do a little post processing in Photoshop to bring out the highlights of the crystals and distressed gold of the chandelier a little more. Although, I should point out that I didn't model this chandelier!! I downloaded it from the 3D Warehouse!
I've kinda worked out that natural light (and plenty of it) is pivotal to getting the desired effect in addition to fiddling with the settings in the material editor!!
Jason, if you're reading this, thank you so much for creating the distressed gold MXM material!! You're a star

Neets

Advertisement


