Need help creating cooling vents on curved surface
-
Hi forum,
I just picked up the helicopter-project I was working on the past few months and am determined to finally finish it. However, there is still one problem that is holding me back: As the following pictures will expain, the helicopter has cooling air vents on the engine housing, which is curved. Doesn't sound too complicated, but I just can't seem to come up with any ideas on how to do it. Here's what I mean:
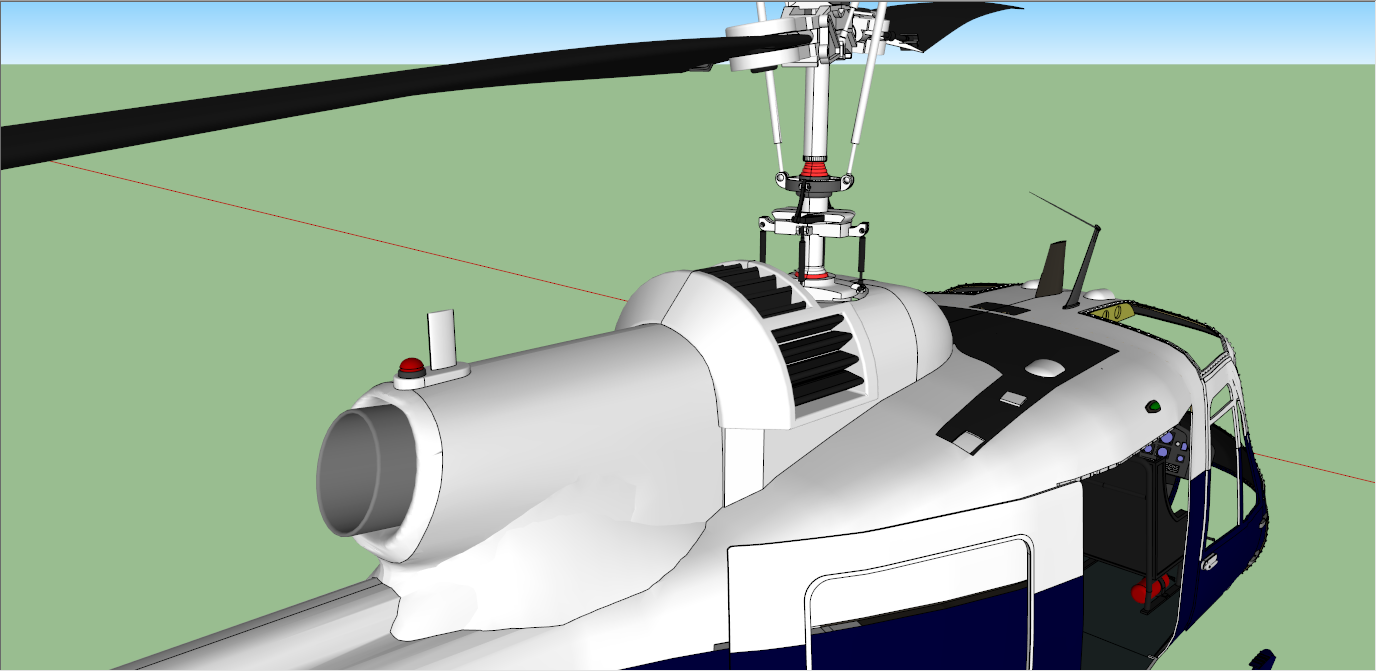
This is the model. You can see the curved turbine housing, still missing the vents.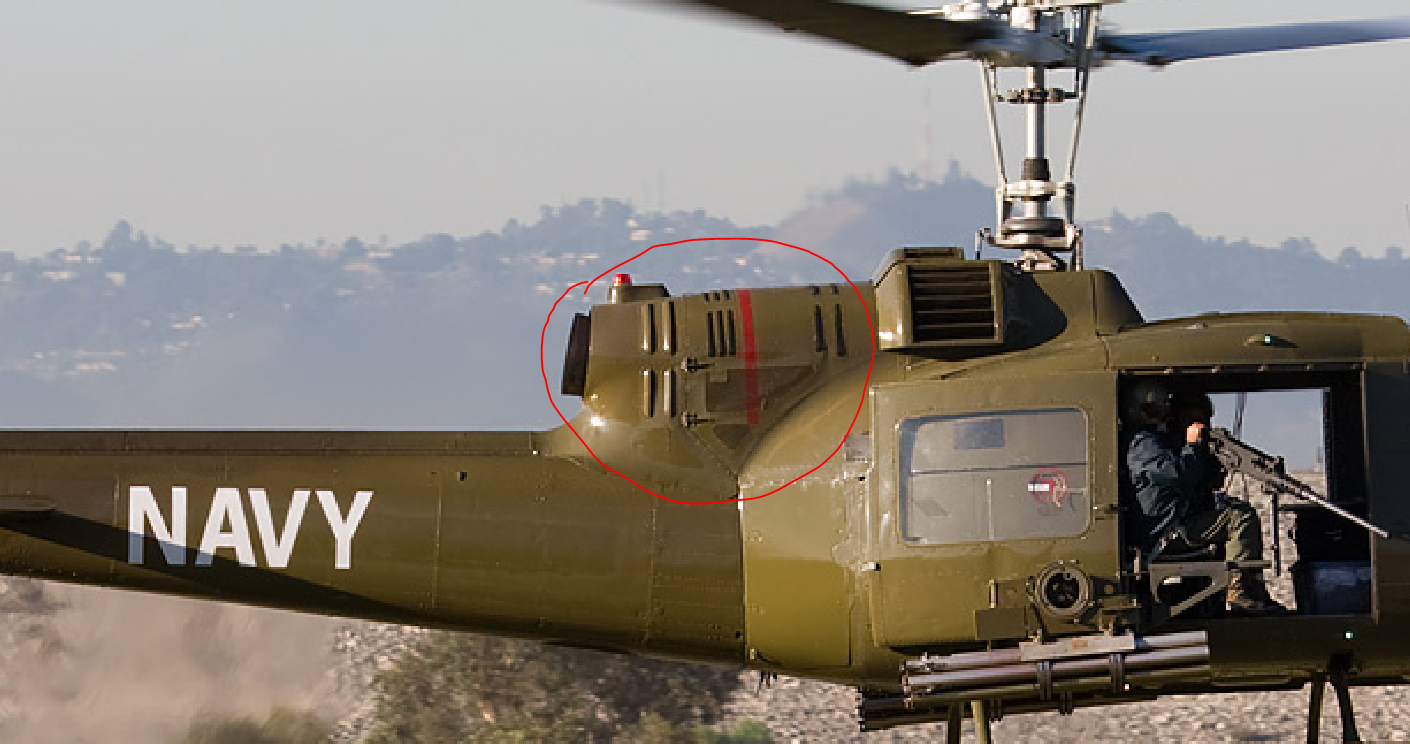
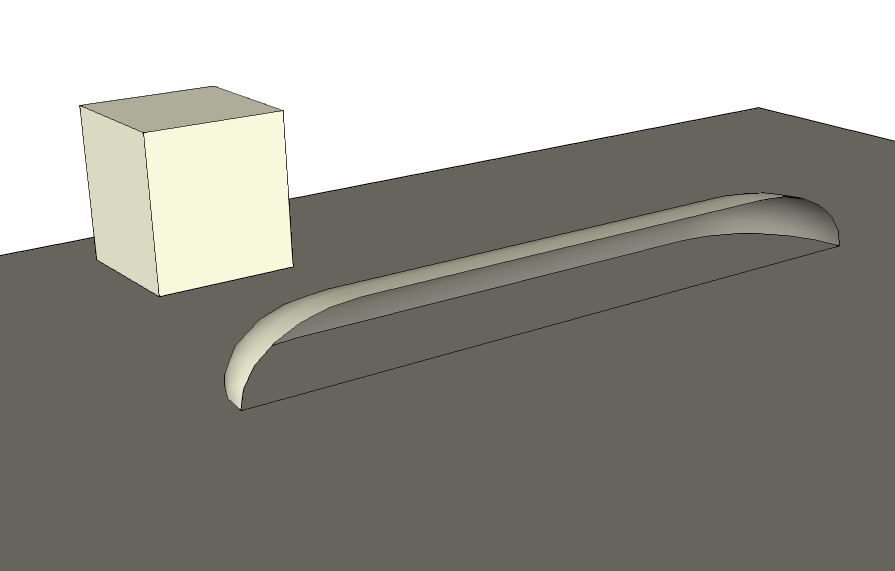
This is what it is supposed to look like.I just can't think of any way to get this done. Can anybody help me out?
Thanks in advance,
Kevin
-
A couple of ideas,
Tools on surface and Joint push pull.
or draw and construct the shapes you want and intersect them with the housing.
It often helps to think how you would actually build it in the physical world, usually it's almost the same.
after all it's only aeronautic engineering and not rocket science.
-
I agree with Box... good methods. You might also use Loft and a little free hand lines. In organic modeling you're going to come to the point where it's easier and faster to use your eye and draw it by hand. drawing lines along the polys in the are you like and then copying those lines out away from the shell a few inches, then drawing a line at top and bottom to connect back to the shell and then lofting that new "fin" "flare" I can't see the exact shape but most people are not going to notice such small detail unless they are close and paying attention. These are the places in your model that add up to high poly later.
looking closer at the shape... I think you might also do well building the flares flat and straight and then using shape bender to form them to the shell of the craft.

-
here ya go...
the skp
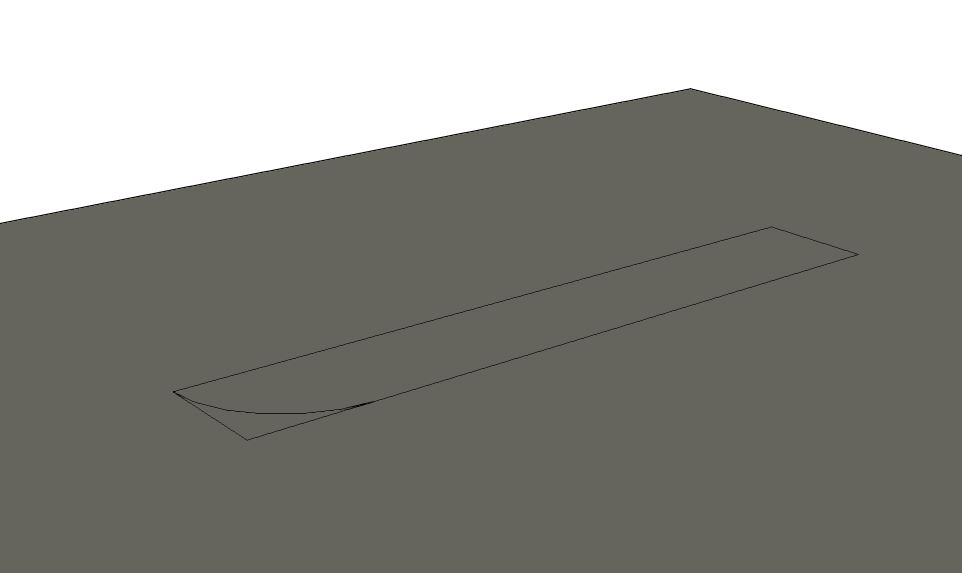
draw the general shape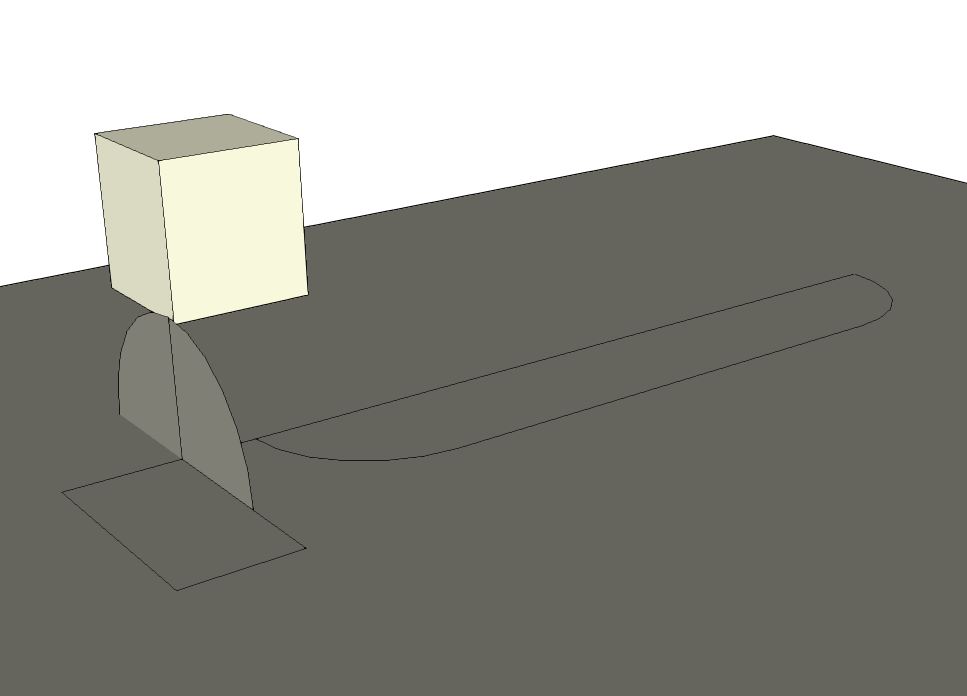
make a follow me path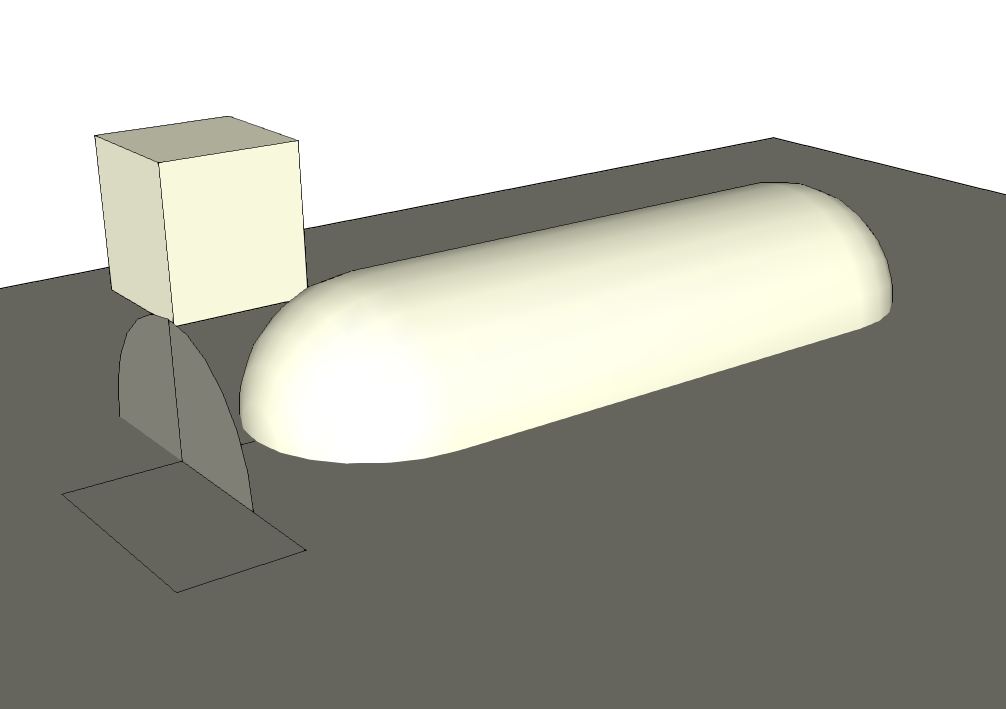
follow me
intersect and slice it into what you want... 1/4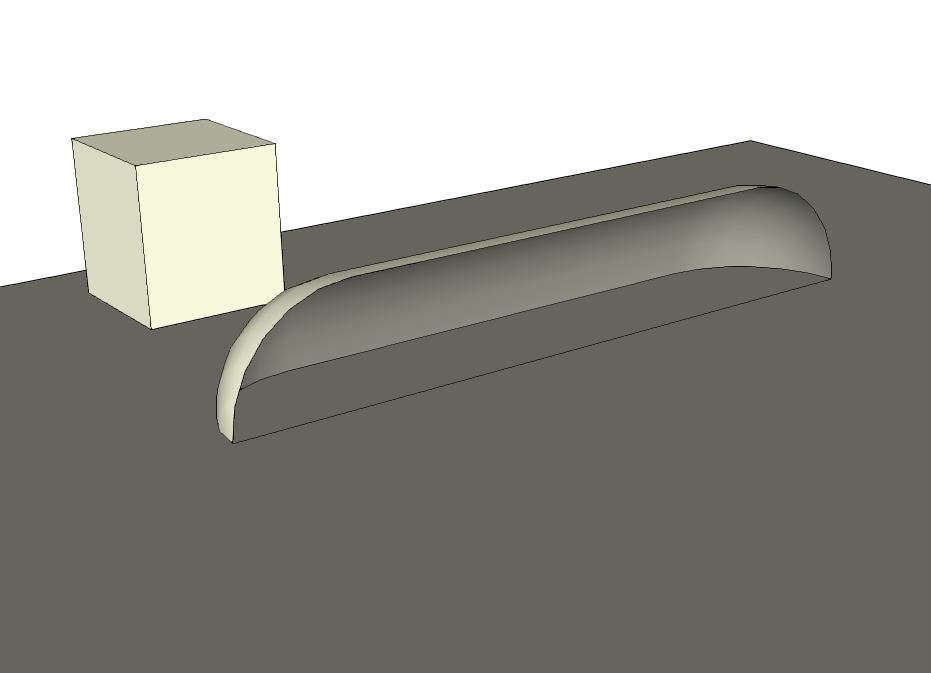
use the scale tool to smash it on top... I did .70 scale top to bottom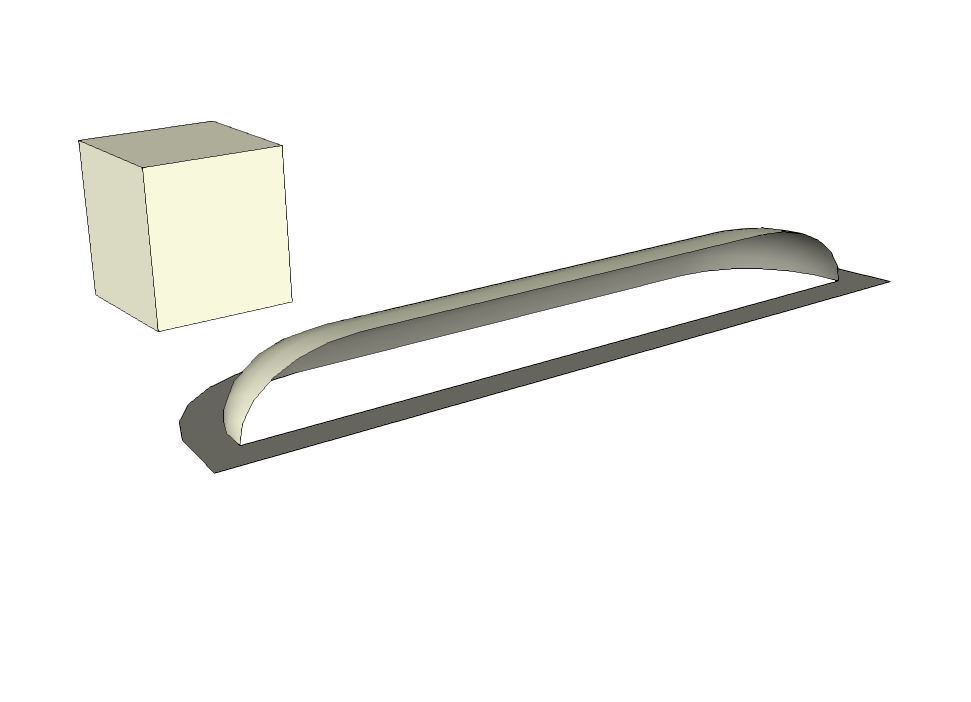
make a plate to attach to shell with offset.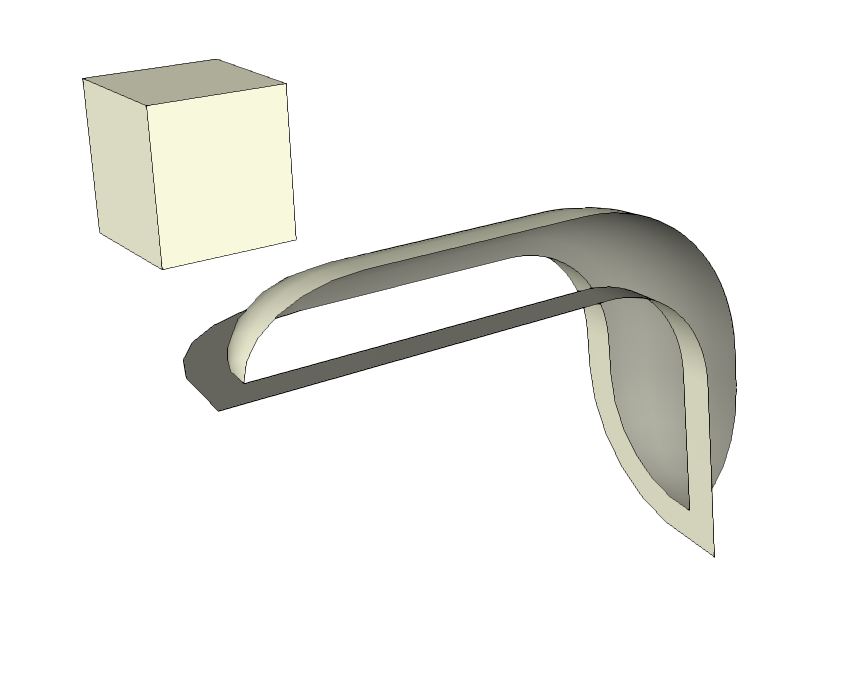
shape bend the flare to fit the shell of craft.
Hello! It looks like you're interested in this conversation, but you don't have an account yet.
Getting fed up of having to scroll through the same posts each visit? When you register for an account, you'll always come back to exactly where you were before, and choose to be notified of new replies (either via email, or push notification). You'll also be able to save bookmarks and upvote posts to show your appreciation to other community members.
With your input, this post could be even better 💗
Register Login


Advertisement