Scaling MXM materials in Maxwell Studio
-
Hello everyone,
i've worked with the maxwell standalone plugin for sketchup for a while now and got some pretty good results with it. now i updated to the full render suite as maxwell offered me this for half the price and i'm extremly happy with the possibilities this awesome suite offers me (multilight, etc...)
now my question: i've been using mxm files from the webbase with success, but when it comes to scaling them i don't know how that's done. i've read something about UV's but i don't get how that's done. maybe some of you could get me a "scaling mxm textures for dummies"?
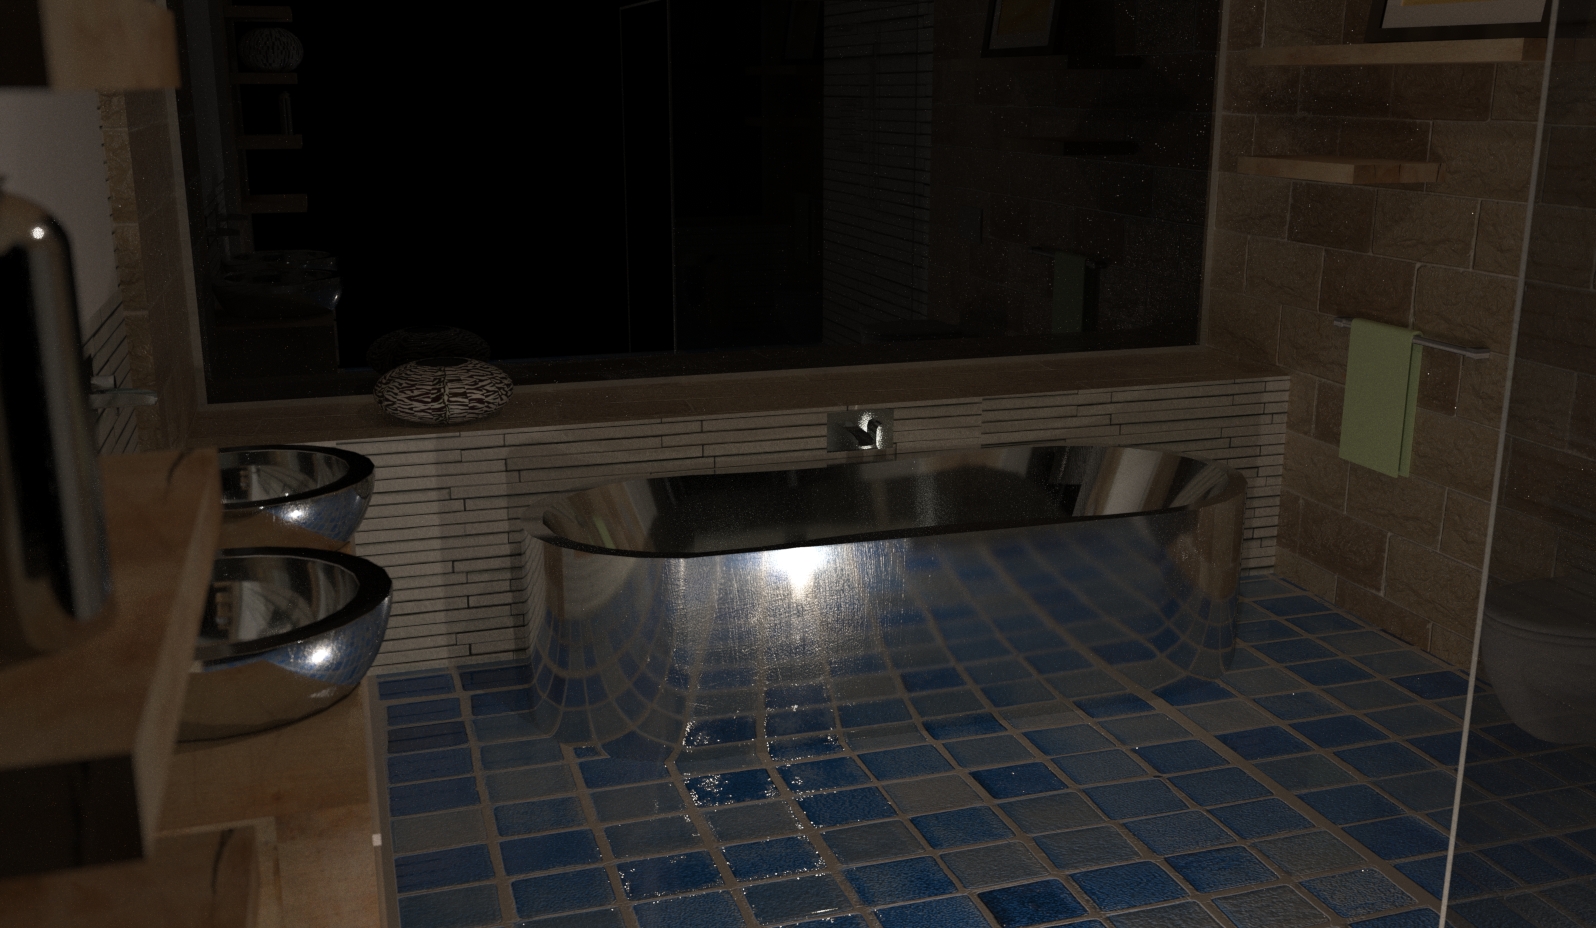
I've attached an example. I simply can't figure out how i can get the ground material smaller as it's supposed to be a mosaic tile material.
 (don't look at the colors i've chosen here, i just wanted to test materials)

-
What does the material look like in the SketchUp viewport?
Best,
Jason. -
in sketchup i only put different colors to the different faces so i didnt use the viewport in sketchup.i finally embedded the mxm files after i exported the scene to maxwell studio.now i guess thats the wrong approach?
-
Never having ever used Maxwell, so I may be way off here, however is there a folder where the MXM is stored? in that folder is there any textures that relate to that MXM?, if yes then use that texture in SU and scale as you need then apply the MXM mat to it. I do this for both Vray and Thea.
-
i will give this a try solo. but doing it like this i dont get the sense of studio as i thought the workflow would be: model in sketchup > set up scene and choose materials in studio > render in the maxwell render application

-
If you are trying to apply the material in Maxwell Studio then you have 2 possible approaches:
- You can manually set the tiling (in relative units or meters)for all the textures in the MXM to get what you want
-or- (and this is the easier option)
- You can enter UV editing mode with the (object selected) and use the move/scale/rotate widgets to alter the UV's to suit what you are looking for.
I used to do most of my texturing in Maxwell Studio with the old version of the plugin -- but since the newer versions addressed many of my concerns with this I just do it in SketchUp more often than not.
Studio still has several advantages for the SketchUp user:
- You can compile a scene made from many different modelers/assets -- which can be hard with SketchUp due to it's poor import capabilities and low performance with high poly counts.
- Creating/editing MXM materials is a seamless process in Studio.
- You can stack multiple Grass modifiers easily for more complex Grass effects.
- I use HDR Light Studio with Maxwell Studio (via the plugin) and can't do without it (although it's utility is limited in Arch Viz)
That said, if you are only working with SketchUp models, and don't feel limited by SketchUp poly counts, then you will likely find the plugin (and MXED) to be all you need most of the time. I work mostly in Studio, but that is because I utilize everything I listed above on a regular basis... I use SketchUp to get things built and mostly textured and then go to studio to fine-tune everything and add in other assets that SketchUp cannot handle.
When I say "mostly textured" I am mostly using my RAL and Arroway sets of materials which all have a SketchUp (skm) material which is very easy to apply (like any SketchUp material) -- if I need to built a new MXM I tend to do that in Studio... I just find the flow of creating/editing materials to be faster in Studio.
Best,
Jason. -
thank you very much for your kind answers! i'll try your approaches when i'm back on my working computer on monday and give a feedback if you guys are interested.

-
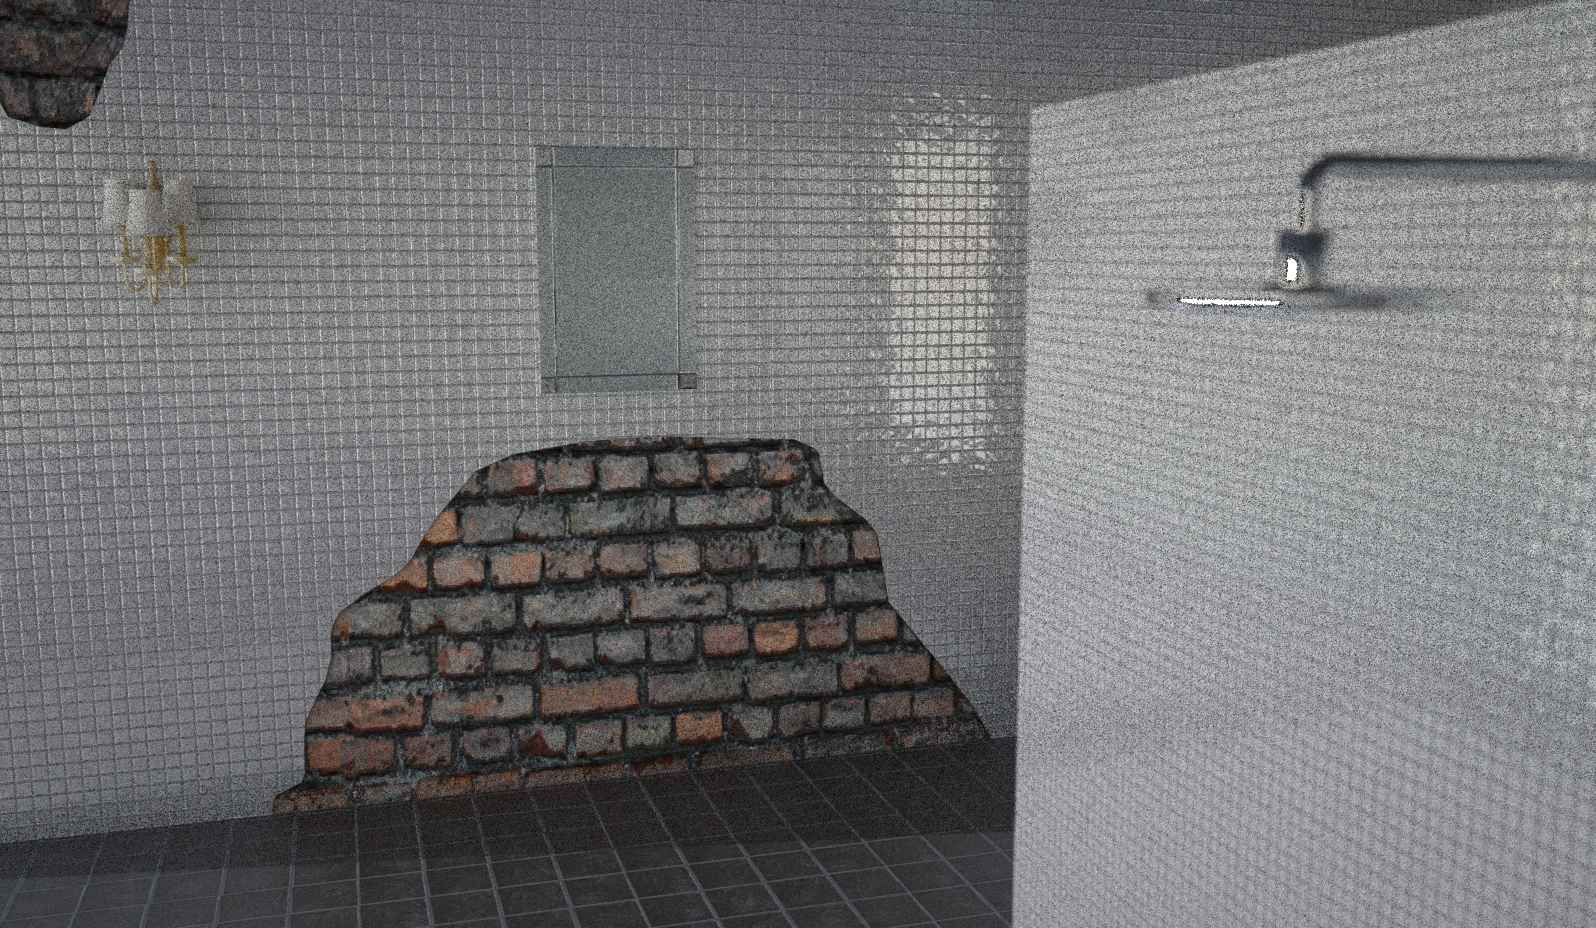
your approaches work perfectly for me i've attached a grainy version (didn't have the patience to wait longer
 ) of a material test where i scaled the materials in sketchup.
although there is one thing annoying me: when i used the standalone plugin and i klicked the button on the plugin-bar to browse for an mxm on my disk, it opened a windows explorer window where i could search for the file. now with the full-suite-plugin it always opens MXED which somehow takes annoying 2-3 seconds to open. Also the file browser in MXED is pretty confusing to look at in my opinion.
So: Is there somewhere an option where i can change it back to open with the windows explorer?

-
Hey carloh, btw your last rendering looks great and its not even the finished one. I have a few question if thats okay. Have you had probles with using mxm texture files that doesnt tile correctly? I am talking about materials such as big blocks of granite materials, not like an actual tile u used in the rendering above. I am used to editing materials in photoshop so that it can tile correctly in sketchup, but do i have to do the same thing with these mxm files? Thank you in advance, it would be greatly appreciated, i am new to these mxm files.Cheers
-
It depends on the texture used in the .mxm file. When you browse the mxm gallery on the maxwell page you can see that some materials say "tileable - yes" in the file description, so you won't have any problems with tiling in your render.
otherwise if the mxm file is not tileable you still have the possibility to edit the image file linked to the mxm material with photoshop. the image file normally is found in the same folder as the mxm file. in my under standing - not being a pro in maxwell rendering - mxm files are nothing more than textures with predefined settings, so that they render with a specific quality like a half transparent, shiny glass for example. i hope somebody corrects me if i'm telling something wrong.
i hope that helped a litte.

-
One thing that is important to keep in mind when using MXM files within SketchUp is the type of tiling that the creator of the MXM file specified.
There are 2 types of tiling possible: Relative and Meters.
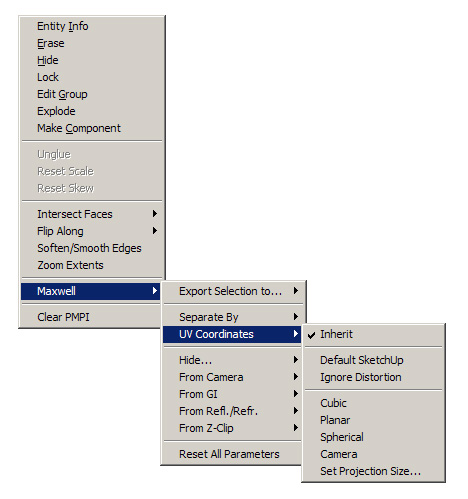
The basic idea is that Meters (which used to be known as "RealScale" in older versions of Maxwell) allows the creator to set up the MXM texture(s) to tile at a specific real-world size... this requires the UVs for that object to be 1 meter X 1 meter. The way this is accomplished inside SketchUp is via the Maxwell>UV Coordinates context menu -- here you choose your UV projection type (Cubic/Planar/Spherical/Camera) and set the projection size to 1 meter.

However if the MXM is set up to tile using Relative (typically with a value of 1 and 1) it will automatically tile at the scale and aspect ratio of the UVs created inside SketchUp. The easiest way to control this is to choose one of the texture images used in the MXM and create a new SketchUp material (setting the scale in the SketchUp material to whatever you want as your final).
Unfortunately, often without MXED you will not know if the MXM is set to Meters or Relative tiling, and as you can see you would take very different actions in SketchUp to get proper results.
Best,
Jason.
Advertisement


