Help with tubes that have v notch spirals
-
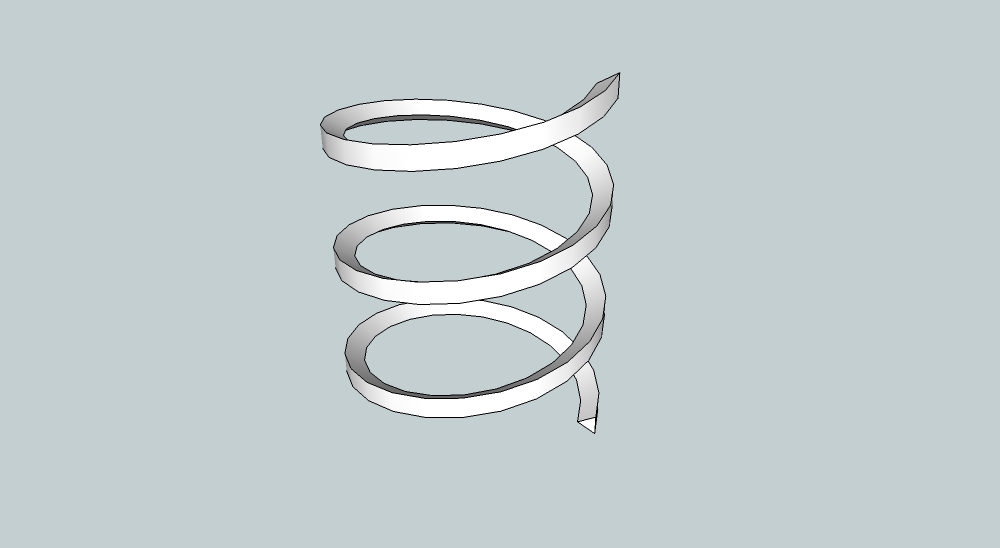
Is this what you want?

-
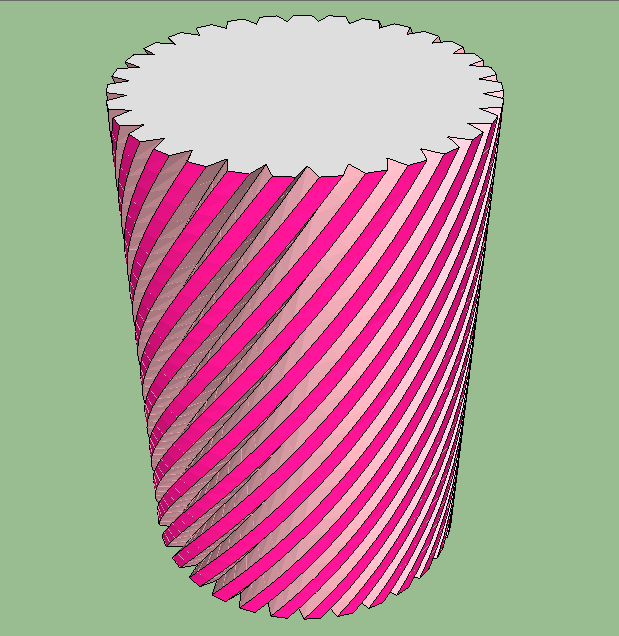
Or something like this.

-
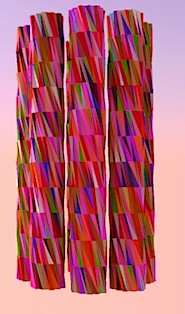
Artistic ?


-
How about the one in this picture
 ?
?This could go on all night with this gang!

-
Hello, I posted the tube with the v notch spiral but it only has an inside surface to the tube. When making an outside surface it covers what is supposed to be open on the notch portion. Is there a way to "fill in" the portions of the outside tube and not interfere with the notch?
I paid the premium membership in hopes to get some help. Internet is deathly slow here where I'm at so youtube is a slow process and not sure what keywords to use to find the solution to what I'm trying to do at this step. I'm guessing this is rediculously simple to you all but that is why I'm posting on the newbie forum.Best regards,
Mike -
Oops, I did not see Peter's reply. Let me look into that one. Now I need to learn how he did it!
-
Hi Peter! Thanks! I tried using the shape bender plugin as the first effort before using the screw plugin. I could not get things to line up right and it would not do the spiral. I did get shape bender to work with simple letters, straight line, and curved line. There is a big time difference here. I'm in Afghanistan and we are 1/2 an hour from the rest of the world. I received the Makerbot Replicator 1st gen in the mail 2 days ago. It may be the only one in the country but that won't be the only 1st because I also probably built the only black-light ping pong table in the country complete with glow in the dark balls (I'm on a blackout FOB, Forward Operating Base). This is much appreciated. I left you a personal message stating some of the other "mod's" I'll need to do such as a version with cutouts and some tabs allowing it to be bolted with Makerbot made plastic bolts/nuts to the base. I'll need to make it in other sizes as well.
Question: Will I be able to scale it up or down and then make the V notches the same size by some type of modification? Had serious issues with the Makerbot as it came minus the power supply, right extruder not extruding, and warping. Wired my own Lambda 24vdc power supply, put a washer in the right extruder to get it working, and waiting on some pure Acetone so I can make better ABS slurry to get it to stick. I'm also going to buy the upgrade kit for the MK8 extruder with the spring/ball bearing. Going to make some good stuff once the files are complete. Please do not hesitate to send me an email at the address I messaged you and I can send you picture. Best regards, Mike -
Mike,
IDK on the status of Premium services. I think some of it is still in the process of being implemented. I'll post the SKP of the tube with the various steps. There are many steps that require techniques you may or may not have learned. So we'll see what you need advice on, but it's all native SU, except I think one "recurve" plugin-- but no spiral or bender tool.
The problem with the outside face is: this is created here by making a cylinder of the exact diameter, number of sides, and alignment to the edges of the outside spirals. One needs to take care keeping that geometry straight so that the spirals line up to the faces and vertical edges that make up the cylinder, and that they will "intersect" and split those faces. SKP is good at helping with this.
I'll post the SKP and maybe some other notes. First let me get a coffee...
Peter
-
Hi Peter,
Thanks very much. I've got some homework for tomorrow. It is after midnight right now so I only looked at the files to get an idea and will attempt making tomorrow. I'll get back tomorrow on my success levels at trying. Best regards, Mike
-
Mike,
I looked at screw.rb and I think it will save time for you. I'll send you some more info on using that and some better trim methods by PM.
Peter
-
Mike,
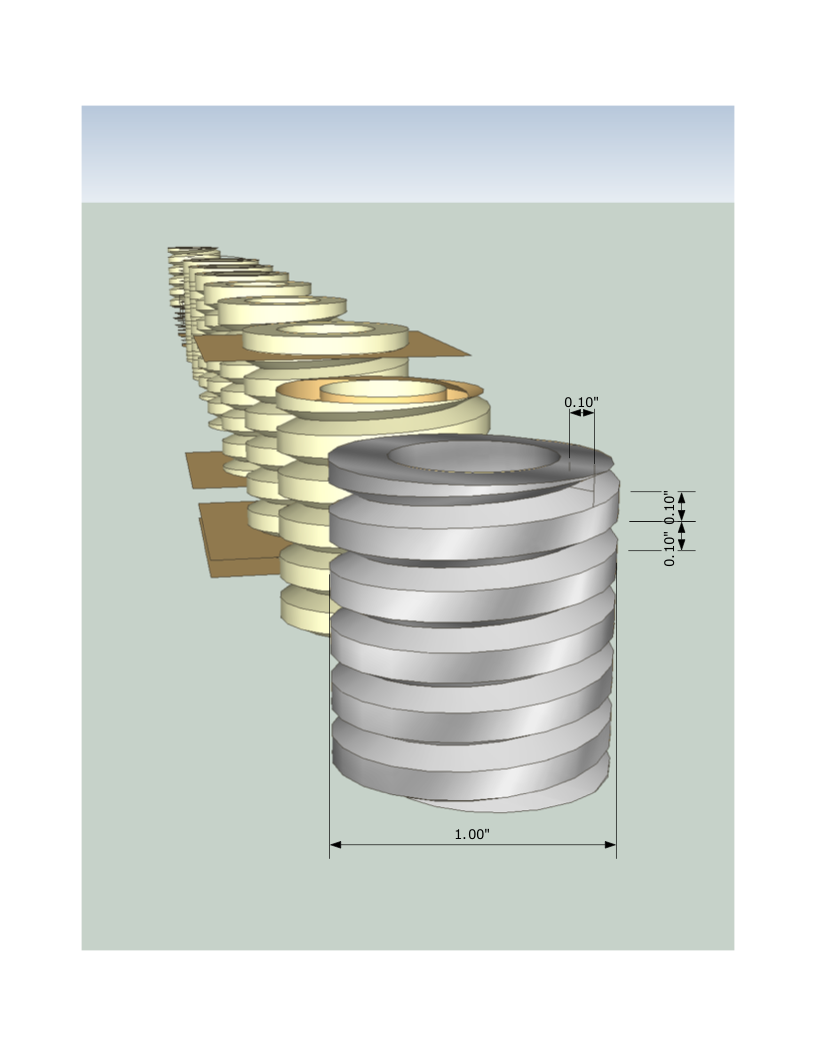
Here is the file. You may need help from others as I don't have experience in some of this geometry--so you might combine these methods with exact layout methods. I took the dimensions given as being on the axis. I did the whole model at 100 times scale and then scaled all of it down (including earlier steps), but I made a new method for some of this at the lower scale and that worked OK. You may want to keep it all at 100 times scale until final output. Save copies of various steps in case you need to backtrack.
I put dimensions in the above picture via LayOut but can dimension with SU or draw temporary lines or guides to check. Just SU dimensioning is difficult for something like this.I also know NADA about requirements for 3d printing, so others can help you there.
You mention other things that need to be done to the shape. I have to see if I understand those first. IDK if this shape can be made a "solid" but that could help for more "cutting".
Also you mention being able to resize. Might be done. I think perhaps the pitch of the spiral changes if you keep all the other dimensions and change the diameter--if that's OK.
[EDIT: It is not shown in the file. I used the standard method shown in the above videos to create the first spiral: draw a circle (save a copy below for your cylinder etc.), explode the circle, pull up one vertex on blue axis with the move tool. Keep one angled edge, erase the rest. Radial duplicate the angled edge in a complete circle by the segment angle, and move-duplicate all enough times straight up for a complete revolution, choose (triple click) one spiral and erase the rest. "Recurve" the spiral into a curve and scale down to correct vertical interval. If the above videos aren't enough, I can show this too.]
[EDIT: I'm posting a better method, showing minute steps. The outcome is a solid group. And noting here that Screw.rb turns out to work well with this shape and saves a lot of work...but here's the more or less "native" version.]
@gilles said:
With no plugin:
http://www.youtube.com/watch?v=IT5r3AQZBnw?
With plugin:
http://sketchucation.com/forums/viewtopic.php?p=122603#p122603Have good days with SU.
Advertisement


