Check out this extremely talented modeler
-
Very nice! with all that knowledge of engine detail you'd think the modeler would know that the 427 is a chev engine though. Ford makes the 429 !?

-
whatever. . .The real question. . .can he come buy and fix my Mazda?

-
@xrok1 said:
Very nice! with all that knowledge of engine detail you'd think the modeler would know that the 427 is a chev engine though. Ford makes the 429 !?

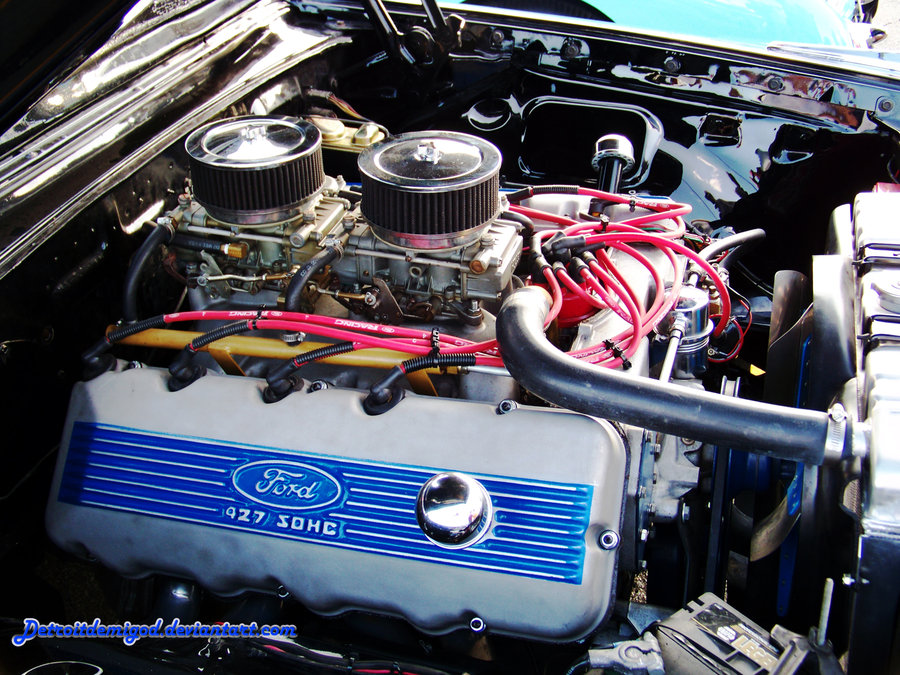
Wiki:
The Ford Single Overhead Cam (SOHC) 427 V8 engine, familiarly known as the "Cammer", was released in 1964 to recapture NASCAR dominance from the Chrysler 426 Hemi engine. The Chrysler 426 used extremely large block casting that dwarfed the earlier 392 Hemi. The Ford 427 block was closer dimensionally to the early Hemis than to the elephantine 426 Hemi: the Ford FE bore spacing was 4.63 in (117.6 mm) compared to the Chrysler 392's bore spacing of 4.5625 in (115.9 mm). The Ford FE's deck height of 10.17 in (258.3 mm) was lower than that of the Chrysler 392 at 10.87 in (276.1 mm). For comparison, the 426 Hemi has a deck height of 10.72 in (272.3 mm) and bore spacing of 4.8 in (121.9 mm); both Chrysler Hemis have decks more than 0.5 in (12.7 mm) taller than the FE.The engine was based on the ultra high performance 427 side-oiler block, providing race-proven durability. The block and associated parts were largely unchanged, the main difference being use of an idler shaft instead of the camshaft in the block, which necessitated plugging the remaining camshaft bearing oiling holes.
-
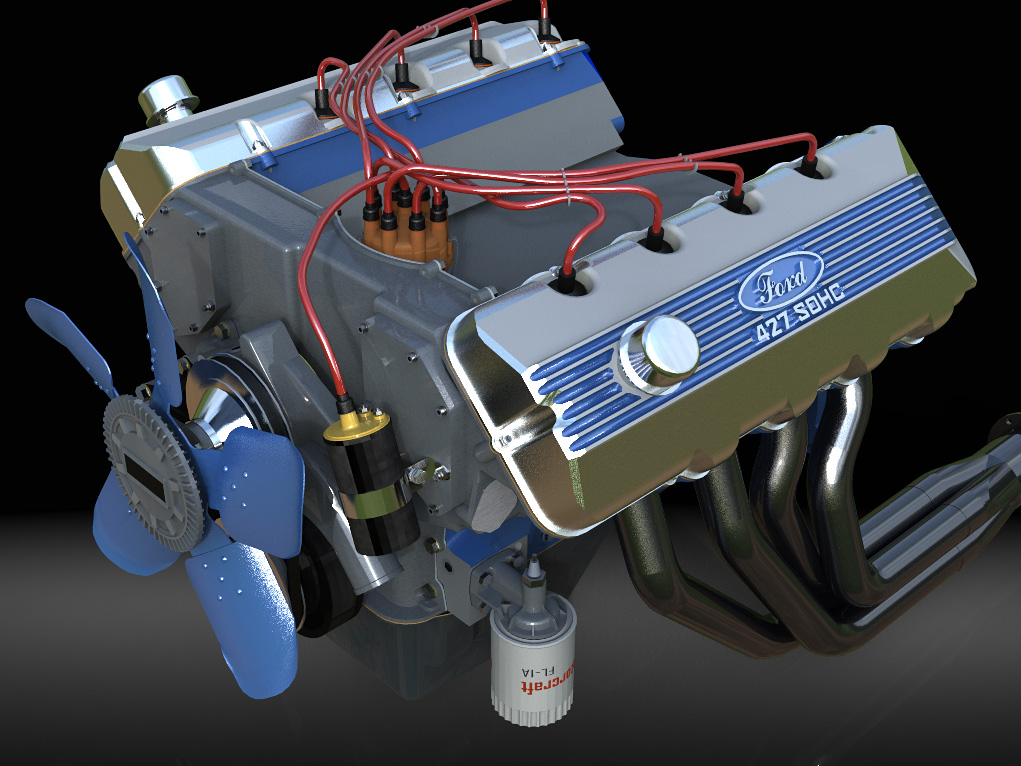
O-O-O amazing model!

 ... the first very fast test in hypershot
  ...no post prosessing...
-
Wow, very nice! But where are the other two parts of the engine (it's a three-part download)?
-
It's been a long time since I've worked on an engine, and I've never worked on a Cammer, but shouldn't there be bolts here?
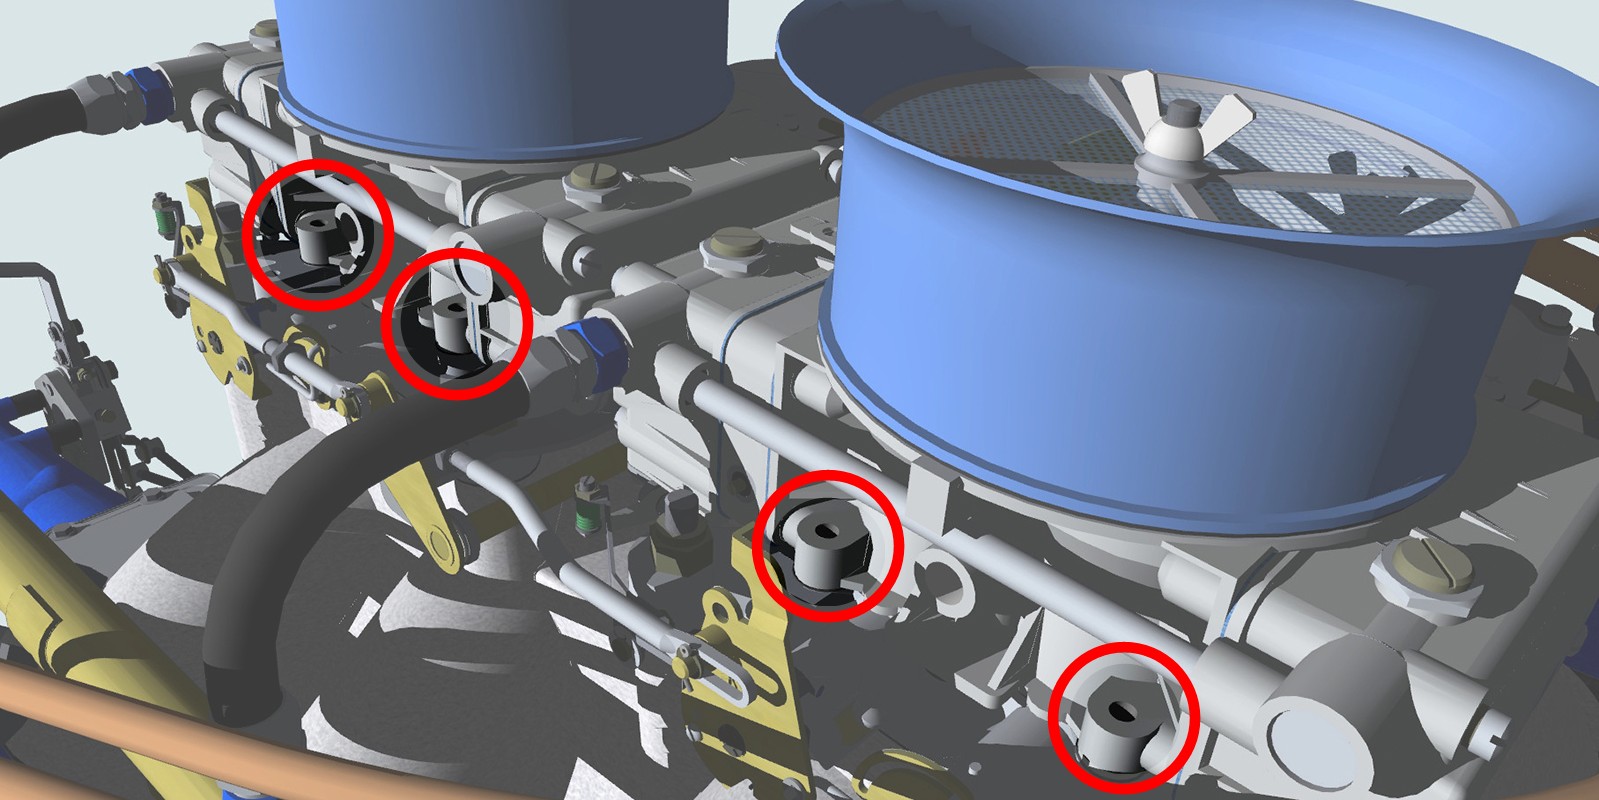
Or is is bolted from below before assembly, and these are just the top of the threaded holes? -
My bad.

Should've know something with that much detail had a real world reference.
-
Hello Everyone...
I'm JMJ-Ohio (Jim Jeffries) and I live in Brookville, Ohio. I want to thank hellnbak for introducing my work to this forum. Did'nt know SketchUcation existed until he contacted me. The "Cammer" was my first real project using SketchUp and I relied more on countless hours at the tube and stubbornness than on talent. The monkey can paint a masterpiece if given enough time and bananas.

I have been involved with machinery and mechanisms for 40+ years, being employed as a mechanical designer and project engineer. I retired 2 years ago, thus allowing me time to catch-up on home projects and play on the computer. But, I rejoined the work force last month so play time will now be very limited.
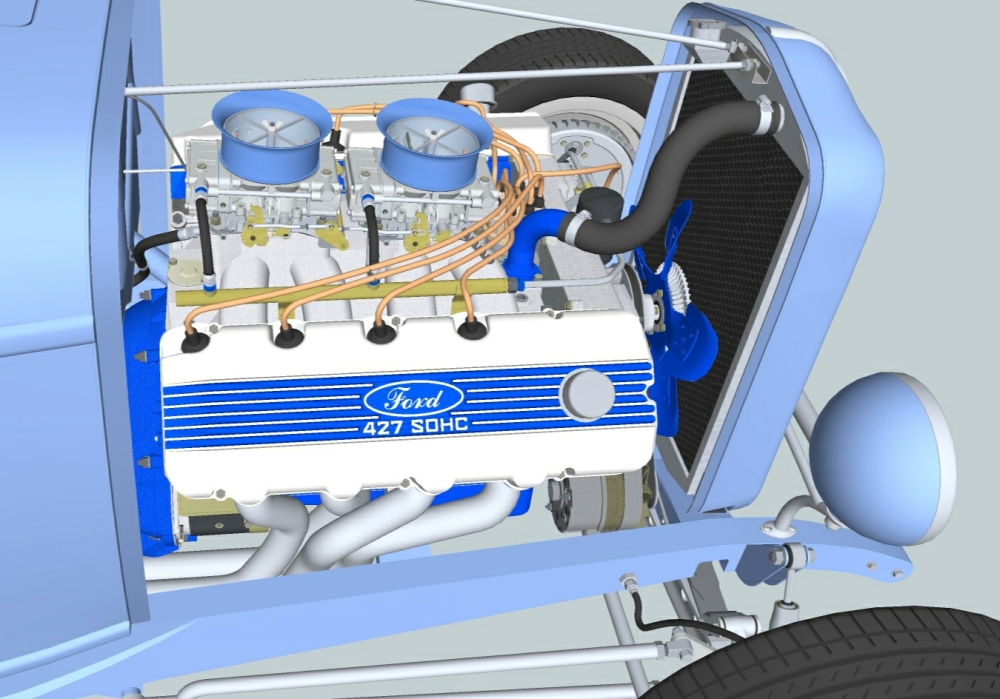
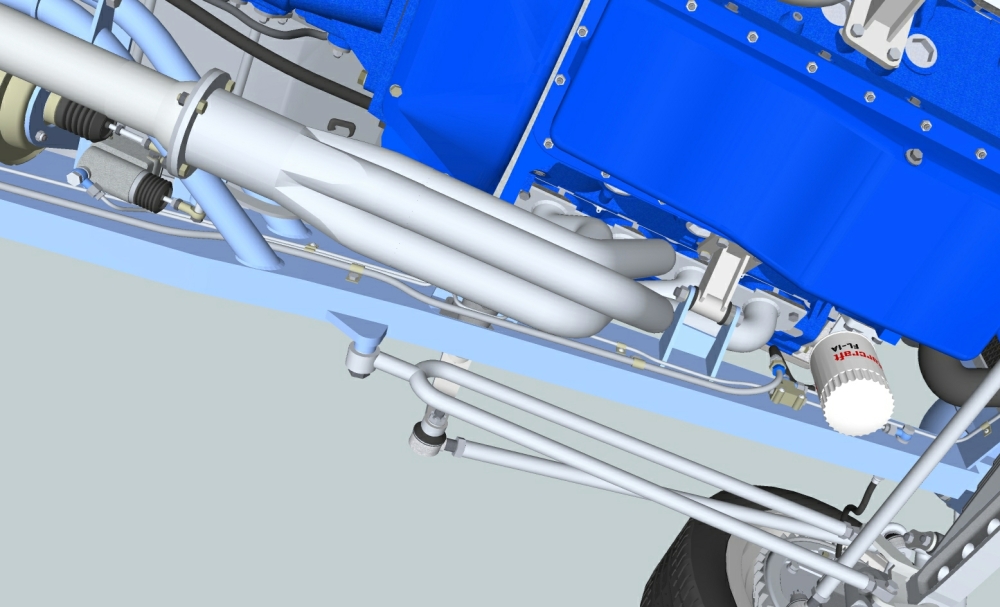
The Ford 427 SOHC project. No, I didn't have any blueprints or have an engine in my garage. Online research netted numerous technical articles that included critical dimensions and data. I also downloaded and printed hundreds of photos. The combination of known dimensions, proportional measuring of photos and deduced dimensions via detail relationships allowed the picture to come together. A thorough understanding of the function and construction of the subject item is a vital part in allowing the creation of realistic images.
I am pleased with the results of my efforts, but my models are not practical due to their resultant file sizes.
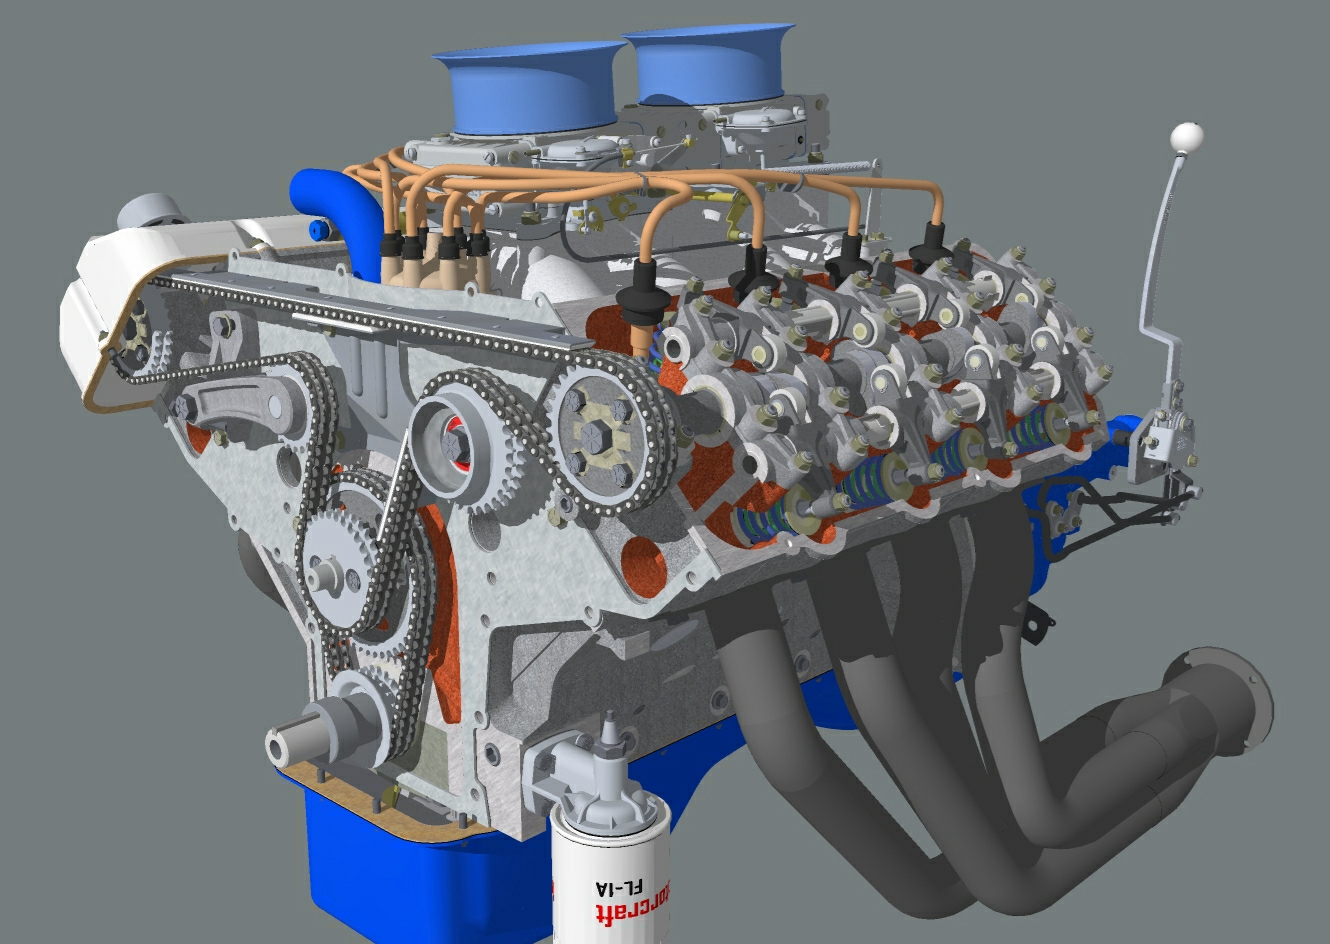
I envy those of you who can create works that please the eye, are portable in size and don't take hundreds of hours to produce. There are many very talented artists and craftsmen out there and when I see their work it encourages me to try harder and learn new ways to do things.Have added a few more screen shots.
p.s. -- no bolts from the top in those carb holes. Your second observation is correct.
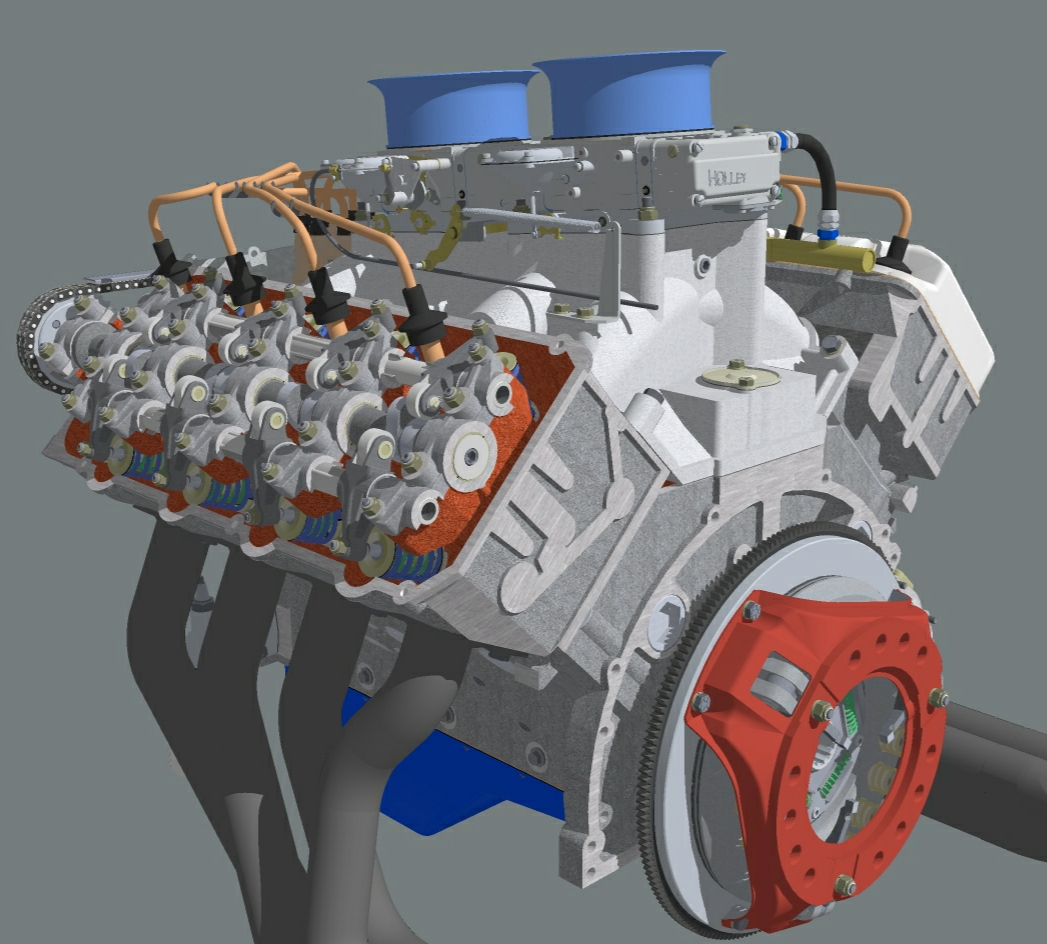
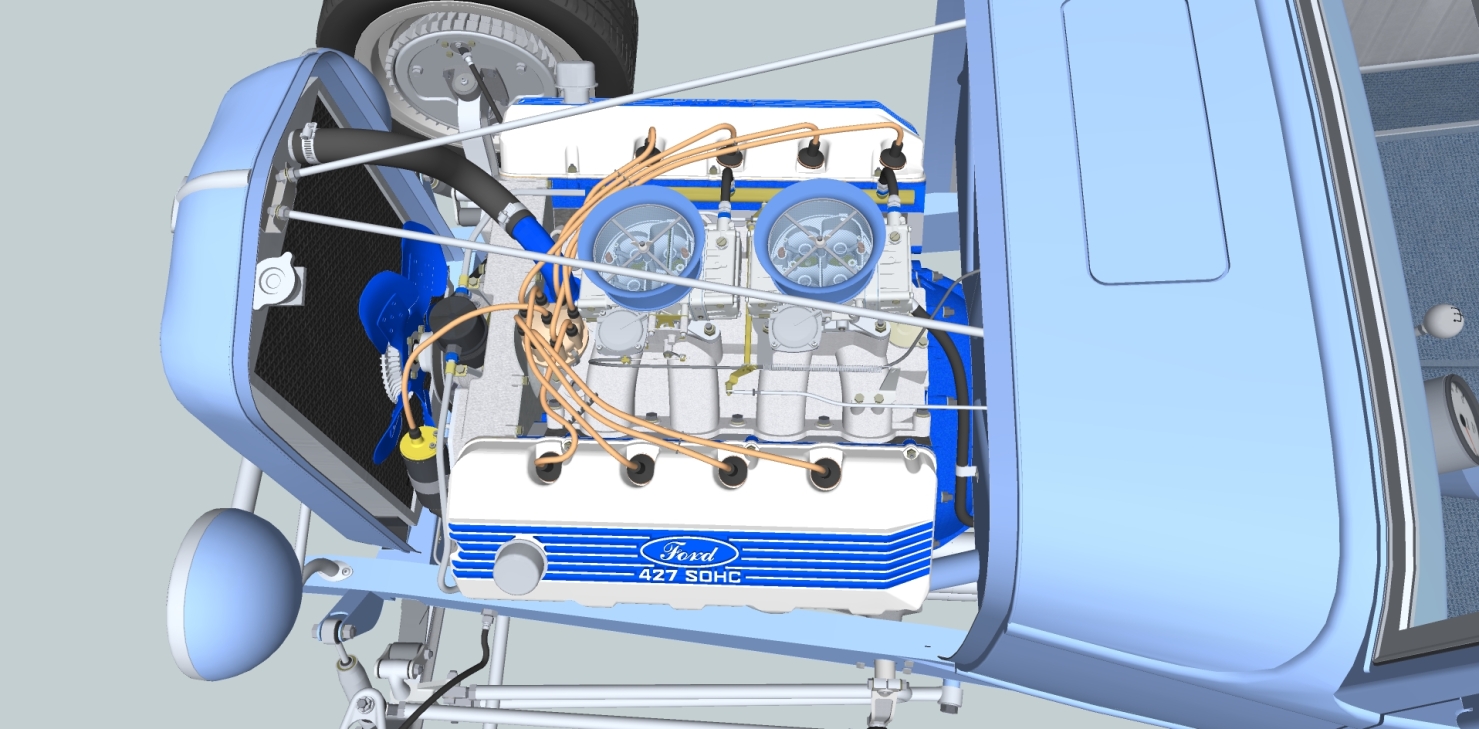
-
Welcome, JMJOhio:
Thanks for responding/ joining. You will find a friendly community here. -
Welcome to SCF Jim.
That model is insane, the amount of detail is staggering, you must suffer from OCD to create such a master piece.
Hope to see more in the future.
-
Hi Jim, glad you decided to check us out. I think you'll find these forums very helpful, there's a real sense of community here. In fact your work is even more impressive knowing that you did it all without benefit of these forums and the incredibly knowledgeable and helpful experts here. Usually someone just starting out with SU has any number of questions, and they turn here for the answers. I know I couldn't have gotten very far without them.
Thanks for the new photos, your incredible engine is even more detailed internally than I thought. Are there any parts that you didn't make? Wouldn't be surprised if you modeled a torque wrench to make sure everything was snugged to specifications
So, what made you decide on this particular engine, did you have some experience with it at some point in your life? And why so much detail? Prior to this model, SU engines (at least the ones posted to the warehouse) were only modeled externally, at least to my knowledge. What made you decide to go the whole nine yards with this, or is that just the way you work? I too like a lot of detail with my models, but I could never hope to achieve this level of detail.
I'm really looking forward to seeing your finished '32 Highboy. Like I mentioned to you, I had been working on my own '32, a 3-window. Was making it stock (I like my cars that way), but after I checked out what you had posted mine started to resemble a tinkertoy, sorta lost interest in it. It's all your fault
Really sorry to hear that you won't be able to spend as much time working with your SU models, but hope you'll share any future accomplishments. Let me know what you're thinking about coming up with next so I won't bother to tackle the same thing.
From your online name, I assume you live, or lived, in Ohio. I too am a buckeye, born and raised in a little one-stoplight town called Fredericktown. I call Michigan my home now, although with another lake-effect Winter setting in I wish I was back "down south" in Ohio.
Well, I'm sure you'll get a lot of questions from others here on the forum, especially concerning your methods, just wanted to welcome you.
I attached some photos of a couple of different versions of my '32, thought you might be willing to offer some advice.
(oh, did I mention that I kinda like your work?)
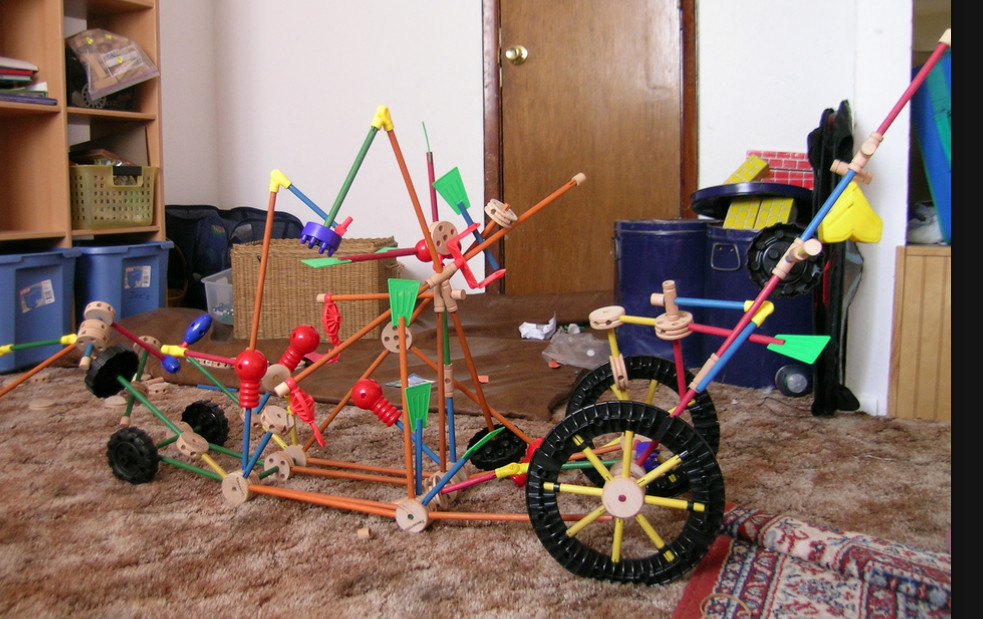
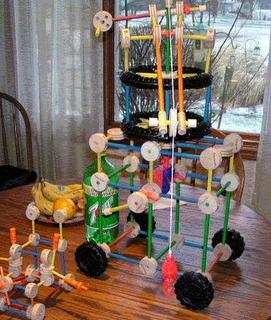
-
I think your center of gravity is to high. They look a little bit roll-over prone.
I'm in Brookville, northwest of Dayton.
I followed drag racing pretty closely during the 60's & 70's and this engine made it's presence known. NASCAR banned it and NHRA loved it.
The detail. As mentioned earlier, OCD runs in the family.
-
@jmjohio said:
I am pleased with the results of my efforts, but my models are not practical due to their resultant file sizes.
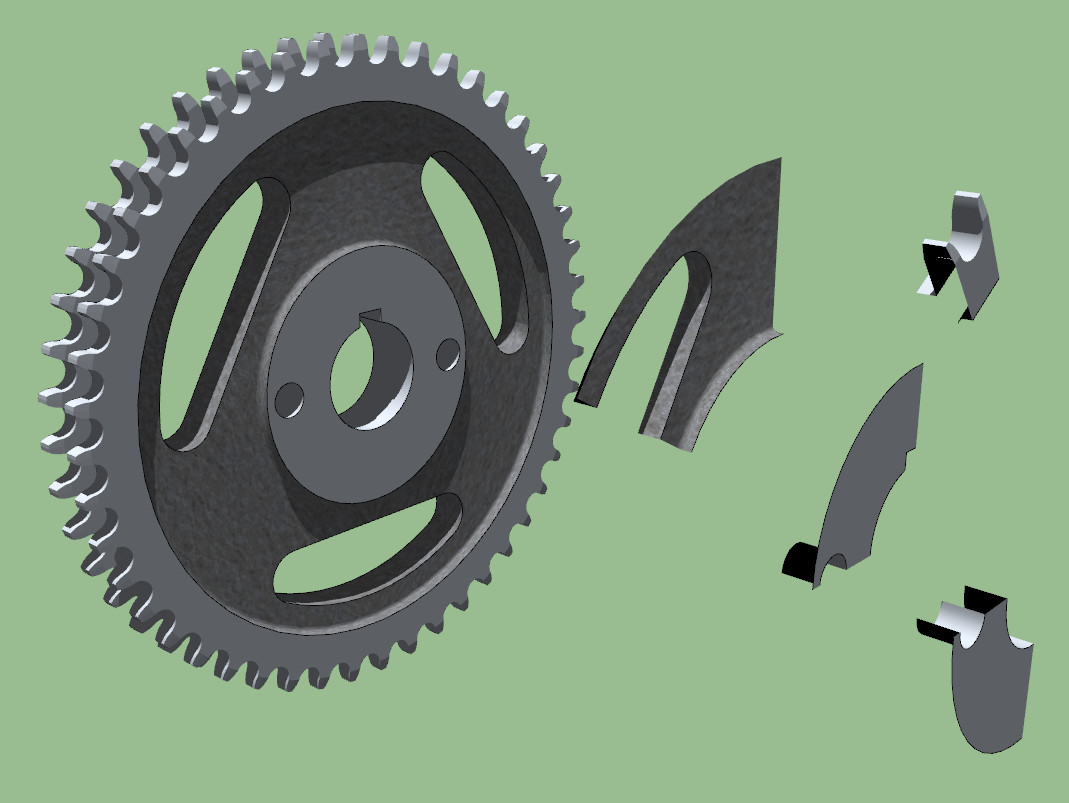
Took a few minutes to play with your "Stub Timing Sprocket", and by reducing it to four smaller components, got it down from 966kb to 99kb, almost a 90% reduction. This could apply to a lot of your components, don't know how much it would reduce your size overall but it would certainly help.
-
Very good point. I have been using more sub-components lately, but your example breaks the final component into more chunks than I would have created. Thanks.
I also need to break the habit of using to many arc and circle segments when they are not necessary. -
Welcome Jim. Glad you decided to join us.
-
Something that impressed me about your models is the smoothness and fluidity of your wires, pipes, fuel lines, and hoses. I'm assuming you shaped a line and then used follow-me to get the shapes, but I have always had a problem getting them to accurately represent what I want. How do you go about the process, how do you get them to accurately start at point A and end at point B and look like a real wire/hose/whatever would in that situation? It's so difficult (for me) to shape a line in 3d space. I'm probably not explaining myself very well, I seldom do, but I hope you get the gist of what I'm asking.
-
hellnbak, I cannot speak for Jim but I create my wires with the F-spline tool. I did a tutorial about it in CatchUp #3 found here: http://sketchucation.com/catchup/
-
I remember reading about that, and at the time I couldn't understand what was so different from just using the follow-me tool. Now that I've looked at it again I can see where it's a lot different. Gonna give it a try tonite. Thanks!

-
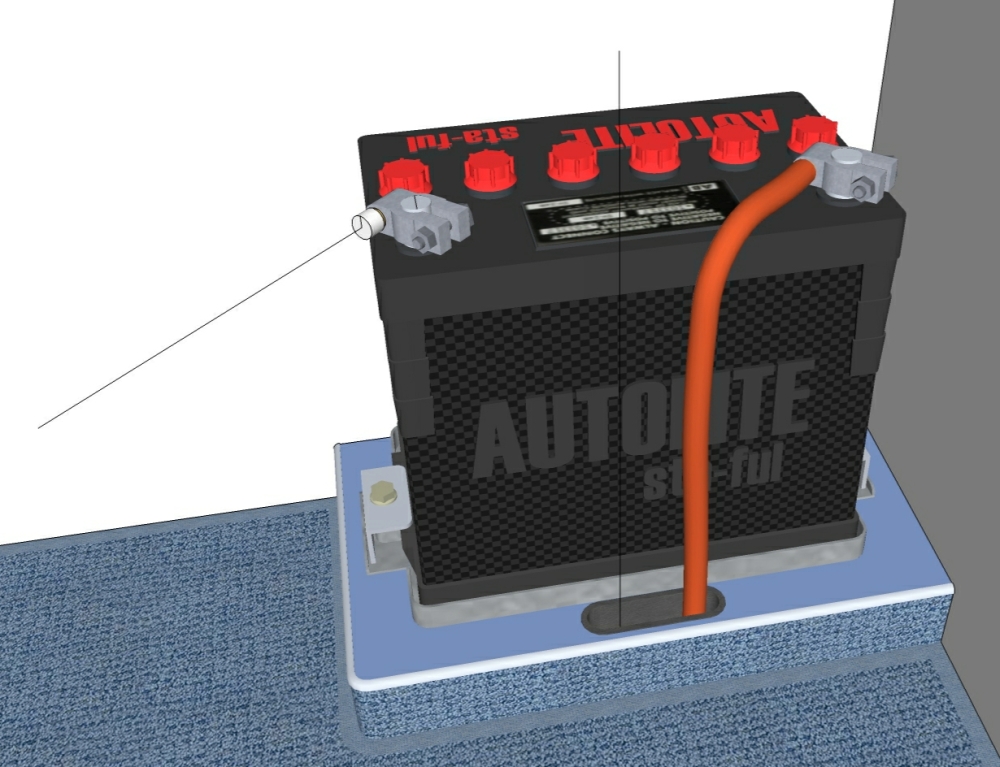
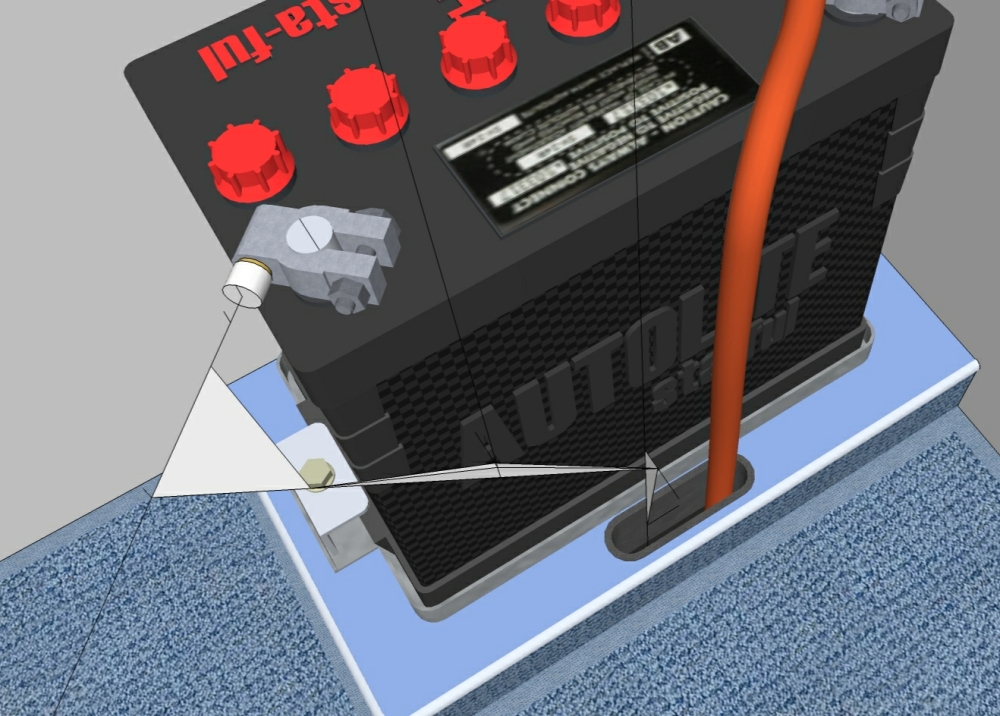
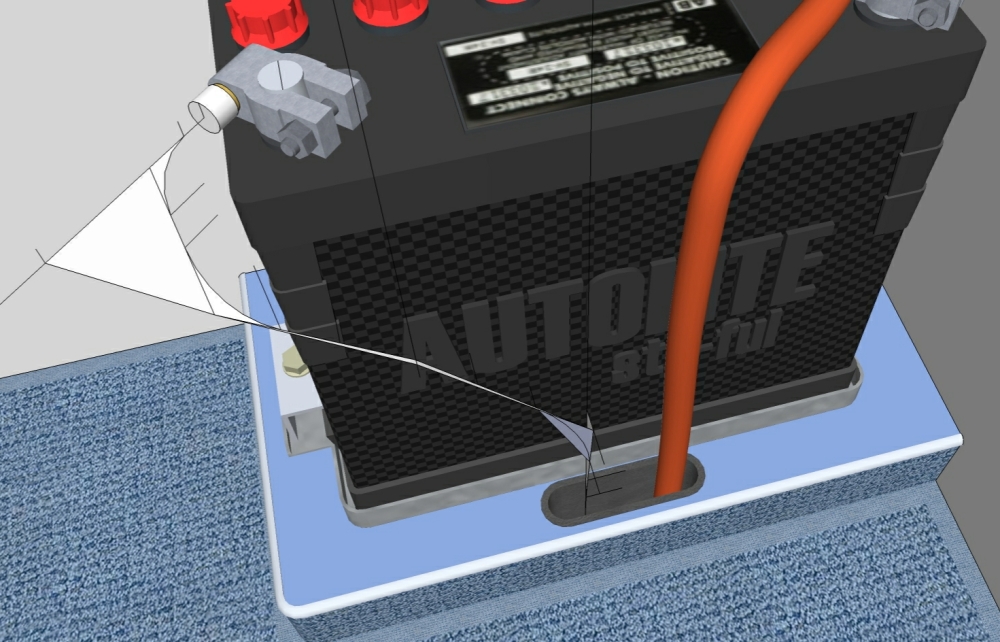
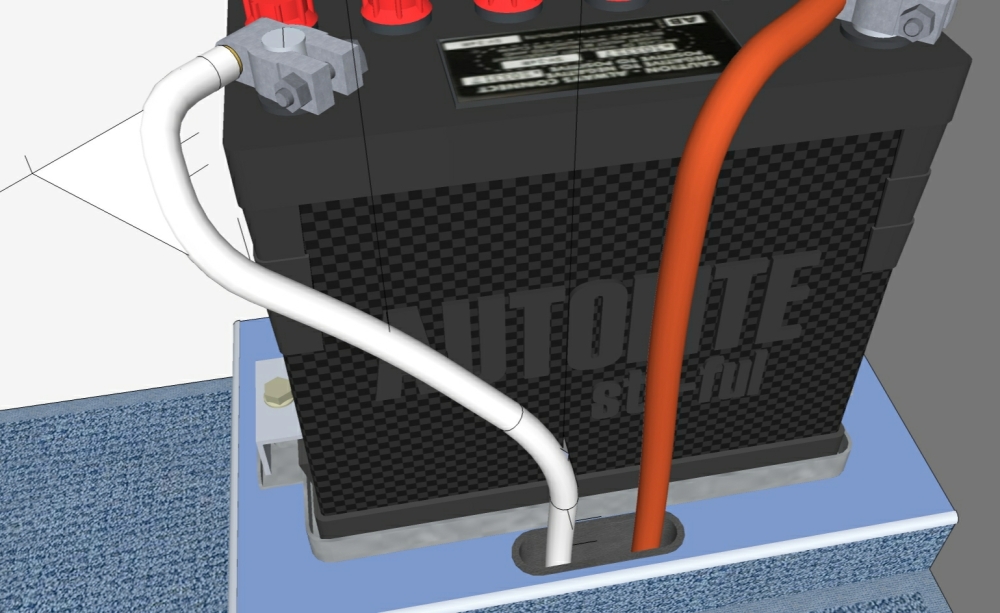
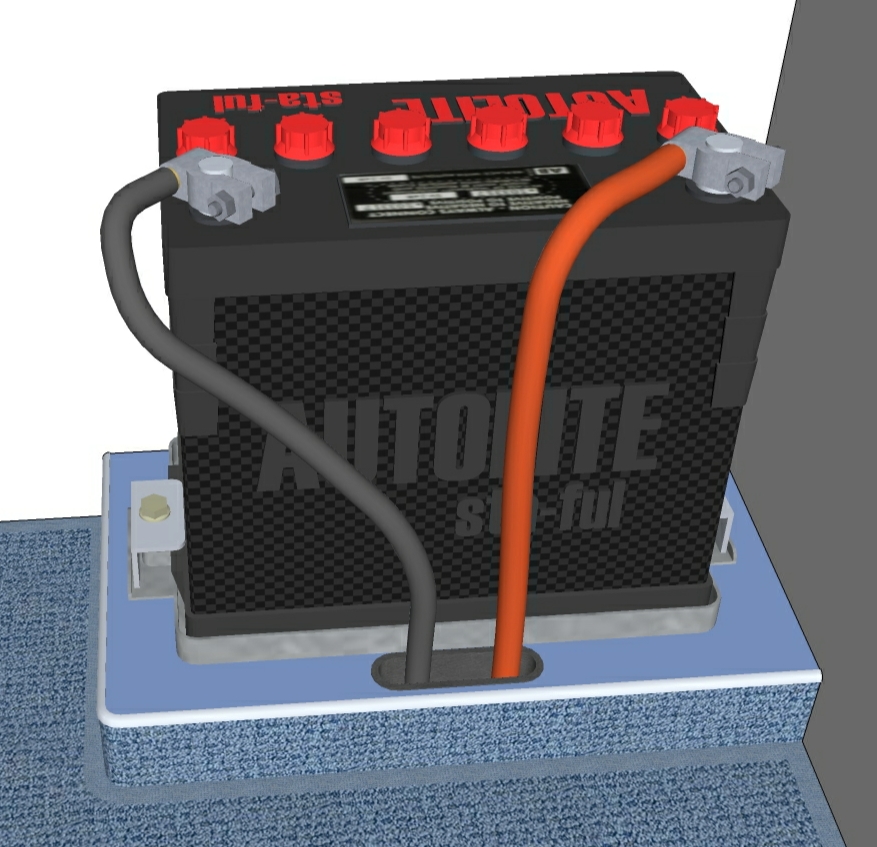
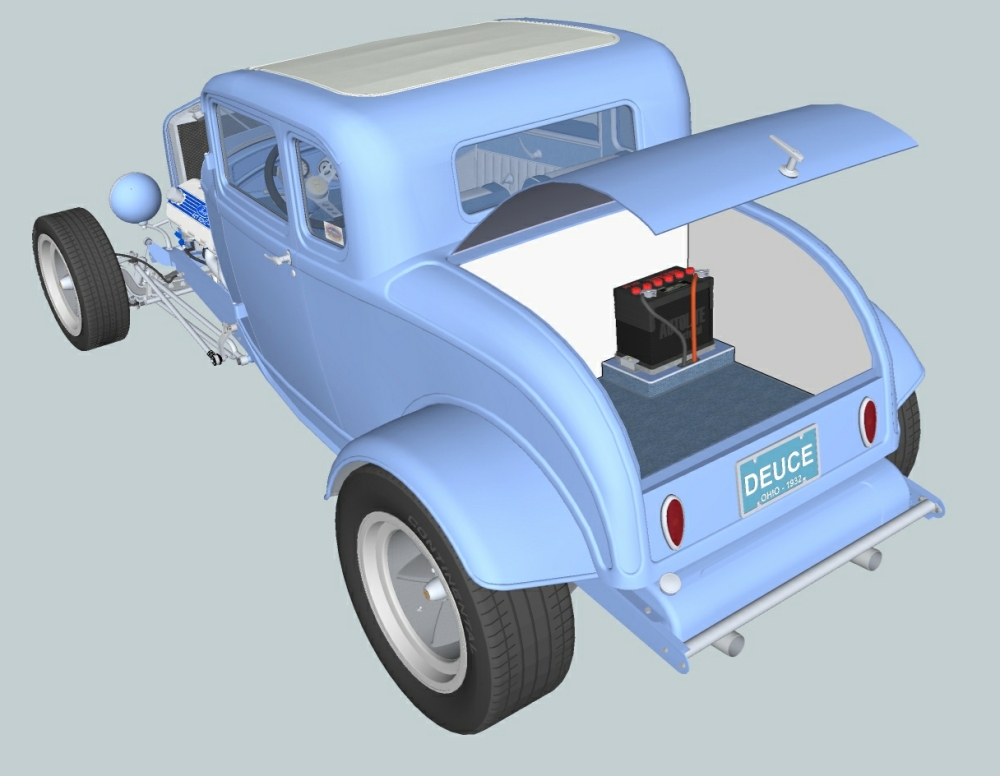
I was in the process of creating cables for the trunk mounted battery in my 32 Ford when you posted this question. Had one finished and ready to start the other. So I saved some screen captures as I created the second one.
There are two threads in this discussion. The first one is subjective and pertains to the real life behavior of the items you are modeling. I rely on intuition and reference photos while creating a path for the entity. I use the same methods for modeling wires, pipes, lines and hoses but think differently as I develop the paths for the varied materials. Exhaust pipes, fuel lines, brake line and etc. are rigid and retain their mechanically formed or fabricated shape. Hose is semi-rigid to flexible, depending upon type of material and diameter. It is fairly predictable, but you must be conscious of minimum bend radii and sag in between supports. Wire is the most unpredictable and difficult to path for. Heavy gauge, stiff wire behaves like semi-rigid hose, but will have small random kinks in it. Softer, lighter gauge wire starts behaving like a wet noodle.
The second discussion thread is objective and relates to construction methods and tools used or not used. Eric's CatchUp tutorial is very good guidance. I use a network of lines and planes for my guide construction and then finish the path with tangent arcs instead of splines. The wording of your question leads me to believe that you are not using splines or arcs, just line segments. If that's the case, I understand your difficulty with the 3d construction and lack of predictable results. The splines and the way I construct my arcs creates tangents at each intersection and a resultant smooth flow. My network of lines and planes allow me to maintain control as I bridge 3d space between A and B. Try both methods and see which works best for you. I have not tried "pipe along path", but will take a look at it.
-
Bravoo!!
Advertisement


