Spiral Bow Tie Problem
-
Hi,
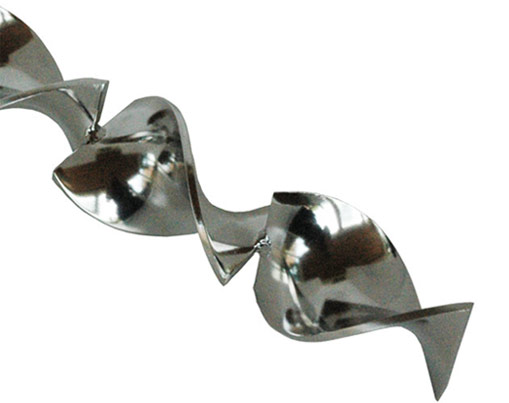
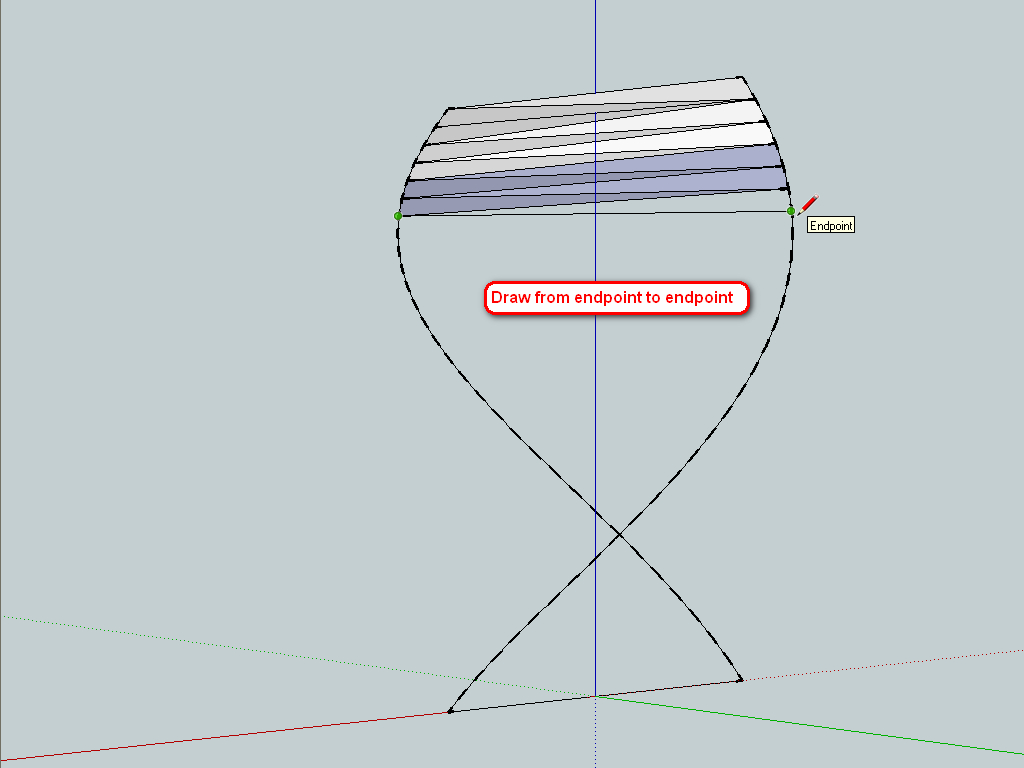
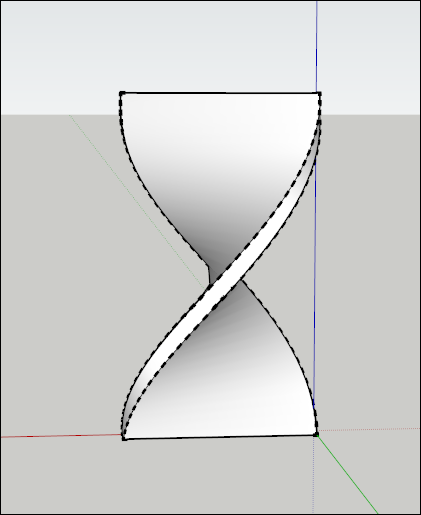
I am trying to produce a spiraled (1/2 turn) flat bar, identical to the sections of the object in the attached photo. I can produce a very good wire frame for one of the faces using the Curve Maker plugin in the Draw Metal package. I have attached the wire frame. I cannot get a face on the wire frame. I have tried many approaches. The most promising from the description should be from the Bubble/Soap Skin Plugin (doesn't work at all). Ultimately it will need a thickness and two faces. But until I can get one to work, the second one is irrelevant. Any suggestions on how to get this to work?
THX
-
Hi Jon,
A simple (although at the first time seemingly time consuming) way is to "stitch" those two curves together. First explode the two curves (right click > Explode) to easily spot the endpoints (if this is enabled in your style settings) and draw lines to make triangles between the two curves.
Of course, there are different plugins that can make this automated and easy - this is just to demonstrate how those would work (more or less) as well.When ready, use a plugin called JointPushPull to add thickness:
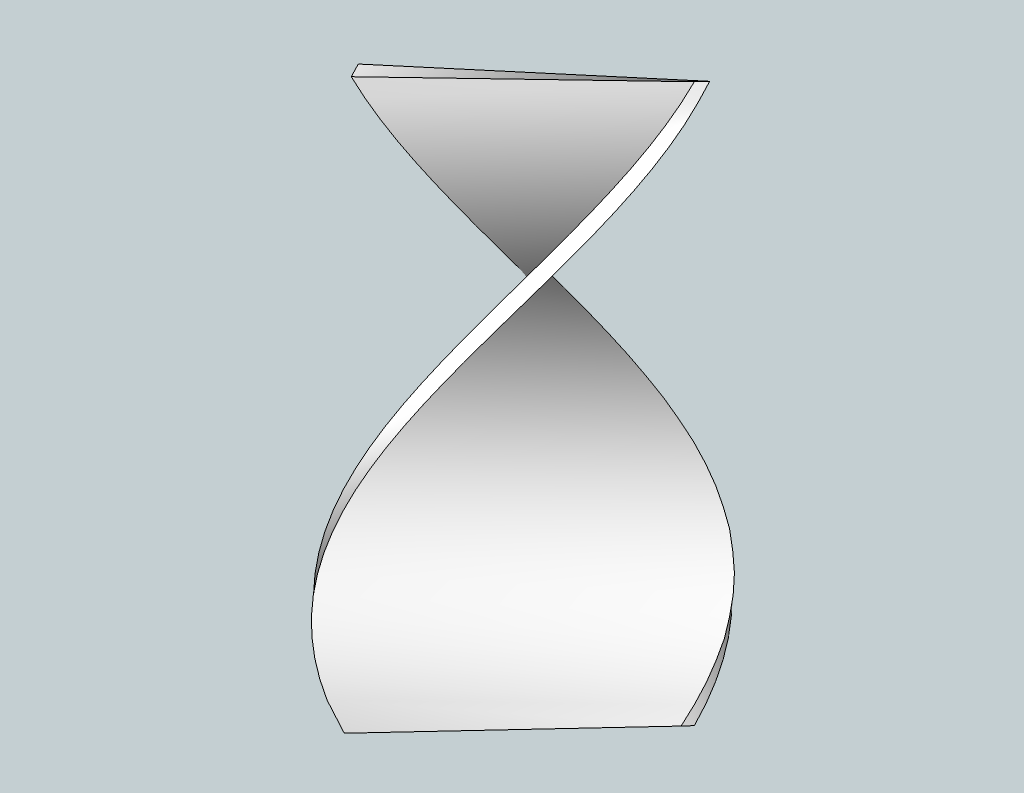
Finally the file (I added a ~ 1/32" thickness as I did not know what to add)
-
Hi Gaieus,
That looks really good. Thanks. I had played around a little with that brute-force approach just to see if I could get the thing to look right. I could not even get the brute-force approach to work, but now see where I was going wrong. That produces a definitely good-looking facsimile of what I'm after. You mentioned that there are plugins to do the same thing in a more automated fashion. What would you recommend? If I'm dealing with exploded curves comprised of a butt-load (100s or 1000s) of line segments, the manual approach is going to become intractable. Was I just chasing shadows trying to get it to work with the Bubble/Soap Skin plugin?
--Jon
-
The SSB plugin should also work however almost certainly it would not produce a nice mesh in this case. Look at TIG's ExtrudeTools or Fredo's Curviloft for instance.
Read the instructions carefully for both (and Fredo's plugin needs an additional library to install first, too) as they are not the easiest tools to use (but of course, produce excellent results).
Also look at TIG's different "Extrude..." plugins published separately to see how each works individually here in the Plugin list:
http://forums.sketchucation.com/viewtopic.php?f=323&t=28782 -
Gaieus,
Thanks again for your help. I can get the basic results a variety of ways now. But I still cannot keep the surfaces of the top and bottom edges from distorting (twisting) as the rest of the model is extruded. I would like them to constrain to both the red and green axes. I have thought about over-rotating the original helices and then chopping off the excess of the final model. Any suggestions?
THX,
--jk
-
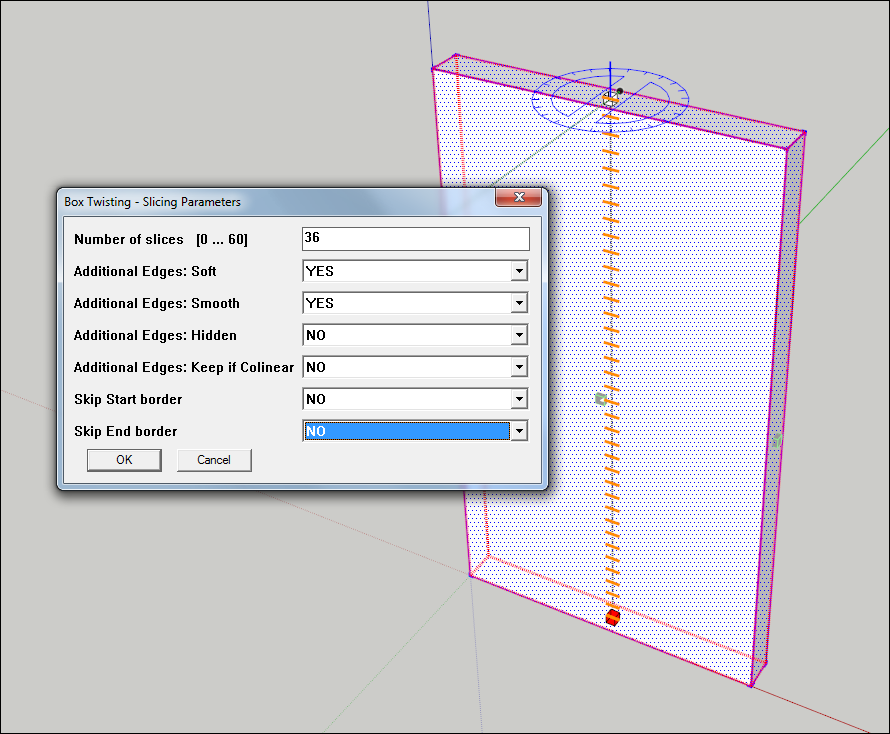
Even simpler is to use the FredoScale plugin. This works similar to how the piece is likely made in real life.
Make a rectangular bar, use dimensions that the flat stock steel would be:

Select all, use FredoScale "Box Twisting", hit the Tab key to bring up the parameters, set the number of slices(slices the bar vertically, more slices makes smoother mesh) and hit OK.
Start twisting, type 180, hit "Enter".
You may need to do some smoothing or increase slices to make it look good. You may also need to scale up the model before twisting (and back down afterwards) if Sketchup has problems making the faces.
-
Yes, this is also a good way!

-
Experimenting this morning, I found that FredoTwist seems to like the geometry to be grouped first, and seems to like it to be pre-divided. I experimented on both a simple extruded rectilinear solid and on an extruded "dogbone" shape each with 24 divisions in the vertical direction. Each example behaved differently. The simple rectilinear, I did not group. The dogbone failed or hung for too long, until I pregrouped before twist.
Please ask if unclear. -
Yes, twisting does work better on grouped geometry, but if you enable slicing like I show in my second image, pre-dividing shouldn't be necessary.
-
The operative word there is "shouldn't". And I agree. I was just indicating what my personal experience was. Very possible I wasn't following a prescribed sequence.
-
The FredoScale worked really well. Thanks to everyone.
Hello! It looks like you're interested in this conversation, but you don't have an account yet.
Getting fed up of having to scroll through the same posts each visit? When you register for an account, you'll always come back to exactly where you were before, and choose to be notified of new replies (either via email, or push notification). You'll also be able to save bookmarks and upvote posts to show your appreciation to other community members.
With your input, this post could be even better 💗
Register Login


Advertisement