sketchucation logo sketchucation
    • Login
    ℹ️ Licensed Extensions | FredoBatch, ElevationProfile, FredoSketch, LayOps, MatSim and Pic2Shape will require license from Sept 1st More Info

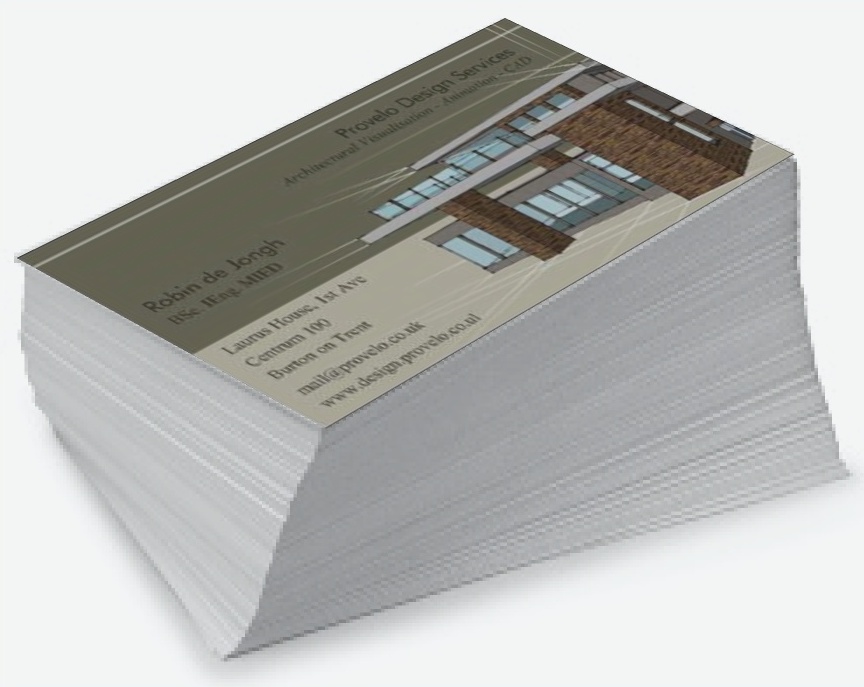
    Business Card stack.

    Scheduled Pinned Locked Moved Newbie Forum
    sketchup
    21 Posts 9 Posters 4.2k Views 9 Watching
    Loading More Posts
    • Oldest to Newest
    • Newest to Oldest
    • Most Votes
    Reply
    • Reply as topic
    Log in to reply
    This topic has been deleted. Only users with topic management privileges can see it.
    • BoxB Offline
      Box
      last edited by

      Thanks Jean, I have no problem doing that, was just looking for more of an automation.

      1 Reply Last reply Reply Quote 0
      • X Offline
        xrok1
        last edited by

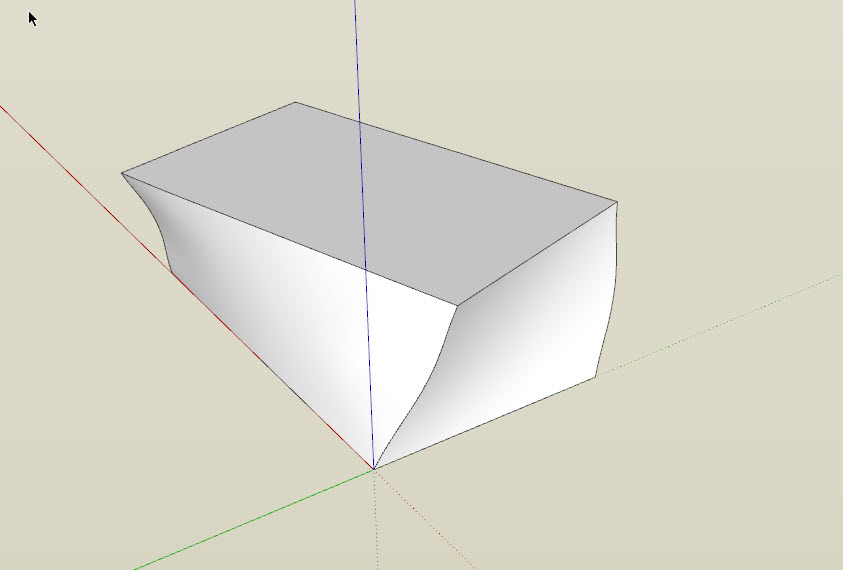
        make a box, rotate the top, then use the new vertex tools to soft select then move (curve) the edges.


        Capture1.JPG

        β€œThere are three classes of people: those who see. Those who see when they are shown. Those who do not see.”

        http://www.Twilightrender.com try it!

        1 Reply Last reply Reply Quote 0
        • BoxB Offline
          Box
          last edited by

          I've not a lot of experience, so I'm sure there are faster and better ways to do this but,

          I created one card with some thickness and made it a component.
          Then copied it 20 times, roughly rotated them from the corner, copied and rotated that stack and you have a stack of 40.

          http://i155.photobucket.com/albums/s296/storeben/SU/BussinessCards.gif

          1 Reply Last reply Reply Quote 0
          • david_hD Offline
            david_h
            last edited by

            The twisty tool plugin works the best for me. . .


            twisty stack.jpg

            If I make it look easy...It is probably easy

            1 Reply Last reply Reply Quote 0
            • D Offline
              d12dozr
              last edited by

              Do you have a link or a the 'official' plugin name, David?

              3D Printing with SketchUp Book
              http://goo.gl/f7ooYh

              1 Reply Last reply Reply Quote 0
              • utilerU Offline
                utiler
                last edited by

                @d12dozr said:

                Do you have a link or a the 'official' plugin name, David?

                Yes, I'm interested too, d12dozr?

                Do tell David.

                purpose/expression/purpose/....

                1 Reply Last reply Reply Quote 0
                • BoxB Offline
                  Box
                  last edited by

                  I believe he is talking about Fredoscale, as mentioned above.
                  http://forums.sketchucation.com/viewtopic.php?f=323&t=17948

                  1 Reply Last reply Reply Quote 0
                  • david_hD Offline
                    david_h
                    last edited by

                    Yes. . .Sorry about that. FredoSCALE!

                    If I make it look easy...It is probably easy

                    1 Reply Last reply Reply Quote 0
                    • D Offline
                      d12dozr
                      last edited by

                      Oh, haha, thanks πŸ˜„

                      3D Printing with SketchUp Book
                      http://goo.gl/f7ooYh

                      1 Reply Last reply Reply Quote 0
                      • V Offline
                        Verrou
                        last edited by

                        @box said:

                        This one intrigued me, so I had a bit of a play. The type of structure is useful for me in other things so I was curious about a quick way of doing it.

                        Baz, I was trying fredoscale when you posted, but I wasn't really able to get the desired result.
                        I was probably using it wrong, but I found it sloped the edges of the cards in the twist.

                        So I asked a quick question, which was immediately answered by rclub24 who pointed me to Chris Fullmer's Component Stringer. Wonderful plugin!

                        So a little play with that to work it out and then I jumped on my bike and roared off to my Doc appointment, a short 100mile loop, it's only about 20 in the car.

                        So to cut a long story short, too late I hear you say, with a freshly cleared head I sat down and made this 100 card stack in about 15min.
                        Basically, make your one card component, do a few calculations to get the spacing right, move the axis of the component to the point you want it to rotate from, draw a line the height of the stack you want and use Component Stringer to create the rest and rotate them.

                        It's a little too smooth but it gives a nice effect and is very quick to make.

                        http://i155.photobucket.com/albums/s296/storeben/SU/BusCard3.jpg

                        Yeah, I also found that with the box twisting tool, your image looks perfect for what I am after, can you give a more detailed guide? And a link to the plugin?

                        Thanks πŸ˜„

                        1 Reply Last reply Reply Quote 0
                        • BoxB Offline
                          Box
                          last edited by

                          You'll find Component Stringer here http://forums.sketchucation.com/viewtopic.php?t=23616
                          Watch the vid and look through the posts and you'll quickly understand how it works, very simple and useful.

                          As to exactly what I did,

                          I made one card.
                          I measured a card I had here, it was 85mm X 55mm and looked like about 1/3 of a mm thick.
                          I Scaled up by 10,
                          so I drew a rectangle 850mm X 550mm and push/pulled to 3.3mm.
                          added the card texture.
                          Made that a component.
                          Shifted the Axis of the component to a point roughly on the diagonal between the corner and the centre.

                          Drew a line on the blue Axis 33mm (being 100 X 3.3mm) and divided it into 100.
                          Selected the line and the component and activated component stringer.
                          Chose Scaling/None and Component Rotation/ 0.2
                          Then hit OK, and you have a stack of 100 each rotated around the moved axis point by .2Deg.

                          Then with the tape measure I resized the model back down to 85mm.

                          You can do smaller sections if you want the stack to move around more, or even use a curved line.

                          Hope that helps.
                          I'm sure there are still better ways to do this but that is how my beginner mind worked it out.

                          I've added the model below if you want it.


                          BusCard.skp

                          1 Reply Last reply Reply Quote 0
                          • V Offline
                            Verrou
                            last edited by

                            That worked beautifully! Thanks so much πŸ˜„

                            http://img541.imageshack.us/img541/9232/businesscards.png

                            http://img638.imageshack.us/img638/3060/businesscards2.png

                            1 Reply Last reply Reply Quote 0
                            • BoxB Offline
                              Box
                              last edited by

                              I'm glad I could help. πŸ‘

                              1 Reply Last reply Reply Quote 0
                              • R Offline
                                Rob D
                                last edited by

                                Thinking laterally. You already have a photo of the card stack. Use photomatch to line up and draw the top card:card stack photomatch.jpg
                                Then File > Import, Use as Texture and stretch an image of the top card over the surface. Turn off edges.
                                car stack 2.jpg

                                1 Reply Last reply Reply Quote 0
                                • R Offline
                                  Rob D
                                  last edited by

                                  Sorry - I didn't see there was a second page of posts - looks like you already sorted it πŸ˜†

                                  1 Reply Last reply Reply Quote 0
                                  • V Offline
                                    Verrou
                                    last edited by

                                    Yep, all sorted πŸ˜› But thanks for your suggestion anyway.

                                    1 Reply Last reply Reply Quote 0
                                    • 1
                                    • 2
                                    • 1 / 2
                                    • First post
                                      Last post
                                    Buy SketchPlus
                                    Buy SUbD
                                    Buy WrapR
                                    Buy eBook
                                    Buy Modelur
                                    Buy Vertex Tools
                                    Buy SketchCuisine
                                    Buy FormFonts

                                    Advertisement