Section Cuts
-
I am using Google Sketchup (to the dismay of my teacher
 ) to model my structure for my Architecture Studio class.
Anyways, we need to display section cuts for our presentations. I know Sketchup does this easily enough, and so I set my section-cut planes and exported the slices. Problem is, it only exports lines for the parts that are cut. I also am in need of seeing past the section cut plane. Is this possible with Sketchup?
The method I'm using is placing the section cuts, and exporting as a DXF (to open in Illustrator). Exporting as a DWG renders the same result.
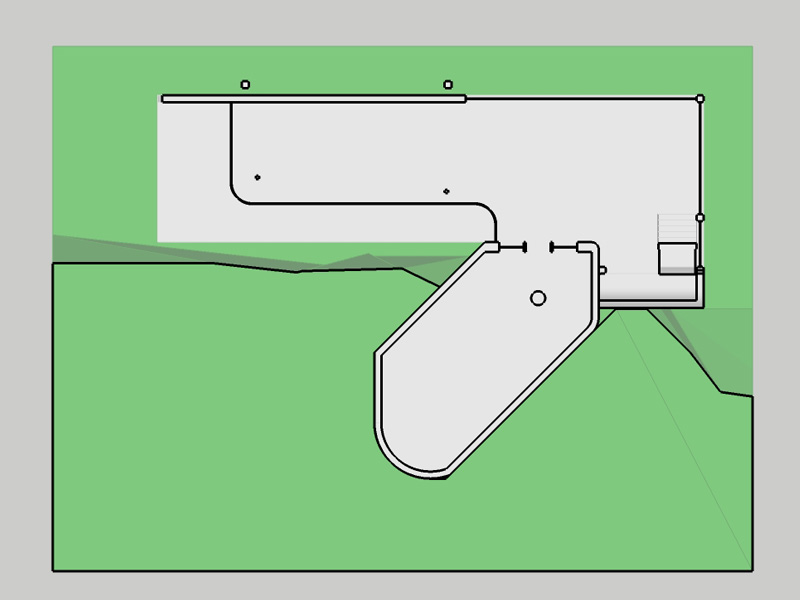
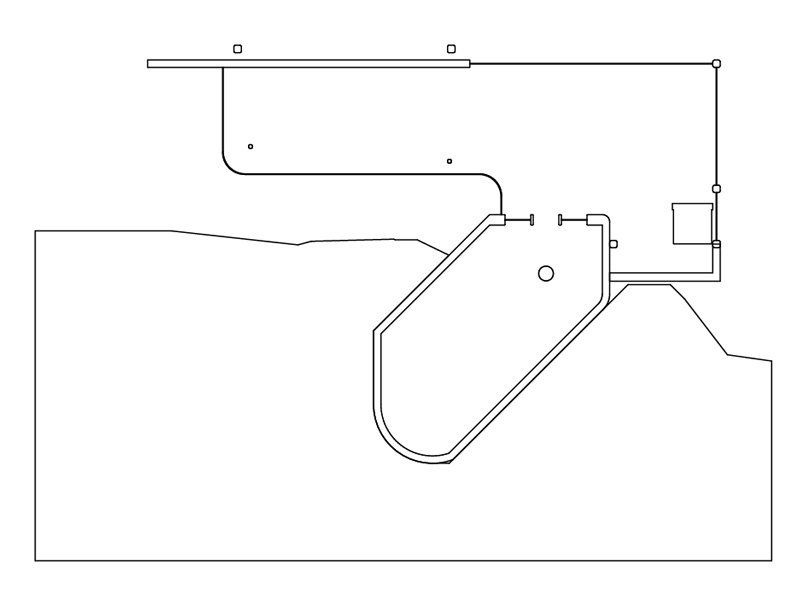
For example, I am attaching two pictures to explain what I'm needing. The first picture (that shows what it looks like when I place the section cut) is more along the lines of what I'm looking for (line drawing is all that is needed - no color). However, the second picture is what "Export Section Slice" gives me.
With this particular view, it's not too difficult to forge the extra lines, but some of my other views are a bit trickier.
Any help is appreciated!


-
Hi Trey (and welcome)
When you export section cuts as dwg or dxf, only that particular group of edges that are actually affected by the section plane are exported. You cannot have both the cut AND what's behind exported this way.
What you coulddo however is to actually (really and irreversibly) "slice" your model where you want the section cut and then export the remaining part of the model (section cut AND the other geometry) as 3D dxf/dwg.
Here is a plugin that does this nicely:
http://forums.sketchucation.com/viewtopic.php?f=323&t=16038Note the word "irreversible" (unless you undo it) as it really deletes what's "behind" the section plane so use it carefully and on backup copies of your file only!
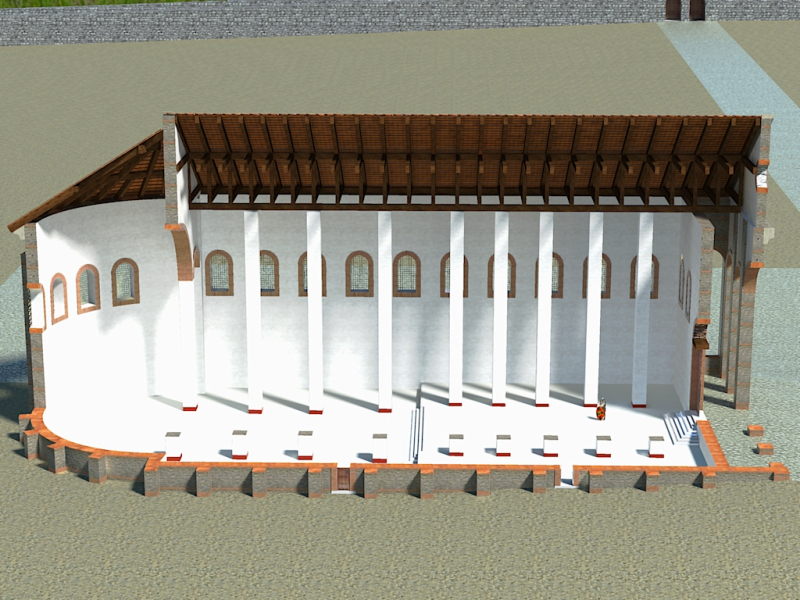
Here is an example of what I mean (this is not for dxf export but for rendering where native SU section cuts cannot be rendered)

-
Ah, yea, I've done that method. I was just hoping there was an easier way. In order to get it as a nice line drawing, I have to do a lot of editing that I wasn't looking forward to haha (lots of curved faces in my model). Thanks for the quick response though!
-
If you are using the pro version, why don't you give LayOut a try?
-
Hi folks.
Why are you not using this:
1 - Position the section plane.
2 - Make sure it cuts in the correct direction. If not, right click it and choose "Reverse".
3 - Make sure that you click the button labeled "Display Section Planes" to hide the section plane while keeping it active. This will show clearly the model behind the cutting plane and will allows interacting with it (drawing, moving, etc.).
4 - Orient the view to have a view facing the plane that you want. Use any of the standard view if it suits you.
5 - Switch to "Parallel projection".
6 - Switch rendering mode to "Hidden line" to avoid getting any color or texture.
You can add styles to memorize the section cut behavior and scenes to remember their visibility settings as well as the perspective on or off setting.
Don't export the slice but instead, export the view.
Just ideas.
-
@gaieus said:
If you are using the pro version, why don't you give LayOut a try?
I was looking at LayOut, but in the middle of an all-nighter, didn't feel like messing with it

I fiddled with it just now, and from what I see, it exports the view as an image? It won't let me edit lineweights or anything.@jean lemire said:
Hi folks.
Why are you not using this:
1 - Position the section plane.
2 - Make sure it cuts in the correct direction. If not, right click it and choose "Reverse".
3 - Make sure that you click the button labeled "Display Section Planes" to hide the section plane while keeping it active. This will show clearly the model behind the cutting plane and will allows interacting with it (drawing, moving, etc.).
4 - Orient the view to have a view facing the plane that you want. Use any of the standard view if it suits you.
5 - Switch to "Parallel projection".
6 - Switch rendering mode to "Hidden line" to avoid getting any color or texture.
You can add styles to memorize the section cut behavior and scenes to remember their visibility settings as well as the perspective on or off setting.
Don't export the slice but instead, export the view.
Just ideas.
You know, honestly, that had not even occurred to me. But I wanted a DXF in order to adjust lineweights in Adobe Illustrator for the drawings.
-
@maian said:
I fiddled with it just now, and from what I see, it exports the view as an image? It won't let me edit lineweights or anything.
The current version can only export image or pdf format. However it does allow you to edit lineweights - true however that you cannot "go on" in any CAD app with it at the moment. But LO is supposed to be an "end product". Have a look at some of the posts in the LO forum to see what the folks are doing with it.
-
If you are able to export section slices as DXF, you are clearly using the Pro version, so you should also be able to export any view as a DXF or DWG too. If Illustrator is your destination application, you can also export as PDF or EPS. That has the additional benefit of exporting the faces as filled regions also. The same result can be achieved from SU Free by printing to a PDF printer with the "Use high-accuracy HLR" setting enabled. Note that textures and shadows cannot be included in these exports.
Anssi
-
hi, how can i export my model with "Section cut face" as hatch in AutoCAD 2014 ?

Advertisement


