Office Render - Its better but not much!!!
-
Hi Guys
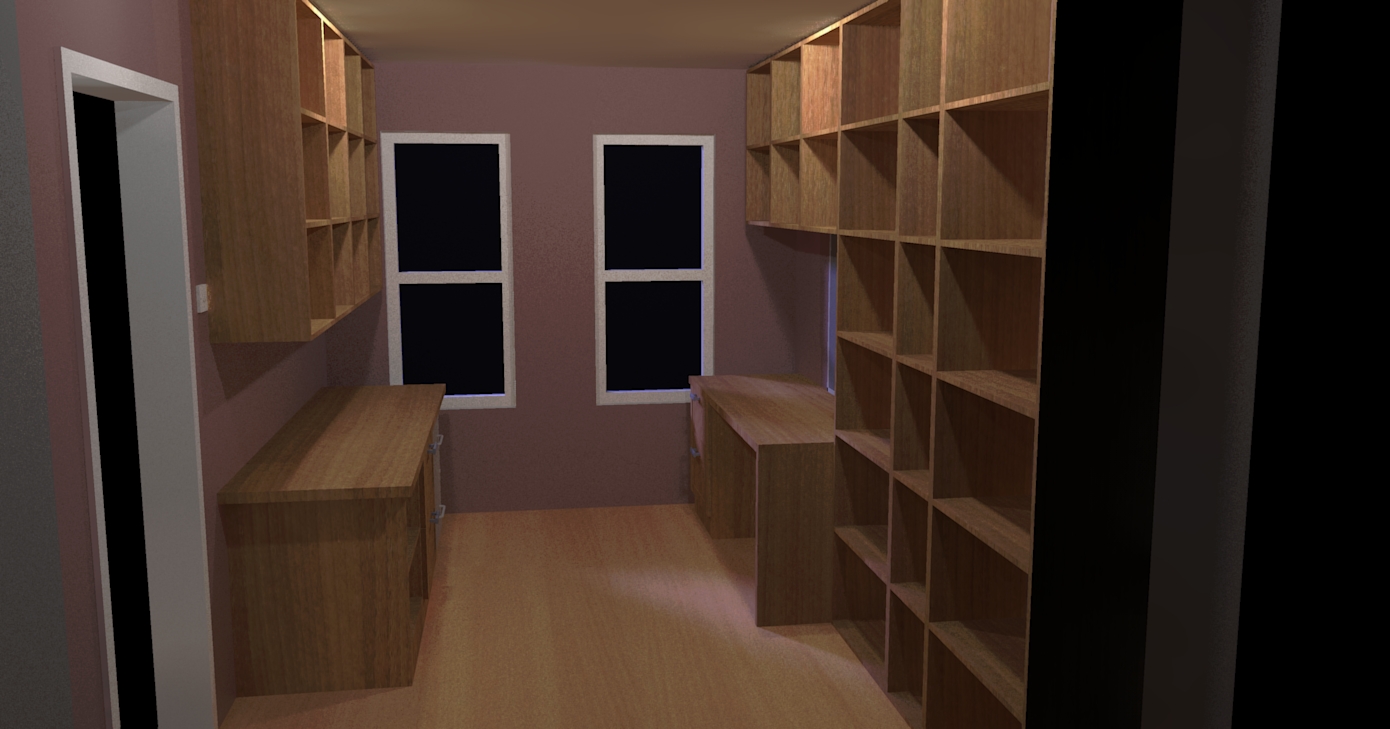
Just did a quick Twilight render of a simple office/library I am working on - used four point lights in the ceiling and layered the walls so that I could turn one off and look into the room - I've a few questions:
Why is there no light coming in from through the windows and they are showing up black?
How many lights do I need to put intop this small room to illuminate it to a decent level?
What level of detail should I go to to make the scene look interesting?
Any idas would be appreciated
Thanks

-
make the model monochrome and make sure all the faces are facing towards you (front faces). If you see a blue back face then just right click and click reverse. Have u applied a material template to glass? it could be the face just needs reversing and texturing again. Don't forget to include a background image/colour so you can see out the window! It's only a small room so along with sunlight you would only need a couple of artificial lights, maybe 3 or 4 spots at most.
you don't have to cut a wall off to look in. have u tried increasing the field of view? your window reflections will show a huge hole in the wall (when you sort the material out). put as much detail in as you see fit....can never have enough detail.
for general brightness you can increase the exposure/lightness of your image with the tonemapping within twilights camera menu.
-
@dermotcoll said:
Why is there no light coming in from through the windows and they are showing up black?
My immediate thought would be it must be because you haven't applied a "Thin Glass" material in the TWR material editor...
@dermotcoll said:
How many lights do I need to put into this small room to illuminate it to a decent level?
You can ask the question in a different way...
How many light sources would you place in a real live environment...??
I'd put in 3-4 spotlights and in TWR I would use IES lights...Have you seen the Lights - render times thread I've posted...??
In that thread you can download a SU scene, where I use a spotlight component, which you can use for this scene...
@dermotcoll said:
What level of detail should I go to to make the scene look interesting?
Ouch... That's difficult to answer...
IMO photo realistic renders usually requires that you put in as much details as possible... -
cheers guys
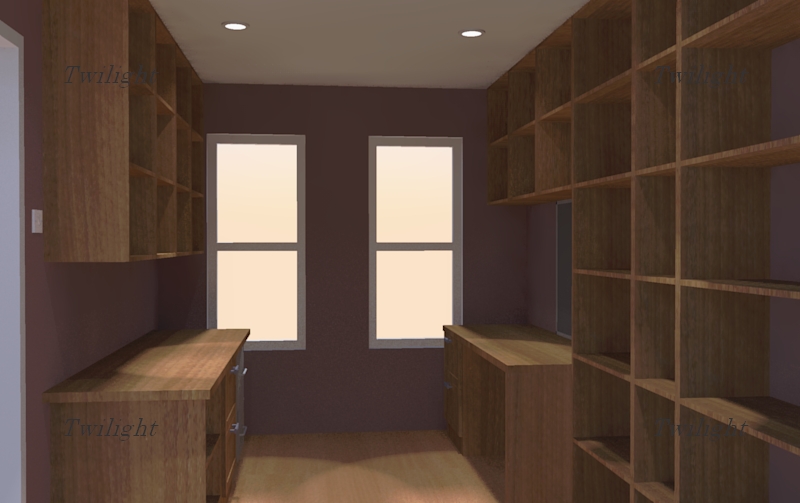
I have done a quick render with the light intensity increased on all 4 point lights - definitely helps.
I haven't tried the other tips yet, I will give all these a go later tonight as I've got to do some work now!!!Thanks
-
OK... I just had a little time to play around with the model and see what kind of settings, materials, lights etc. you had used...
Some comments:
- The window material wasn't the thin glass.
- The background was not the physic sky, but a background image that didn't exist, hence the reason why it was black outside.
- The point-light components was placed partly inside the ceiling.
- The wall material was reflecting.
So - I made some quick adjustments to the model, which you can download in the attached zip-file, which also contain the IES-file used in the scene I created...
( You might need to reload the IES-file in the TWR Light Editor... )
And you can also see a quick test render I made of the scene I created...
Hopefully you'll be able to learn from this...?!
(Check out the materials I used, how the spotlights are made etc...)
-
i think this will be helpful for all twilight users, cheers
-
Hi Frederik
Just got in and saw your comments - thanks for taking the time to look at the model. Some questions:
- How do I load your IES file when I open the light editor I cant get it to load as the option is "greyed out".
- Where can I find the thin glass material in the materials editor - i didnt see it as an option?
- I didnt realise the point light components were in the ceiling - I have never placed them in a model before and was therefore unaware that it was a component in the model - i thought it was just a light source placed in the model and did not have a physical presence. - Your model shows Pot lights as a physical item - is this generated by the point light button in the Twilight render toolbar or is it an SU component?
- How do I stop a wall from being refelctive - do I go into the materials in Twilight and adjust a setting and if so wqhich one?
Thanks for the feeedback - Ecuador has asked me to try the Twilight forum for more help and feedback so I should get plenty of good direction from all the pro's
Cheers
Dermot
-
@dermotcoll said:
- How do I load your IES file when I open the light editor I cant get it to load as the option is "greyed out".
Open the model I've attached above...
Click the TWR Light Editor icon
In the top-bar click the "From Scene" menu and select the Spotlight[1]
Now click the tab "IES"
Click the "Load" button and select the "10.IES" file, which I've attached in the above zip-file...@dermotcoll said:
- Where can I find the thin glass material in the materials editor - i didnt see it as an option?
Click the TWR Edit Material icon (eye-drop tool on color palette)
Point the "Eye-drop tool" on the window
In the TWR Material Editor you'll see what material I've applied
(The thin glass material can be found in the TWR Material Library - Architectural_Twilight)@dermotcoll said:
- I didnt realise the point light components were in the ceiling - I have never placed them in a model before and was therefore unaware that it was a component in the model - i thought it was just a light source placed in the model and did not have a physical presence.
Not sure I understand you here...

The TWR point-lights have a physic precense in SU, just like spot-lights and IES components...
Can't you see them in SU...??@dermotcoll said:
Your model shows Pot lights as a physical item - is this generated by the point light button in the Twilight render toolbar or is it an SU component?
The spot-lights in my model is a component I've created myself, but you can easily make your own...
In the Kitchen "Contest" thread, I've explained how you make such light components...@dermotcoll said:
- How do I stop a wall from being refelctive - do I go into the materials in Twilight and adjust a setting and if so wqhich one?
Click the TWR "Edit Material icon...
Click the wall material with the TWR eye-drop tool
In the TWR Material Editor top-bar menu, select "Templates"
Click "Generic" and select "Reset" in the sub-menu
The material is now a flat default SU material...@dermotcoll said:
Thanks for the feeedback - Ecuador has asked me to try the Twilight forum for more help and feedback so I should get plenty of good direction from all the pro's
I can also encourage you to do so...
And above all, look at some of all the video- and written tutorials we've made available...
-
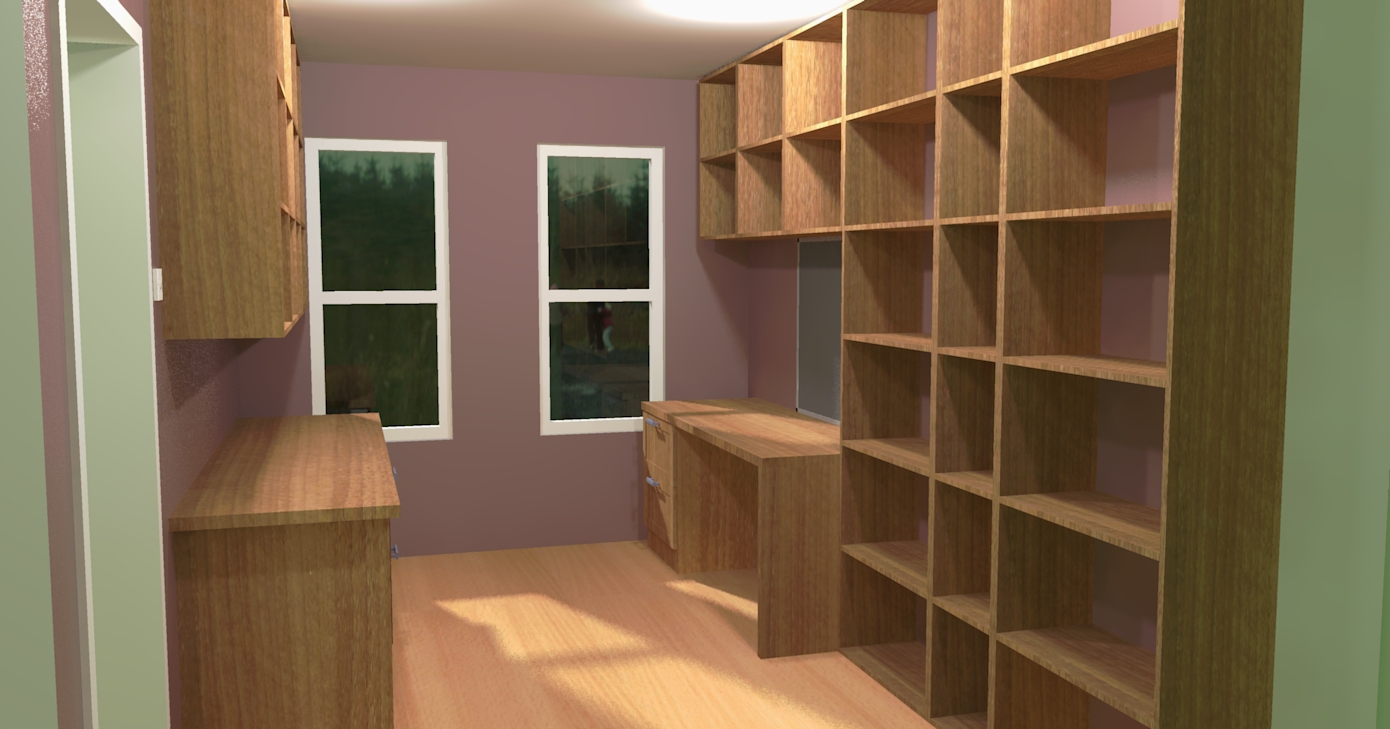
Many ways to skin a cat. I like figures for scale. Adjusted lighting, added texture (color) to ceiling, and rescaled the wood texture in SU. Thanks for the model to play with. Maybe a little too bright?

-
Cheers Guys
I have tried what u said and managed to get this. Much better but windows still black!!!
I am using an image of my own for the background and it is still not showing up.
I will need that holyman to work a bloody miracle for me honolulu!!!!! (I know its a model cos I will never have a priest in my office!!!!)
-
@dermotcoll said:
I have tried what u said and managed to get this. Much better but windows still black!!!
@frederik said:
- The background was not the physic sky, but a background image that didn't exist, hence the reason why it was black outside.
But you can see the sun on the floor, which means that the material you've used for the windows is correct...
@dermotcoll said:
I am using an image of my own for the background and it is still not showing up.
Not sure I understand what you mean here...
Just as a test purpose, can I please ask you to download the Spherical Skies Pack 1 and follow the steps Fletch has given...??I can also see that you didn't manage to remove the reflective material used on the walls...
@frederik said:
Click the TWR "Edit Material icon...
Click the wall material with the TWR eye-drop tool
In the TWR Material Editor top-bar menu, select "Templates"
Click "Generic" and select "Reset" in the sub-menu
The material is now a flat default SU material...Once again, I can only encourage you to look at some of all the video- and written tutorials we've made available...
-
Hi Frederik
Can you give me a link to the videos as I cant find them on the Twilight forum - my blindness amazes me sometimes - probably why I missed the reflections on the walls!!!

-
Cheers, James...
I also recommend that you download the TWR User Manual as a pdf-document... -
Hi dermotcoll,
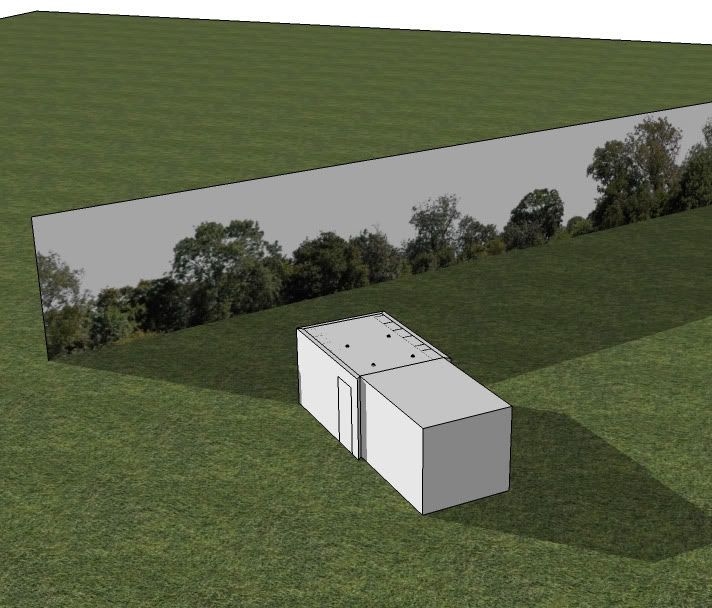
I had a quick go at your SU file.
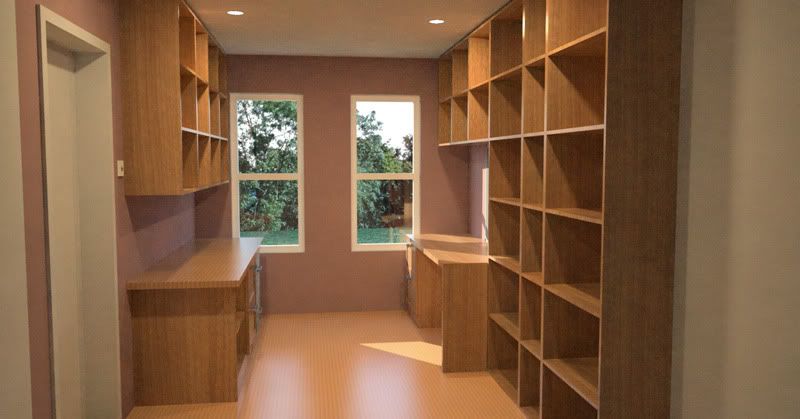
Another render engine was used, but setup should be quite universal, so I guess it could apply to Twilight as well.Some general observations:
- use a groundplane around the subject and make it big enough. This way, the physical sky will bounce around light in the interior (ceiling) more realistically.
- If render time is not an issue, render the room as fully enclosed without the back wall missing. More realism, but I know...render time...
- thin glass is the way to go.
- Create some background in the exterior. In my example I placed a 2D clipmap treeline surface.
Here's what came out:
and the SU setup:
-
Kwistenbiebel,
i always find your posts very helpful! Thanks for taking the time! -
Cheers kwistenbiebel
Really like the output you got. As I said all the help here is fantastic - i need to go away, improve my models, materials, lighting, composition, read manuals, look at videos and then when I take my tail from between my legs and post a new render I will see how well I have progressed.
Thanks again everyone for all your help.
Cheers
Dermot
Hello! It looks like you're interested in this conversation, but you don't have an account yet.
Getting fed up of having to scroll through the same posts each visit? When you register for an account, you'll always come back to exactly where you were before, and choose to be notified of new replies (either via email, or push notification). You'll also be able to save bookmarks and upvote posts to show your appreciation to other community members.
With your input, this post could be even better 💗
Register Login


Advertisement