2 segments leader
-
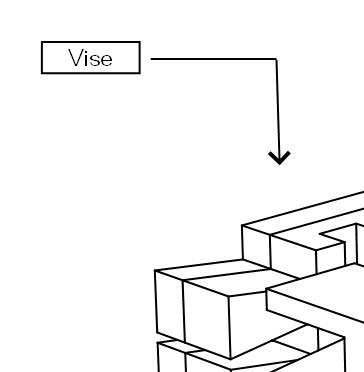
When making a label, I wish the leader could have two segments so there would be an horizontal one beside the text, just like the icon shows.
Then my boss would be happier (cause that's the way the cad team does it). But me, I am pushing layout.
-
DO you mean like this?
It can be done. It would be nice if it was more straightforward to do but it is possible.
After making the leader, select the Knife tool (

) and cut the line where desired. Change the end point for the section nearest the label so it has no endpoint. Adjust the position, angle and length as needed. Once you've done one of them, copy the whole thing and modify the copies as needed for the others. -
@unknownuser said:
It would be nice if it was more straightforward
Yes !! Indeed!
But your work around is not bad, for now.
Thx. -
I told you of a difficult way. There is an easier way.
After you've drawn the leader, get the Select tool. Double click to open the leader arrow for editing. Hold Ctrl and click some place along the line. there'll be a little blue dot placed on the line. Let go of Ctrl and drag the dot to make an angled leader.
-
@dave r said:
I told you of a difficult way. There is an easier way.
After you've drawn the leader, get the Select tool. Double click to open the leader arrow for editing. Hold Ctrl and click some place along the line. there'll be a little blue dot placed on the line. Let go of Ctrl and drag the dot to make an angled leader.
I'm gonna have to try this.
-
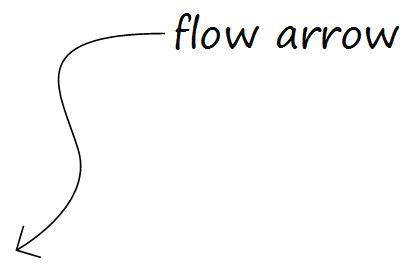 I'm quite happy typing my notes as a text box and then from my scrap book sampling my preferred arrow settings and then creating nice flowing spline arrows. Much nicer than straight lines.
-
You can make flowing arrows like that with the Label tool as well.
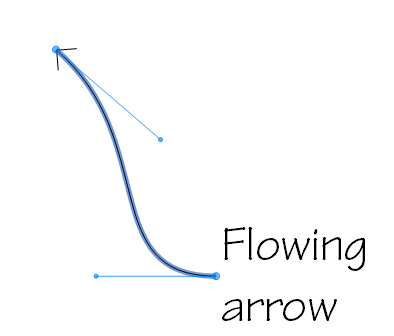
Double click on the arrow after placing the label. Hold Ctrl on the PC or Option on the Mac while clicking on an endpoint. You can then drag out a point to give the arrow a Bezier curve. If you want, you can repeat the process at the opposite end as well. -
Learn something new every day. Not sure with the line edit if that's a duh or a wow!


I still prefer my workflow for label creation as I hate right aligned multi-line text which I would end up having to "correct" as well as editing every arrow. It would also be a lot easier if the sampling process picked up the line and text format at the same time but that may require a new entity type in the core program.
-
I agree with you on the text alignment but it only happens when the arrow is to the right of the text. As to the arrows, I end up having to edit every one anyway because they are all different so it doesn't work out to be any better to pull the arrow out of the Scrapbook over the Label tool. I generally just make a copy of the first label and its arrow and edit those as needed.
-
I only go to the scrapbook once Dave to set the line tool parameters with the style sampling tool. After that it's a simple process of click & drag to create the curve tangent from the text box and then double click at the end point. No editing required; plus you can add extra points if you need to get around those bits of the drawing you need to keep clear.
And for the OP the process would work just the same but just click (don't drag) so you get straight line segments.
Hello! It looks like you're interested in this conversation, but you don't have an account yet.
Getting fed up of having to scroll through the same posts each visit? When you register for an account, you'll always come back to exactly where you were before, and choose to be notified of new replies (either via email, or push notification). You'll also be able to save bookmarks and upvote posts to show your appreciation to other community members.
With your input, this post could be even better 💗
Register Login


Advertisement