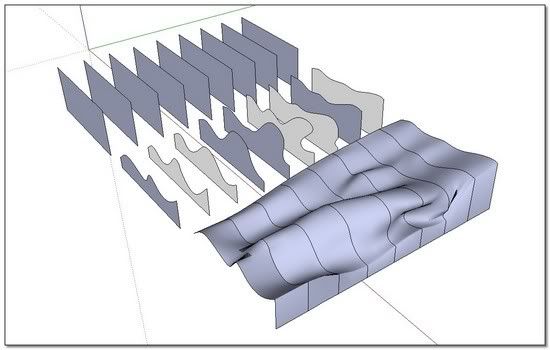
[Plugin] Simple Loft alpha 0.1b -- UPDATED May-15-09
-
Thanks Chris! Looks lovely - can't wait to try it. Just for filling in the gaps in places, or for curtains as you showed. Should be handy.
-
Dear Chris,
I take account of this Simple Loft for the first time. Wahoo! it is totally amazing: I love it!!! and will love it even much more in plenty of my futur works.
How are we going to call you: Master Chris; Dear Honoured Master Chris; Fullmeinstein ???


But we know your simplicity and kindness so we'll continue to call you "Dear friendly Chris"

+++ simonlebon
-
I love the loft tool, but is there any way of giving lofted items depth? I design furniture and use the loft tool for creating complex chair backs. While loft gives me the contours I am looking for, it doesn't give me the thickness I am looking for.
Paul
-
Dear Paul,
As a simple workaround, select the created surface and then copy and move. Stitch the edges to create the 'solid' surface.
Regards,
Bob -
What watkins said +1
You can maybe also try with JointPushPull plugin from the first surface created with Simple Loft ? -
wow wow wow
thatnk you bro to this pulg fprm long time I looking for about like this pulg
this winderful and your Tutorial is amazing
thank you again -
I don't understand why closed shapes wouldn't work...
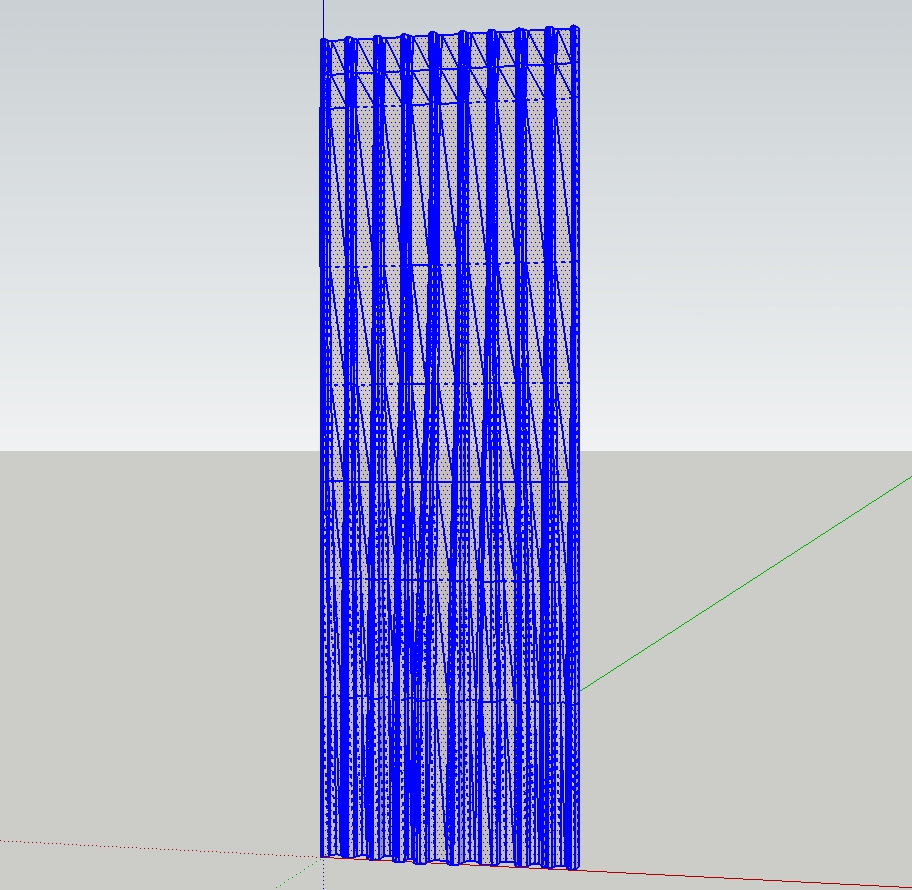
[attachment=0:d559aw5a]<!-- ia0 -->Three Surfaces<!-- ia0 -->[/attachment:d559aw5a]
Except for the 3 surfaces. Which - is kinda cool.
Mark
-
Heh, the only reason closed loops don't work is because how I programmed it. I need to determine a starting point, and then determine how to align the splines so that they will be connected efficiently. At the time, the best way I could think to get the script to work efficiently was to just use an endpoint, then match it up to its enarest endpoint in the next spline, and connect them like that.
I think I have it worked out how to do it better for the next round. Unfortunately, life has taken over and I am extremely busy with trying to secure a job, move my family, etc, etc.
But, hopefully sometime in the future I'll get back into my scripts and re-write them. This one is high on my list to get back to fixing up. Its a bit lame right now. Its sort of cool, but not really useful with all its eccentricities like no closed loops, splines have to have equal segments, etc. I'll get it working better in time...
Chris
-
Hi, Chris:
I know you are busy.
This is just a heads up. Loft is not working at this time for me. Of course, I have acquired additional plugins since this one.
This is the Error message in the Ruby Console:
Error: #<NoMethodError: undefined methodall_connected' for nil:NilClass> C:/Program Files/Google/Google SketchUp 6/Plugins/clf_simple_loft/clf_simple_loft.rb:61:inonLButtonUp'
C:/Program Files/Google/Google SketchUp 6/Plugins/clf_simple_loft/clf_simple_loft.rb:61I saw somewhere, you mentioned that Progressbar seems to be the common factor.
Best Regards,
mitcorb -
Another Great tool Chris. Thanks so much! It's . . .dare I say it?? SUPER!

-
Just wondering if anyone has gotten this to work on SU7 Pro for Mac Version 10.5.7?
-
I think it should work on a Mac Oscar. The #1 error is normally that you need to make sure that both lines have the same amount of segments. That and they can not be connected to any faces.
Its a bit picky on what it wants so that it will work.
If none of that helps, open the Ruby Console (Window > Ruby Console) and then try running the script. See if it sends any messages to the console. If it does, copy and paste them here and I'll see if I can get to the bottom of it,
Chris
-
@unknownuser said:
Just wondering if anyone has gotten this to work on SU7 Pro for Mac Version 10.5.7?
I would like to know too, for me the plugin does not even appears.
SU6 OSX 4 -
THANKS FOR YOUR SUPERB RUBY!!!
-
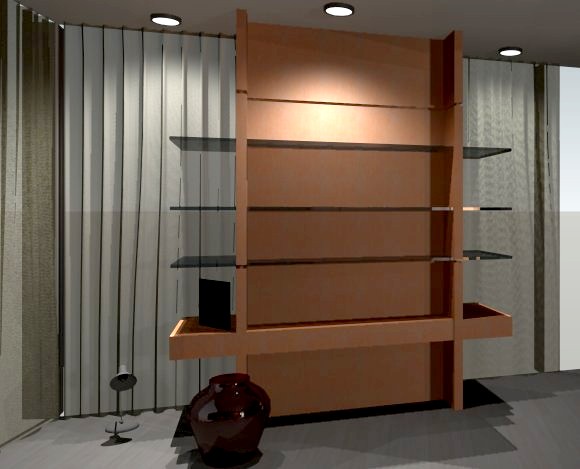
Great tool. I made the attached drapery (left side of fixture), an improvement over the previous ones (right side, and left of new drapery material) as I was able to pinch the row below the top (as it commonly is), and have the folds fall naturally. Thanks Chris.
Sorry about the dark render, didn't want to spend the time adjusting the lights. Anyone know if there is away to edit this surface? Can it be exploded?


-
This tool is amazing. Definitely helped on some of my school projects. I do have one problem and dont know if its the tool or the system.
So I am on a mac. Leopard updated and all that.
I noticed that on starting sketchup, the red dot in the corner would indicate that the file had not yet been saved. Usually, this only happens when you actually start drawing. So, i removed all my plugins, downloaded sketchup fresh, and went back and added the plugins again one at a time. Found out that it was this tool that was causing sketchup to think that the file needed to be saved, even if nothing had been drawn. This wouldnt be a problem as i could just click "dont save," but doing that caused sketchup to crash every time.So thats my dilemma. Does it make sense? Am i the only one with this problem?
-
That is very interesting Kyle. I'll have to look into it. Does anyone else see this?
Chris
-
I'm trying to use this tool to create a valley curve-- a cross between a bell and an oval. I am having a problem using this tool with closed loops. =(
I did it manually but it was annoying.
-
Hi, the script does not work with closed loops. Sorry about that.
And think how much more annoying it would have been to connect those shapes if the script didn't exist at all

Chris
-
@chris fullmer said:
Hi, the script does not work with closed loops. Sorry about that.
And think how much more annoying it would have been to connect those shapes if the script didn't exist at all

Chris
I did try to split up the loops but I couldn't get an even split... I had to do it manually!!
Actually, I think I could possibly use a different tool but I am not sure what it would be exactly. I had two circles. The bottom and smaller circle already had a quarter sphere inverted and oval in shape that I would later attach to it. The top circle would be attached to a flat surface. The object is to have a smooth transition between the two.
What I did is made a Bezier curve from one segment (on the big circle) to another (on the small circle) (with a perpendicular slant to the blue axis).. there were 24 segments, so I cut out a quarter from the circles. I copied the curve 5 times, then changed the angle and resized so that each curve start/end matched the smaller (and lower) /bigger (and higher) circle. Then it was just a matter of exploding the Bezier curves and drawing lines between them, forming rectangles of various inclines. I then copied this thing 4 times and hid the line segments with smoothing.
Your tool is pretty good but there is no way to specify exactly what type of curve I want... that would be troublesome for anything but a symmetrical spherical or oval shape, though!
I have a suspicious feeling I could have just used the follow-me tool and then stretched the result, though.

Advertisement


