GE Optimization?
-
For a GE model, it is highly recommended not to have extraneous geometry inside (so make it a "single box" without wall thickness and any inside faces) as well as not to have coplanar faces which cause Z-fighting and all like that.
I've just run across the CADspan plugin for SU which is a free plugin for non-commercial use
 (but after all many who model for GE model non-commercially).
In the firs step of the "model optimization" - as shown in this video - the plugin "clans" your model in a way GE "likes" it best, further more intersects all (later) visible faces and all - except for one thing; it will triangulate all faces (this is apparently needed for the stl file format for 3D printing for which the plugin originally was made) but of course, with some simple plugins like DeleteCoplanarEdges, you can get rid of those by just two clicks.
Final "verdict": even if you make a complex model of something, with just a couple of clicks you can make a GE friendly version of it easily. I haven't tried it with textured faces so I don't know how it would behave in such an environment.
Happy modeling

-
I'll have to check out that plugin.
What I find the best is to make sure no objects are smaller then 2". Google Earth does some funky things with smaller objects so the smallest I'll go is 3". Test that out to see the results.
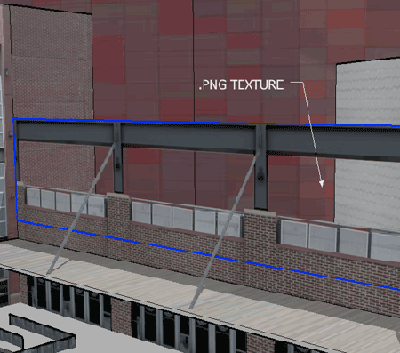
Also, always delete the bottom face, avoid creating your own terrain and us .png textures as often as possible. You'll save a lot of time modeling high levels of details if you just use a png instead. Attached is an example where you can see the difference.
GE models are definitely a different style of modeling. Most users want to add as much detail as possible. Just let the textures do the talking. You'll spend more time in photoshop then in sketchup but you'll have a great result.

-Dan
-
@db-3d said:
Also, always delete the bottom face, avoid creating your own terrain and us .png textures as often as possible. You'll save a lot of time modeling high levels of details if you just use a png instead. Attached is an example where you can see the difference.
Dan,
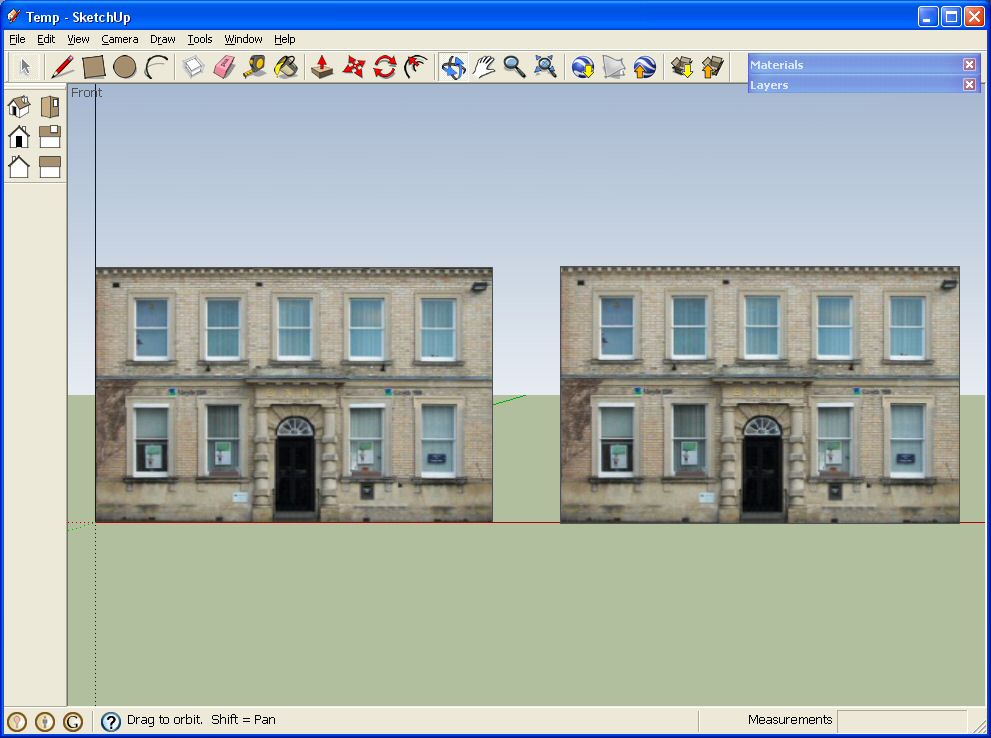
I usually use .png files when I need a tranparent area, but otherwise I use .jpg. In the attached screen dump, the image on the left is .jpg and the right is .png. I can't see much difference in detail. Both images are 455 X 284 pixels, but the .jpg file is 91.4 KB while the .png file is 249 KB.
Could you explain a bit more the advantages of .png over .jpg.
Thanks,
Tom

-
.png is a lossless format, so you can resave your pic as many times as you want and you wont lose any detail. If you do the same with .jpg you can suffer a notable loss of quality, the pay off being the larger file sizes.
A good workflow is to save as .png until youve finished editing your texture, at which point you can save it as a .jpg with no fear of degrading the image any more than is necessary.
-
Also png images can carry transparency info which can be very useful with - say - a fence or a statue cutout and such.
-
Thanks Remus, Gaieus.
...learn somethin' new every day.
Tom
-
I can't agree more with the comments above. Since .png are a lossless format, file sizes tend to be larger. Try to limit texture widths to 500 pixels. GE will crunch alot of this info anyway to make the filesize smaller.
What I was trying to get across in my image is that you dont have to model between the steel beams:the cutout. This will save time and polygons. Also .png's are great for signage. check out the logo for the fedex forum.
Advertisement


