How do you make an grey object with a black outline???
-
I have been trying that for some time. The problem is that when i switch from "color all same" to "color by material" the edges also change!
image 1 color all same
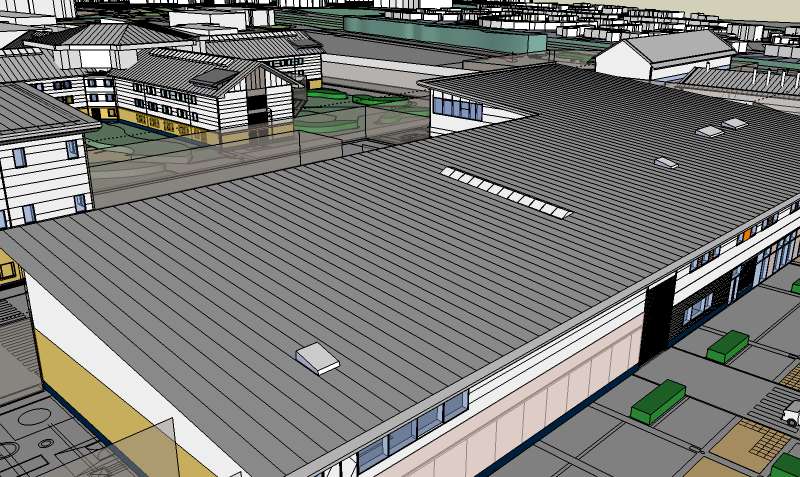
image 2 color by material
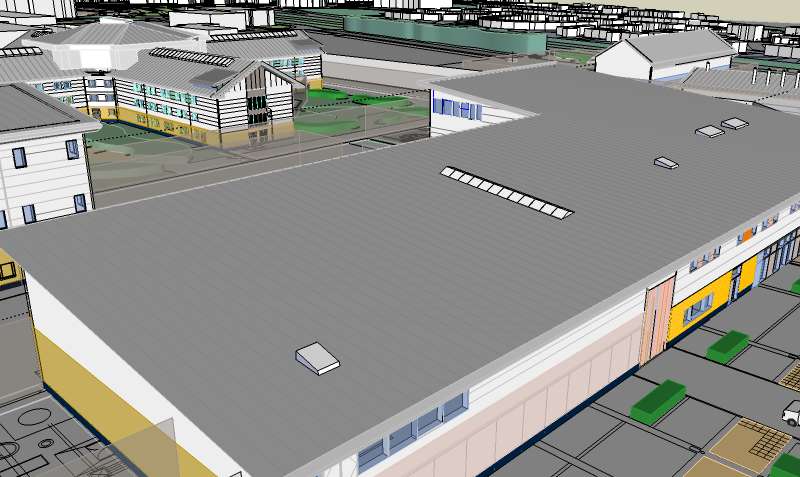
the edges change to the same colour rather than staying black. All i want to change is the lines on the roof. That is all.
Do you understand now?
-
Yes, they change because they are painted grey as well as the roof itself. If you use this kind of setting (colour by material), it will be applied globally in your model and you will have to adjust the colour of every edge you have painted differently before.
If that roof is a group/component, do the same to its edges as I described above.
No wonder people do not use this setting too much - it is easy to screw things up if you are not careful enough - and keeping to repaint everything is quite cumbersome.
BTW why are you not happy with all edges the same colour?
-
In my experience, it's extremely difficult in many other 3D programs...Max, Lightwave, Rhino, C4D etc...to get edges to display at all...much less individually, in the colour of your choice.
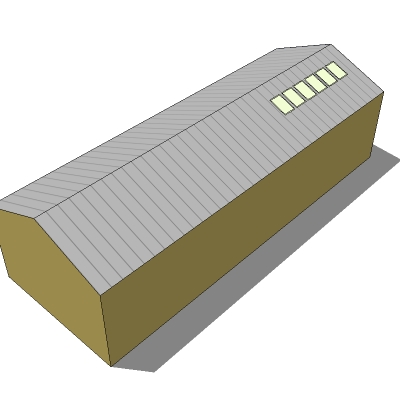
It seems to me that by far the easiest solution to this would be to simply make a png file in light grey...say 16 pixels square...then draw a single column of darker pixels along one edge, save it and paint the roofs with it. It took me less time to make the model than write this description.
-
Ah yes, texturing is another - and even easier - solution.

-
Making a png file would mean i would have to redraw the roof and several others to fit my scheme.
"you will have to adjust the colour of every edge you have painted differently before" - Gaieus
"If that roof is a group/component, do the same to its edges as I described above." - Gaeius
this is not possible for me to do so, as u explained above, i have said this before. This is THE PROBLEM!!!
This does not seem to be getting anywhere.
-
OK guys, do you know how to make the edges thinner on my drawing. On edge style all i have selected is display edges....can i thin down the edges any further???
-
@joejoejoe said:
OK guys, do you know how to make the edges thinner on my drawing. On edge style all i have selected is display edges....can i thin down the edges any further???
The thickness of edges on screen can not be adjusted, they are always 1 pixel wide. Only profile edge and section cut widths can be adjusted. Edges can, however, be easily made thinner in exported images. Just export a larger image, the edges will always be 1 pixel wide and thus proportionally thinner. You can then downsize the image in your photo editor.
Anssi
-
The approach Anssi explained is how most of us deal with the linework. Its nice to have very thin black lines, but not the the massively thick ones. So exporting extra large and then downsizing in Photoshop is a great tip. It makes for a much crisper export image. Hope your're getting somewhere on this, the model looks good.
Chris


Advertisement