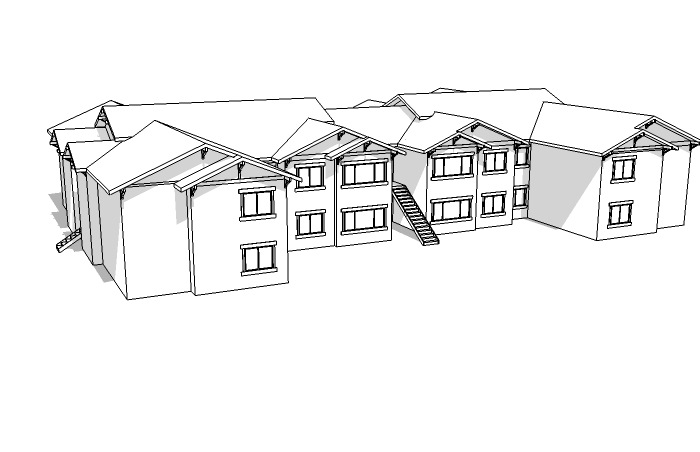
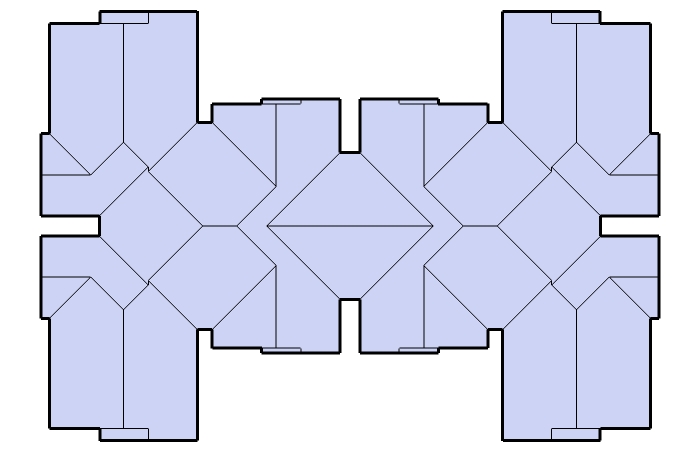
Roof layout
-
Yes, TIG's script is a very good help with speeding things up but as Dylan says, you should really learn how to do it by hand first (like with most of the plugins actually). The best is however to model it in 3D so that you can actually see if it is OK. (I had to delete your line work in order to be able to model it). It seems to be OK (although probably will be a nightmare for the builder
 )
)Here is my "hand made" version:
-
I never knew there was a ruby script for roofs, I don't think I will use it because I always like to work them out. This roof is really ugly
 , I think I may make all the end into gables. I will post some updates tonight after work with the roof on the building (study model), and see if you guy have any suggestions / input.
Thank for looking to see if the roof works. -
Got rid of the hips at the ends and replaced them with gables, it is starting to look a little better.

-
-
That is a great tutorial, that is how a roof should be done (no need for a ruby)
Also here is the actual roof (with gable ends and real size)if someone want to have a go.

-
@jean lemire said:
Hi Aussie, hi folks.
See this SU file for ideas.
Great Roof Tutorial, thanks for posting, I do residential design with a lot of hip roofs and different plate heights. I picked up some good tricks by watching your tutorial.
I was doing roofs the hard way (finding the Z coordinate for all the horizontal ridges from Cad Elevations) Using a Guideline and rotating it is the way to go. I just have one question.
How do you enter the angle for a 6/12 roof pitch? I would draw the slope on Cad and measure the angle and then type 26.56505118°, do you use an easier way to rotate the guideline to be at 6/12 slope? -
Hi jcdb,
Type 6:12 (instead of 6/12) and hit Enter. It works at least with my European keyboard (some keyboard inputs are different than the English keyboard entries).
-
Never do the degree for 6/12 or anything it will never come out right even if you take it to the 100th decimal point. What I do is draw a line off to the side at 12' long and then a line at 6' high and then connect them, then you have your guild angle. You can copy and move the angle to your model, do a mirror to the other side and then where they meet is your first ridge. Then it is pretty straight forward from there. As long as you have your roof plan laid out it is like joining the dots in 3d.
-
You don't even need to "move it around" once you have the angle already - see this tutorial by Eric (I used this technique to creat your roof above).
-
There are really some great tutorials here
Advertisement


