[REQ] sketchup image sampling
-
im not sure if its possible, but im so amazed at the things being brought out here to alter sketchup and hey... anythings possible, but is there a way to get sketchup stop resampling images on import? i hate it when i import a image and all the detail of the image has been blurred...
-
I stand with free agent, please is there no way to do that? WE have seen amazing stuff written on rubies so far, some are really jaw dropping. Maybe someone do it for the forum?

-
it's done internaly in Sketchup and there is nothing we can do from outside (except hijacking their openGL calls)
-
oh.... ok... thought there might be a way of blocking that step in the importing sequence?
-
hmmm bummer... so there is no work around in this.? so its no use downloading huge textures because its gonna be rescaled everery time you drag in an image. hmmm
-
If you want it to be used for rendering in vray it shouldn't be a problem.
Instead of linking a mat, create a vraymat with the high res image in the diffuse slot and apply to your model. In that way, it will render the high res.But maybe you want hi-res for native SU output? In that case, I don't know

-
I must admit you can have reallly sharp and crisp 1024X1024 images if you make good use of the 'save for web' option in Pshop.
-
tried to bump the resolution bigger than 1024 - no luck (crashes in nvidia drivers).
and yes, there is no difference in SU output if you add a 1024x1024 texture or a 3000x3000 one (besides making the .skp bigger and the 3000 badly rescaled )
-
there is a workaround. it requires messing with windows though
(discussed in this thread)at least you get 2048 instead of 1024 then...
-
there is a little workaround you can do with Photoshop, or even with the Gimp.
- open your huge texture in photoshop and set the ruler's units in pixels (no inches or centimeters)
- Set the grid size to 1024 px, or lower.
- With the slice tool tesselate your image following the grid
- Save it all for web as pure jpg (with no html code atached)
Photoshop will save automatically each tile with progressive number in a desired directory.
Open Sketchup and with the ruby "massmaterialimport.rb" (available at http://www.crai.archi.fr/RubyLibraryDepot/Ruby/RUBY_Library_Depot.htm) create a new material set.
Now subdivide the face you want to texturize, keeping the some proportions of the Photoshop grid and apply each texture to the corresponding subface. Scale it correctly and you will have a seamless match.
This is longer to explain than to do, once you have practiced a bit.
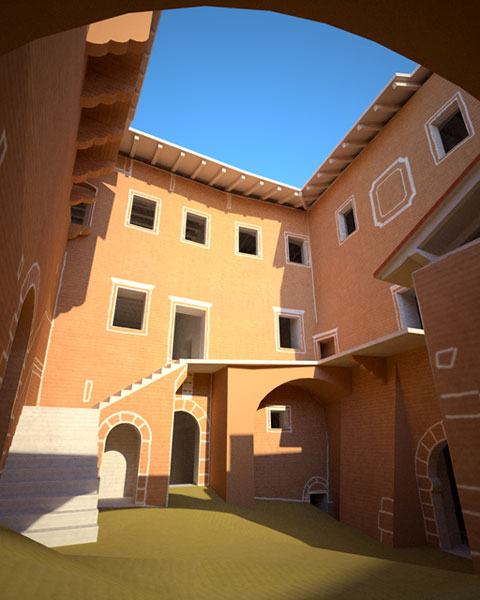
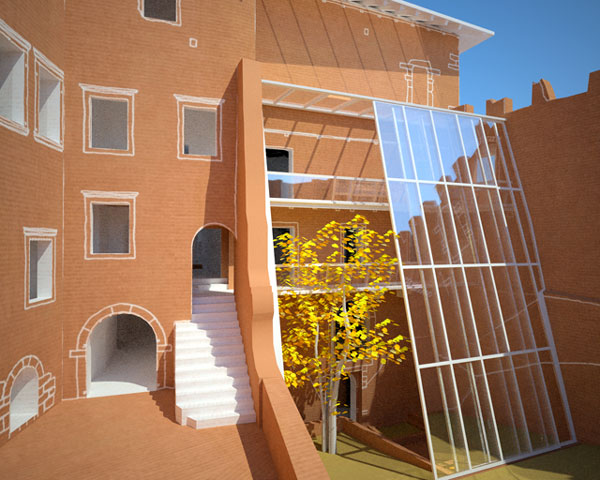
Here are a couple of images of a work in progress. The facades are texturized joining several tiles. When I exported it to indigo it worked flawless.
The cons are, of course, that your poly number will increase, and all the thing is a bit tricky. But it works.
/matteo


Advertisement


