SDS & FFD Abstract Sculptures with Interesting Textures
-
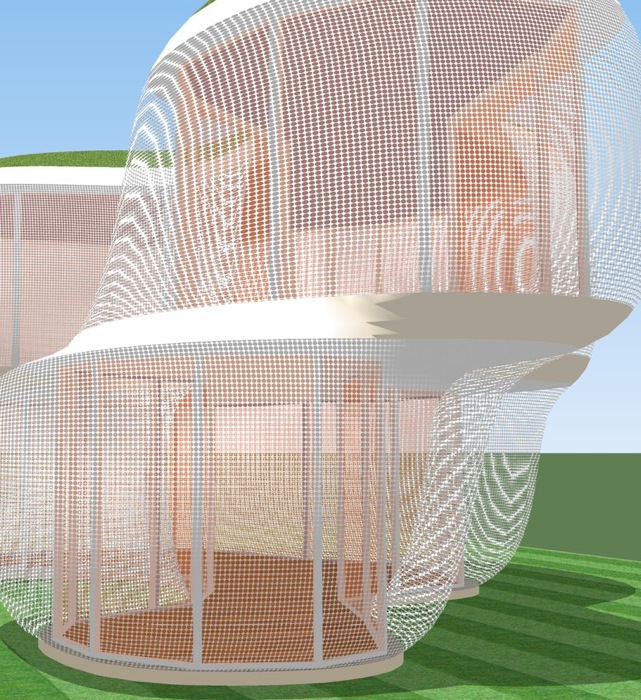
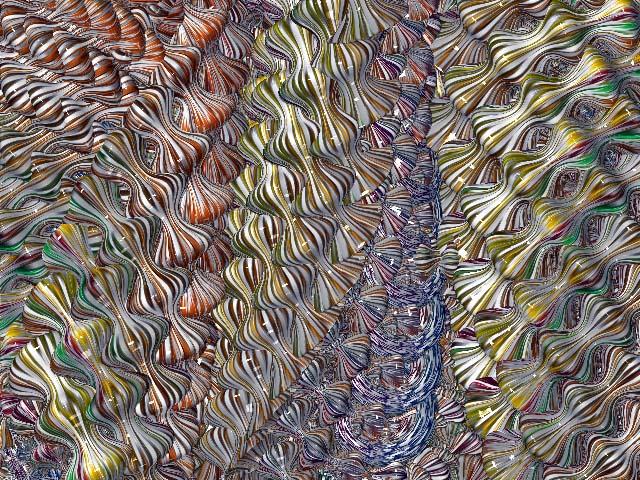
I used two previously created models to produce this abstract sculpture. One, for the SDS proxy, was a set of stacked twist rhombic dodecahedrons which I uploaded to the 3d-warehouse almost 2 years ago. The second, which I made earlier today, provided the texture via a screenshot of an exported image (see below). If nothing else, my building models often provide interesting textures for my abstract sculptures. I love it when I can repurpose old work.


-
@unknownuser said:
my building models often provide interesting textures for my abstract sculptures
That is some fractal if your abstract sculptures often provide interesting textures for your building models

An infinite circular loop!
-
Pilou, It is important to stay away from those infinite circular loops.
 Fred
FredAnother experiment both with SDS and transparent textures.


-
That texture did come out well indeed. I like the way it morphs into the next, quite cool
-
Very interesting shapes.
If you watch them closely, you can distinguish human figures or other things, just like you can in cloud configurations.Very good phsycho evaluation test.

-
@kwistenbiebel said:
Very interesting shapes.
If you watch them closely, you can distinguish human figures or other things, just like you can in cloud configurations.Very good phsycho evaluation test.

Indeed! The last one strongly resembles a naked dwarf riding a unicycle, don't you think?
Nice experiments, Fred.
-
More Rorschach tests for KB et al. If only these textures worked with shadows.


-
These are indeed very interesting shapes and textures..!!

-
Fred, a little question:
How do you texture these shapes?
My freeforms have screwed up uv's all the time.I have a headache trying to get a brick texture or other tiling texture on them....

Damn sketchup! -
@kwistenbiebel said:
Fred, a little question:
How do you texture these shapes?biebel, (I'll just rotate through the various name permutations)
Nothing to the texturing I'm doing. I just import an image, explode it, size and orient it as needed, sample it with the paint tool (by holding down the Command key), then select the surface I want to project upon, and paint it with the texture. With transparent areas in the texture you need to do the same steps on the inside surface as well. I just show hidden geometry, delete a triangle, double click on the inner surface, paint, then paste in place the deleted triangle.
Fred
-
Thanks Fred,
That is the same 'projeting' technique I use, but it is very limited.
I was hoping there were some advanced tricks I am not aware of. -
Fred, these look awesome I especially like the mesh textured one's. One solution to the shadows would be to make the mesh a clip-map or alpha map and render it, this would give you the correct shadows.
-
Chris... I agree about the limitations being a pain, I just try to work within/around them.
Pete... I really, really, really need to find the time to learn how to do rendering.

Some new ones. I've got to stop this.


-
no! dont stop! these are awsome. i especialy like those last ones, they remind me of glass with stripes of colored glass inlayed with it.
and if you cant find the time to learn how to render stuff, just use podium. its as intuitive and easy to learn as SU. plus its pretty dang fast.
i serriously need to get this pluggin. -
Those last ones are very cool fred, i look forward to you learning to render, i tihnk we could have some interestign stuff being posted

-
Can you use some texture like this or must it be tiling seamless?
(here Zbrush doodling)you can find some on my "Speedy galerie" free to you to use them

-
Great stuff Fred, your posts never disappoint and always entertain.
-
Great images Fred don't stop posting please!
-
Thanks all, for the kind comments. One more experiment.


-
oooh! that looks like one of the deep ocean creatures from the BBC Planet earth series.
Advertisement


