[Tutorial > Modeling] Using Smoove on a Beam
-
Many of you have probably figured this trick out, but I didn't until today, and I suspect there are others who haven't as well. Since this technique can save a lot of time I thought I'd share it.
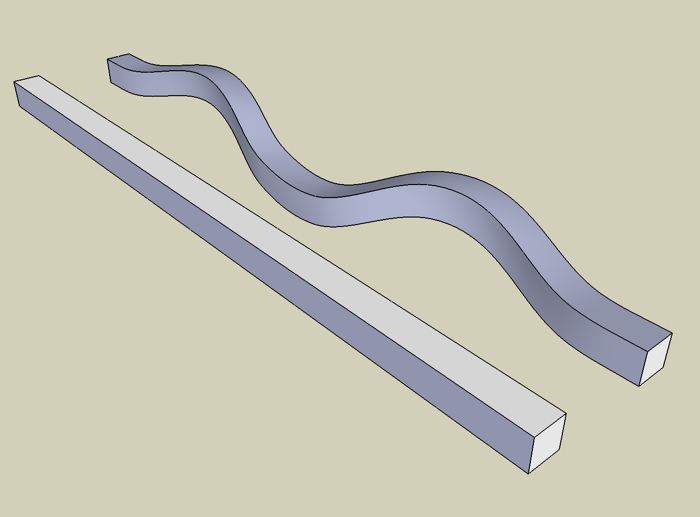
If you make a rectangular beam out of TIN surfaces (see attached model), ungroup the TINs, then put all the TIN surfaces of the beam into one group, you can easily shape the beam using the Smoove tool. To get curves in multiple dimensions just rotate the beam between smooving. With this technique you can get nice smoothly curved beams like that in the image, which was created by duplicating the rectilinear beam and doing some smoove work.
The attached file will allow you to experiment with the technique. Show hidden geometry if you want to see the underlying TIN faces.

Enjoy
Fred
-
Fred
I use this method for most of my 'organic' shaping,I also shape terrain this way.
-
Hi everyone, Fred could you detail more in your skp file. I did not understand your explanation. Thanks
-
@jean-franco said:
Hi everyone, Fred could you detail more in your skp file. I did not understand your explanation. Thanks
Hi Jean-Franco, There is really nothing to it.
- Copy the rectilinear beam.
- Double click on the copy to enter the group.
- Use the smoove tool (the Sandbox tool with the red arrow) to put curves in the beam.
- Close the group, rotate the group 90 degrees, reenter the group, and do some more smooving.
I've make a little QuickTime movie that shows the process here.
Fred
-
Thanks Fred I got it now !
In fact I'm not using the Sandbox tool so "smoove tool" was a big question mark for me
I use this opportunity to congrats you for your artistic creations. really fantastic !
-
Pete, I really need to read your tutorials!

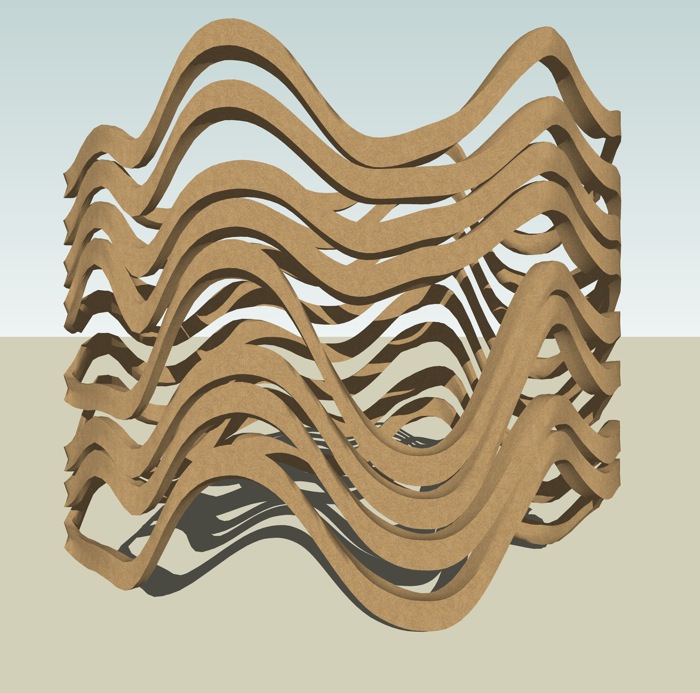
After making the TIN beam I wondered if could make a TIN ring with a rectangular profile. I first tried intersecting a flat ring shape with two parallel TINs. This didn't work because the sides of the ring were not TINs and the smoove tool screwed up the shape. So how to get TINs on the side walls? Intersect vertical TINs defining the inner and outer walls of a ring shape with the top and bottom TINs. This works nicely and creates a ring like shape that can be manipulated easily with the Smoove tool. See attached image (all the rings in the image are duplicates of the bottom ring) and file that you can experiment with.
Fred

-
Jean-Franco,
You are most welcome, and thank you for the complement. I hope you will share some of your work here, or perhaps you already have and I've missed it.
Fred
-
Yes I posted some small things in the components area related to my woodworking activities.
http://www.sketchucation.com/forums/scf/viewtopic.php?f=40&t=3466
http://www.sketchucation.com/forums/scf/viewtopic.php?f=40&t=3562
That's my hoby. But since I discover SUp I'm doing too much virtual works

My wife ask me to visit more often my shop!!! Anyway I've a lot of fun with you guys.
When I started with SUp I had a very good support with Dave Richards. I learned a lot and still continue with all of you. Thanks
-
@jean-franco said:
That's my hoby. But since I discover SUp I'm doing too much virtual works

My wife ask me to visit more often my shop!!! Anyway I've a lot of fun with you guys.
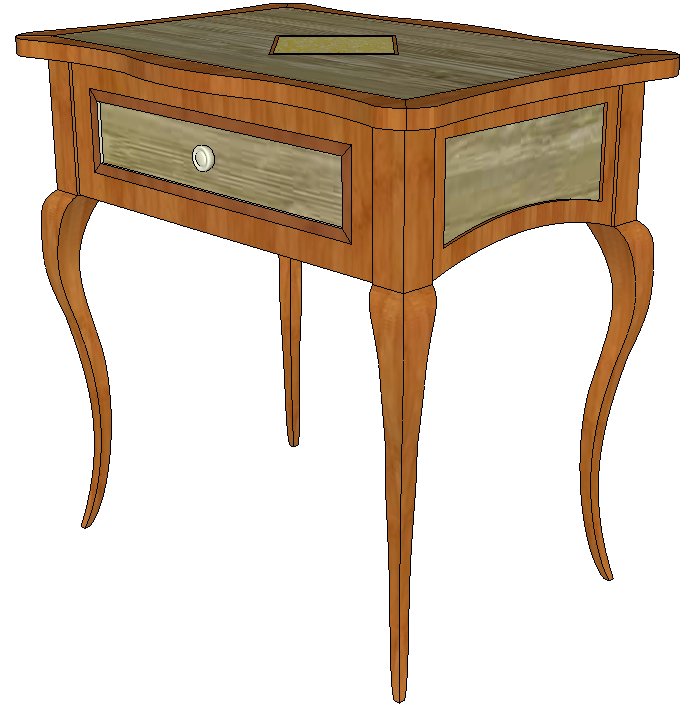
When I started with SUp I had a very good support with Dave Richards. I learned a lot and still continue with all of you. Thanks[attachment=0:1etw4h3o]<!-- ia0 -->Petite table Louis XV_couleur.jpg<!-- ia0 -->[/attachment:1etw4h3o]Jean-Franco,
Your work is beautifully detailed and proportioned. Please continue to share!
SU does certainly seem to have an addictive quality for some of us, and add to that the pleasure of sharing your work with kindred souls from around the world... well it is no wonder we are spending more time in the virtual world. Our spouses will just need to adjust.
BTW, I did a quick Google Earth visit to Mulhouse. I'd never heard of it before and was curiuos. It looks like a very pleasant small city.
Fred
Advertisement


