Easy digital watercolor
-
hi every one . I m trying to make a PS action that makes easy digital water color , the result is not so good , and I need your experiences...

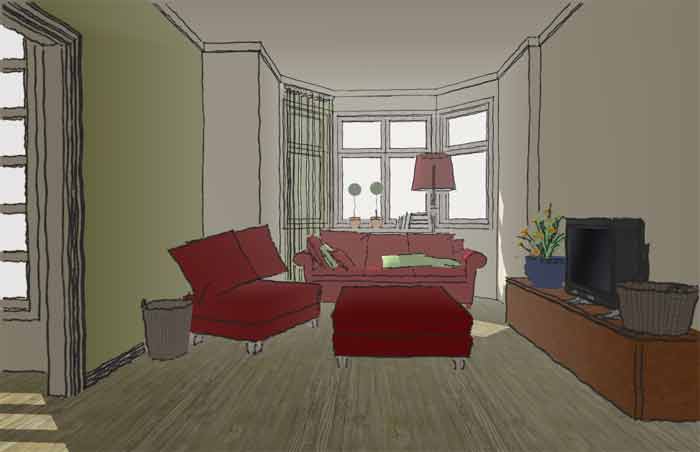
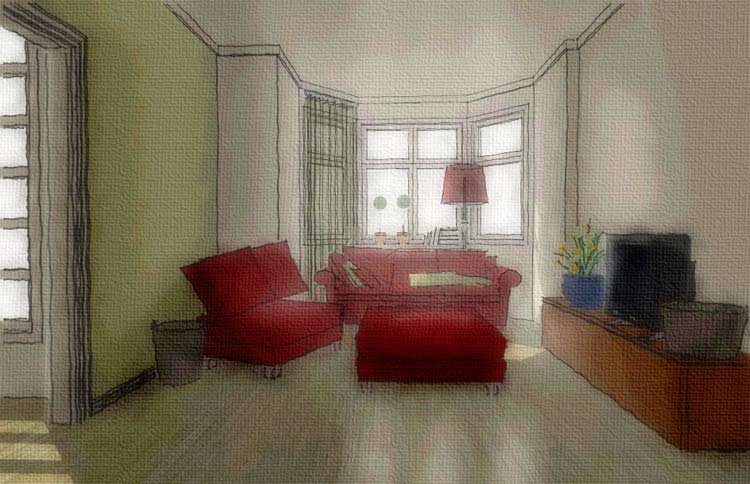
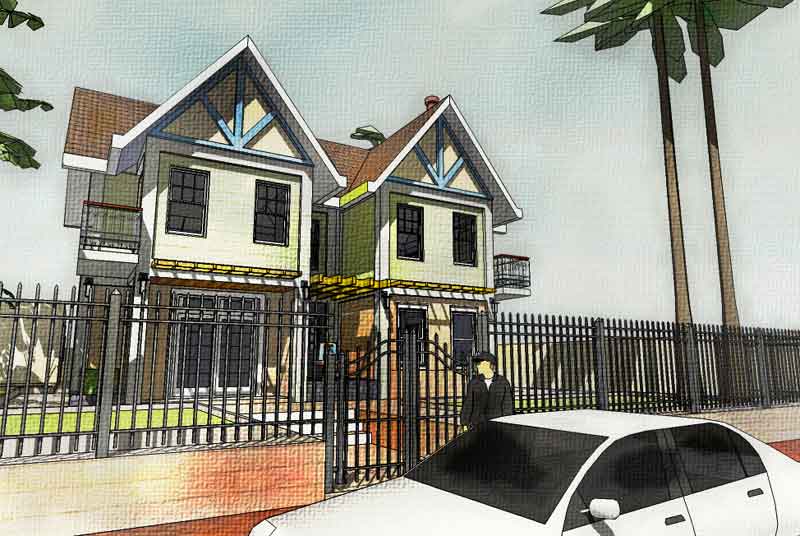
-
Majid...I disagree: I think these images are lovely!
Are you using the fog feature in SU? If so, it really works for me...if not, please explain how you got such a nice "faded" (varying color) SU export?!?
Anyway, these are quite pleasing to my eyes...the interior blows me away! (straight back to the drawing board in fact :`)
(For my taste, I will say, in case it's helpful, the canvas texture is just a bit heavy...distracting here and there to the images, IMHO.)
Also, one thing you might try is exporting the edges separately so you can vary them in PS like the fog feature is varying the washes of color...?
My best, and more please!, Tom.
BTW, sorry I haven't gotten back to you, I will answer your questions over the next couple of days but it looks like you have already started where I would have suggested you look first: the tutorials of Dennis posted here in the tutorials forum...also look at the Bajan overlay method there. The other two places for good info is a wonderful technique Ross wrote and posted on the old-old forum (maybe he will post it here again :`) and the famous tutorial by Grant Marshall (which may or may not be online again, maybe someone has the link, thanks) Anyway, all I do is to combine what I like (and understand so far) from the above and continue searching for my own muse.
-
Majid, I also think you are off to a good start
 and Tom has given you some great advice! I'm looking forward to seeing more of your work as you progress in your own style.
 -
@majid said:
hi every qone . im tring to make a PS action that makes easy digitall water color , the result is not so good , and i need your expriences...

do u mean to say an automated action to produce water colour in PS at the touch of a button??

-
i agree...these are definitely not bad.. i like the third.. the composition is almost there... just not feeling the right part of the image...keep going!
-
hi , and thanx all ..
yes i'd used fog, ( at the interior a bit of d/buring is PS ) and then i'v tried an automatic action that is my wizard , ....here is the next action result ( and also separated line layer, thanx )...the 1st pic and 2 pic of my previous action.
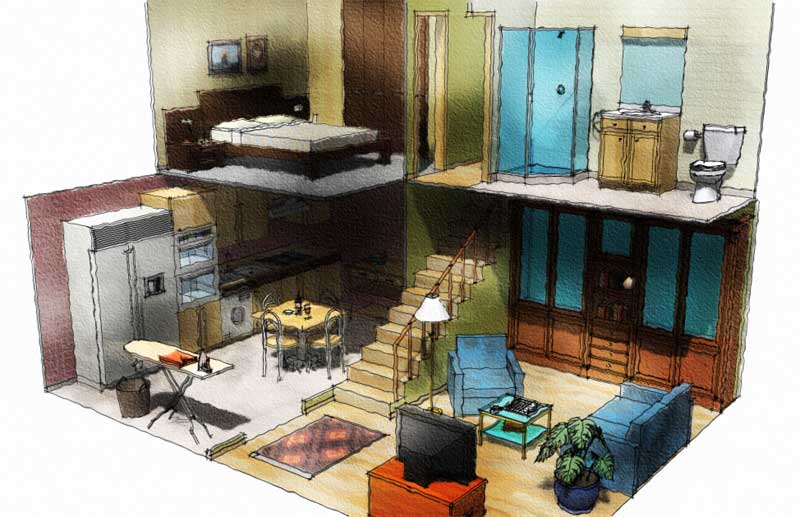
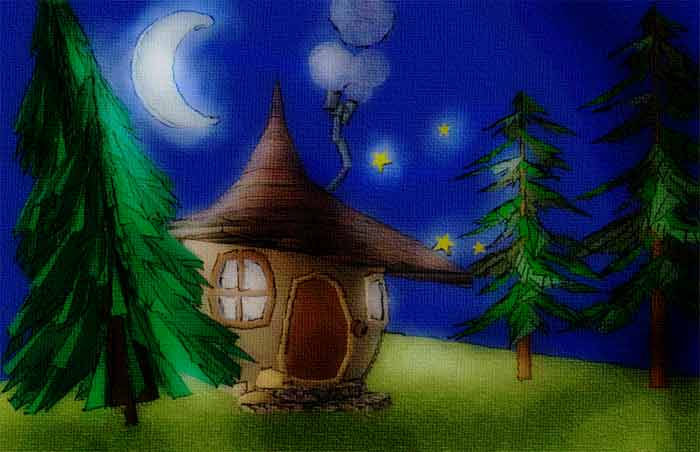
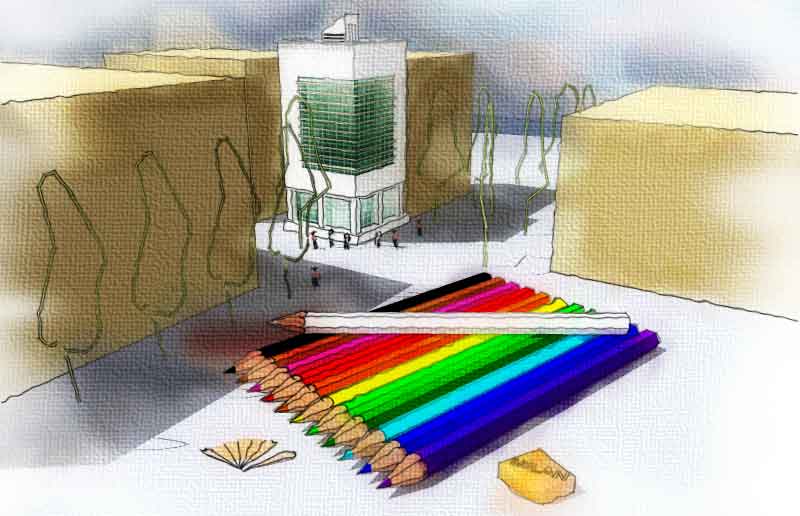
-
 not bad, not bad at all
lovely colors..
-
Yes, coming along nicely. The line work is nice, but a little to "uniformally wavy" for me....
-
Nice images majid, you are definately on the right track. I would also suggest
the frequent use of the smudge tool as well as use of diferent styles as layers
in order to create a more uniformal and hand drawn look. -
thanks again . yes i used the smuge tool to some part before texturing and it worked . nice

-
and here is the PR render of the first subject . i did it not too tight , the floor bump is too heavy , and the TV & vase & plants R not good at all ... btw here it is
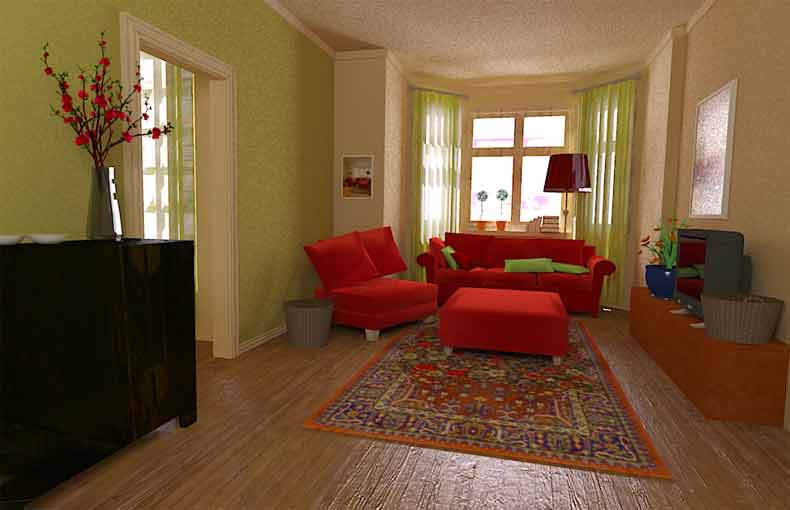
-
my action is based on wet WC tech...and here it is:
as tom said (and the others ) smudge tool before texturing has great results . pls remove (.rb) part....
-
ok everyone . just remove the rb extention , copy the action @ action folder of ur photoshop , load it and play .... enjoy
-
did anyone tried the photoshop actions i posted? ( remove the rb extention , load from PhotoShop Action pallete ) , play .njoy ... & give ur feedback plz
-
i downloaded the action.. but didnt try it yet.. but i will definitely try it and post the results here... thank u majid!!!
-
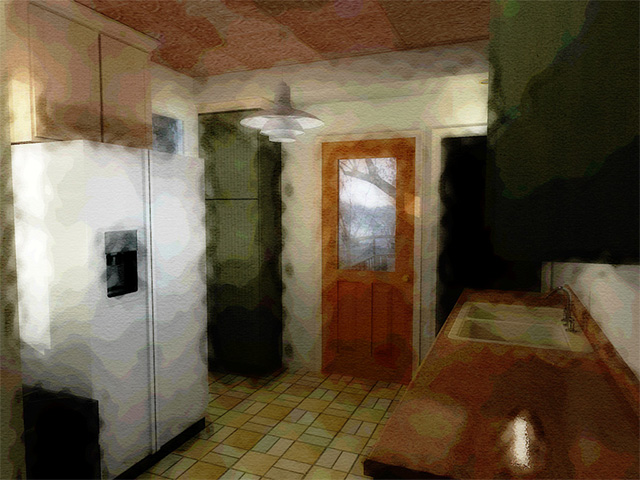
Thanks majid!!, just downloaded and ran, can't wait to play around with it a little more.
Mike
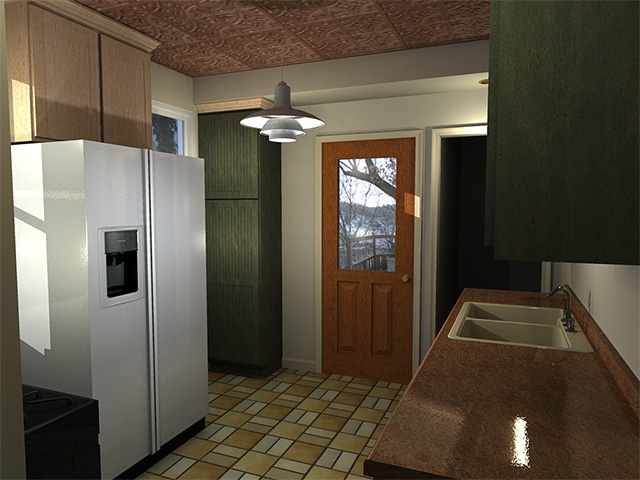
-
pls use it over a su pure result ( not a render ) try to duge/burn T light and shadows befor the action is applied . just copy the background layer and then start the action.
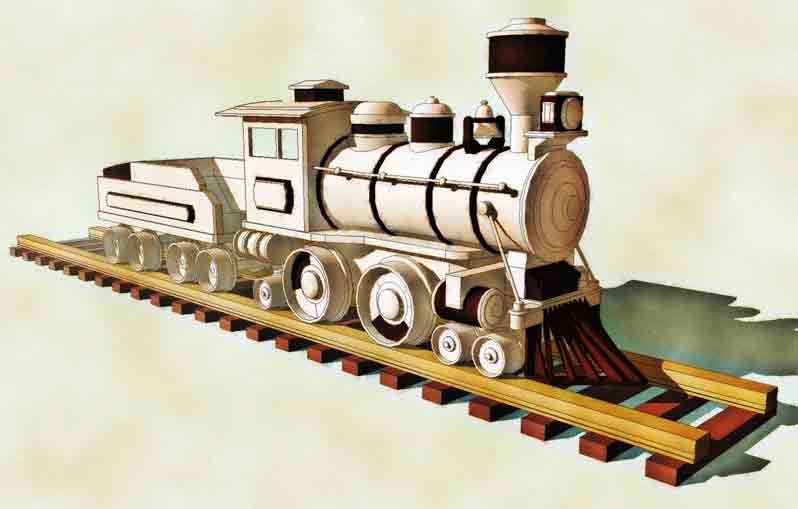
also i have tried the second generation of my action that works better on SU outpots !and i think it is better for architectural jobs ... here r the results

-
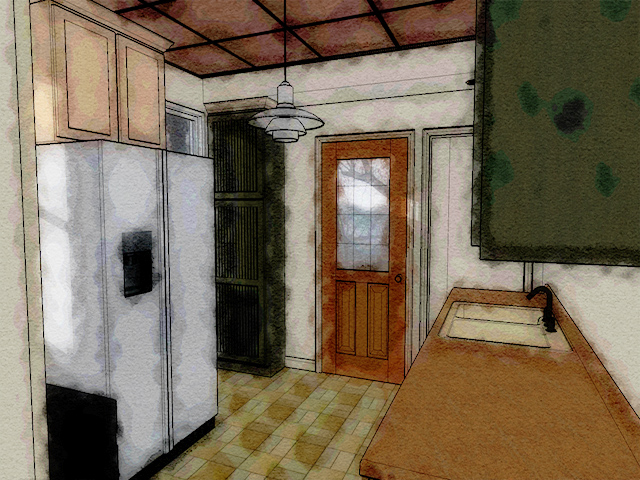
Here is the action applied to SU output, I will try and play with the dodge and burn tools when I get a little more time. Thanks again.
Mike
-
a easier way is direct watercolor outpot of su ( the styles) . i had post some new styles here : (i myself like draftsman+watercolor style)
http://www.sketchucation.com/forums/scf/viewtopic.php?f=42&t=5293&p=29685#p29685 -
Hello! It looks like you're interested in this conversation, but you don't have an account yet.
Getting fed up of having to scroll through the same posts each visit? When you register for an account, you'll always come back to exactly where you were before, and choose to be notified of new replies (either via email, or push notification). You'll also be able to save bookmarks and upvote posts to show your appreciation to other community members.
With your input, this post could be even better 💗
Register LoginAdvertisement


