Green Toaster's Car Sketches
-
@unknownuser said:
i usually start from an ideea:a front bumper,some front end lights a type of roof,a rear bumper,then if u do another part is all about filling space..but...filling with taste
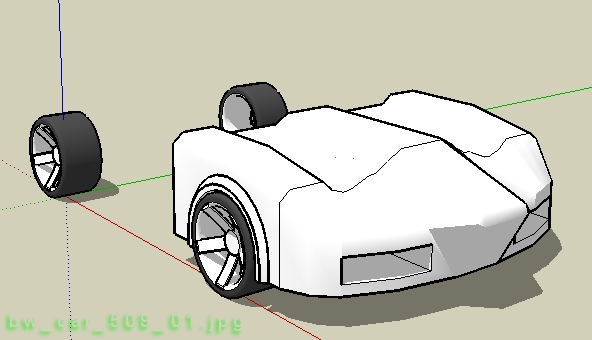
Yes, so, here's another front bumper - the "shark nose" is already over done - I'll move on to something else . . . filling with taste - very funny, but true - easier said than done, IMO.
-
I can see you're improving.....you'll be making awesome cars in no time, not that the rest aren't.
-
Thank you.
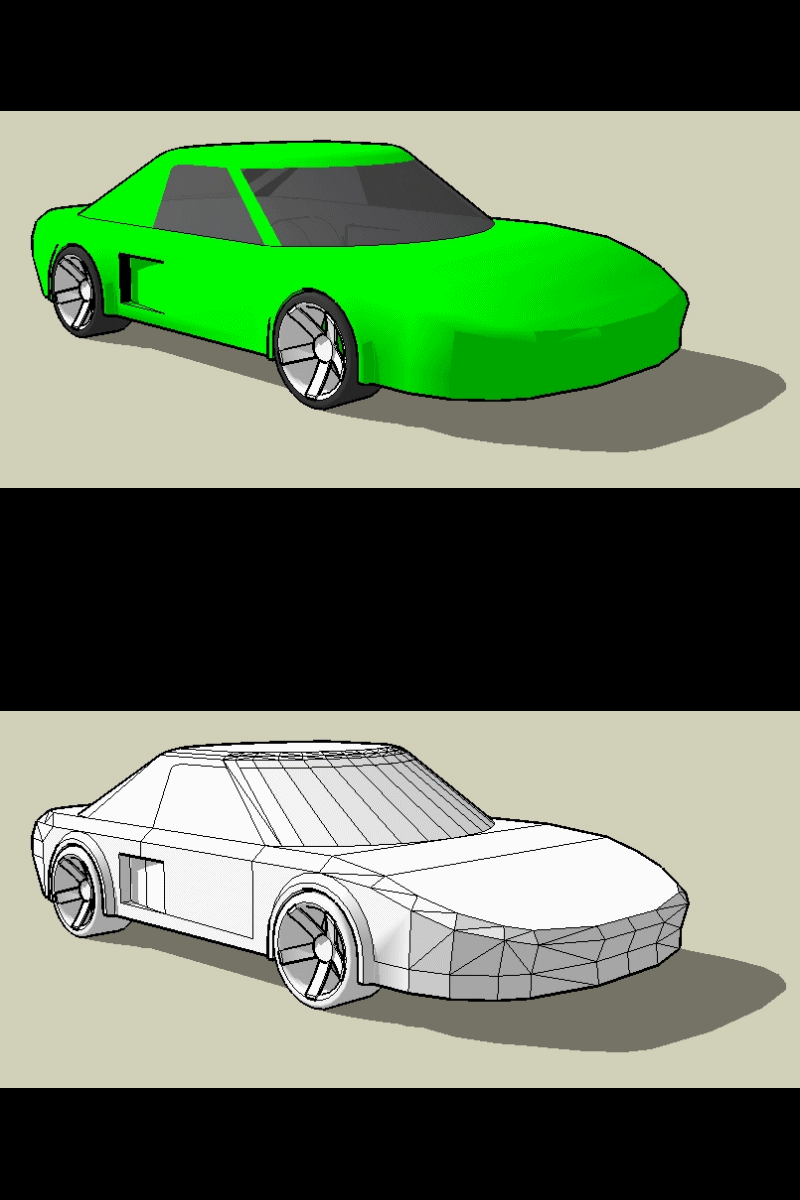
Here's a very boring car . . . I think it could be salvaged by adding some details. I need to add mirrors, door handles, lights, part lines (hood, bumpers, et cetera) and then toss one into Kerkythera, although I've only done 2 super-simple renderings with KT so far.
I realize my cars are very rough and that if I spent more time stitching surfaces they'd be smoother - that will come later.
Happy sketching,
Brad

-
at least looks like a real car,good job
-
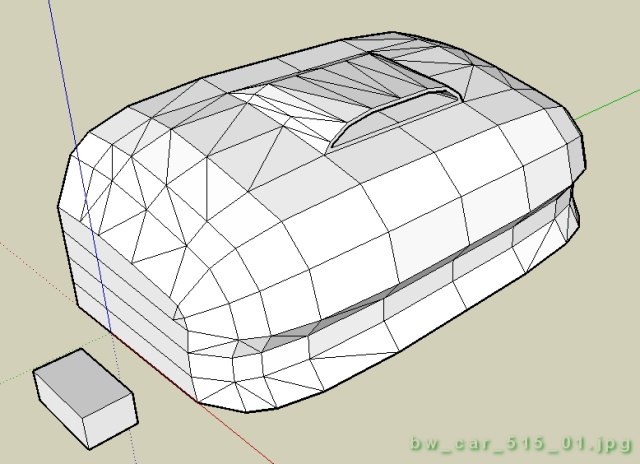
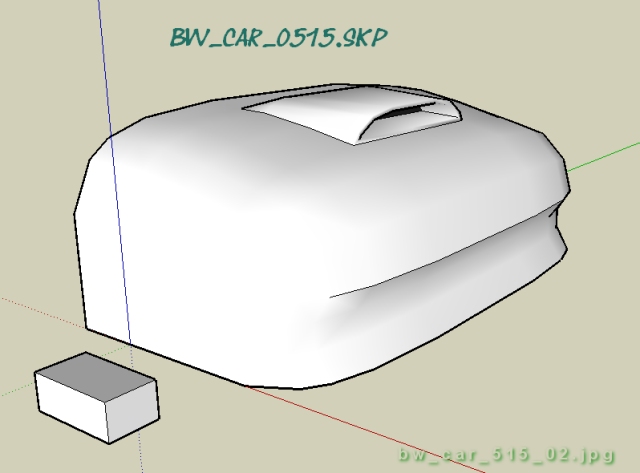
I'm creating a tutorial for this front end - I was almost done when I ran out of "undo".
This front end literally takes 3 minutes, 4 with the scoop, & the tutorial might be useful for someone - it's super easy. The design is "flexible", meaning, if you set it up with layers, you can smush, stretch, pull, tug, rotate, move, et cetera, fairly easily for some decent "what if", on the fly design changes.
BTW, does anyone know if there's a way to use the Drape tool without having to tilt the model vertical?
Happy modeling,
Brad

-
I posted a quick tutorial in the tutorial section . . . my tutorial isn't very good, but it might inspire someone to do something really cool . . . hope so.
Happy modeling,
Brad

-
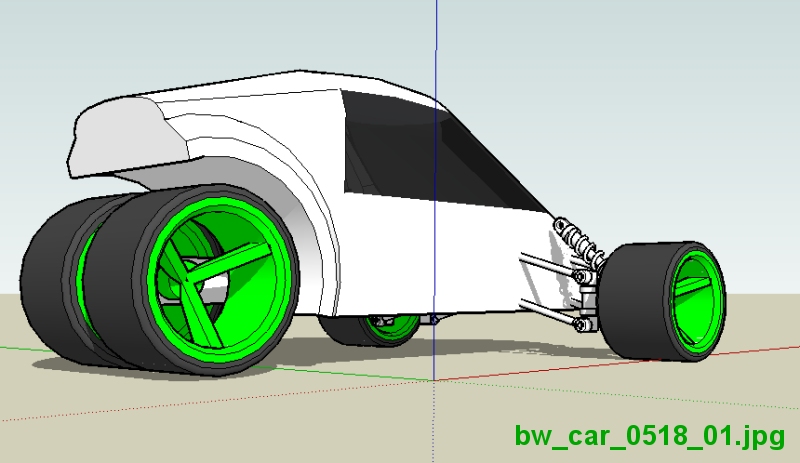
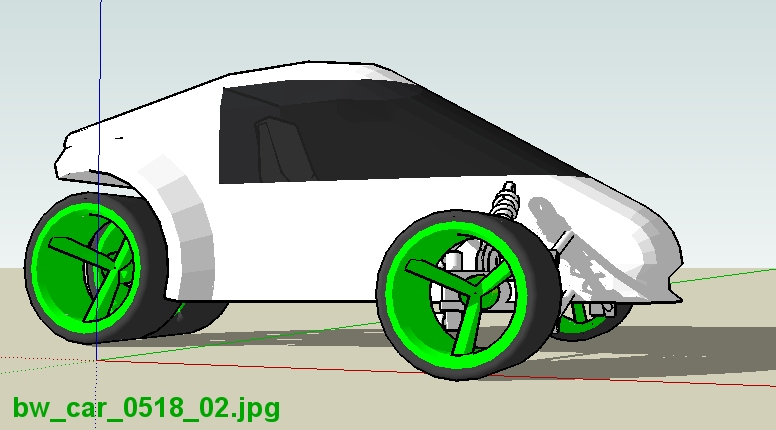
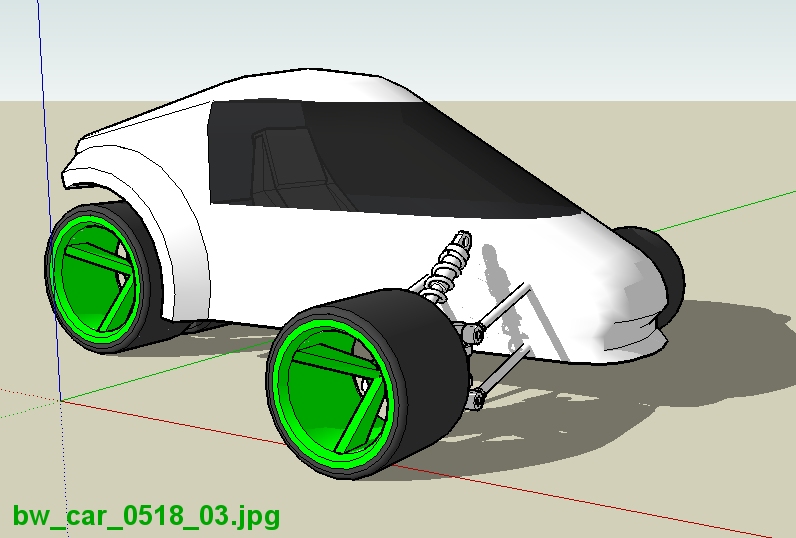
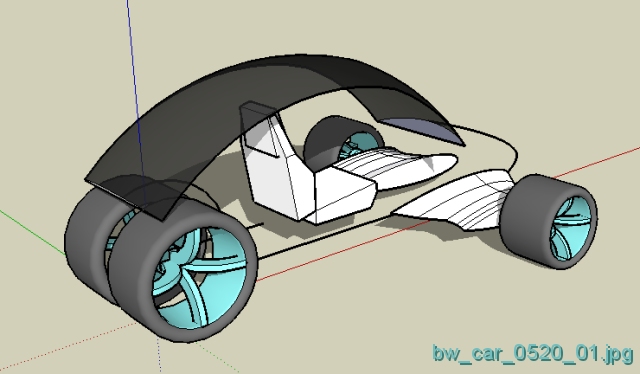
. . . thought I'd revisit the 3-wheeler . . . need shock mounts on the body and some front end fairing stuff, tail lights, exhaust, door lines, & so forth, but, it's gettin' there . . .
-
There's a crisis on the farm - I've gotta go do some work so no more cars for the rest of the week
 bummer!
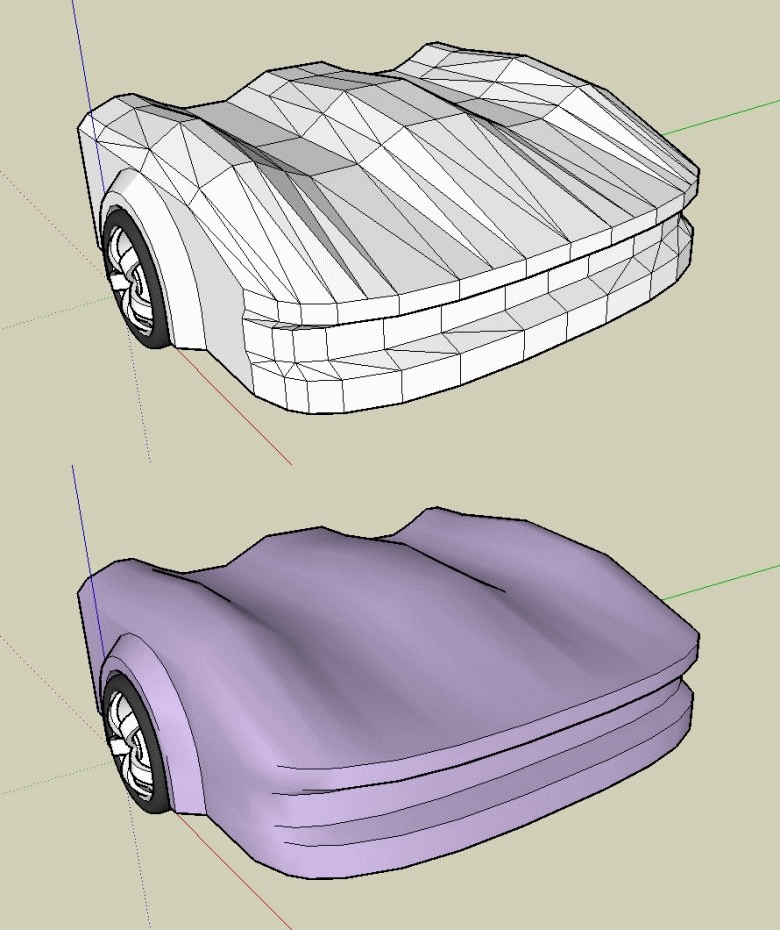
Here are a couple of sketches I started this morning . . . see ya'll next week.
Happy Sketching,
Brad

-
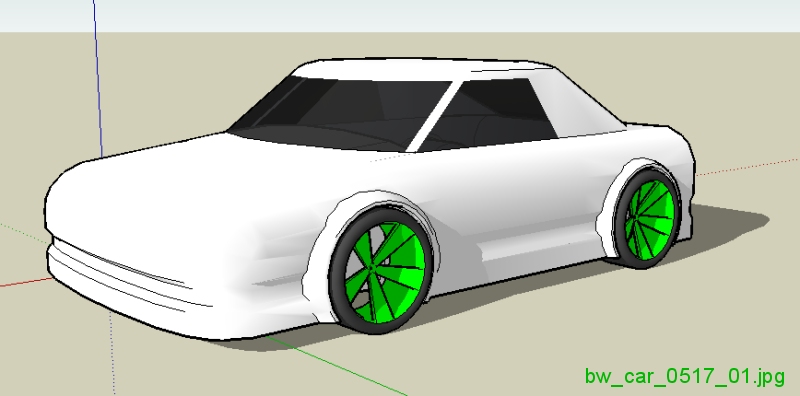
I started this one a few days ago . . . it used the technique in the tutorial I posted earlier . . . this isn't really a good example - very bland car but I couldn't resist taking just a few minutes to almost finish it . . . it's ready for a rear end, and detailing . . . I have some more ideas I've sketched up (on pencil & paper) . . . hopefully, I'll be able to model them accurately in the next few days using SketchUp . . . what else?
Happy modeling,
Brad

-
from my oppinion this is the best
-
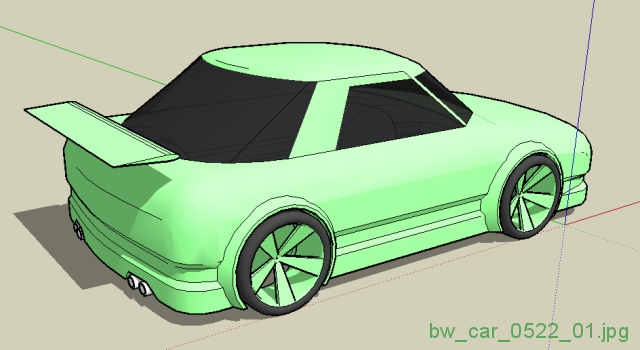
I think I shortened the wheelbase a bit too much . . . I also need to rip out the windshield and add something smoother, no biggie . . . I think I'll take this one a bit further and add some details like mirrors, vents, lights, interior, the lines for doors, hood, et cetera, b/c I've never done that before and it should be a good learning experience.
Happy Sketching,
Brad

-
you could jsut scale the whole thing to extend the wheelbase a bit...
-
@unknownuser said:
you could jsut scale the whole thing to extend the wheelbase a bit...
Thanks for the suggestion - I built in a gap so it'd be silly easy to stretch it one way or the other . . . when working in Parallel Projection (side, top, whatever) you can select with precision quickly & easily, do the drag-n-drop, then it's done.I've tried stretching large sections and get frustrated with oval or elliptical shapes inside the wheel wells . . . I've even made boo-boo's and ended up with oval tires & wheels - can you imagine riding in a car had oval tires? Bumpy, for sure.
Happy Sketching,
Brad
-
forgot about the wheels

-
Bad news for you about that three wheeler.
It's got four wheels.
Re. scaling the model. If you make the wheels into a component first, then you can scale the rest of the model and leave the wheels round, or you could display all the geometry again and just select the part in front of and behind the wheel and scale and/or move that.
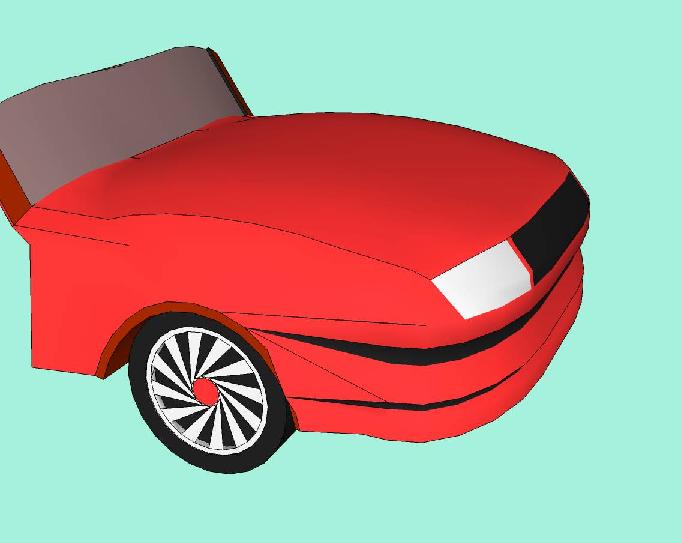
Here's what I came up with from your tutorial.
-
i tihnk the problem is more to do with the wheel arches than the wheels.
-
@unknownuser said:
It's got four wheels.
True (ha), but three axles.It's probably just me, but I find it challenging to model cars well - very fun, and I think I'm making a little progress (compared to the first posts I did here). I am much more confident in being able to create what I want - sketch out on paper, then model it.
As I've said before, some folks can play the violin well in six weeks - for some, it takes a couple of years of practice to achieve the same level. I guess it's not important how slow I am at learning this stuff - I keep going and improving little by little - that's significant to me.
If any of you haven't checked out the modeling videos and tutorials, there are some really good ones out there - YouTube, and several others, which I believe might be very helpful.
Happy Sketching,
Brad

-
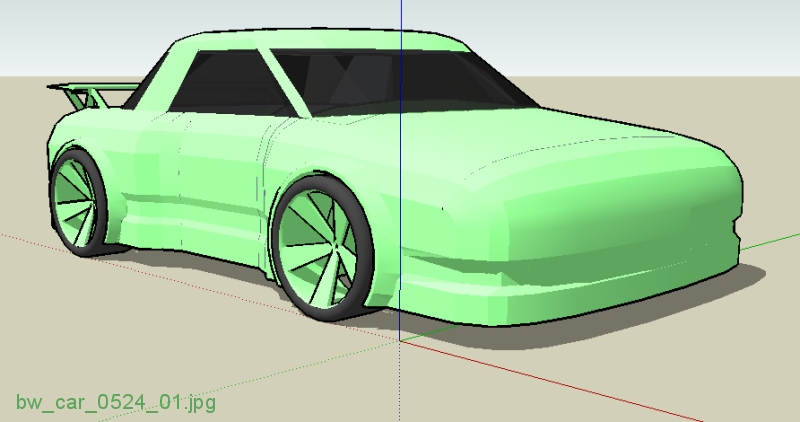
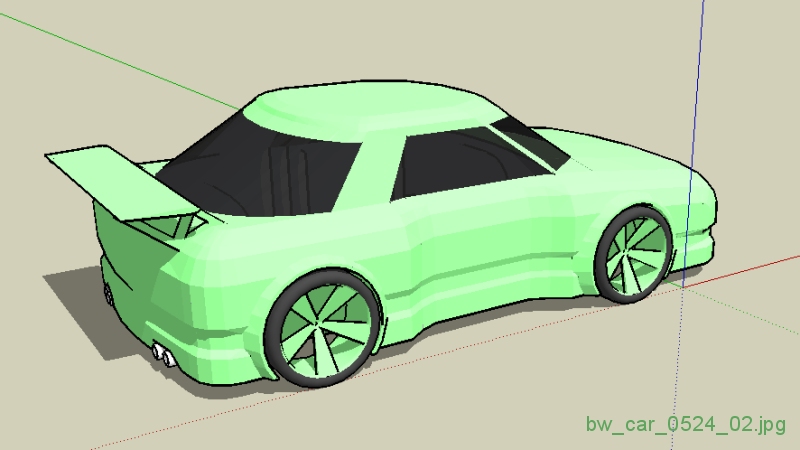
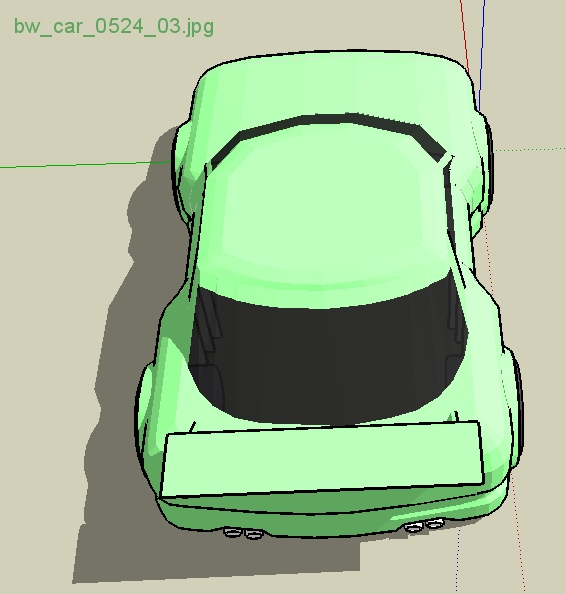
. . . added a few more details . . . the panel editing is super-easy-fast . . . using scale in either direction, I select sections, or sub-sections & blah, blah, blah . . . (as with the tutorial I posted a day or so ago) . . .
Happy Sketching,
Brad

-
When I was working on my hood above, I was amazed by how dull it looked because I knew I had put lots of clever angles into it. Adding the line for the space between the hood and the fender started to show the shape better. I also changed the color of the edge of the fender and of the A pillar to a reddish brown instead of bright red. I could have gone on and put some grooves in the hood to show more. Things like that bring out the geometry in SU, similarly to the way rendering would.
-
the easyest way for rising the distance of weels is to rise just some segments in the midle of the car not to strech all the car
Advertisement


