Medeek Floor
-
Version 0.9.9f - 10.17.2024
- Enabled (cosmetic cutting) of individual deck boards.
- Enabled removing of individual rim boards.
The cutting of deck boards was per user request.
Tutorial 11 - Cutting Deck Boards (6:05 min.)
-
Very interesting how Tony is using ChatGPT to create the random string to insert deck board cuts, never even considered this possibility.
-
After watching Tony's video I realized we probably need a couple additional advanced options for floors/decks with deck boards enabled. The two that immediately jump out at me are:
1.) Trim Band or Picture Frame
2.) Deck Wrap
Both of these can easily be achieved since they are very similar to my existing rim board code.
In fact, I can even enable a remove option for each of these modules similar to the rim board module. The parameters shall be:
1.) Trim Band: Yes/No
2.) Trim Width
Trim Thickness: Typically one would set this to the same thickness as the deck boards but I better provide this just in case.
3.) Trim Overhang
4.) Trim Corners: Lap, Reverse Lap, Miter
5.) Trim Material
6.) Remove Trim: Empty by Default1.) Deck Wrap: Yes, No
2.) Wrap Depth
3.) Wrap Thickness
4.) Wrap Corners: Lap, Reverse Lap, Miter
5.) Wrap Material
6.) Remove Wrap: Empty by Default -
Version 0.9.9g - 10.19.2024
- Enabled wrap for decks.
- Enabled a trim band (picture frame) for decks.
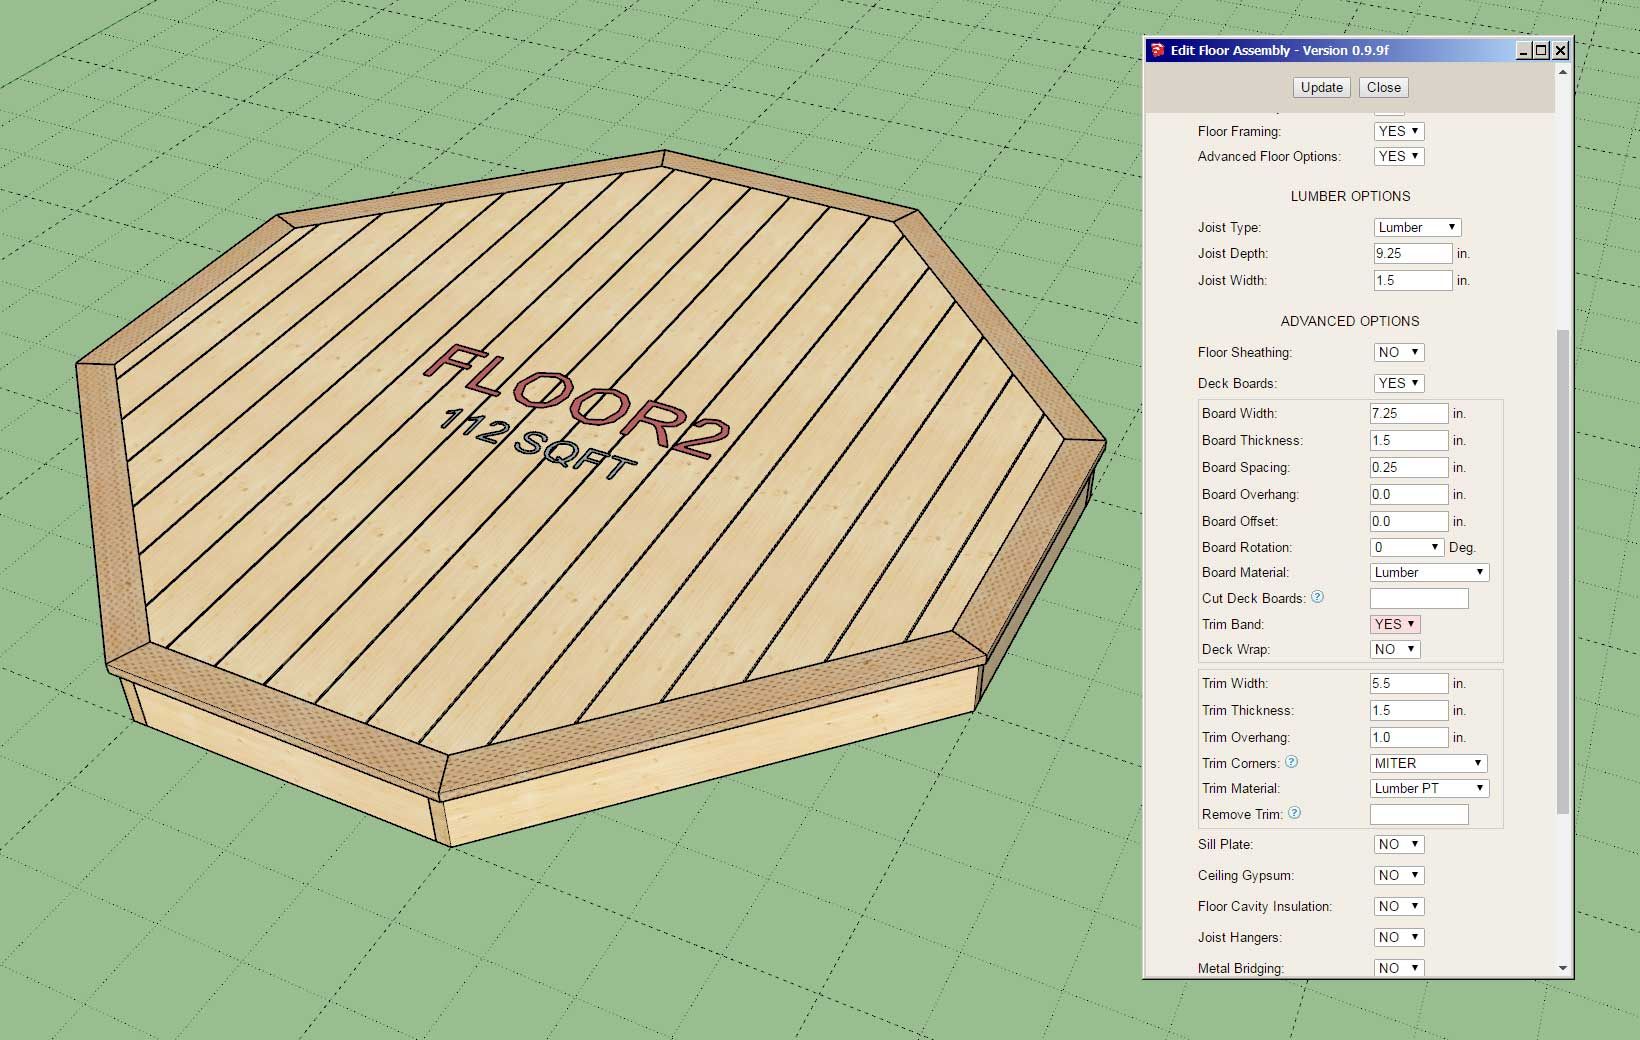
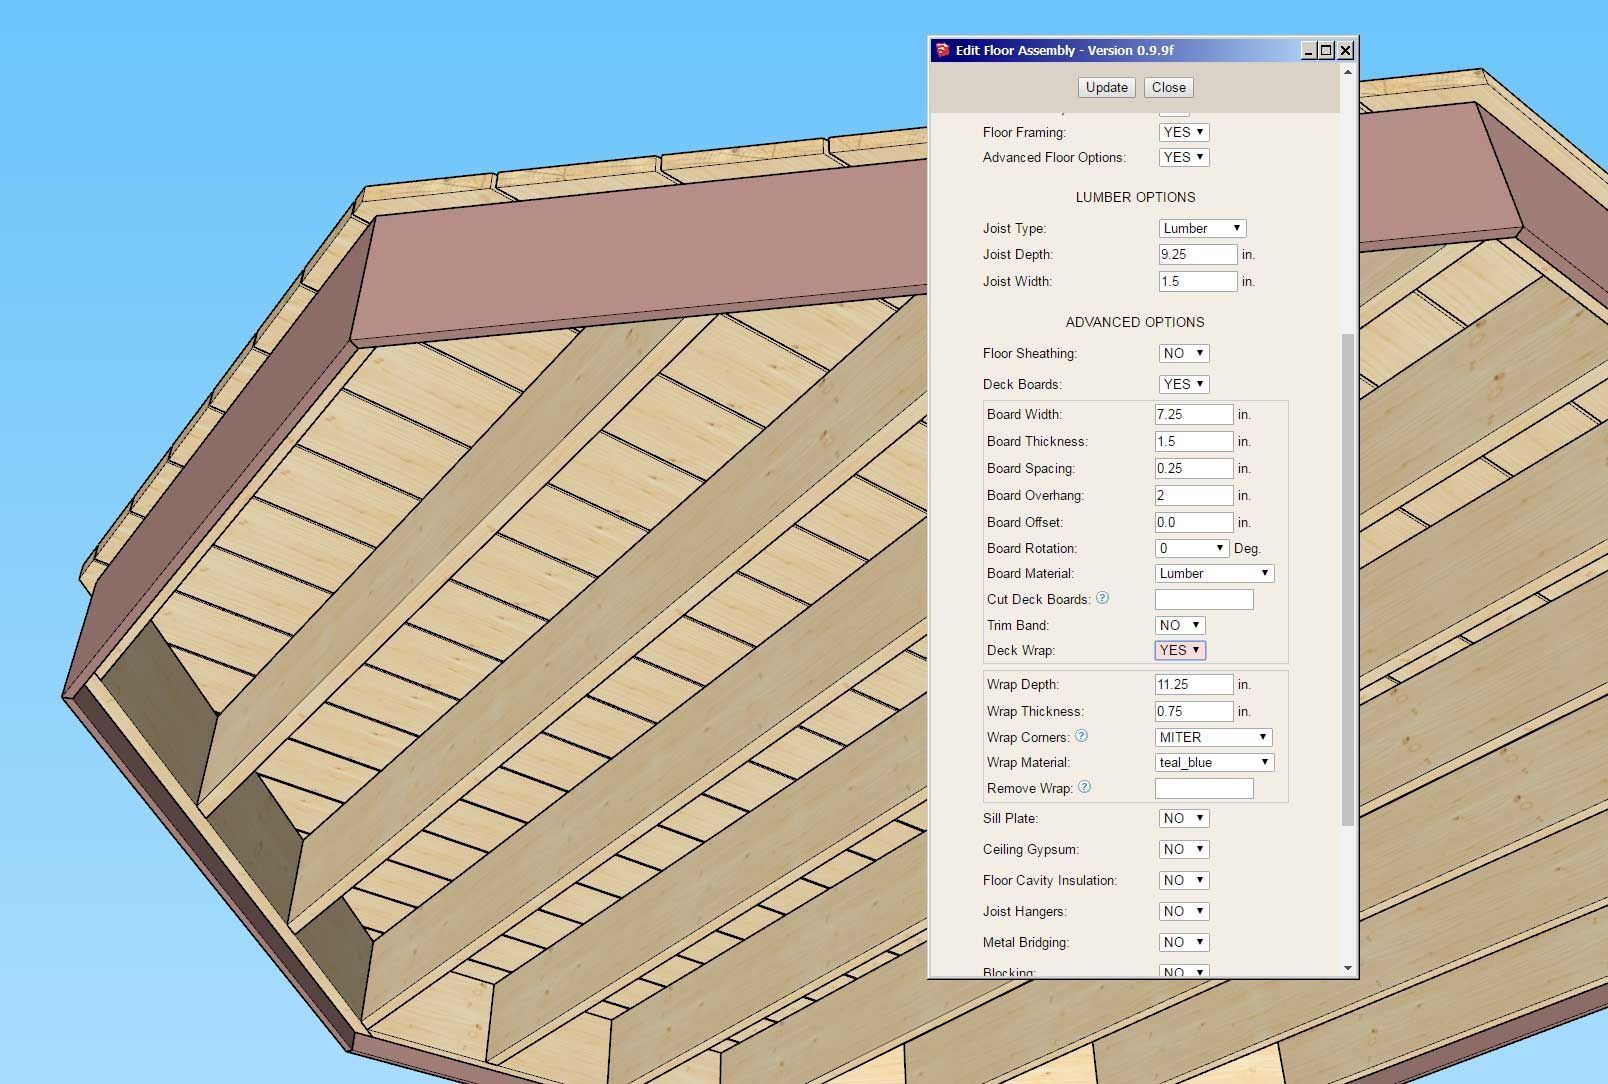
Note that these two feature can only be used when the deck board option is turned on.
-
Tutorial 12 - Trim and Wrap (6:42 min.)
-
Version 0.9.9h - 10.21.2024
- Enabled custom overhangs for decks.
- Enabled double trim band for decks.
- Fixed a number of minor bugs related to custom (removal) trim bands and overhangs.
-
Tutorial 13 - Custom Deck Board Overhang (9:09 min.)
-
Version 0.9.9i - 10.22.2024
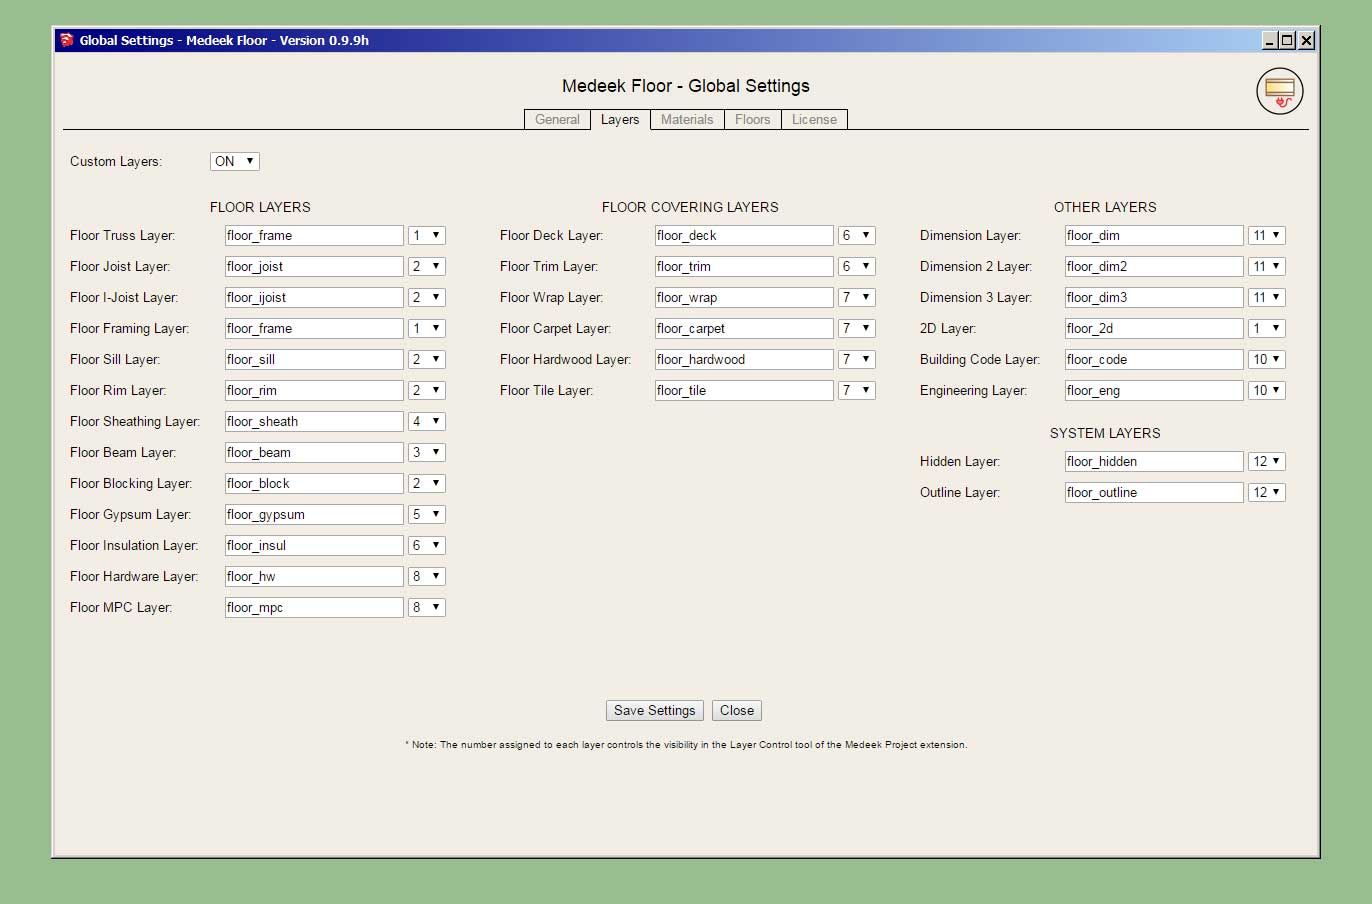
- Added the following layers/tags to the global settings and deck module.
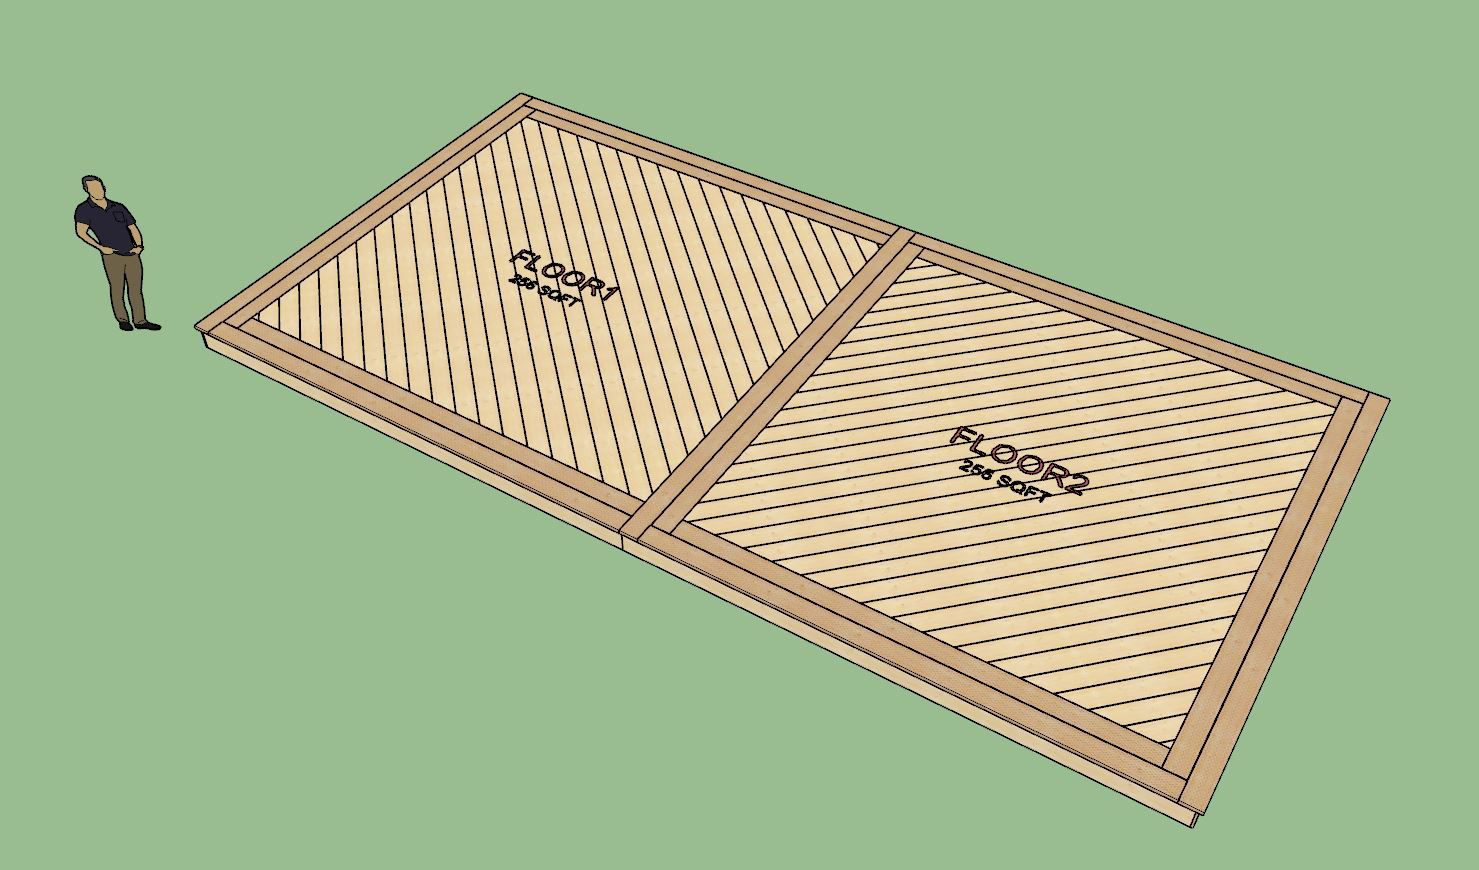
Two different floor assemblies adjacent and forming one deck. Where they contact I've removed the overhangs, wrap and trim (on one assembly) using the new features recently added. Maybe there is enough functionality now to actually create some real decks.
-
Version 0.9.9j - 10.25.2024
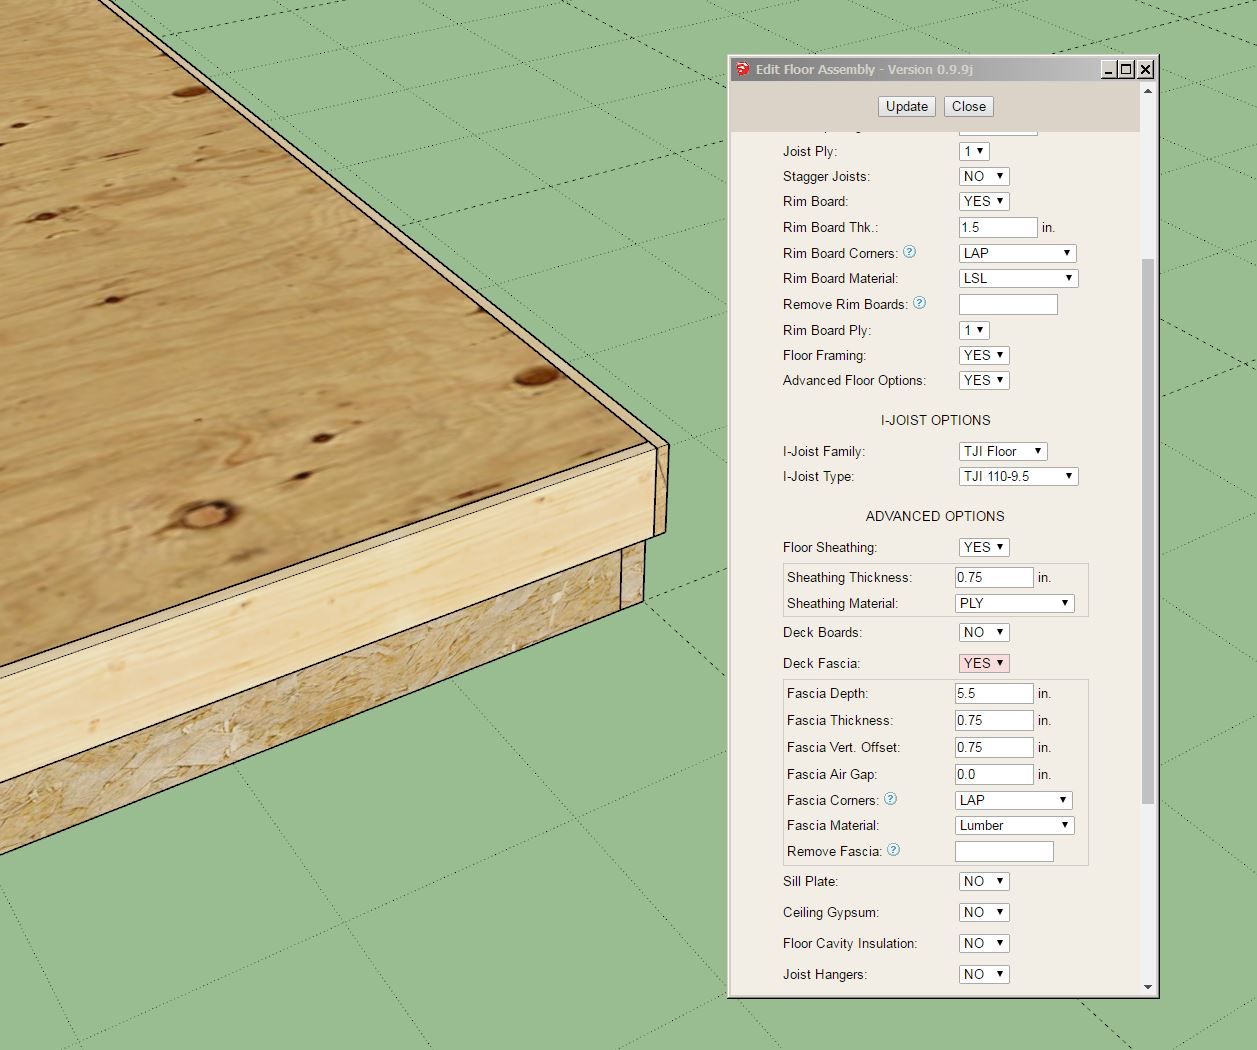
- Added a vertical offset parameter for deck fascia/wrap.
- Added an air gap parameter for deck fascia/wrap.
- Changed the deck "wrap" to deck "fascia in the menus.
- Enabled deck/floor fascia independent of floor sheathing or deck boards.
-
Version 0.9.9k - 10.30.2024
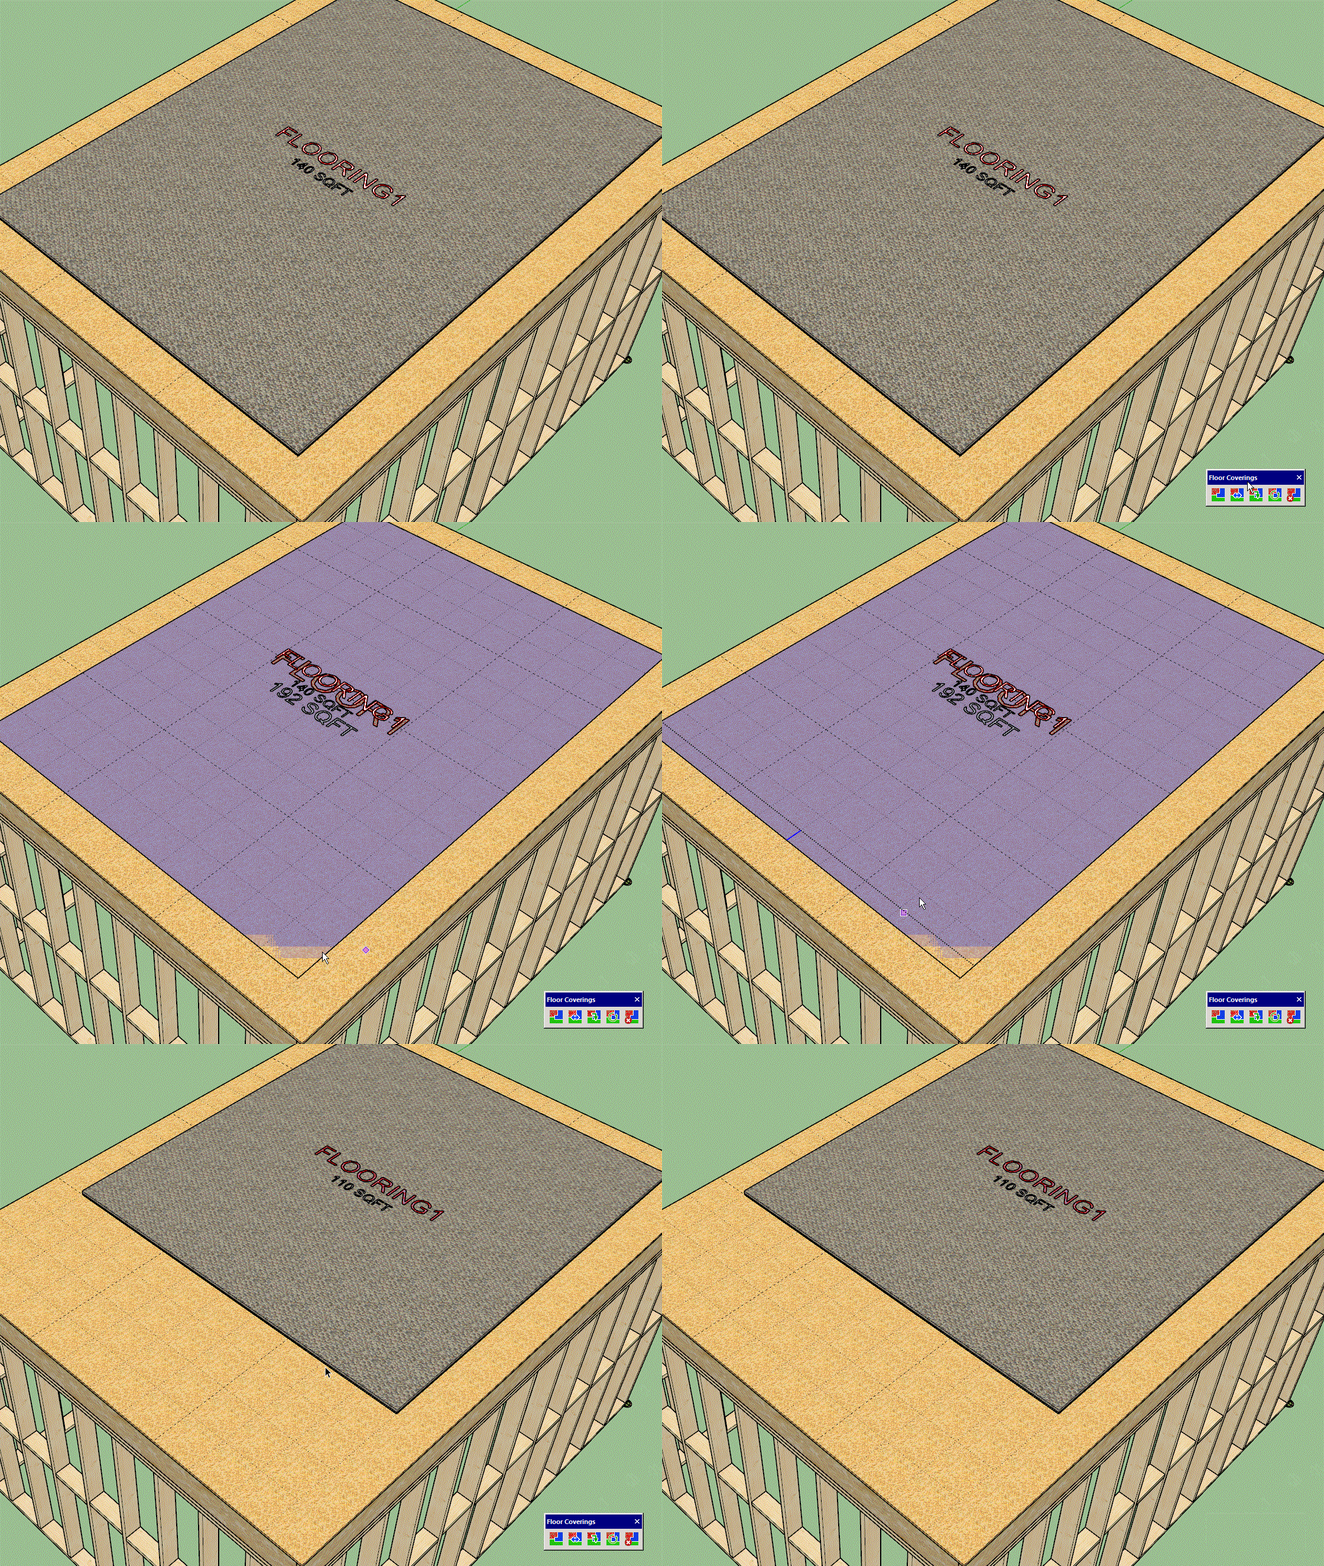
- Added floor coverings with an underlayment option.
- Added the floor coverings toolbar with the following five items: Draw, Move, Edit, Regen and Delete.
-
Version 0.9.9l - 10.31.2024
- Fixed a bug with the floor covering tools (floor covering selection): Move, Edit, Regen and Delete.
-
Version 0.9.9m - 10.31.2024
- Added a "Wall" draw mode to the floor covering draw tool.
- Enabled "Perimeter Options" within the edit menu of the floor covering tool.
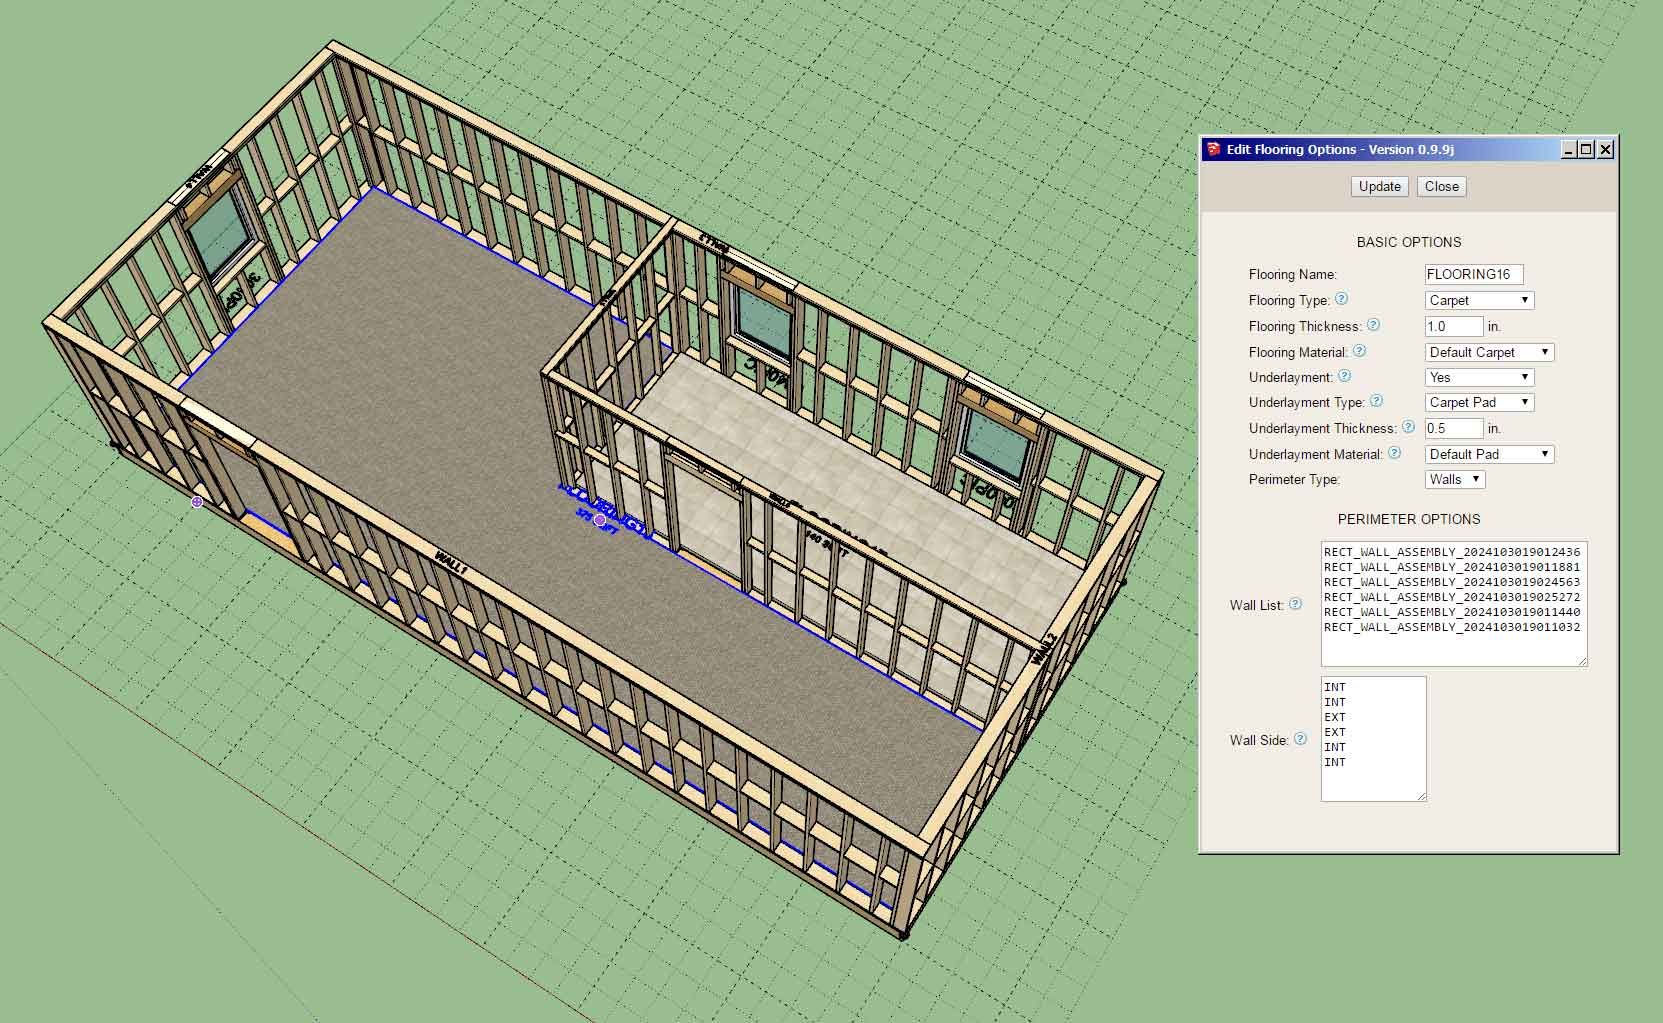
When drawing floor coverings you can now toggle between polyline, face or wall mode. Wall mode will allow you to select any number of Medeek walls (in logical order) which will define the boundary or perimeter of the floor covering. At first I was going to make this a fire-and-forget type of draw mode but instead it makes sense to retain the association even after the initial floor covering is created.
If any of the walls are deleted or somehow the "link" is broken the floor covering assembly will resort back to its "point" mode and the save points generated by the walls. So it will or should fail gracefully in these cases. Also note that there is a wall side associated with each wall assembly, this can easily be changed from EXT to INT or vice versa as needed.
I will make a new tutorial video showing this increased functionality and it should further help explain how this new system works and how to use it. I've been testing this feature for almost five days now so I think it is fairly robust but I am sure there may be specific cases that may defeat my algorithms. Bottom line, this is brand new so proceed with some caution.
-
Tutorial 15 - Floor Coverings with Walls (11:47 min.)
-
Version 0.9.9n - 11.06.2024
- Enabled "Openings Options" within the edit menu of the floor covering tool.
Tutorial 16 - Floor Coverings with Openings in Walls (7:59 min.)
-
Version 0.9.9o - 11.07.2024
- Added a Material X-Offset parameter for the floor covering material.
- Added a Material Y-Offset parameter for the floor covering material.
- Added a Material Rotation parameter for the floor covering material.
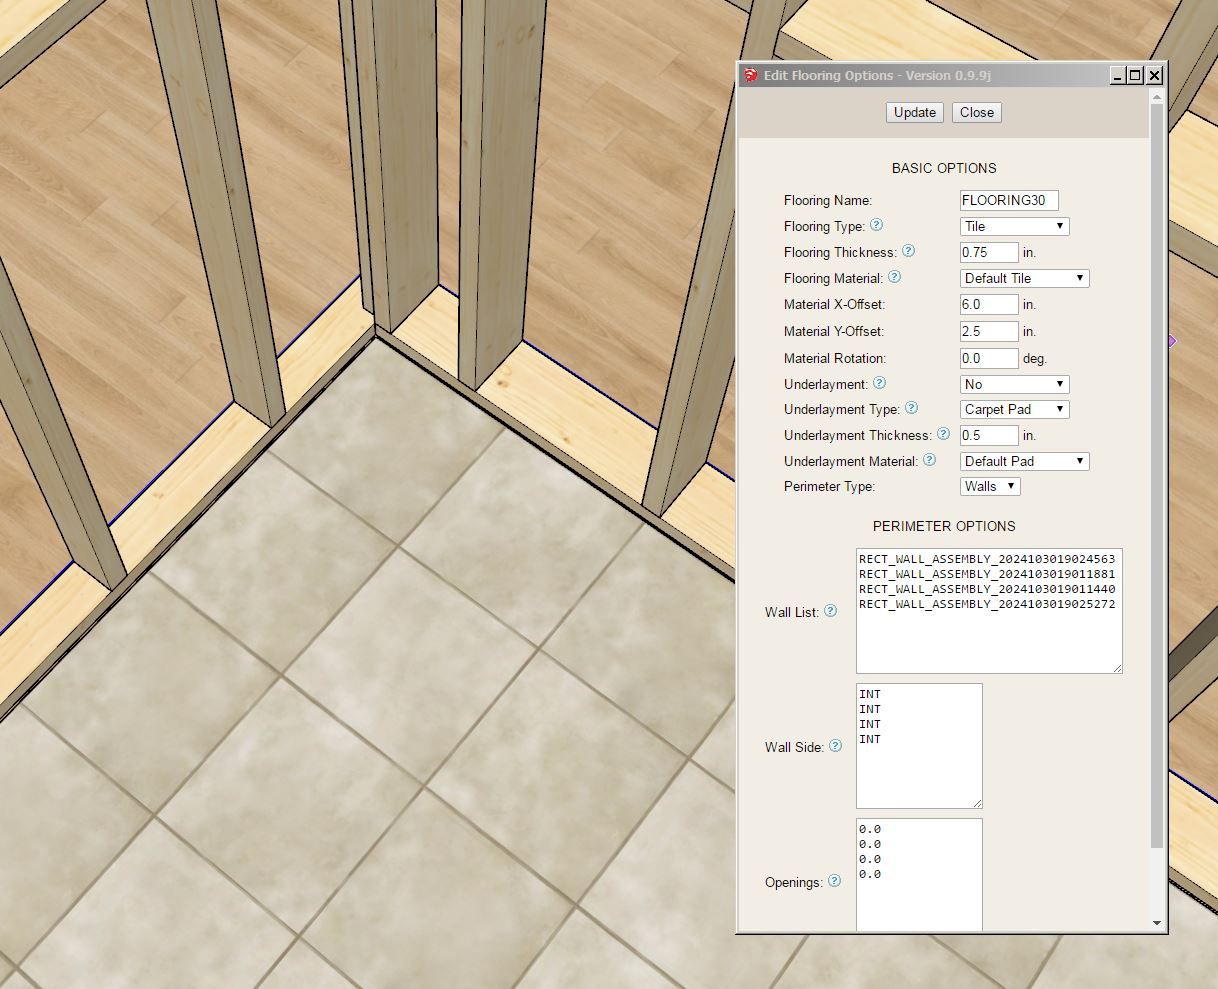
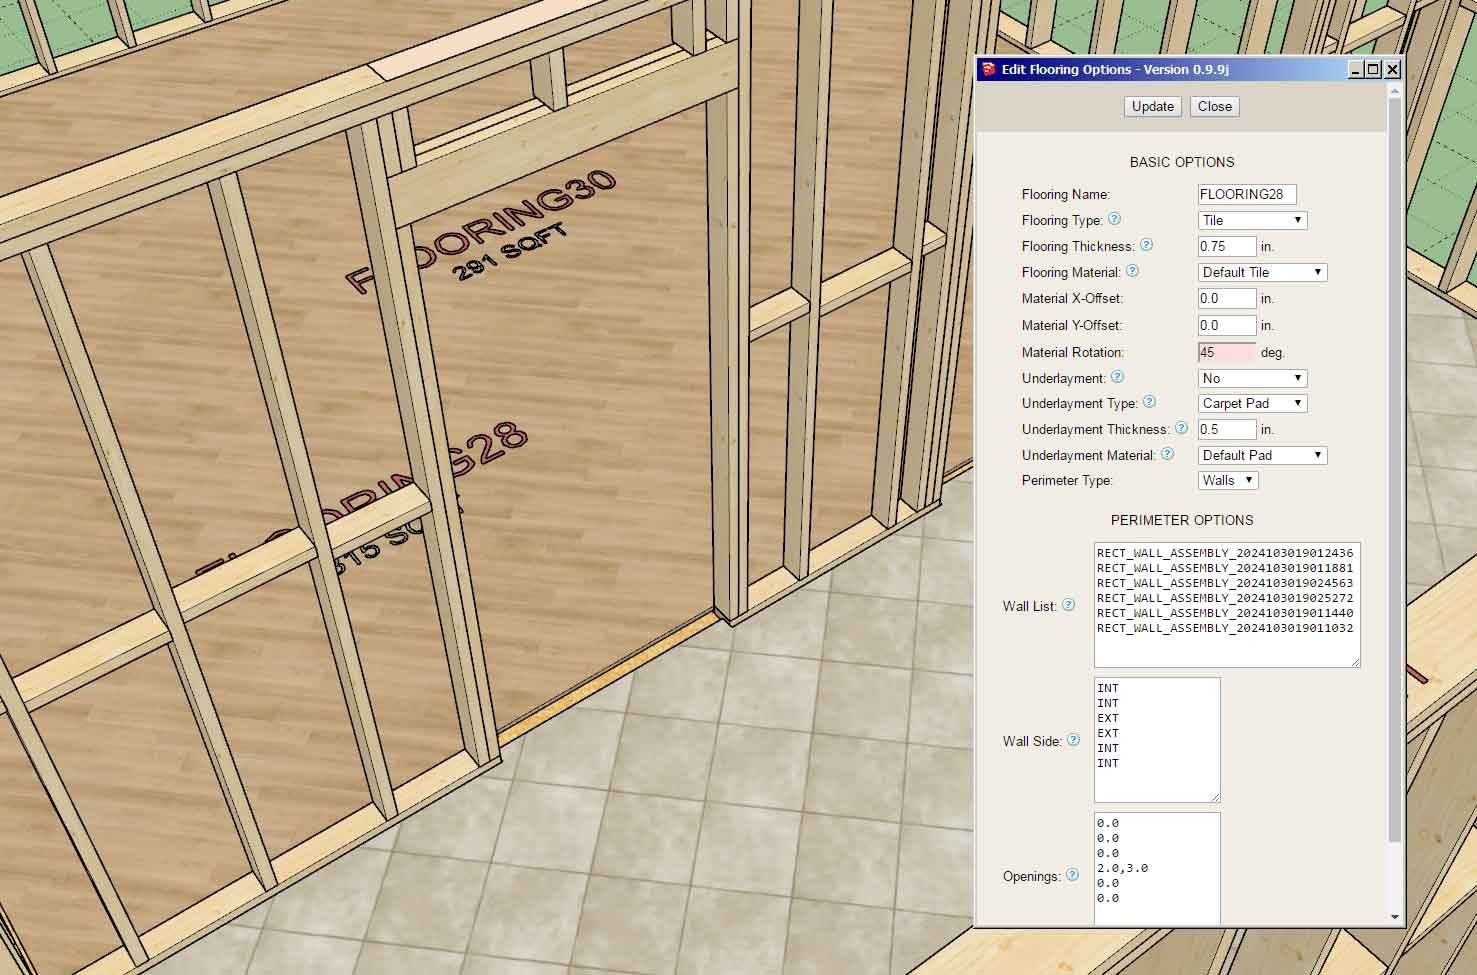
I will probably add in the same offsets and rotation parameters for the underlayment as well, but I will hold off for now until it is requested. I really want to get back onto the floor opening tool.
-
Version 0.9.9p - 11.08.2024
- Added a "Wall" draw mode to the floor draw tool.
- Enabled "Perimeter Options" within the edit menu of the floor tool.
Tutorial 17 - Linking Floors and Walls (11:09 min.)
I apologize I got so interested and focused on the wall draw mode for floors that I completely forgot about the updates I made to allow for drawing floor coverings on slab etc... I will drop those updates into the very next release which will probably be this weekend.
-
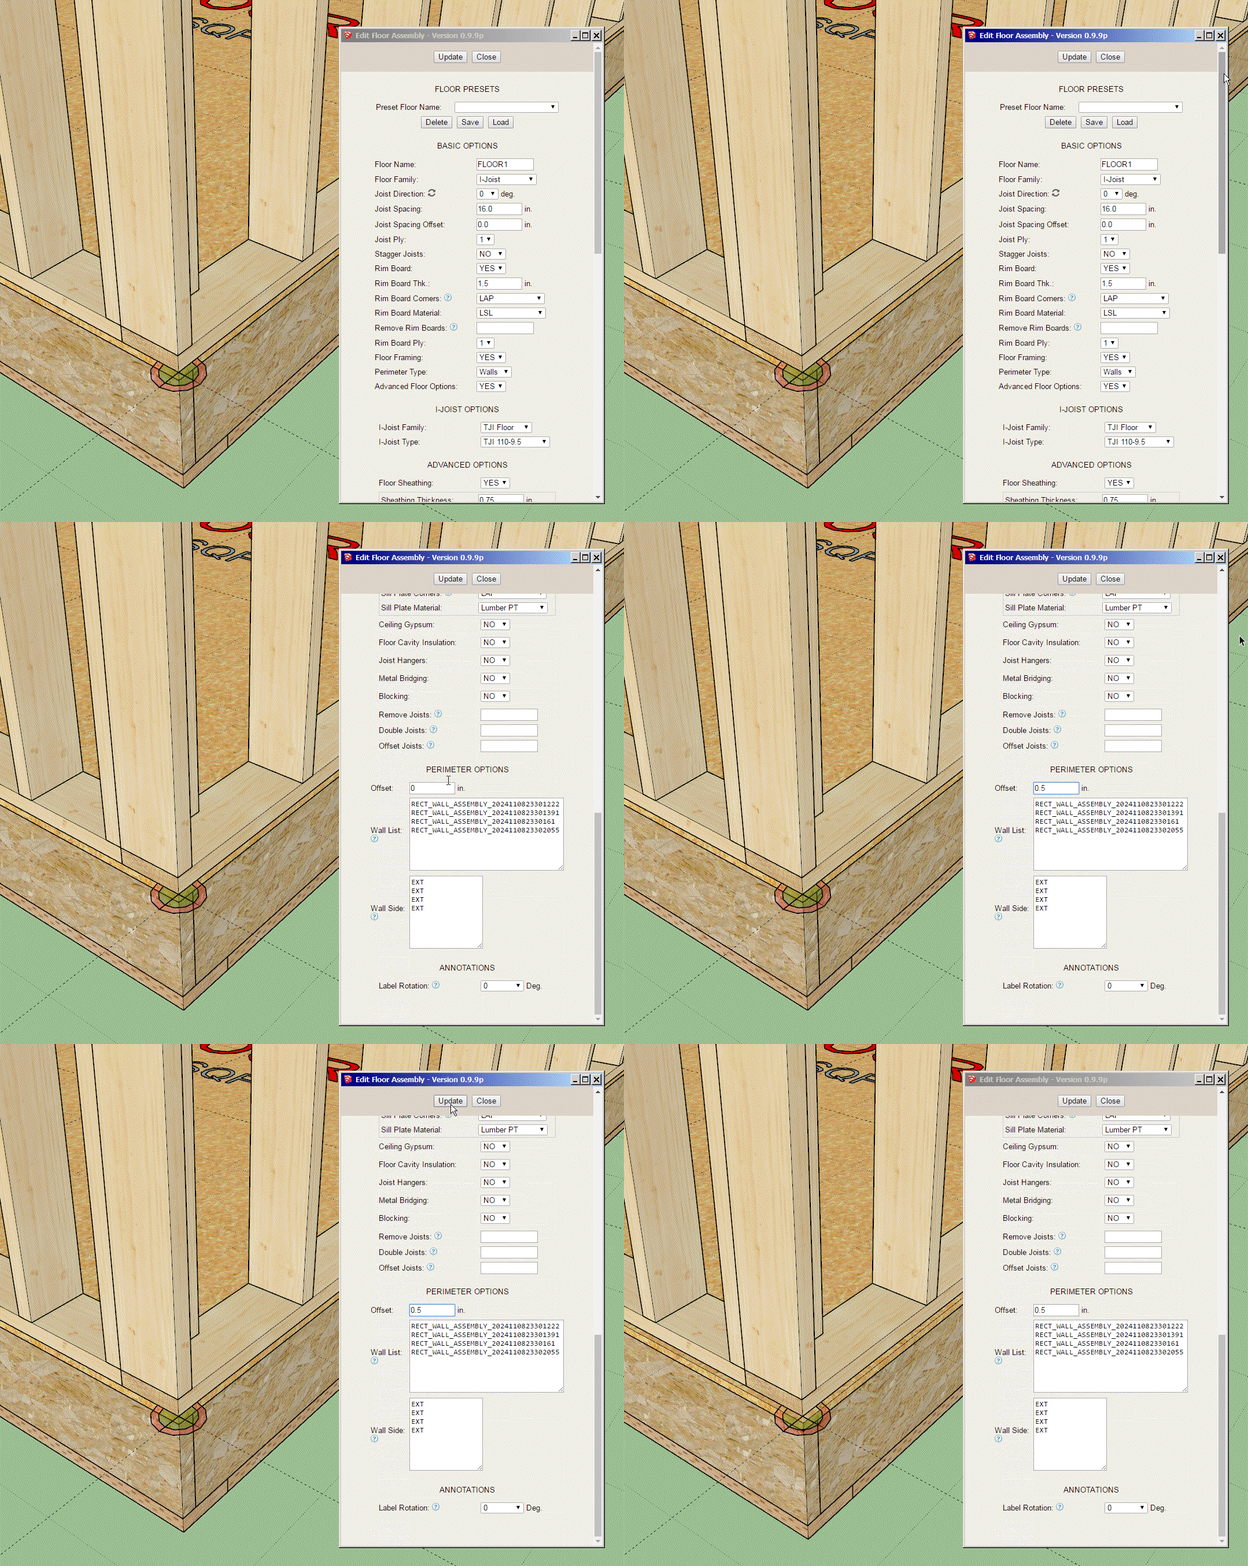
As requested here is the edit menu with an offset parameter added to the Perimeter Options:
-
Version 0.9.9q - 11.10.2024
- Added a perimeter offset parameter within the edit menu for floors drawn in "Wall" mode.
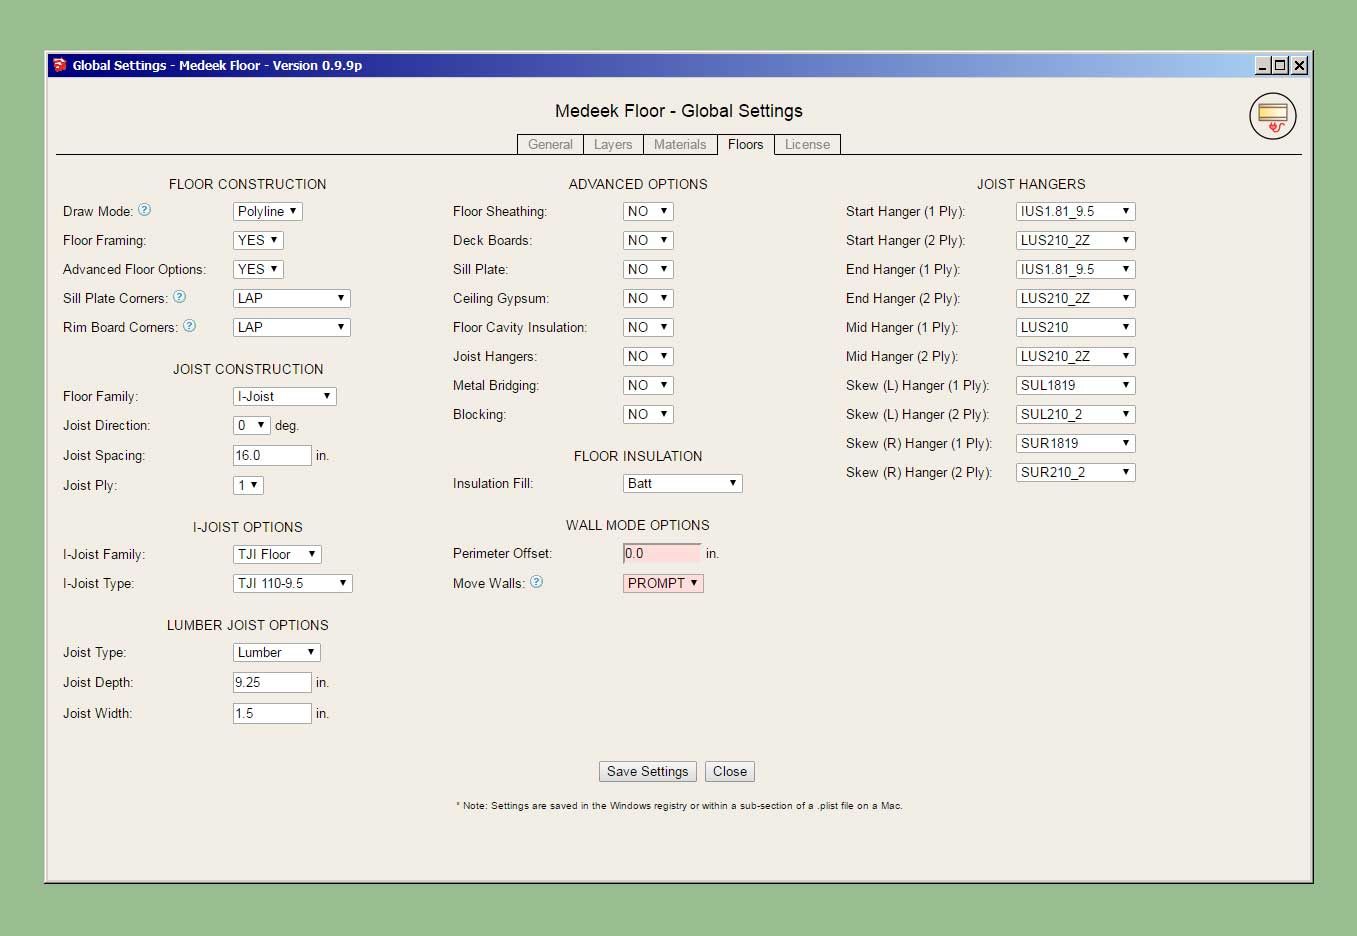
- Added two "Wall Mode Options" to the Floors tab of the global settings: Perimeter Offset and Move Walls.
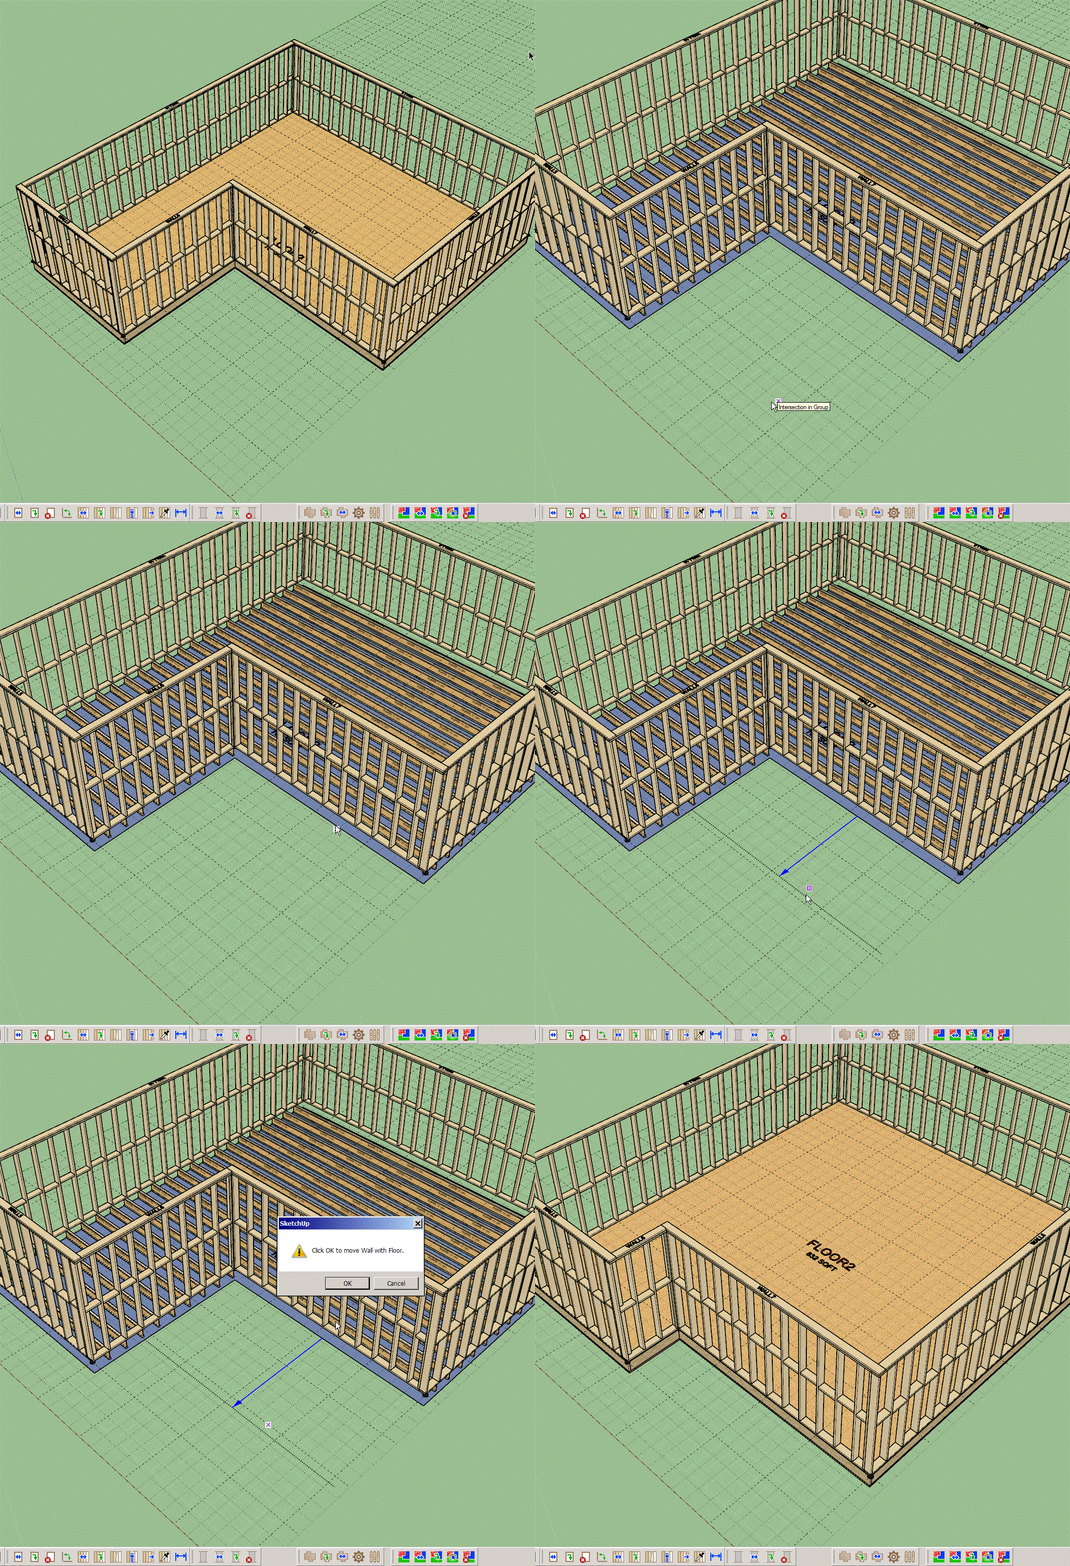
- Connected the "Move Floor Edge" tool to the Medeek Wall API so that moving floor edges (Wall Mode Only) can also move walls.
- Updated the Draw Flooring tool so that floor coverings can be applied to slabs, slab-on-grade foundations and floor trusses.
-
Tutorial 18 - Moving Walls with Floors (9:17 min.)
-
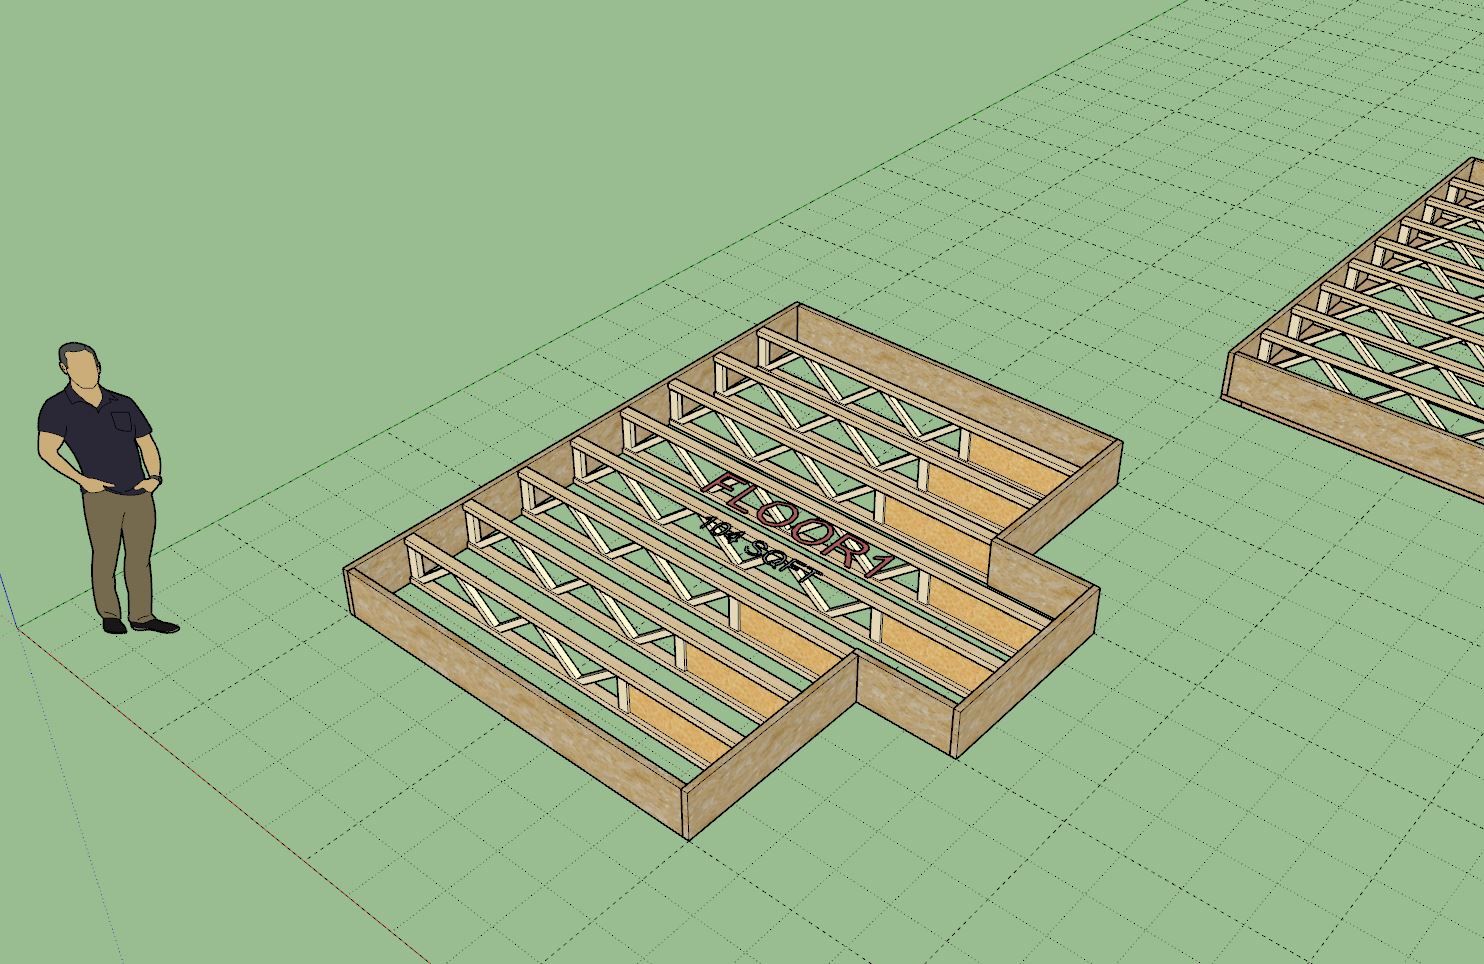
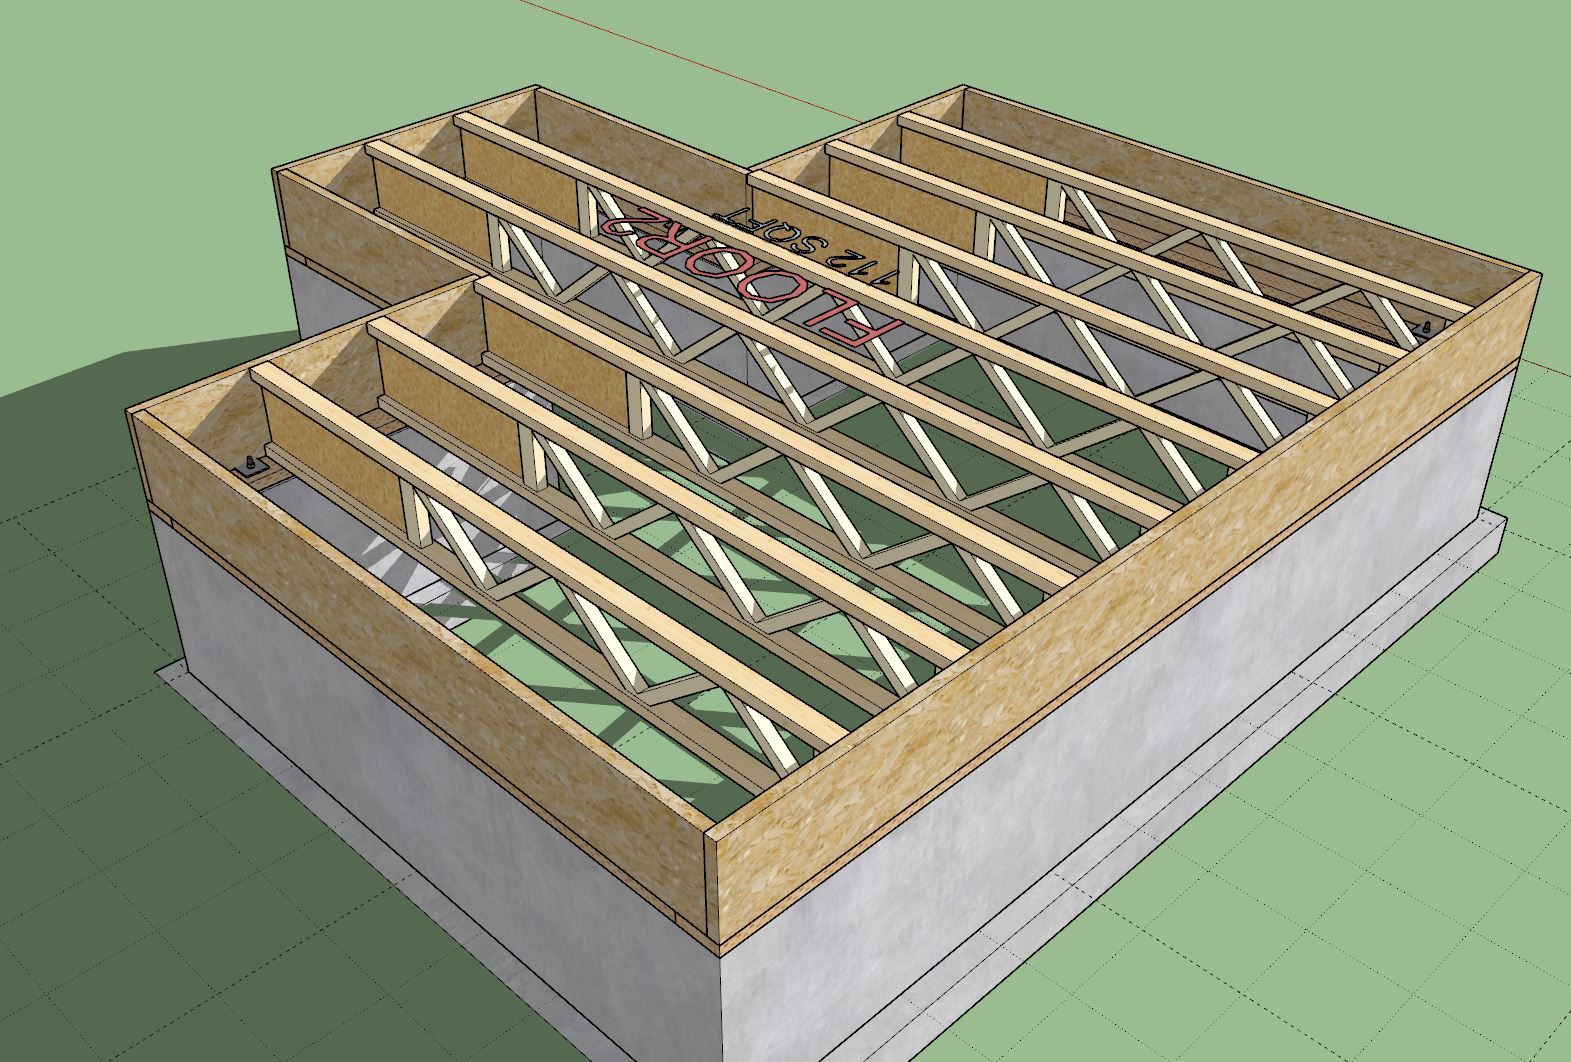
First look at a TRIFORCE Open Joist floor:
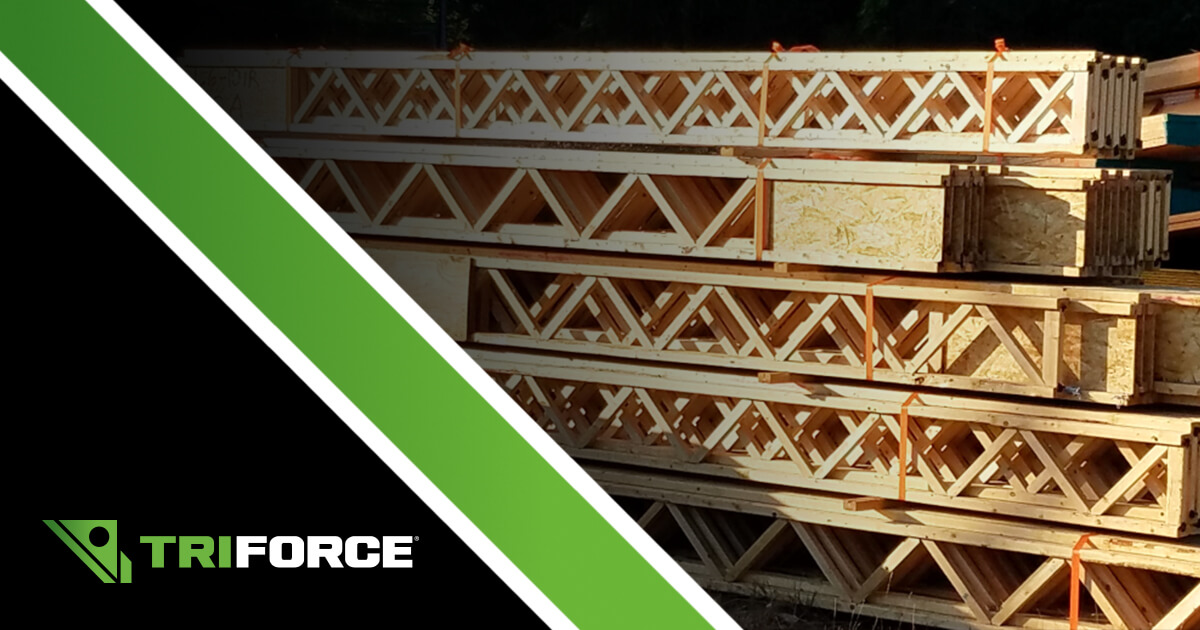
TRIFORCE® Open Joist: Peace of Mind Underfoot
The TRIFORCE® open joist is a state-of-the-art product in the forefront of the construction industry.

TRIFORCE® Open Joist (www.openjoisttriforce.com)
There has been some call for this product line so I am working on the algorithms so that it can be configured properly. It is a bit more complicated due to the directional nature of its trimming panel (only one end can be trimmed).
Advertisement


